So if you’re like me and love coffee, you might be torn in the summer on what to do – iced? hot? suffer through a dripping cup, sweating all over, or suffer through hot flashes as you drive to work with hot coffee and no AC? (Do you have these problems? No? Hello? Anyone?)

I’ve officially made the transition to iced coffee, even though Los Angeles has officially made the transition into June Gloom. But that is another story for another time.

So I ventured to make the PW’s iced coffee, which is also in her book.

Here is the recipe from the book – I accidentally made two recipes from the book in one night – a sign to do another PW challenge??

Ree makes it in a two-gallon sized container. I don’t have such things, so I opted for a quart container. This means, according to Ree’s math, I need 2 ounces of coffee. I made it once with 2 ounces, and it seemed a little weak, so I added an ounce.

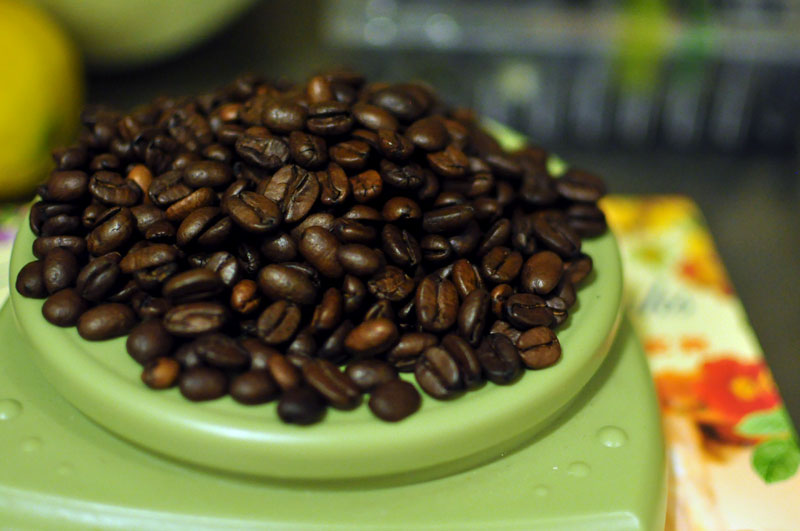
Say “Oh hay, girl, hay” to this coffee from Colombia. Ana brought it back for me because she’s the best girl I know. Thanks again, Ana!

Here are my beans. <Sigh.>

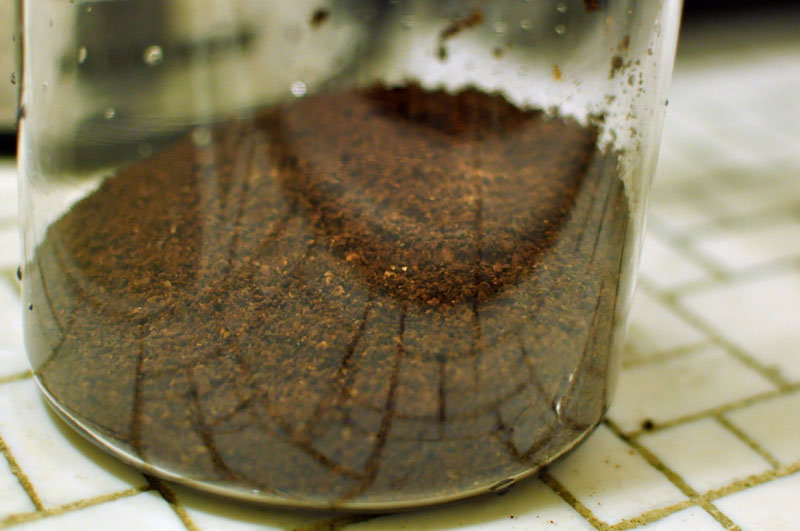
Grind coffee, and place in the bottom of your container.

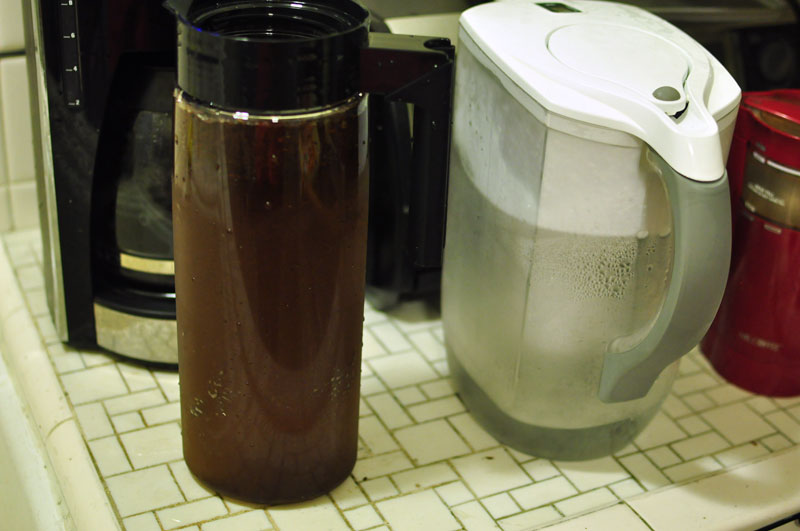
Fill with water. Flaunt newly made iced coffee at your coffee maker. Say, “I don’t need you!” and have your Brita and grinder gang up too. In your face, coffee maker!

(Too much?)

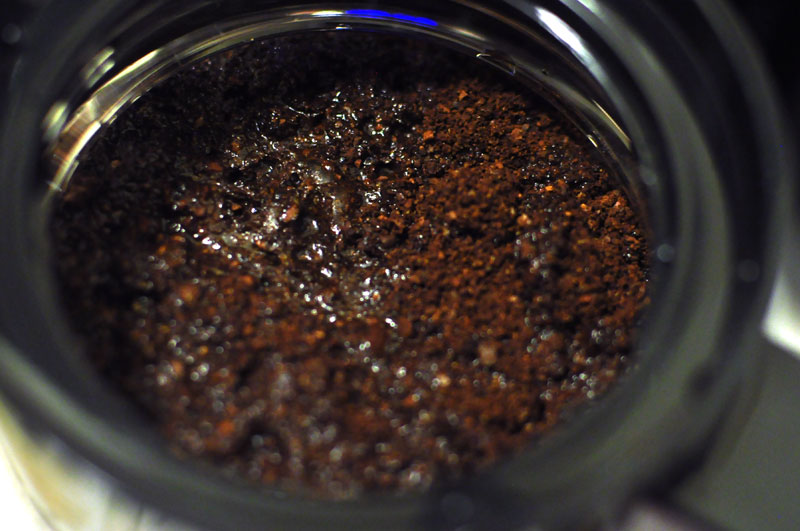
Make sure to stir, so your coffee doesn’t all end up at the top.

Leave your coffee overnight. Mine sat about 10 hours. Get out a bowl and some cheese cloth (or, as Jeff pointed out when I ran out of cheese cloth, your reusable coffee filter from your coffee maker.) (So I guess I do need you, coffee maker. I’m sorry I was mean last night. Truly.)

Ahhh. Coffee.

Say goodbye to the grinds, and you’re left with pure coffee.

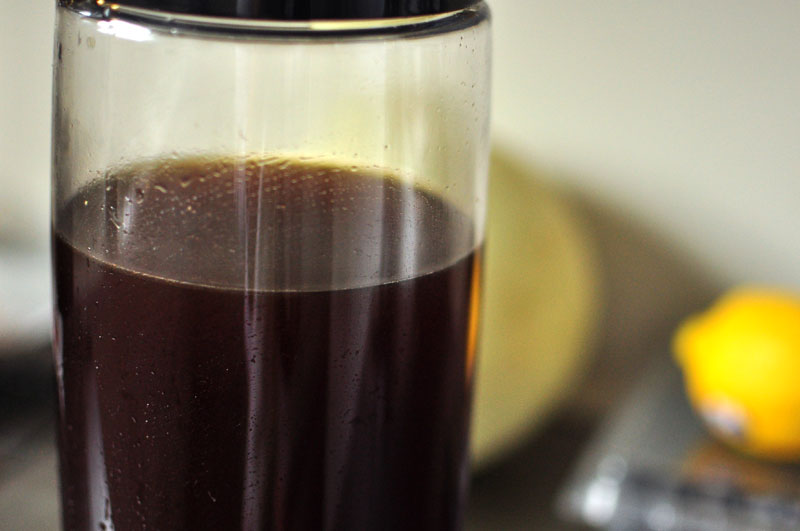
And this is what you’re left with. Delicious iced coffee. Stick it in the fridge a few hours before you serve it up – it’s better cold. This batch lasts me about four days…I’m thinking of making two quarts at a time. I’ll let you know how that goes! I drink mine black, but you can add milk, sweet condensed milk, like Ree, or anything that pleases your lil ole heart!

How do you make your coffee? At home? Iced? From your local coffee shop? Do you like espresso, or plain coffee, or tea?


[addtoany]

So last week, one of our coworkers had a birthday. This coworker (Hi, C!) happens to be GF, so of course, Becca did some sleuthing and found out he likes strawberry rhubarb pie — how appropriate, since his birthday is during rhubarb season! So of course, I bought themed wine for the occasion (see above!) and off we went.

The recipe we used was a combination of this Gluten Free Diva recipe and this Hungry Rabbit recipe.

We used a Whole Foods gluten free frozen pie crust, and used the following for filling (we used more than this, because we made two pies, but this is for one)

2 1/2 cups rhubarb, chopped
2 1/2 cups strawberries, hulled and sliced thin
1 1/4 cup sugar
1/4 cup water
1/4 cup honey
1/4 cup corn starch
sea salt
2 tbsp orange juice, fresh
zest of one orange

Here is the rhubarb that Becca procured from the Whole Foods. Apparently, she had never seen it before, and so had to ask someone. Luckily she got the right thing — basically something that looks like bright red celery. I have seen it before because my dad likes strawberry rhubarb pie, so I confirmed this indeed was the right ingredient. Also, please note the orange in the background…this is important to the creation of the pie!

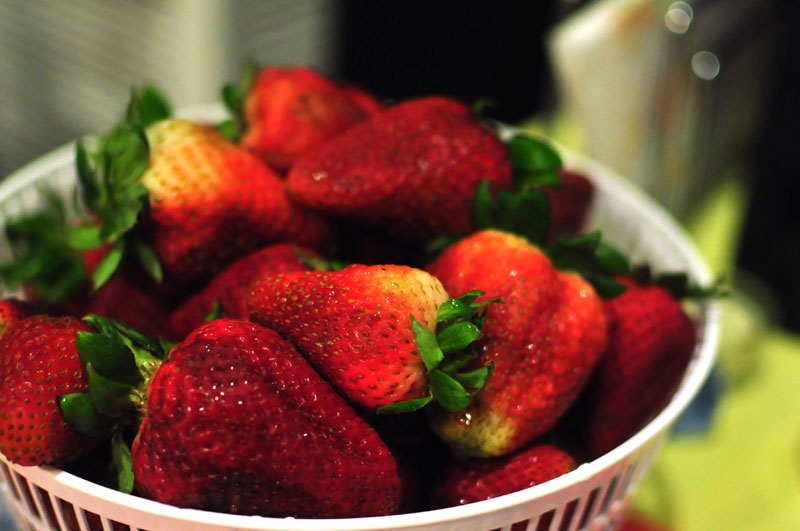
Here are our strawberries. Those were easy to spy. Well played, Becca.

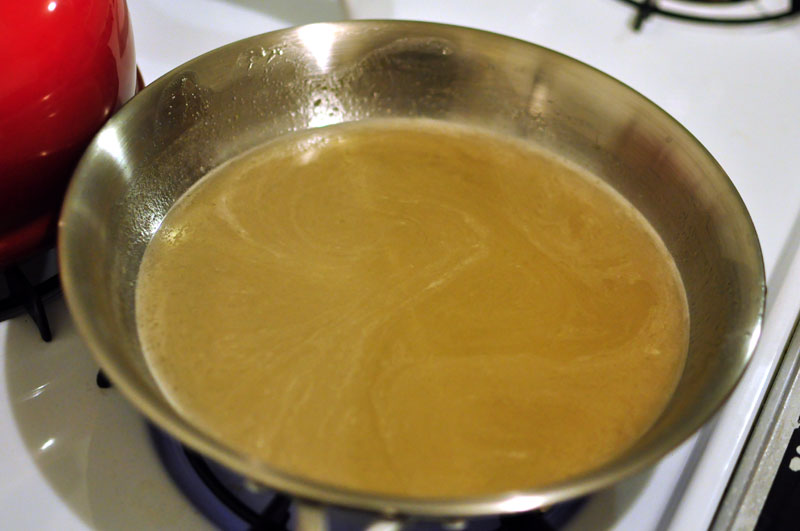
Now, you’re going to make a simple syrup for your rhubarb, on account of it being quite distasteful when raw and not covered in sugar. Take 1/2 cup sugar, 1/4 cup honey, 1/4 cup water, and a pinch of salt, and stir until sugar and honey dissolve.

Take your chopped rhubarb, and add it into your simple syrup.

Stir on medium heat for about five minutes – you want the rhubarb to retain its shape, but not be too hard, either. Taste test a piece.

This is the rhubarb for your lattices. We ended up making two pies, because we had two crusts. So cut about ten slivers for each lattice (I sliced the rhubarb in half lengthwise.) Brush this with some of your simple syrup mixture. Stick it in the oven for about ten minutes at 450. When that’s done, turn your oven down to 375.

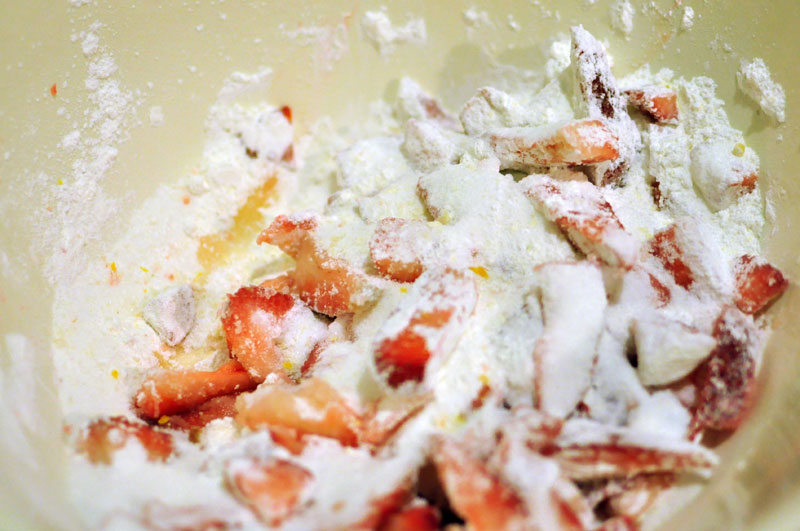
Meanwhile, mix your cut strawberries with the remaining sugar, the cornstarch, a pinch of salt, the zest, and the juice. Then add your drained rhubarb to this (from your simple syrup.)

Fill your pies with the mixture. Get mentally prepared to not eat pie until following day. Sigh audibly.

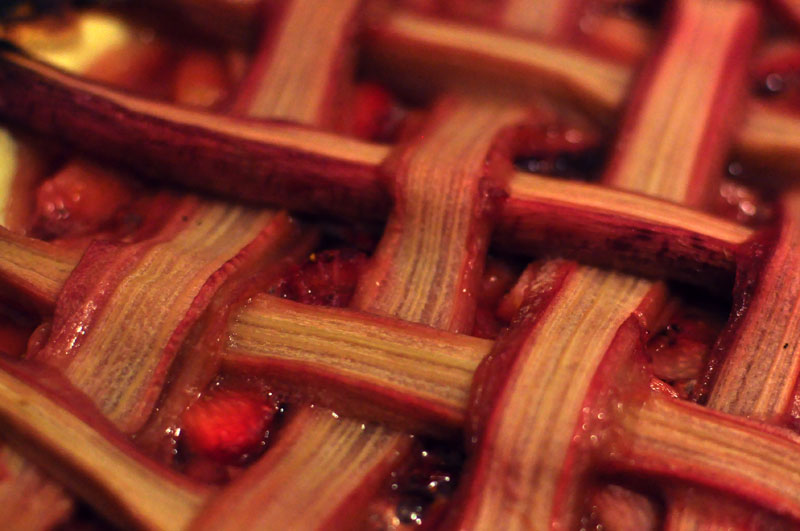
Lattice your rhubarb on top. You can cup the edges if you’d like, or be like me and leave ’em and then they’ll burn and your pie won’t be as pretty as it could of been. Your choice.

See? I told you you should have cut them. Oh well. This is the pie after about 45 minutes in a 375 oven. Let cool completely to set.
Doesn’t that look good? I would have taken a photo of the slices, but they simply went TOO fast!! This was Becca’s first GF pie, and my first “on my own” strawberry rhubarb pie, and it went QUITE well.

What is your favorite pie? Is it savory, sweet, seasonal, home made or from your favorite bakery?

Tell us, and the first three people to answer will get their favorite pie featured on the blog — we’ll make it from scratch, and try to make it as good as you remember it from your mom/local diner/own kitchen!


[addtoany]

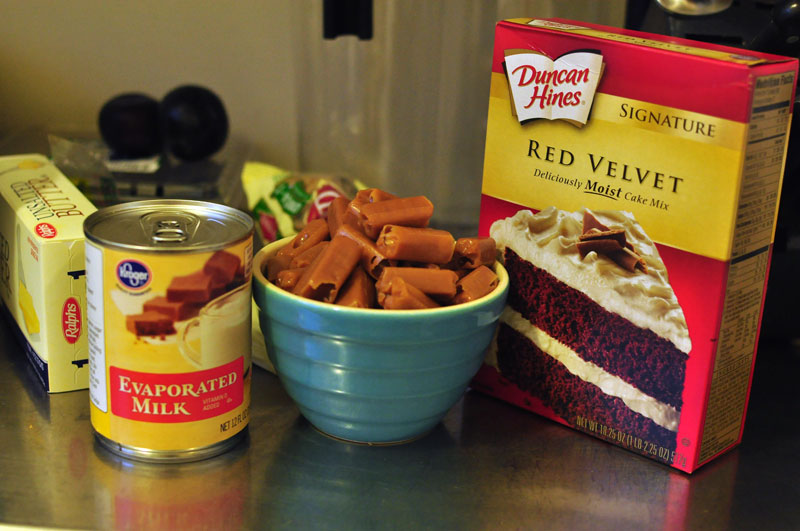
Last week I used a few new ingredients in a recipe from the PW. I couldn’t believe I had never used evaporated milk before (unless I had during the PW Challenge of 2010 and blocked it from my memory) and I had also never truly worked with caramel. Luckily, PW puts those together in her Knock You Naked Brownies, and so now, I have expanded my ingredient wheelhouse.

So, this recipe originally calls for German Chocolate cake (in a box) but I couldn’t FIND any German Chocolate cake (I know, Ralph’s, what’s your deal?) so I opted for the closest thing – Red Velvet. (I couldn’t even find chocolate cake in the right sized box!)

This is cake, and evaporated milk.

This is me adding butter. Sinful, right?

Also, nuts. I used walnuts because the person I was making it for (Hi, Joan!) doesn’t like pecans, so walnuts we went with.

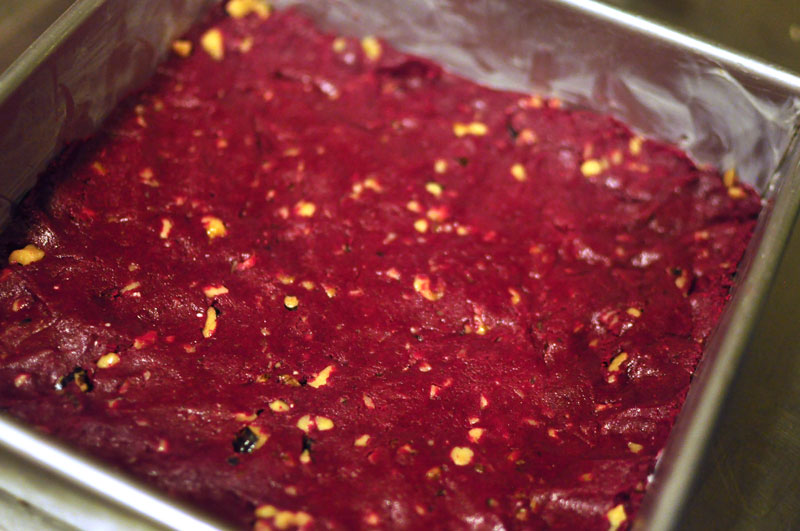
This is half of the batter, pressed into a greased 8 by 8 brownie pan. Delicious. Stick that in the oven for ten minutes, or so.

Here is a bowl of caramels. Not picture: unwrapping, fighting to get them out of this bowl (they had slightly melted on my counter, then stuck to each other), my eating two of them, thinking I maybe had too many (I wasn’t going to count, and also PW’s looked smaller,) my using several other options before settling on a “never use for broiling” bowl because I figured it could handle boiling water (it’s oven safe.)

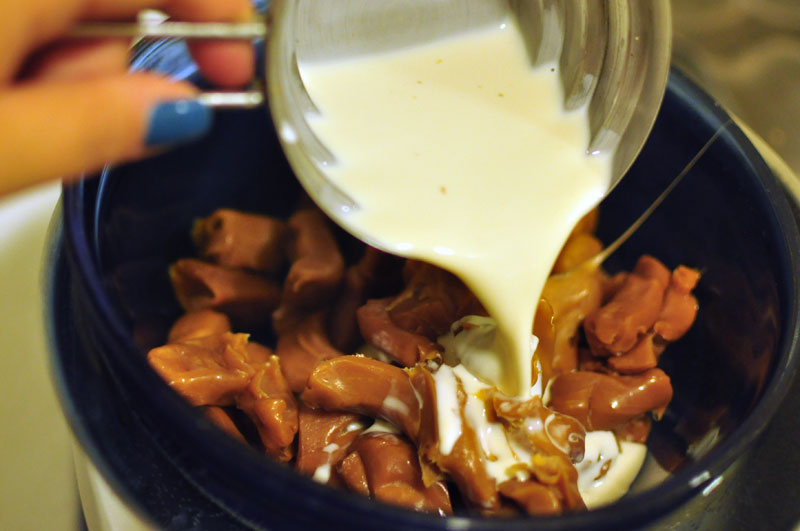
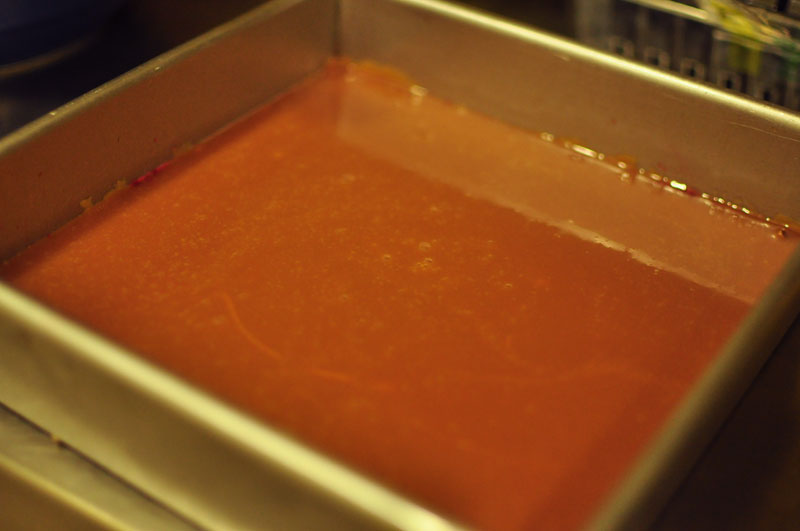
So you take your crazy crazy caramels that are sticky and sticking to all things (bowls, hair, etc.) and pour some evaporated milk over them. Stare at them, assuming they’ll never melt, until they all of the sudden do, then worry they’re too melty.

Pour them over the half-cake. This is what will be staring back at you. Resist the urge to just eat them as is. I promise, it gets better.

Add some chocolate chips. I added probably half a cup, taking care to make sure there were chips evenly spread across the caramel layer.

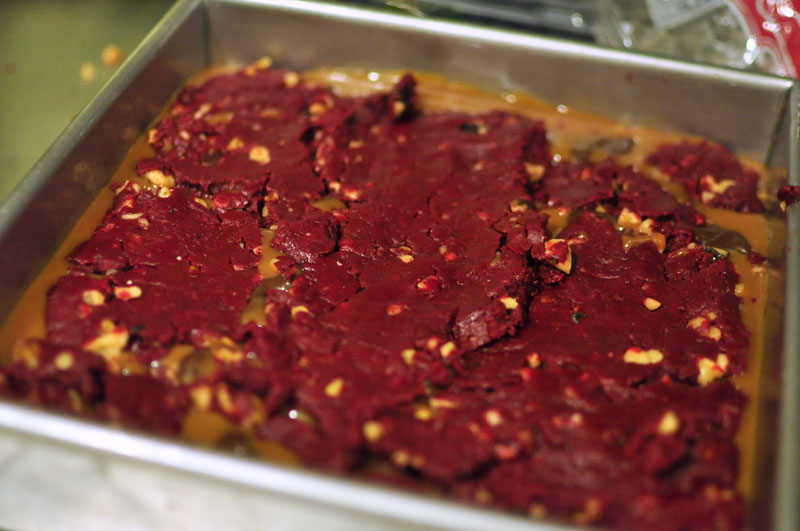
Now, Ree says to lay it out on a surface than use a spatula to transfer. Maybe I used too many nuts, or maybe I didn’t grease well enough, but either way the cake broke apart upon being moved. But it worked out, anyways. Above, note the pre-move.

Post-move. It had to be moved in three parts. But, it’s ok – it does expand. Stick that in the oven for about 20 minutes.

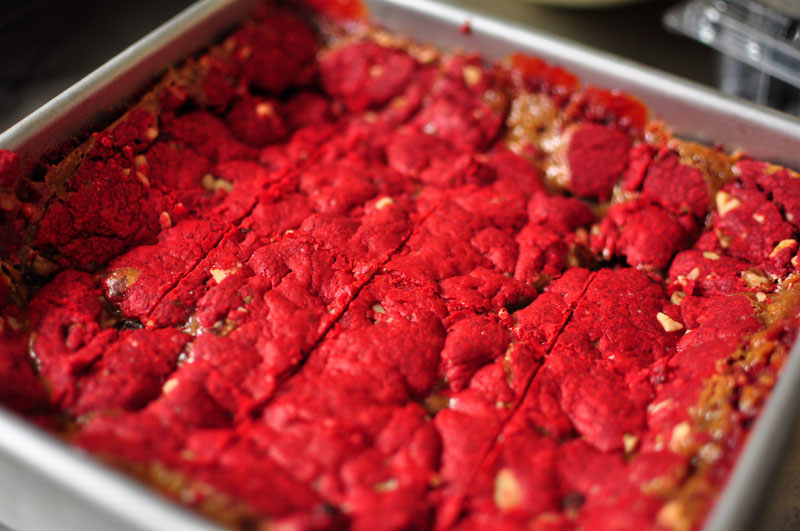
This, my friend, is your completed brownies, just out of the oven. Let cool completely, and then refrigerate it. PW notes not to make these when you really just need a brownie. I mentioned that earlier, didn’t I? So sorry if I did not…but you must wait several hours. (Jeff was annoyed, too.)

And here are the brownies the next morning, after being refrigerated overnight.

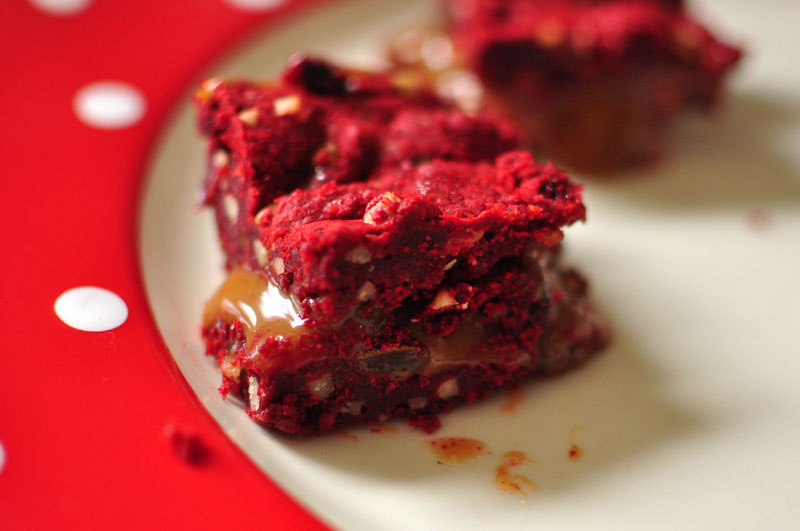
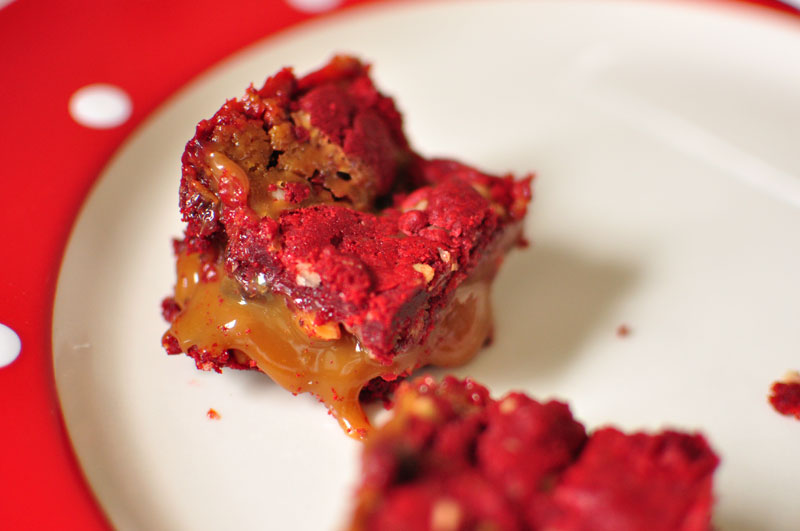
Here are the completed brownie. I must say that the caramels were, in fact, too melty (I used Werther’s classic chewy caramels) and the brownies did not hold up. I also may have used too much caramel (But can you, really, do that?) but they made up in deliciousness what they didn’t have in stability.

Delicious, delectable brownies. I can’t wait to make them with actual German chocolate, but these are quite a close second.

Who wants to go for a run?


[addtoany]

Guys. This month’s June addition of Real Simple is here!! I can’t wait to dig into the magazine, because it promises summery feelings and new recipes and delicious drinks.

In other news, I have accidentally made two recipes from the PW’s new cookbook tonight: Knock You Naked Brownies, and Perfect Iced Coffee.

I have also made a few other recipes from this book, so I may or may not toy around with cooking through this one. Stay tuned.

I’m loving this post about the best breakfasts, and am happy to know that my new favorite (Greek yogurt with Cheerios and blueberries) is on the list. I am playing around with the idea of smoothies, since I love them so much and they make me so happy. I am also thinking about trying these breakfast cookies. What are you eating for breakfast, these days??

Also around the Internet, I read this incredibly interesting article about SNAP, the food stamp program in the US. Basically, it states that instead of complaining about how food stamps are being spent on soda, or junk food, etc., we should actually analyze what it is actually being spent ON. A fascinating idea to helping those who need help be healthier!

I’ve also been craving seafood lately, and am very excited about trying these chipotle lime tacos and these shrimp crepes. I can’t get enough shrimp, and am hoping to add tuna back to my lunch wheelhouse…tuna melts might be a good start, no?

This weekend, I’m making some Fourth of July treats, so look out for those, as well as a delicious GF pie, coming up next week! Happy almost-mid June, y’all.


[addtoany]

When my dad and my brother were visiting I decided to try my hand at breading chicken. I’ve never been very good at getting breading to stick to items, but I figured chicken is an easy entree that everyone would eat and even if I messed it up they’d eat it anyway. Fortunately, I did a solid job, and thanks to some tips in Real Simple it was not a breading disaster.

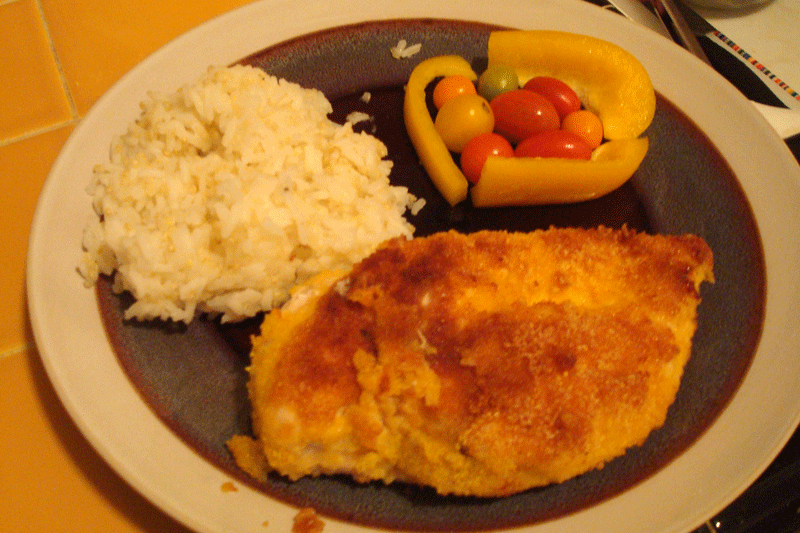
The chicken breasts I had happened to be GIANT. I would definitely recommend thinner breasts for cutlets, as this ended up being breaded blocks of chicken. Fortunately, I was feeding giant men so it was all promptly devoured with no questions asked.

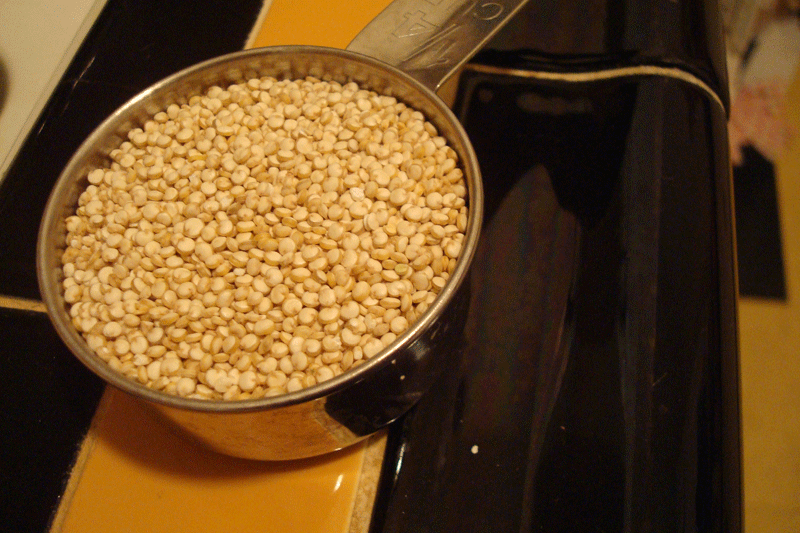
There were however some questions about the bit of quinoa that I snuck into the rice. The fact of the matter is I rarely have time to cook fresh brown rice (who has an hour to make rice?!?) and adding the quinoa helps me punch up the white rice and not feel guilty about the fact I’m eating said white rice. Honestly, it might look a little strange, but you hardly notice it when consuming.

When cooking quinoa and rice together you just have to make sure that you get the grain to water proportion right. I usually do a cup of rice, ¼ cup of quinoa, and 2 ½ to 2 ¾ cups of water.

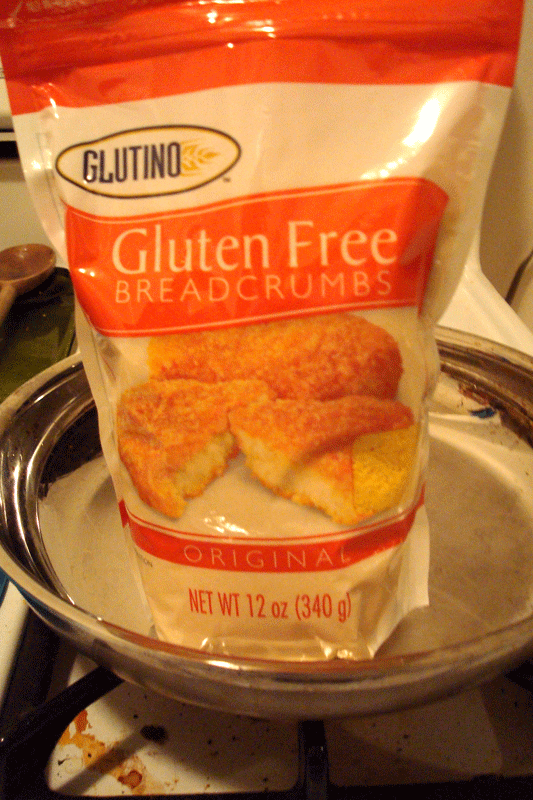
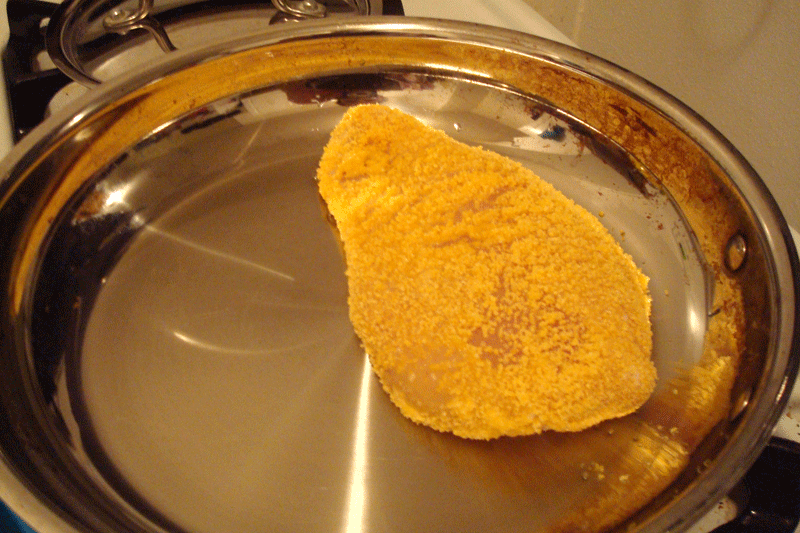
While the rice starting cooking, I started breading. I used Glutino brand breadcrumbs. They are essentially just corn meal with a little salt.

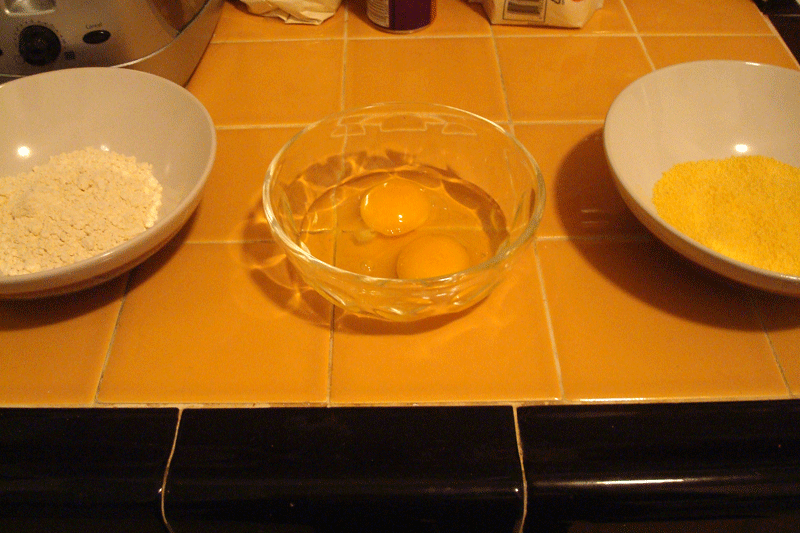
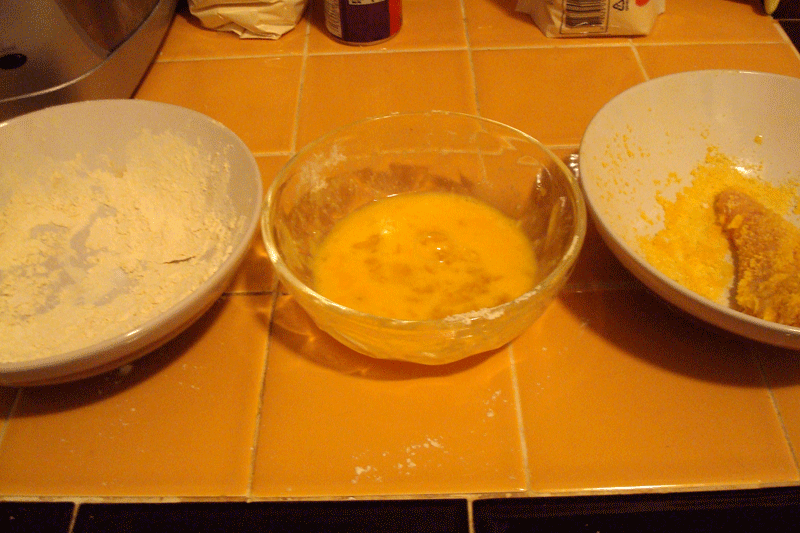
Set up your breading station in the following order: flour, egg, breadcrumbs. Real Simple had a whole thing about a dry hand and a wet hand and whatnot, but because I’m a huge spaz/clutz I just went for it wet/dry hand designation disregarded and it was just fine.

Coat the chicken in the flour, then in the egg letting most of the excess drip off and finally coat in breadcrumbs.

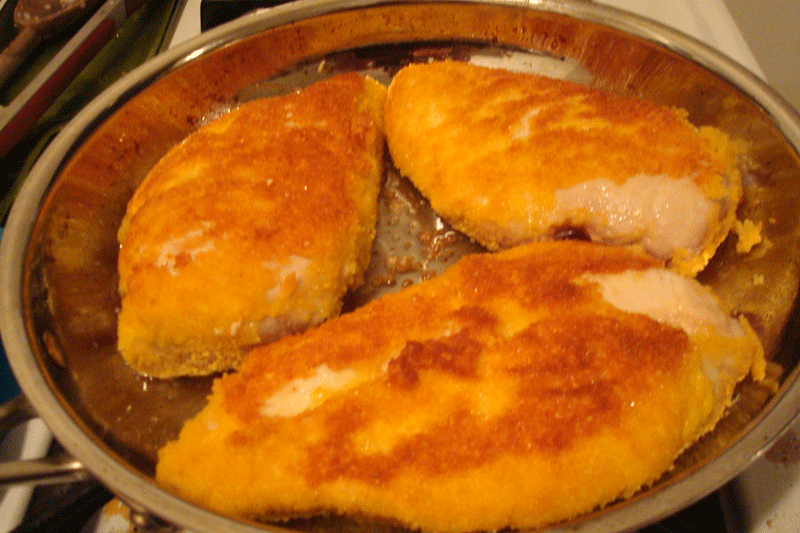
I used my fingers to handle the chicken in the breading process and then a pair of tongs when handling them on the stove. I found that the less you handle it the less your breading breaks and unsticks from the chicken. So handle the chicken once breaded as little as possible.

In the end, the chicken ended up being sort of plain without seasoning/herbs/spices in the breadcrumbs which I would definitely like to explore the next time around.

How do you bread your chicken — do you add your spices to the flour, the bread crumbs, or afterwards, on top?


[addtoany]