Jasmine is a friend from work that shares my mutual love for food, wine, and all things funny. As such, I asked her if she’d like to guest blog once in a while. Here’s her first post – hope you enjoy it as much as I did!

I had total delusions of grandeur when Jennie first asked me to share my very first guest post on GMS but as with so many of my life’s plans, my motivation was very quickly and suddenly diminished by a crippling Sunday morning hangover. I was nauseous, debilitated and exhausted – and the breakfast pizza and pan-roasted Brussels sprouts from Little Dom’s (Los Feliz little sister of the equally fantastic Dominick’s) were a totally unfeasible 15-minute car ride away.

But then I had a brain wave. How hard can it be, *really*, to make amazing roasted Brussels sprouts at home?* In between waves of nausea and Gatorade, I plotted evilly and created the following:

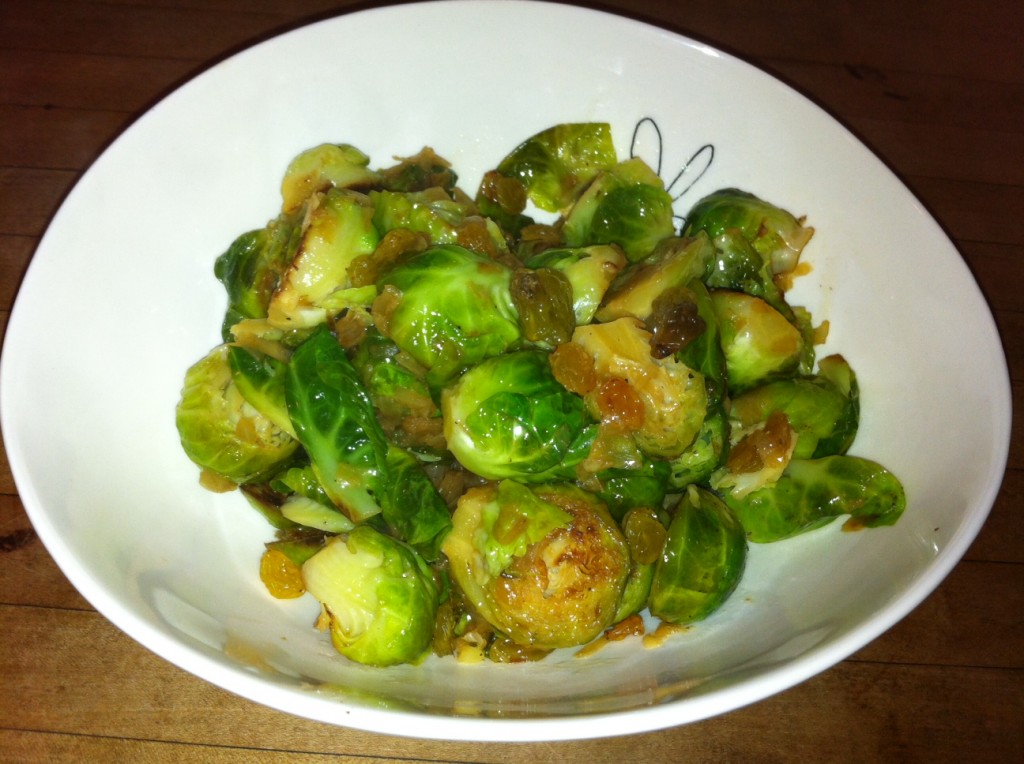
Pan-roasted Brussels Sprouts with Raisin Vinaigrette

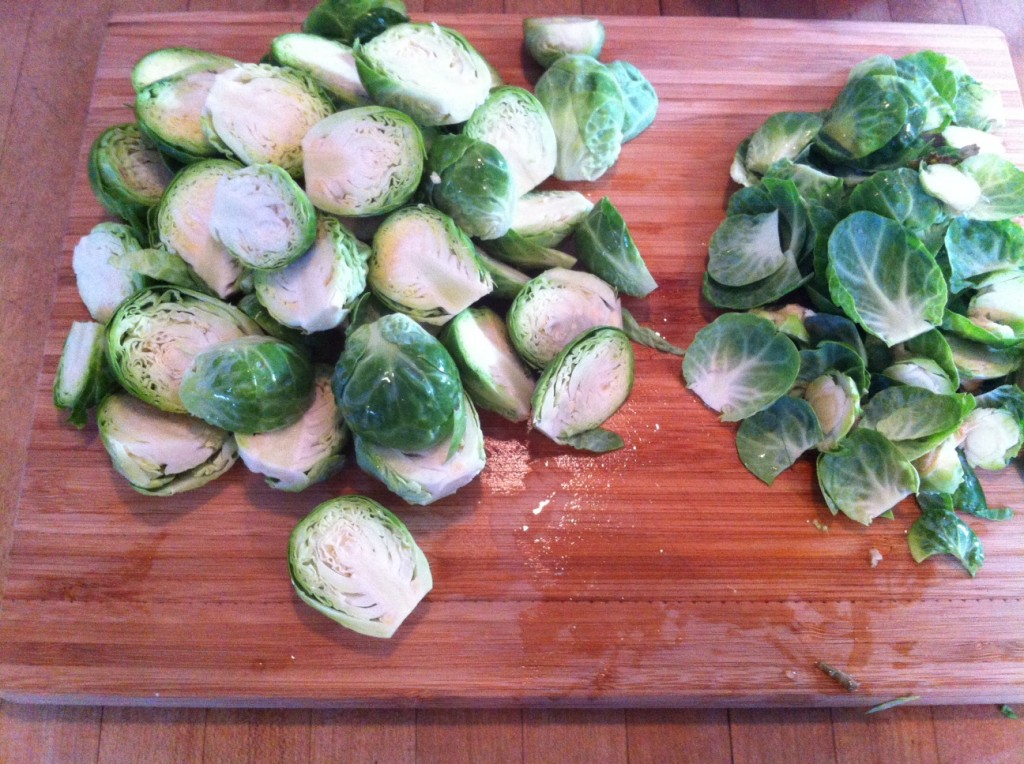
  • 3 pounds Brussels sprouts, bottoms trimmed, outer leaves removed, split in half
  • 4 medium shallots, sliced thinly OR 1/2 red onion, diced
  • 1/4 cup extra virgin olive oil
  • Kosher salt and freshly ground black pepper
  • 1 tablespoon unsalted butter
  • 1/2 cup golden raisins
  • 1/2 cup low-salt chicken broth
  • 2 tablespoons apple cider vinegar (red wine vinegar or whatever else you’ve got around will do)

1. Trim and halve your Brussels sprouts. (I’ve also belatedly realized that the abbreviation for them is “BS”, which while hilarious, is distracting. I will refer to them as “the sprouts” moving forward). This may seem unnecessary but sometimes the outer leaves are a bit tough/wonky, as is the base.

2. Heat the olive oil (or EVOO, according to my best friend Rachael…gross) in a large heavy skillet over medium heat and chuck in either your diced onions or shallots. Stir until they’re softened.

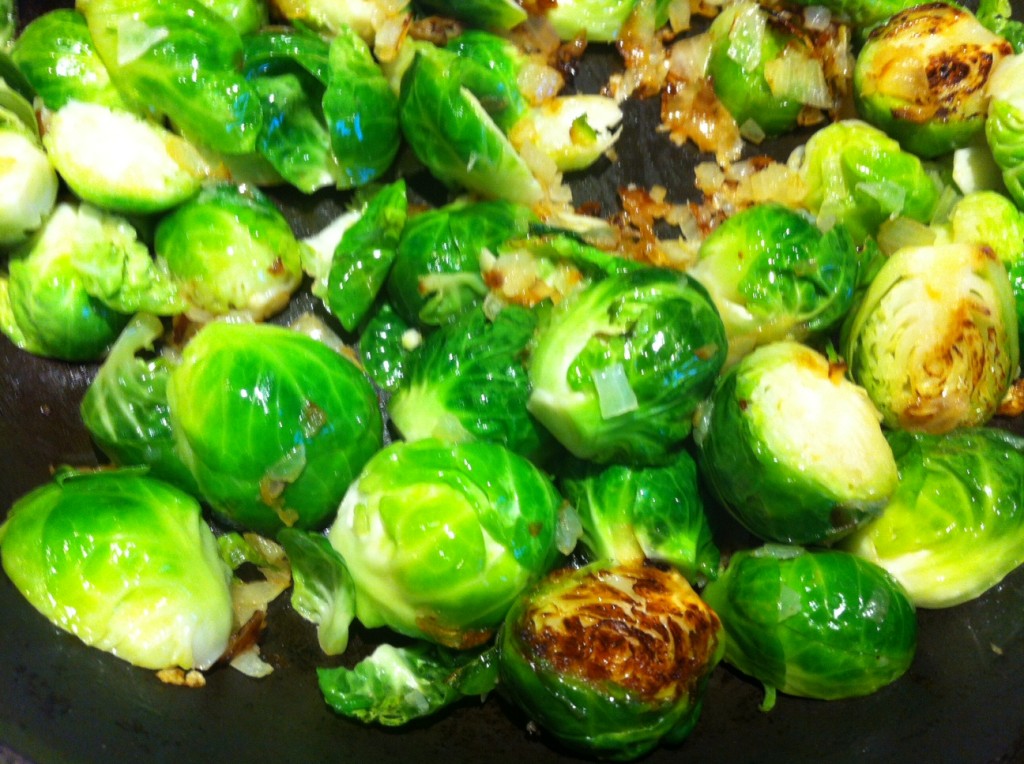
3. Add the sprouts to the skillet, trying as much as possible to keep them flat side down with direct contact with the skillet. The goal here is to get them as browned as possible and start to get them going from mild to wild caramelizing. Cook them for about 5-7 minutes, stirring very occasionally.

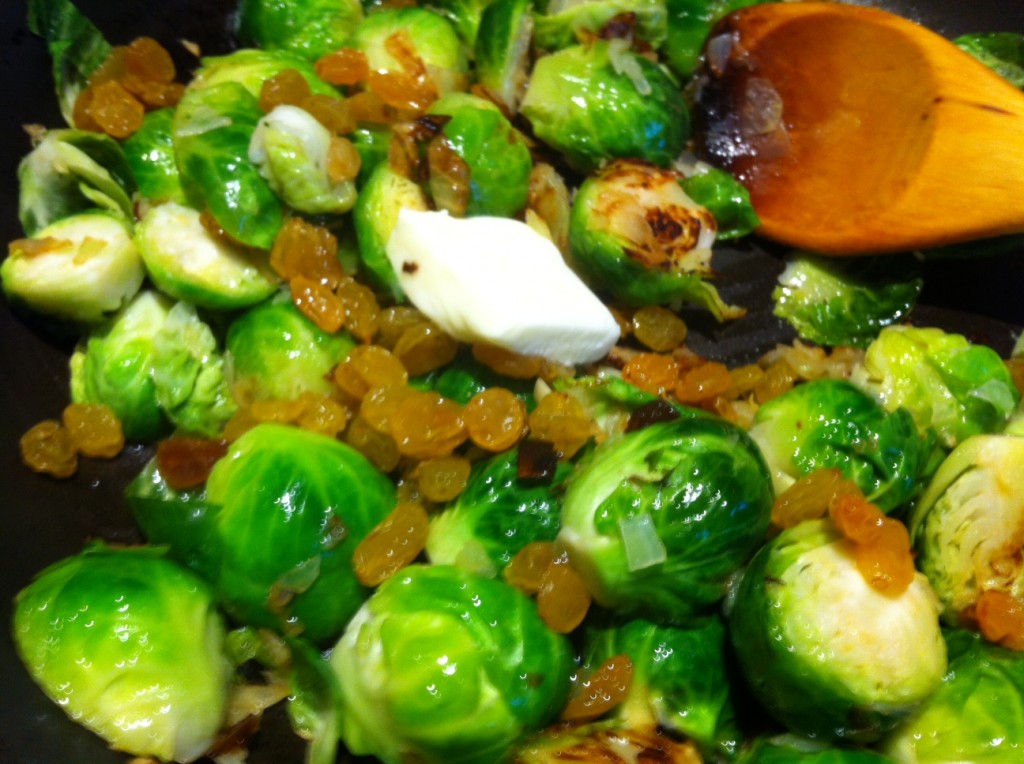
4. When you’ve got a decent amount of browning (and color = flavor, if Mr. Ramsay is to be believed), reduce the heat to low and season with salt and pepper. At this point, add your raisins and butter and continue cooking for another 3 minutes or so, until the butter melts and creates a thickish sauce at the bottom of the pan.

5. Add the chicken broth to the skillet, scraping up any tasty bits of joy browned bits from the bottom of the pan. For culinary nerds out there, you were correct – this *is* the deglazing portion of today’s lesson. Increase heat and bring to a boil, and reduce it down to a simmer until the broth evaporates. Take the whole pan off the heat and stir in the apple cider vinegar.

6. Drizzle extra virgin olive oil over and eat immediately and enthusiastically.

There’s pretty much an unlimited amount of variation with the classic roasted Brussels sprouts recipe. I’m well aware that this is a vegetarian (gasp, horror, etc.) one but an obvious carnivorous addition here is bacon/pancetta. You can certainly get more creative and make Brussels sprouts slaw, or try using honeyed pecans or other textured ingredients.

*Disclaimer: Fully aware that most people don’t actually keep a bag of Brussels sprouts in their kitchens but they’re delicious, especially in season and from your local farmer’s market. Also fully aware that Brussels sprouts are now a trendy/posh “side” veg option at nice restaurants. I happen to have enjoyed them since I found out what butter was. 

Jasmine


[addtoany]

Last night, JD, Ky and I had what I like to call a “working night” in which we whip up something new and delicious for me to share on this blog.

We pour glasses of whatever our drink of choice is at the moment (last night was a vodka-soda kind of night) and then we dig right in.

We decided to model our meal after this recipe. We came up with it by googling all the items we’d purchased at the Farmers’ Market that morning and then going from there.

I find that this has a fairly good success rate.

Also, this recipe allowed us to pick up some skills with a new tool.

I give you, the mandolin.

Ky has had one of these beauties for awhile, but we’ve never used them in one of our projects before.

To be honest, they kind of scare me.

However, the recipe calls for zucchini ribbons, and we really weren’t sure how else to get the job done.

So we handed the sharp blade to Ky and hoped for the best.


What you end up with, if you’re lucky, is a pile of zucchini (we did two) and no sliced digits.

Success.

Next up, we read the recipe, and then made some adjustments.

Ky scanned the instructions, looked up at us, and noted, “It looks like we put the thing in the thing, and then fill it with the thing.” She looked up and pointed at a pot on the stove. “Put all the shit in that thing.”

She was dead serious.

And her directions were fairly accurate.

We laughed anyway.

Basically, we boiled a giant pot of water, threw some peas in it for 4 minutes, and then fished them out with a slotted spoon.

“You know there’s a strainer in that pot, right?” JD said, as I struggled to get all the peas out of the boiling water quickly.

I wanted to use the spoon.

Sometimes it takes a little struggling, chickadees.

Once that was done, we boiled some pasta, and threw in the zucchini pile for the last 30 seconds.

After that, we scraped all of our vegetables and linguine into a giant bowl.
JD tried to scrape all of the zucchini off the sides of the pot, but it was hot and her spatula wasn’t quite doing the trick.

Naturally, I crawled in underneath her while exclaiming “Switch with me so I can get all that zucchini with my witchy hands.”

My hands have been burned so many times that I can’t even feel the heat anymore.

We got every last ribbon in our bowl.

Now it was time for the sauce making, so we zested lemons and chopped basil and poured more drinks.

I mostly participated in the drink sipping at this point in the evening.

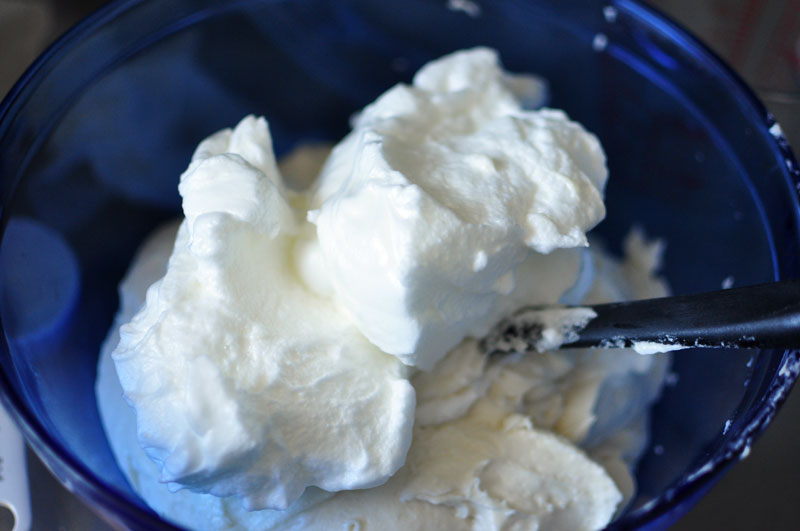
We used about two (probably a little more) cups of plain yogurt, some zest, and a ton of chopped basil and s&p to make the sauce. We threw it on a makeshift double boiler, and stirred constantly until it thinner out a little bit.

Then we added a little more salt and poured the whole mess over the pasta, peas, and zucchini, adding a little milk to thin out the sauce.

This, alongside some delicious grilled chicken, and a night of laughing on the deck, definitely made us feel like summer had finally sailed on in.

Hopefully we’ll continue that relaxing, good time vibe tonight as we hit up Ravinia for the first time. Enjoy your Sunday, chickens, and enjoy the summer breeze out there!


[addtoany]

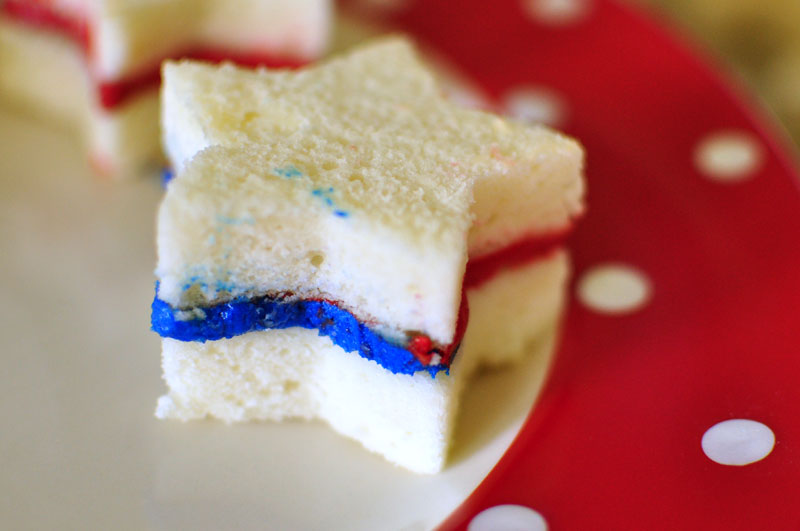
A few weeks ago, Kelly from Studio DIY™ and I got together to brainstorm ideas for Fourth of July – and I think we came up with something really fun! After we came up with our idea for what I’m calling inside out cupcakes, I had some planning to do. I needed a jelly roll pan, a star shaped cookie cutter, and a ruler.

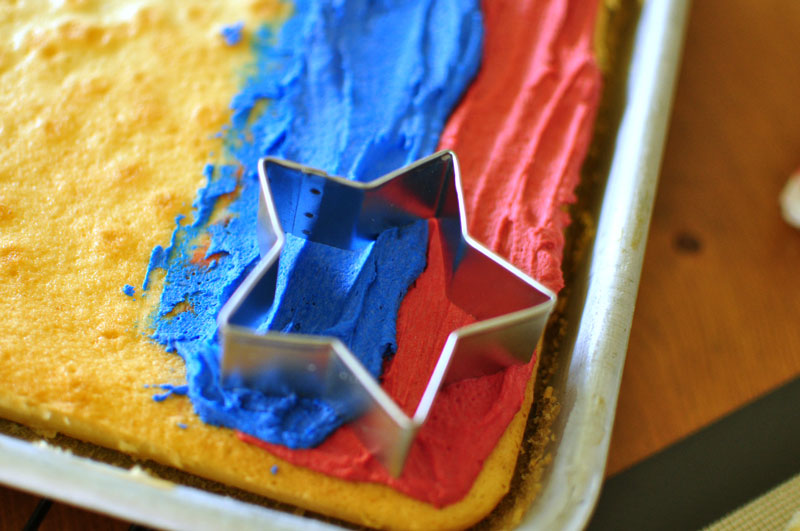
Here’s the plan – one inch rows of blue and red frosting. The stars are about two inches, so I would cut them out of the sheet cake on one side (above, right) and then cut stars out of the frosted side (above, left.) Make sense? Here we go.
Step one: Make a sheet cake. For sheet cake tutorial, check this out. Freeze the cake in the freezer after it has been fully cooled, for about thirty minutes.

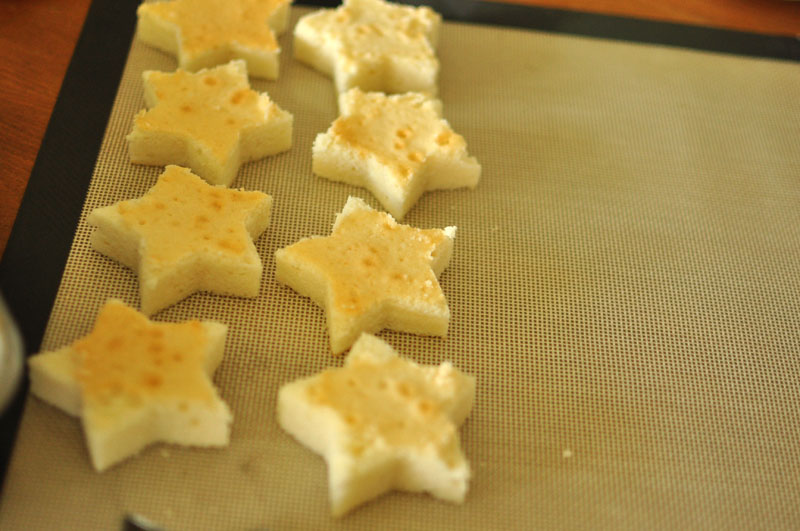
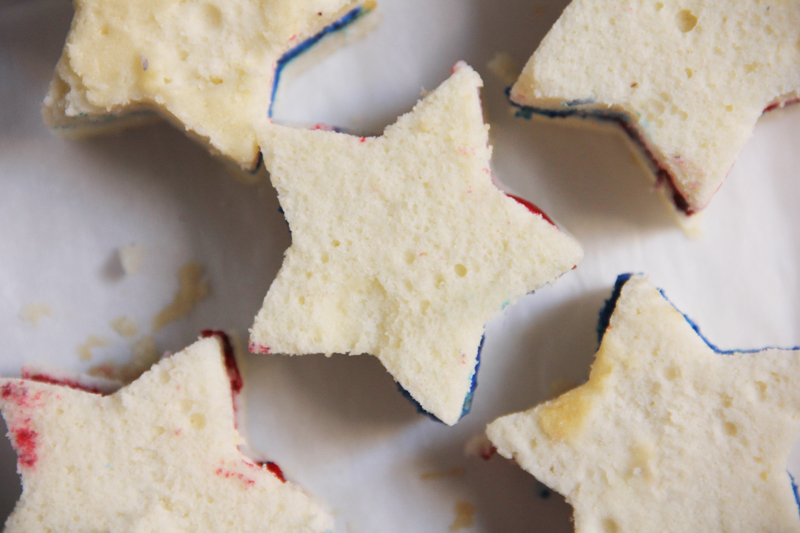
Take the star cookie cutter, and cut some stars. The sheet cake should be enough to make ten inside out cupcakes.

Place your stars onto a flat surface (preferably a nonstick baking surface.)

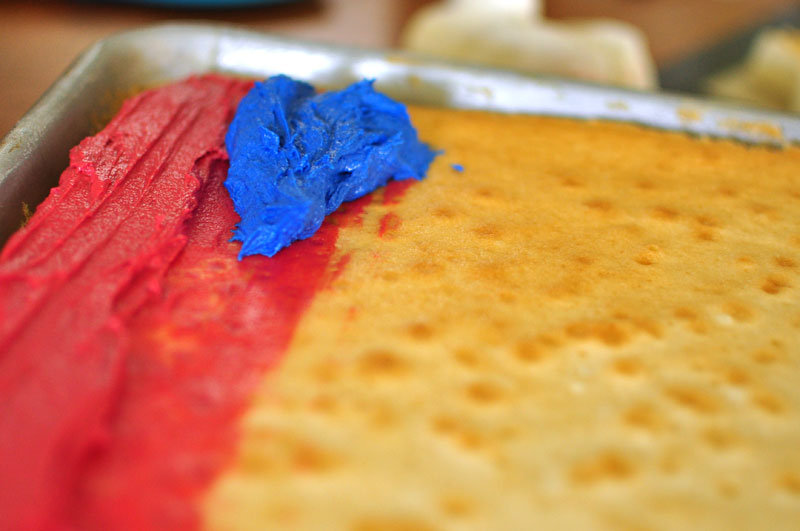
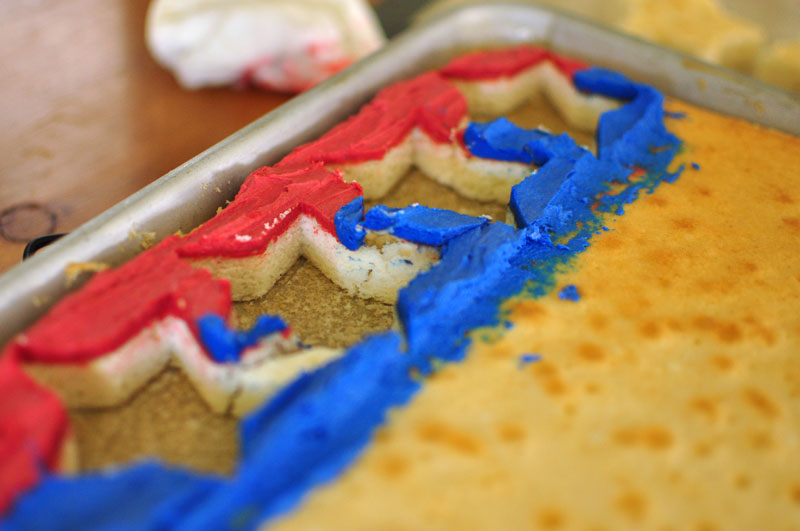
On the other side, you’re going to frost in rows. First, your red or blue, and then your other color. If you make skinnier rows, I suppose you could even use three colors! Stick it back into the freezer for about 10-15 minutes. You want the frosting to firm up, but you don’t want it to be too firm, or else you won’t be able to cut through!

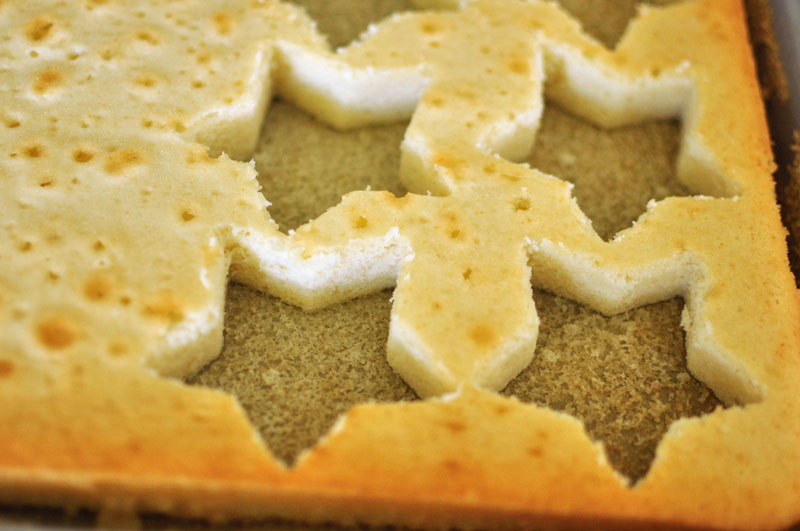
Take your star cookie cutter and cut away!

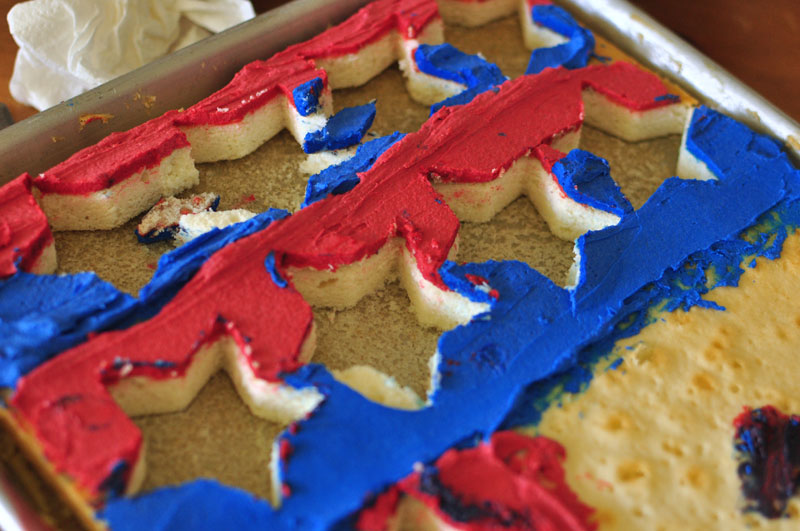
You’ll end up with something that looks like this.

Make another row, and keep going. See those little pieces that broke between stars? Eat those when you get a minute. You’ll thank me later.

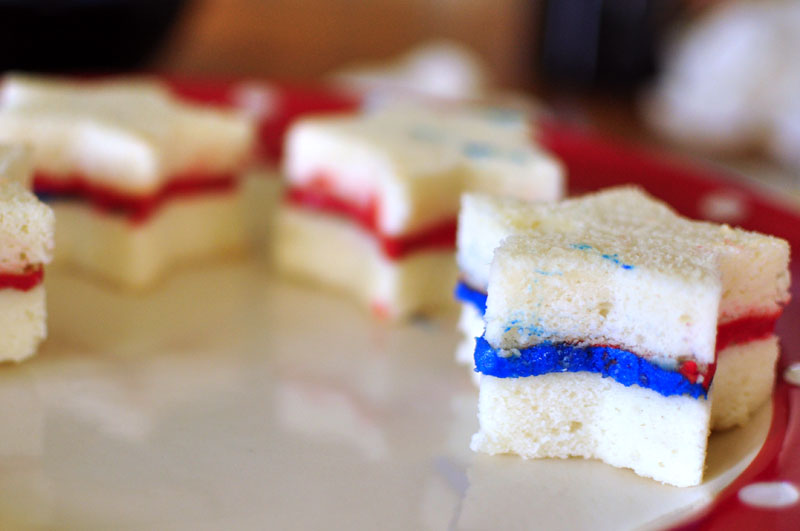
Stack your frosted star onto your non frosted star. You now have an inside out cupcake! Repeat until all star cupcakes have been built.

[Photo by Studio DIY™]

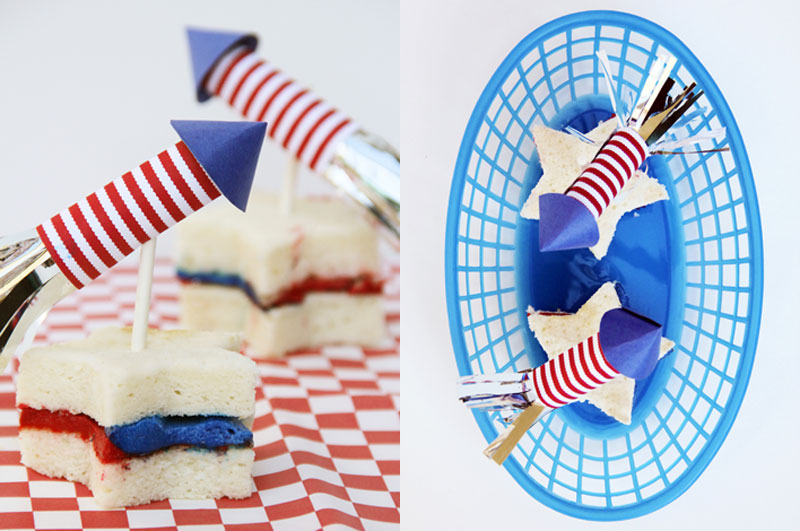
You now have a delicious beautiful cupcake, patriotic and all! If you want to get fancy, which I usually do, you can do something fun on the top of the cupcakes, such as this:

[Photos by Studio DIY™]

Thanks to Kelly for crafting such fun toppers – and for coming up with such a great idea!

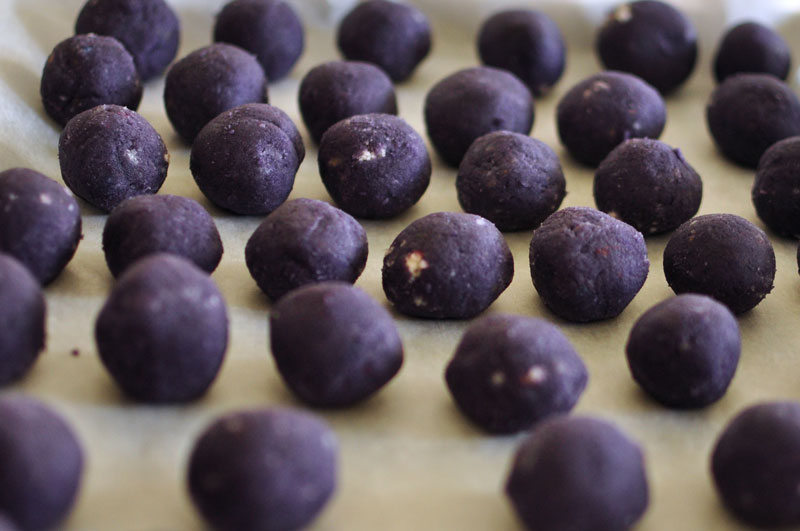
And, bonus: when you’re done making your inside out cupcakes, make cake balls with the leftover cake and frosting – your coworkers (or family/friends/neighbors) will surely thank you!

Happy Fourth of July baking/crafting, everyone!


[addtoany]

For my Inside Out Independence Cupcakes, I made Martha’s white sheet cake. The idea here was to make really really white cake. How to get a cake white? Egg whites.

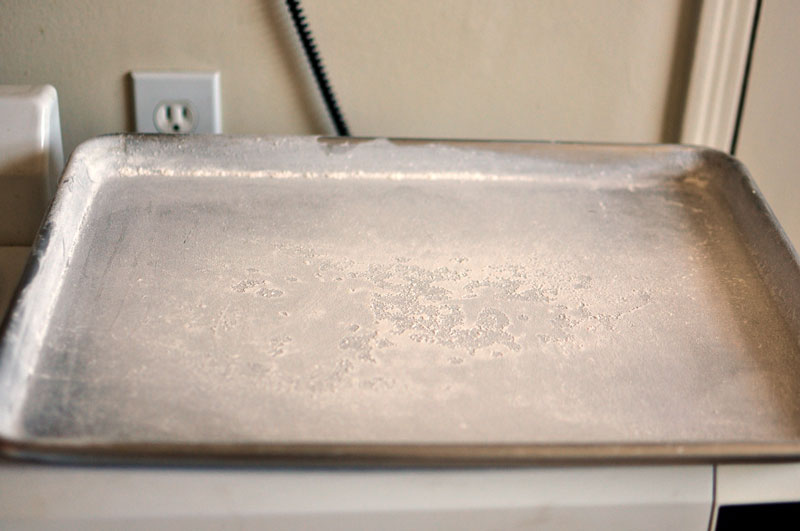
Start by turning on your oven, and buttering and flouring your sheet.

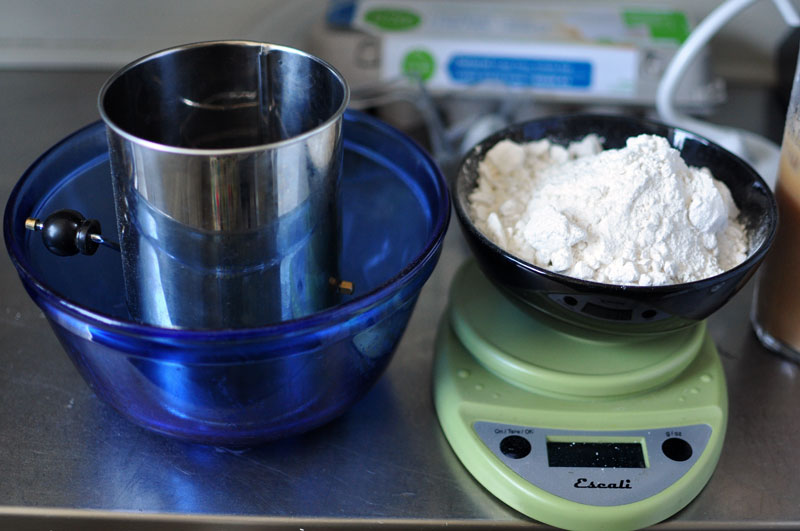
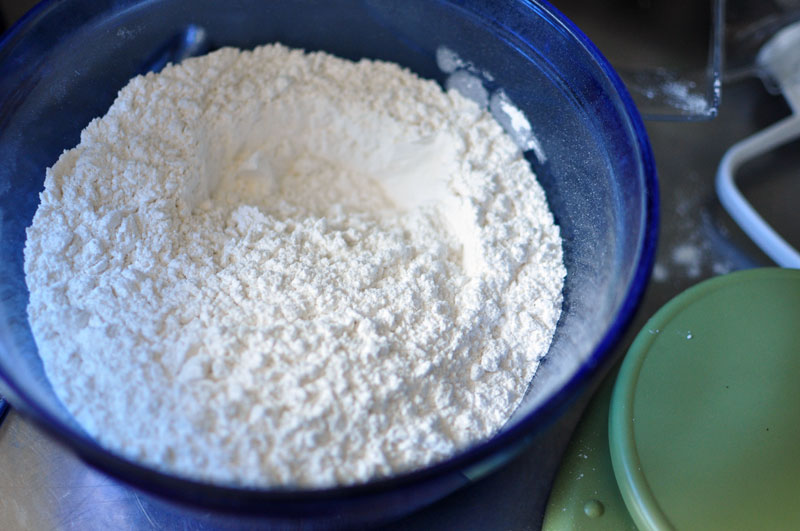
Take your three cups of cake flour. Sift it together with your salt and your baking powder.

Put the bowl aside.

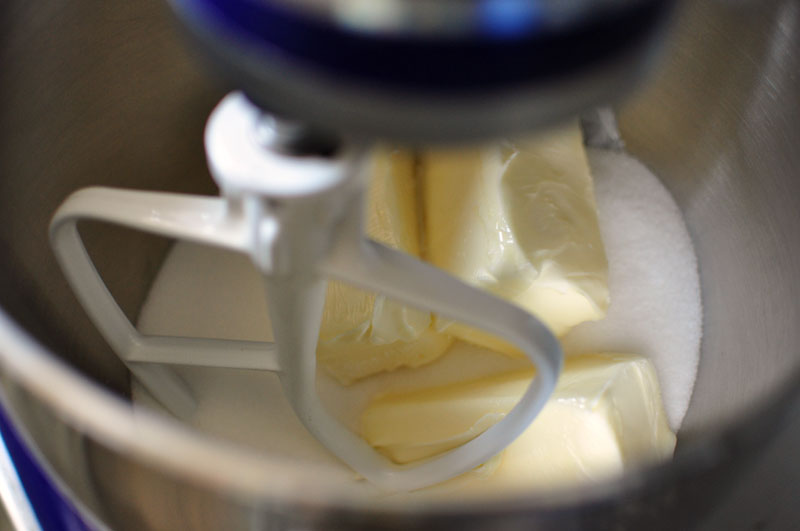
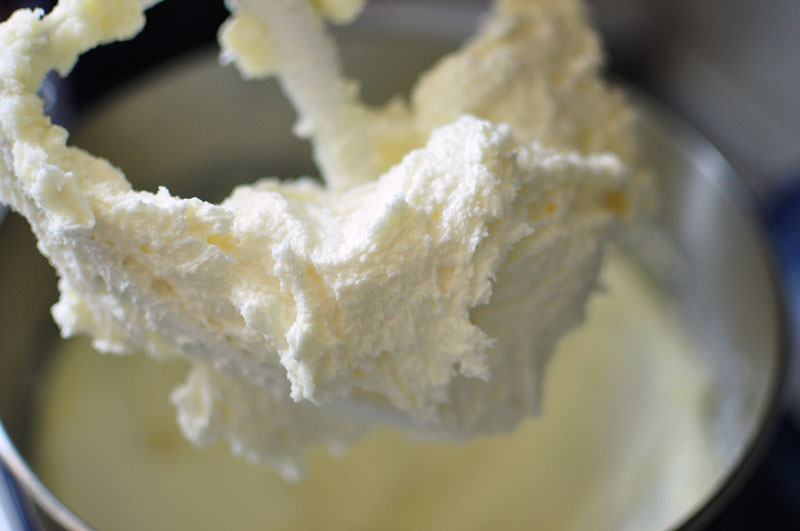
In your mixer, or a separate bowl, take your butter and two cups of sugar and cream.

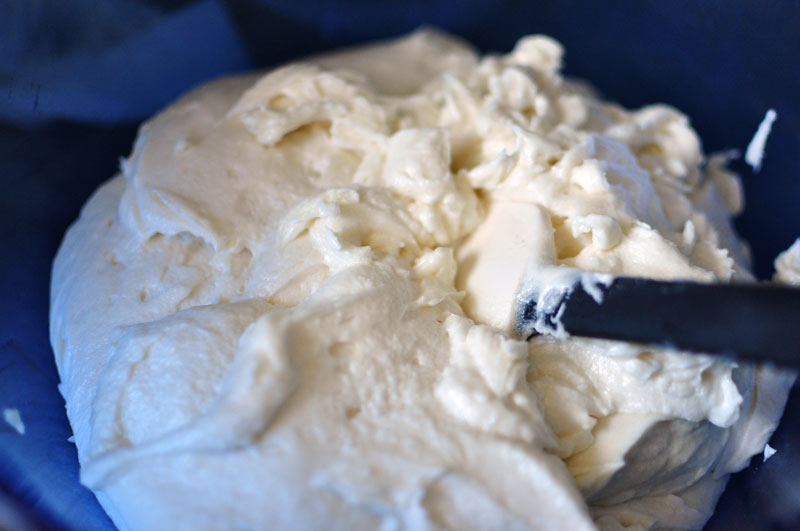
Then you’re going to add your flour mixture to your creamed sugar/butter, as well as your milk. Now, you must transfer your batter and put to the side. I know, I know, annoying, but the next step is MUCH easier with your mixer.

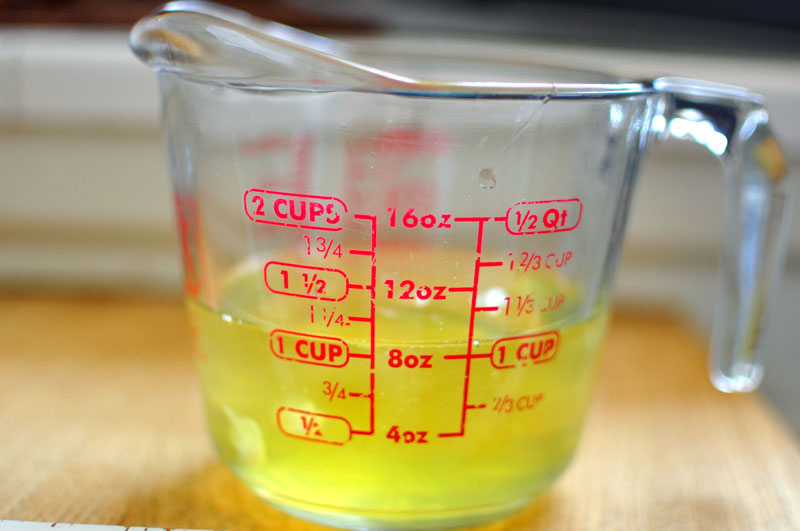
So now is the secret to making a white cake: egg whites. You don’t use any of the yolks, which can be seen as wasteful — but use your yolks for something else (perhaps a protein-heavy omelette?)

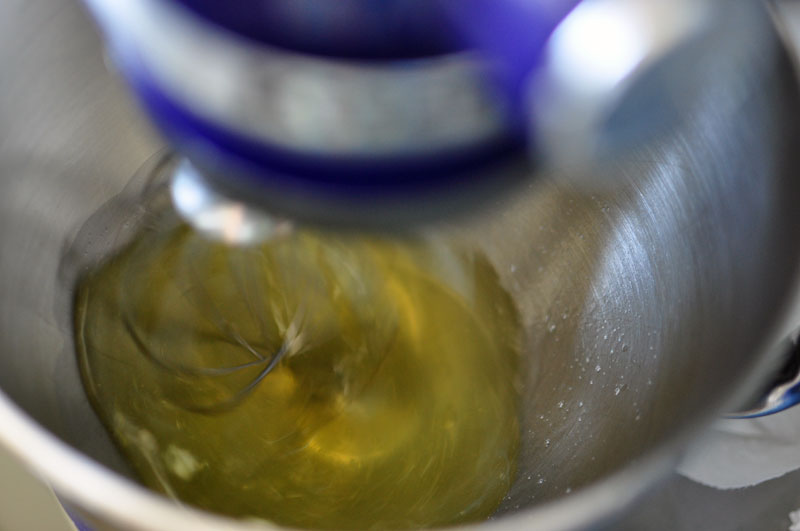
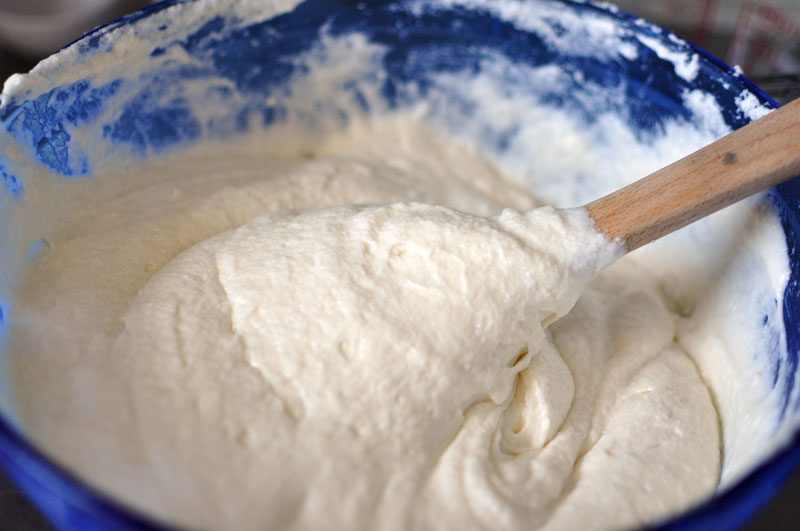
Take your eight egg whites, and your fourth cup of sugar, and beat on high speed until it forms stiff peaks (about 3 minutes).

TThey’ll look like this. Fold about a third into your cake mixture, and then add the rest, folding until just combined!

Here’s your delicious cake batter. You can add the vanilla at this point, which is when I did because I forgot. Whoops.

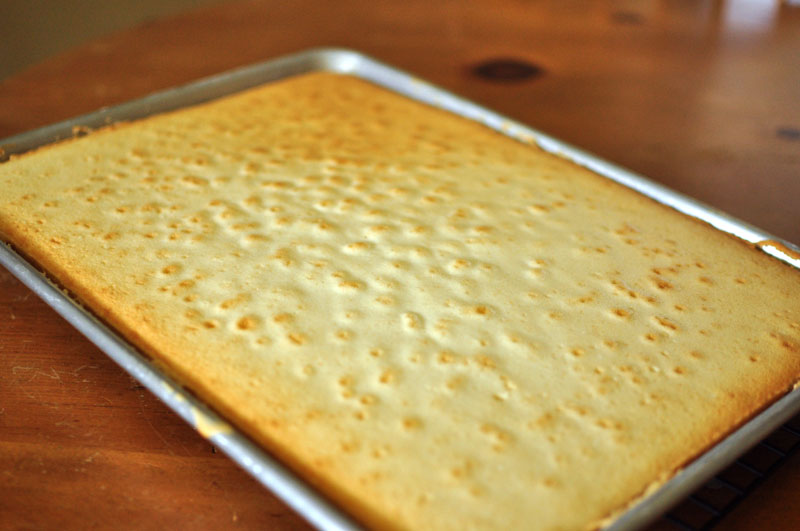
Pour your cake into your sheet, and bake in the oven until golden, about 35 minutes.

This is what it’ll look like when done.

Now you need some frosting. I made the frosting while my cake cooled, because my kitchen is one million degrees when the oven is on. I used one-half of the frosting recipe, because I didn’t need to frost the entire cake, and it worked out perfectly.

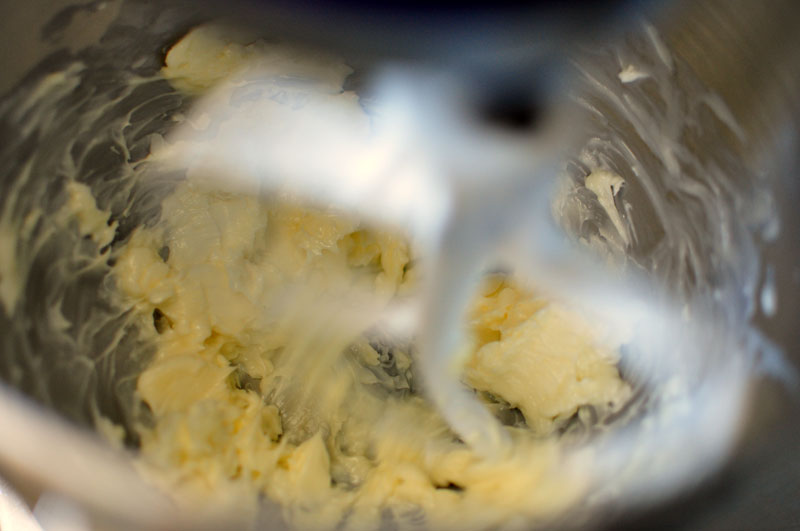
Take your butter, and cream.

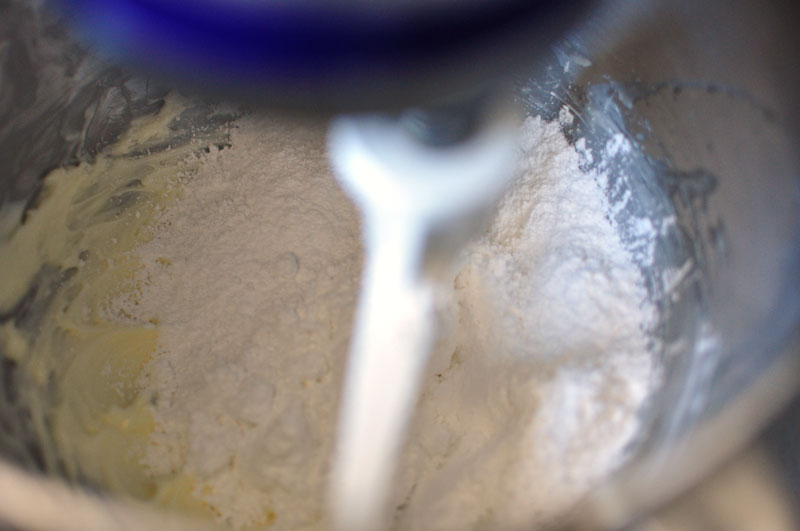
Add your confectioner’s sugar. Add your salt and vanilla, then slowly add milk as needed to the consistency you want.

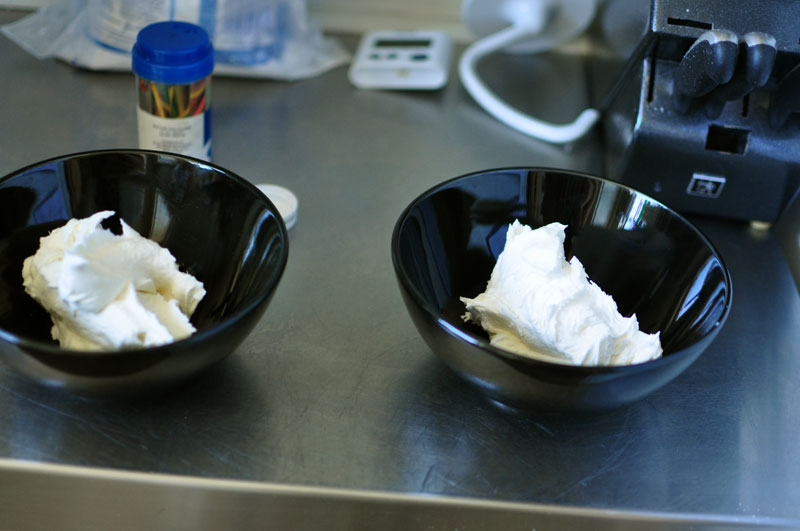
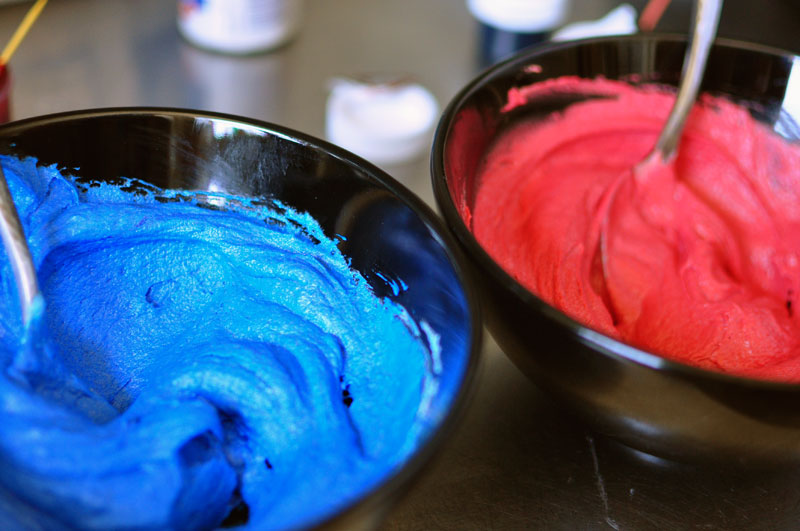
Split your frosting into two bowls, and let the fun begin!

I used food gel to make these colors. They’re great because you can control the amount you put in better than liquid, and it doesn’t make the frosting watery at all. And now, for the actual cake. Head over here to see what I did with my really white cake and color buttercream frosting!!


[addtoany]

Fun Fact One

Dicing onions doesn’t have to lead to tears. Here’s a video to show you a quick tutorial, and the secret to onions in salad success? Soak ’em in water.

 Fun Fact Two

Garbanzo Beans and Chickpeas are the same thing. Use them in salad, to make hummus, or a delicious chocolate dip. They’re very versatile, and a good protein to have in your wheelhouse.

Fun Fact Three

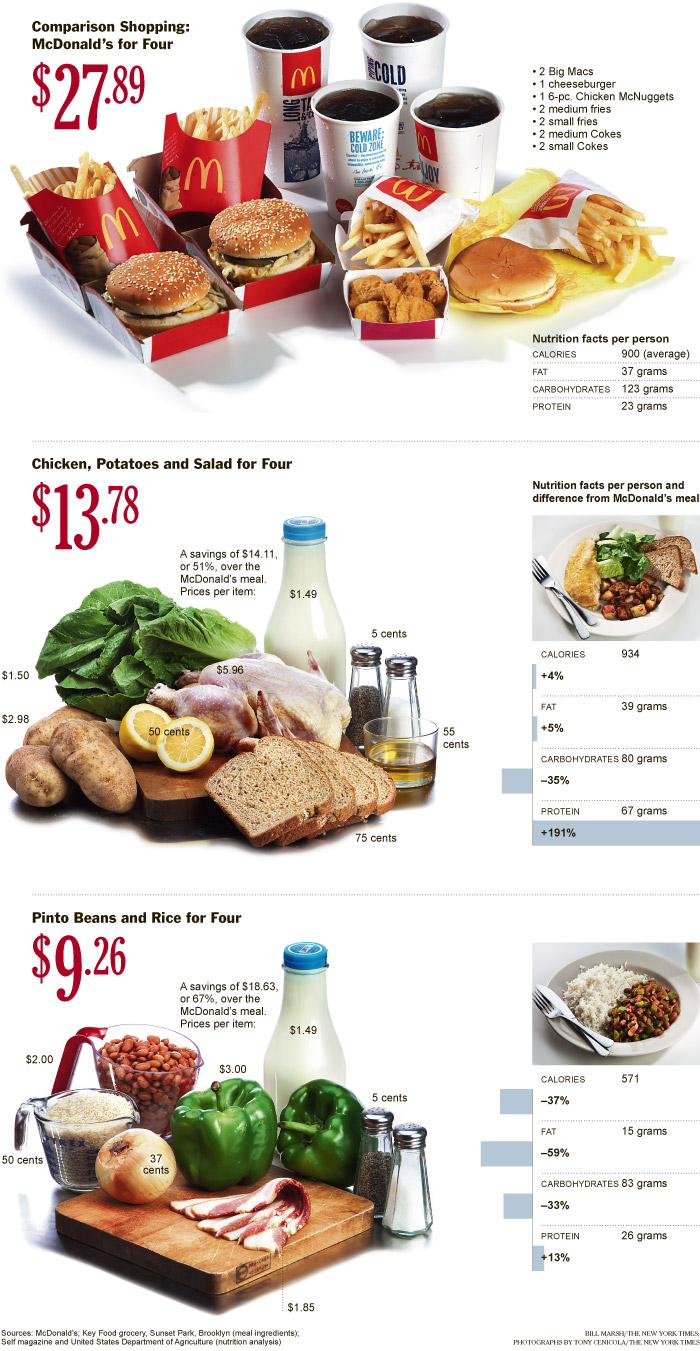
It doesn’t cost more to eat healthy. A recent study showed that per portion, fruits tend to be cheaper than junk.

 Fun Fact Four

You shouldn’t panic about pesticides on your fruit and veggies. There isn’t so much evidence to support the fact that residual pesticides cause us harm, and shopping organically can lower your exposure even more.

Fun Fact Five

You can make your own yogurt. And it’s not hard. I’m planning on making it in the very near future, so stay tuned for a delicious delve into homemade, cheap yogurt!!


[addtoany]