I know I posted about chicken yesterday, but I thought that, like me, you might eat chicken more than once a week. No? We’ll you’re quite lucky, but sometimes it’s all I can think to make. I know, I know, even cooks get tired, sometimes.

Here’s a marinade to the rescue!

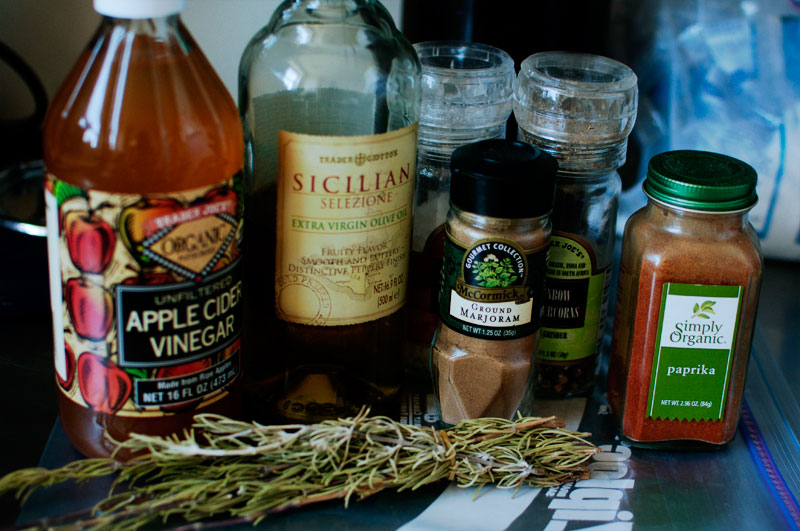
I used:

1/2 cup apple cider vinegar
1/4 cup olive oil
some rosemary
1 tsp marjoram
2 tsp paprika
salt/pepper 

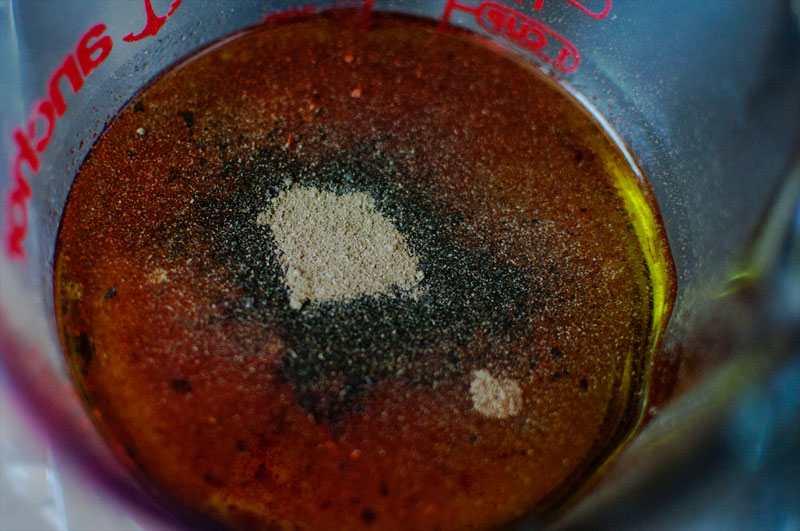
Pour everything into a cup, and stir.

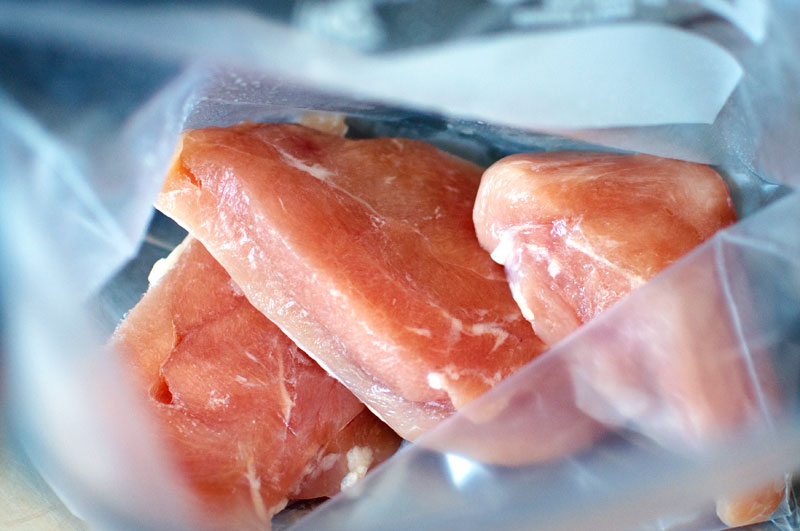
Put your chicken in a bag.

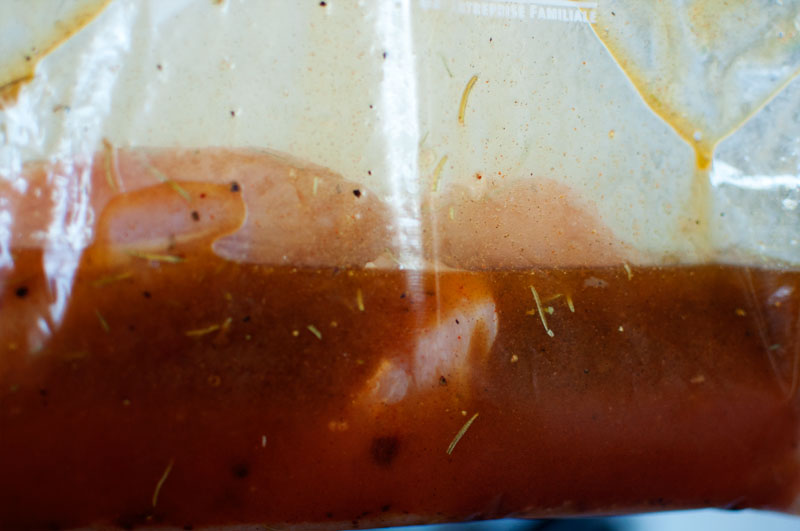
Put marinade in bag with chicken, zip top, and make sure all chicken is coated.

Let this sit in the fridge at least and hour (I did mine in the morning and used the chicken that night — yum!)

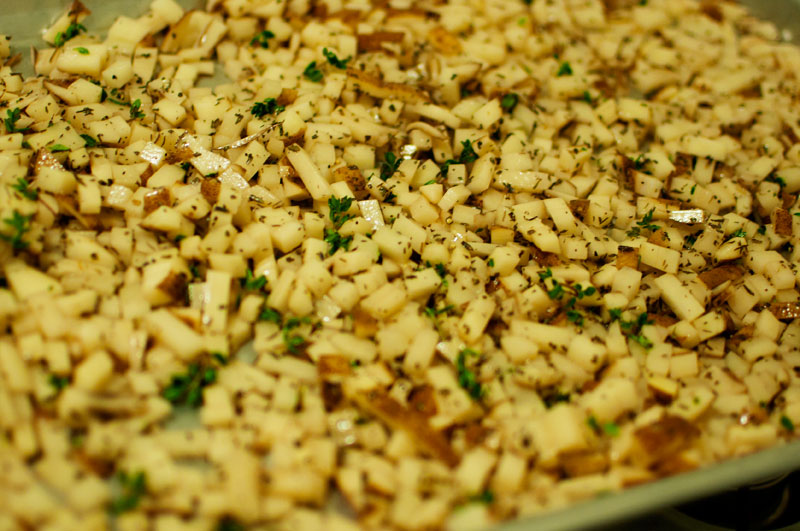
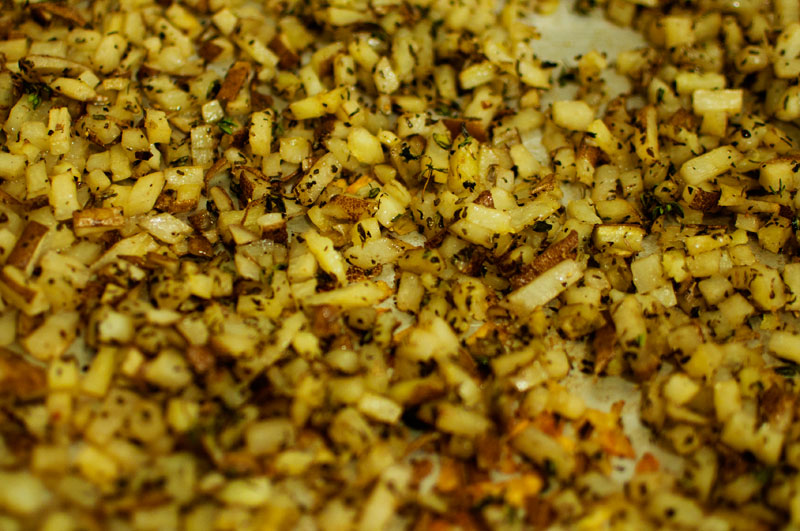
For a side, try very small diced potatoes. Jeff diced these to teeny tiny size, and we served with olive oil, salt, pepper, and thyme. We learned about teeny tiny dicing at the cooking class we took, and I am so so glad we did! There is just something fun about small crispy potatoes!

Roast them in the oven for a bit (about 15 minutes at 400 degrees) and serve with chicken (that you’ve cooked for 20-30 minutes in your 400 degree oven.)

What’s your go-to chicken marinade? 


[addtoany]

I don’t know about you, but I tend to head to chicken for weeknight dinners. This can cause some problems, because I have several chicken recipes that I tend to rotate through. A few weeks ago, I wanted to add some spice to my recipes, and came up with a few marinades that are delicious and easy – here’s one.

Start with garlic, because you need garlic for all things.

Add yogurt — I used about half a cup.

Add some spices — red pepper flakes, and cumin!

Coat your chicken, cover, and stick in the fridge for about an hour or so.

Stick on a hot grill pan.

Give each side about four minutes, and then flip. Finish off in the oven — the chicken will stay nice and moist, because of your yogurt!

Recipe:

2 chicken breasts
1/2 cup yogurt
2-3 cloves garlic
2 tbsp red pepper flakes
1 tbsp cumin
salt/pepper
to taste

Directions:

1. Combine all ingredients, and let chicken marinate at least one hour.
2. Grill on medium-high heat, turning once, each side four minutes.
3. Finish in oven until heated through. Serve with potatoes and green beans (or whatever starch/veg you have around!)


[addtoany]

A few weeks ago, Ellen came to me to make sure I was onboard to make her birthday cake (I was.) Then, she asked if we could make it flapper inspired, and pointed me in the direction of a little inspiration. If you remember from Ellen’s birthday last year, I’m not an artist, I’m a baker. So of course, I enlisted the help of Becca, and Ellen pitched in her talents (with words of encouragement and knowing where to be at the right time from Christie, too!)

Here’s what we came up with…
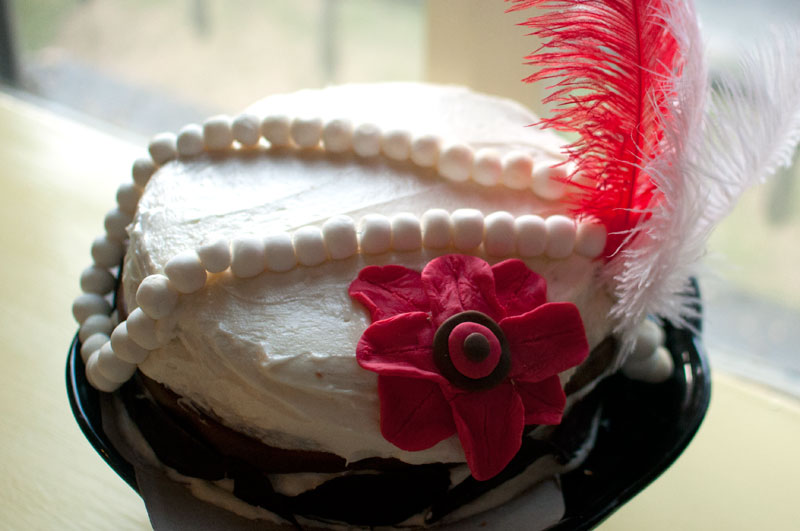
Everything on the cake was edible, save the feathers (we weren’t quite up to that challenge.)
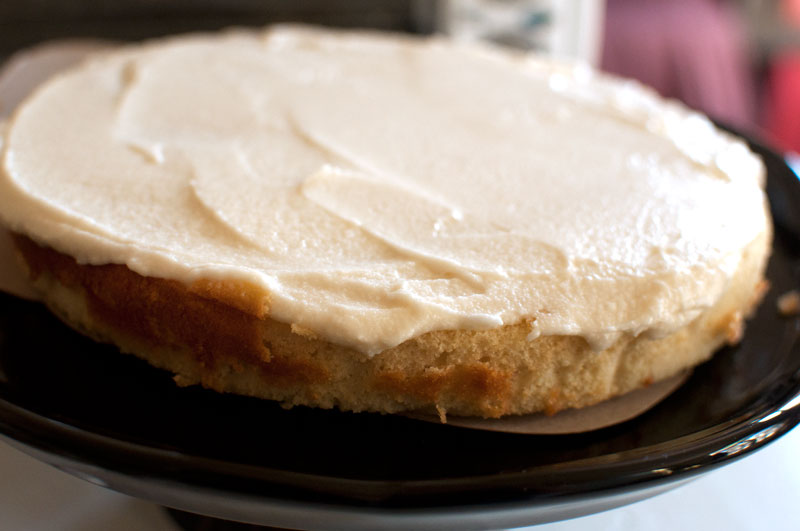
We started with a three layer vanilla cake (with a little strawberry in the batter!) Here’s the recipe I used for the cake (it might be my new cake recipe for good!)
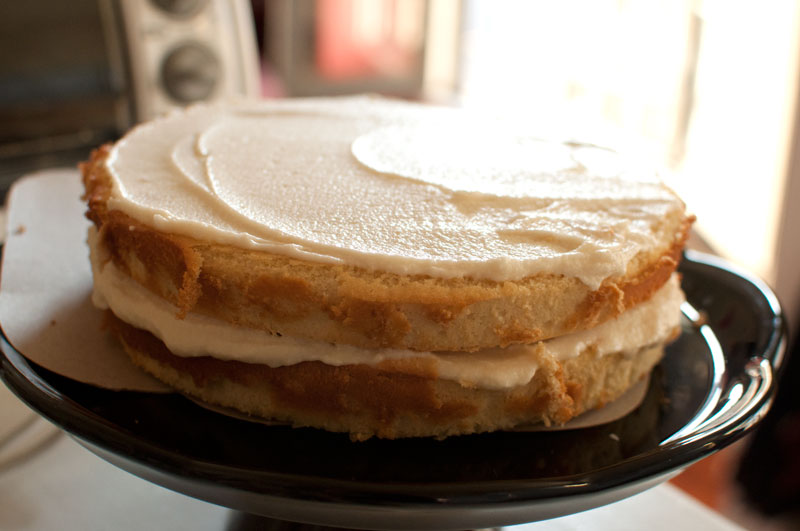
Layer it with frosting…as you’ll see in the example, they covered the whole cake in fondant, but since I’m not a big fan, I stuck to frosting.
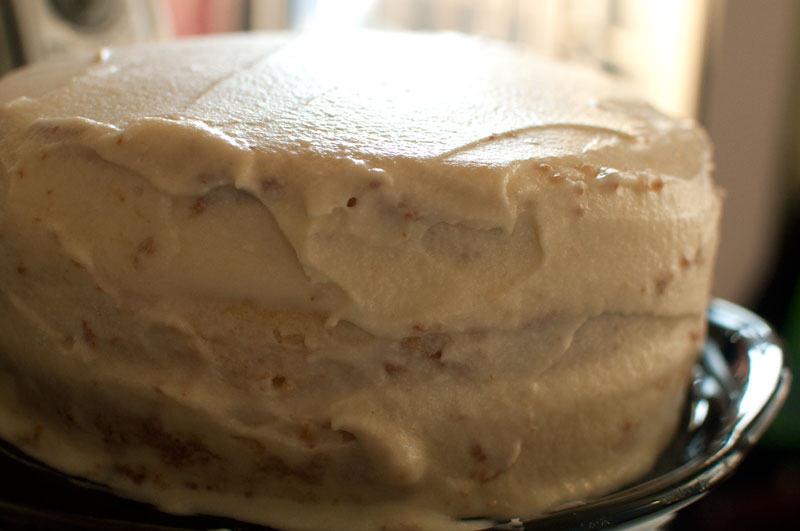
We stuck in in the fridge for a few minutes to let the frosting solidify, then we rolled the fondant band out.
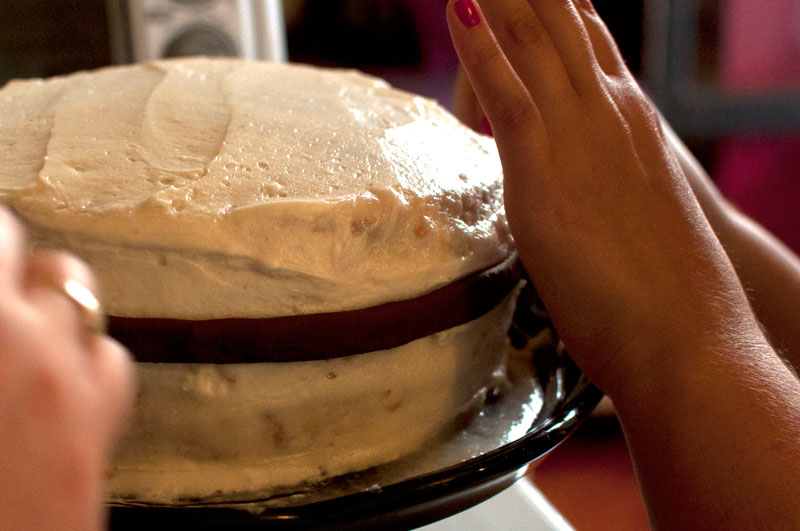
Attached it here…then put it back in the fridge for a few minutes. Now it was time for the chocolate leaves.
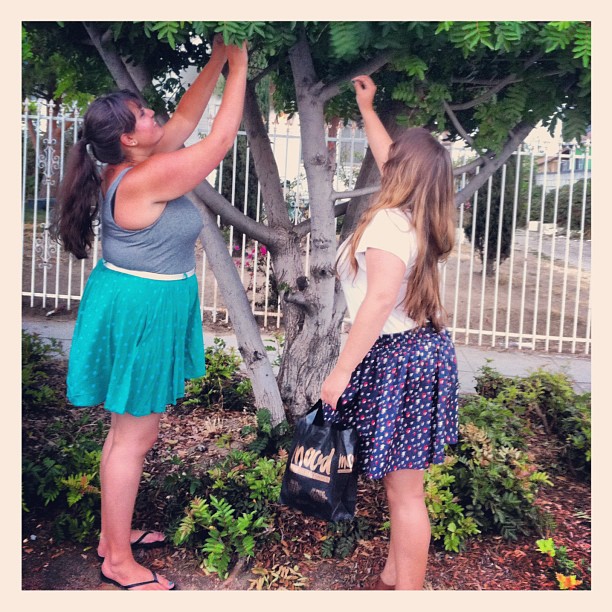
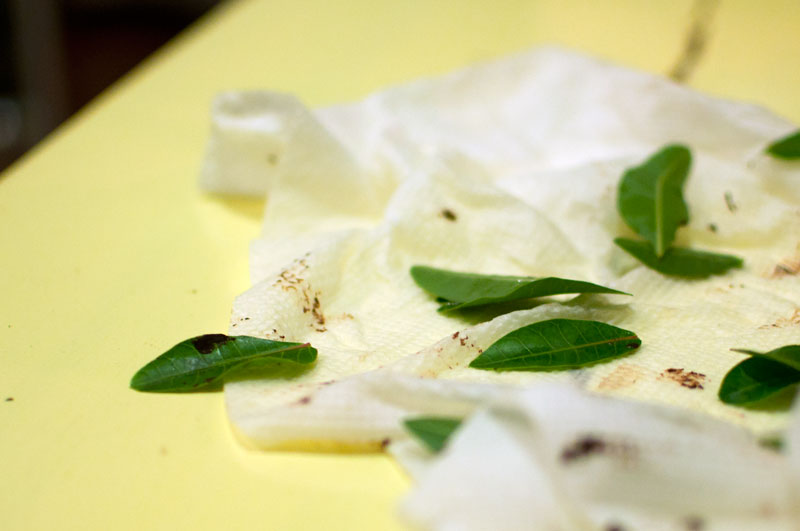
The night before, we had made chocolate leaves. This consisted of taking leaves from outside, washing them, then painting them with melted dark chocolate.
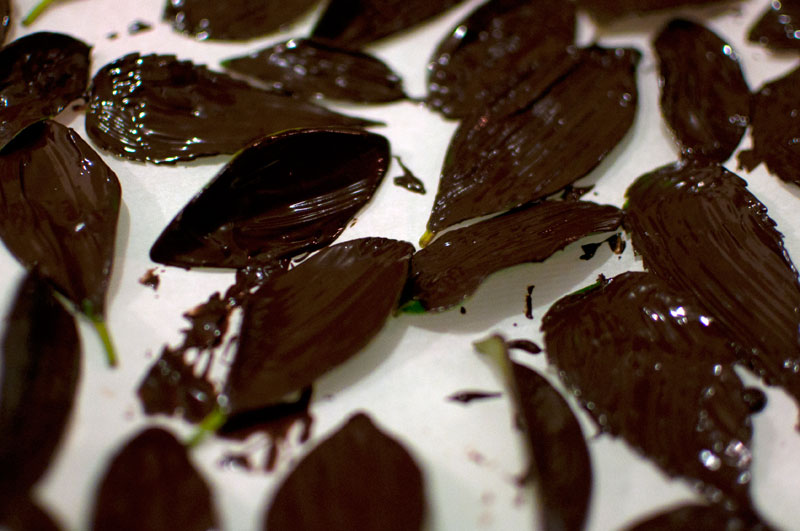
Here are the painted leaves….
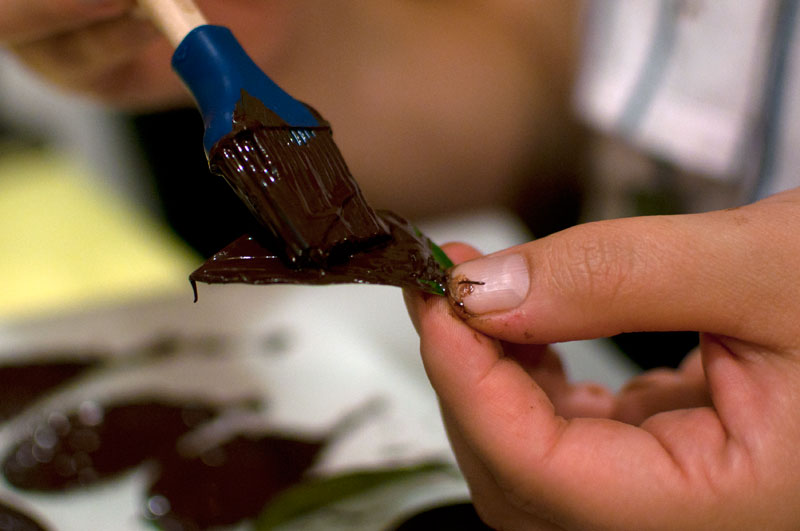
We used silicone brushes, and Trader Joe’s semi-sweet pound chocolate bar.
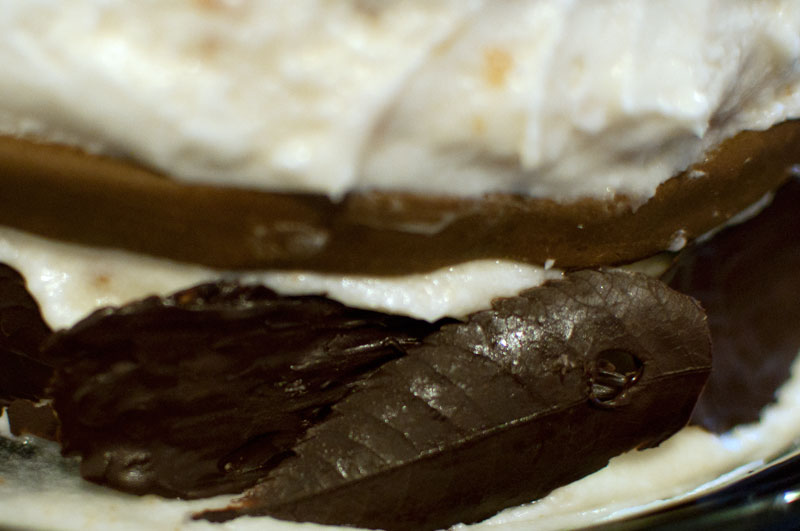
After you freeze the leaves, you peel them off the actual leaves and stick them to the cake! At this point, it was all hands on deck — we had to use ice packs to keep our hands cold (thus the leaves from not melting) and got them in a layer around the bottom (go team!)
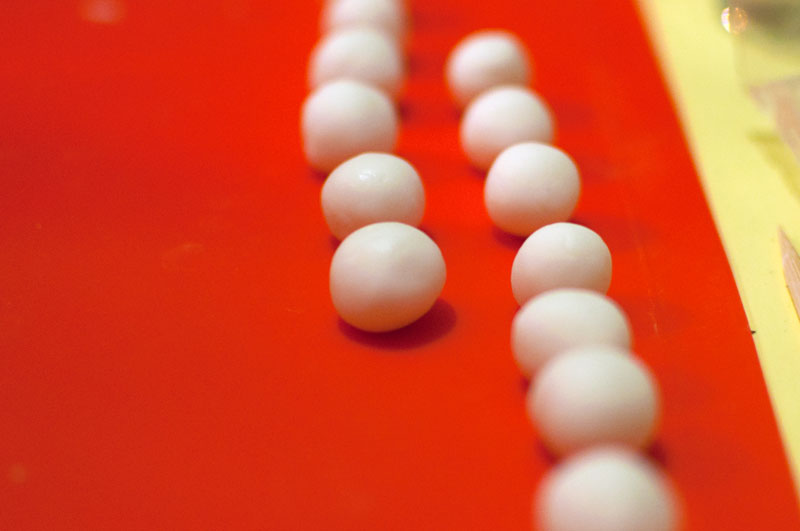
The night before we also made pearls out of fondant.
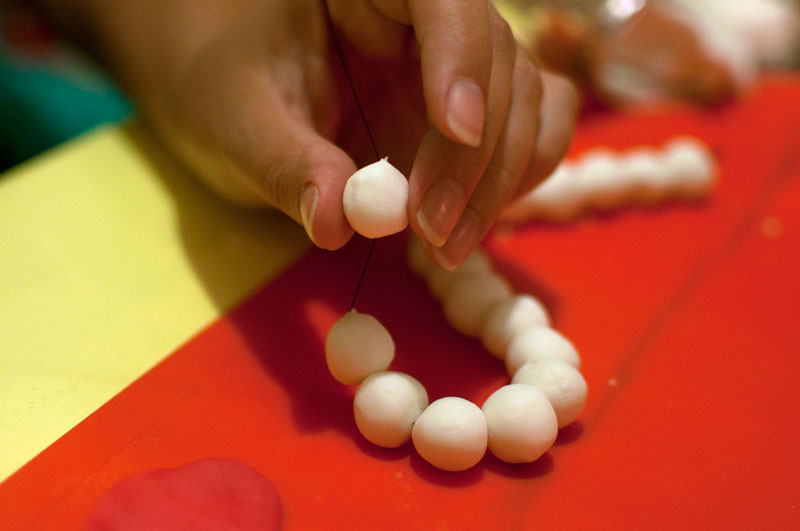
Becca strung them (with real thread, so the whole thing wasn’t edible, but you COULD have eaten the pearls off the string!)
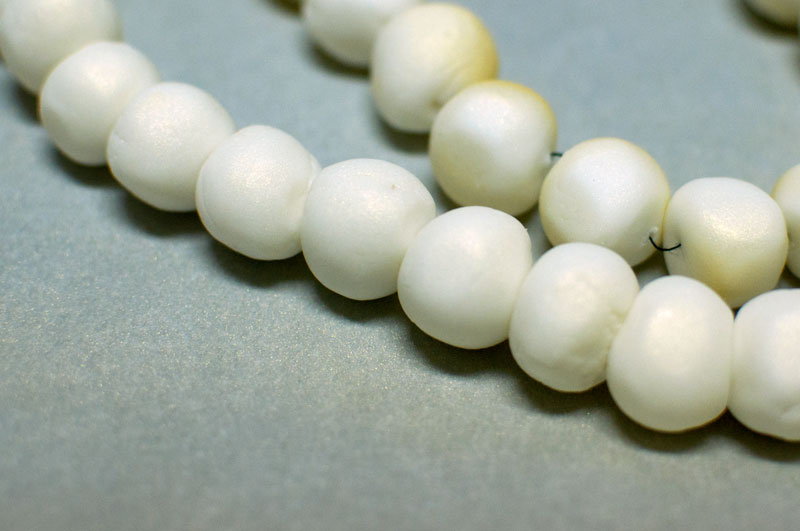
Then we spray painted it with gold (edible) spray paint, leftover from Jen’s birthday, to make them shine.
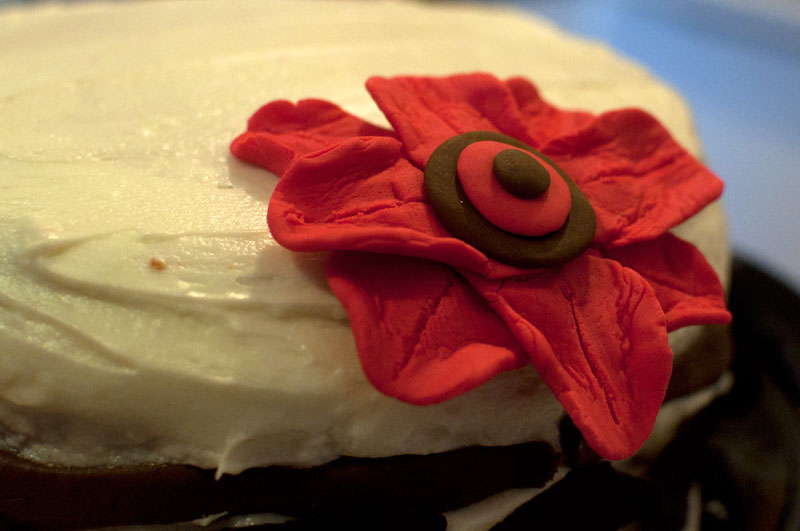
Ellen also made this flower from fondant to add to the top, which we did after we had added the fondant band and leaves.
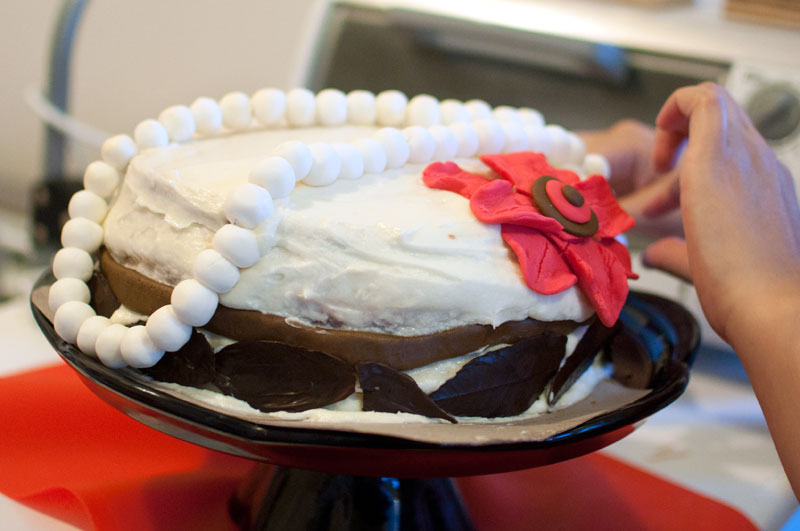
Ellen put the pearls on.
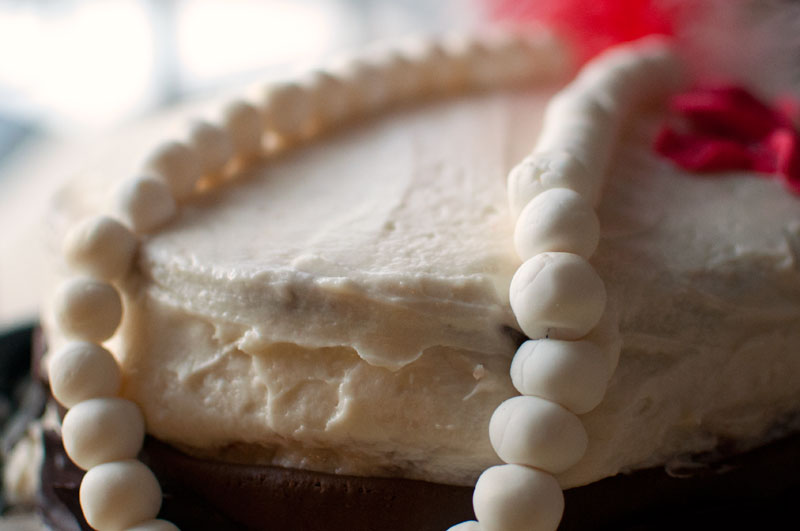
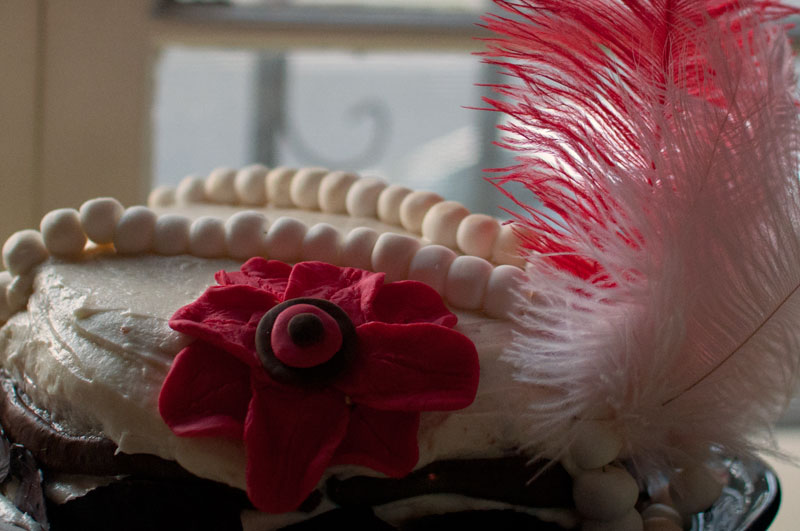
And there you have a flapper inspired cake! Was it as pretty as the one we found online? No. But was it delicious? Absolutely.

Happy Birthday to my lovely, wonderful, crafty friend Ellen! May your actual birthday be as fun as your party!
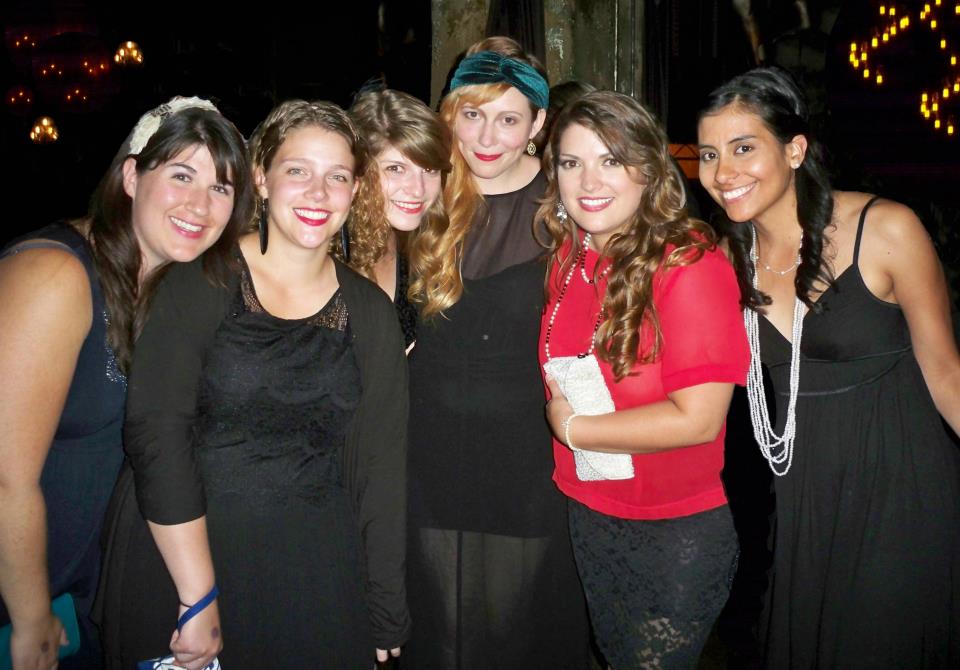
This is us at Ellen’s birthday party — she even matched the cake!!

(Thanks to Becca + Christie for making the cake for me pitching in!)


[addtoany]

I don’t know if you guys read food blogs, but I often see things on other blogs that I really want to try out – that’s why I started the blog in the first place!

I saw this yogurt how to on the Kitchn, and just knew I needed to try it. It’s such a simple how-to, really: heat milk, cool milk, add yogurt, let set, let cool, enjoy!

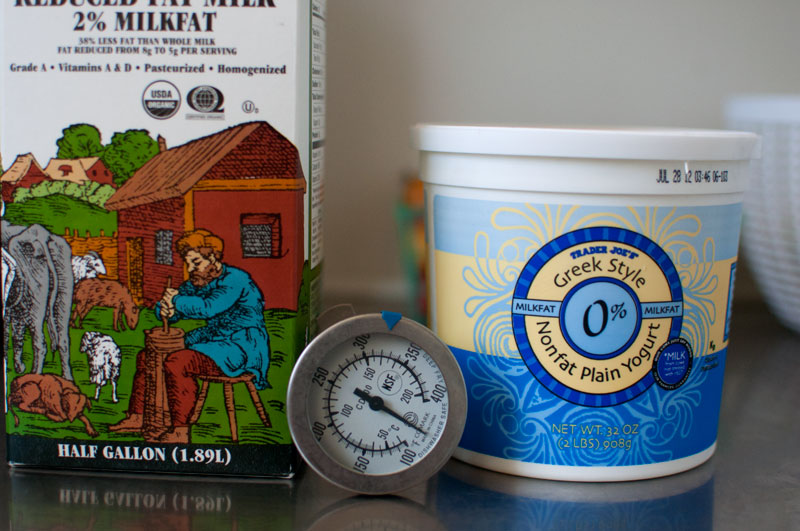
This is all you need: milk, yogurt (with active live cultures), a thermometer, and an oven safe, stove safe pot.

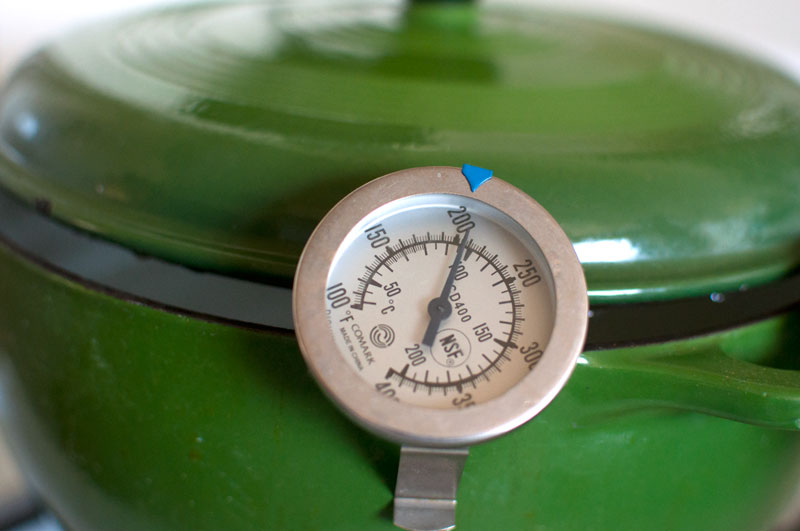
I used my dutch oven for this — you need something oven safe, that will hold about a half-gallon of milk.

So dump your milk into your container, and heat it to about 200 degrees.

Grab a half cup of your yogurt.

After your milk gets to 200 degrees, let it cool to about 115 degrees.

Add about a cup of your heated milk to your half cup yogurt, and whisk. Meanwhile, put your oven on to the lowest setting — you’re looking to heat it to about 100 degrees.

Add your cup of half-milk, half-yogurt back to your milk. Now comes the waiting.

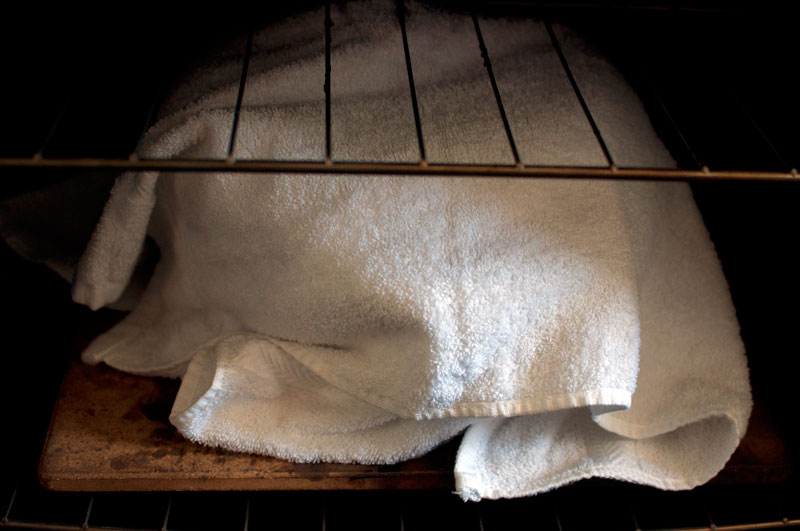
Wrap your dutch oven/pot in a couple towels, and place in the heated (but OFF) oven. I left mine there for eight hours, though you could do it in as little as four, according to the Kitchn.

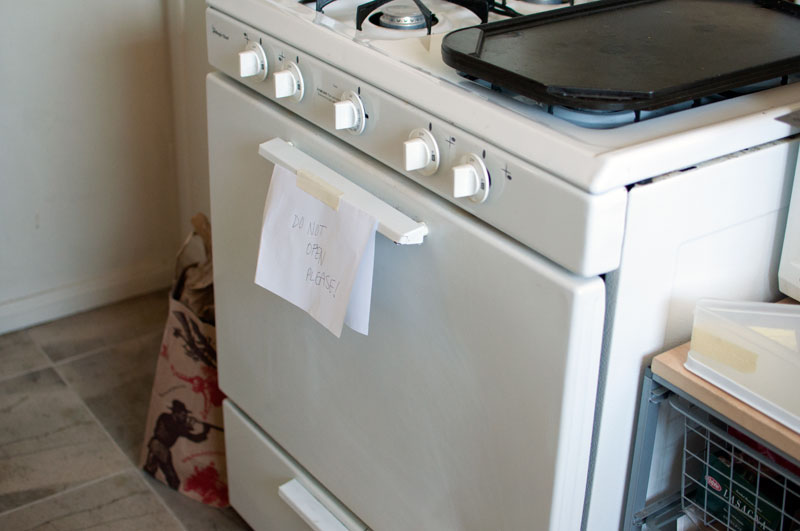
Leave a note if you live with anyone, or if you’re going to have company, or if anyone has keys to your house and might open your oven when you’re not around, so no one disturbs your incubated oven — you want the yogurt to stay at about 100 degrees.

No one has keys to your house and would randomly come over and open your fridge? Oh…well…I mean, me either?

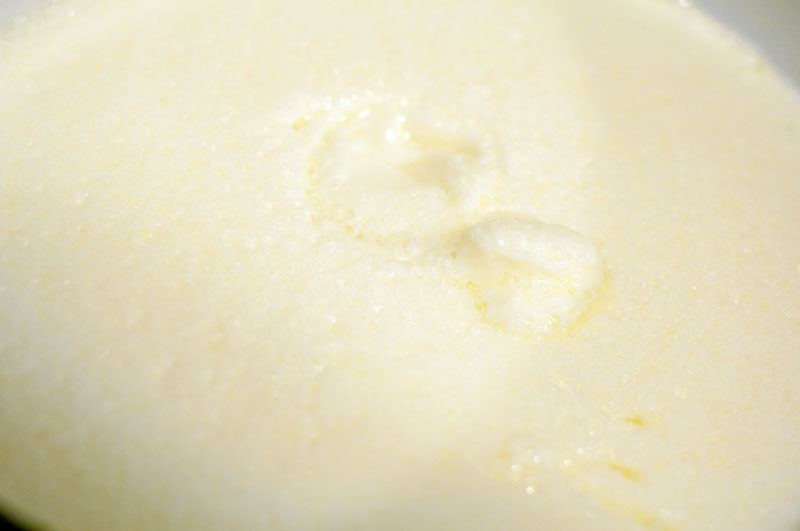
When you come back from the movies (did I mention you should go to the movies while you wait?) your yogurt will look like, well, yogurt! Stick it in the fridge to cool, then the next morning (or after its chilled, you can check on it) you can put in airtight containers, or leave it in the container you used to heat it when cooling, and it’ll be nice and smooth!

Enjoy!


[addtoany]

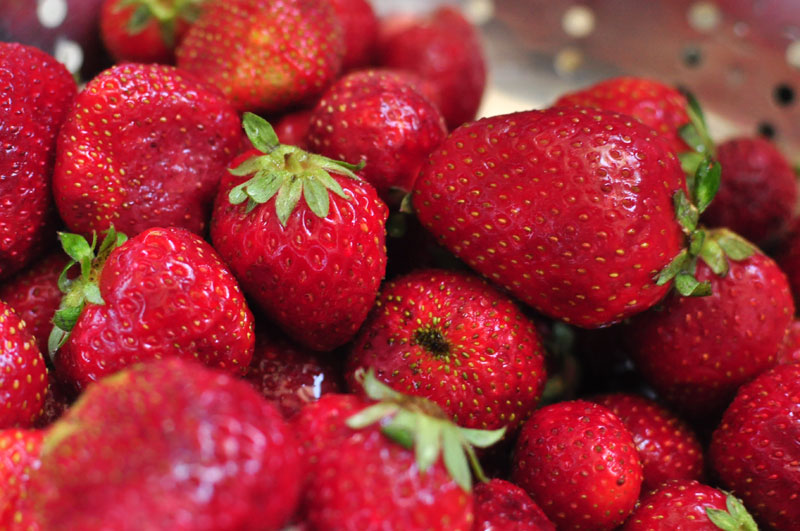
It’s strawberry season, which means that strawberry-themed foods are coming out of my ears! These past two weeks, I’ve made strawberry cupcakes, strawberry cake, gluten free strawberry cake, and a strawberry rhubarb pie.

Since so many recipes are around the Internet, I thought I’d show you what I’ve found to look interesting, delicious, or just plain beautiful!

First, check out PW’s Strawberry Sparkle Cake. It looks delicious, even though I don’t really like Angel food cake.

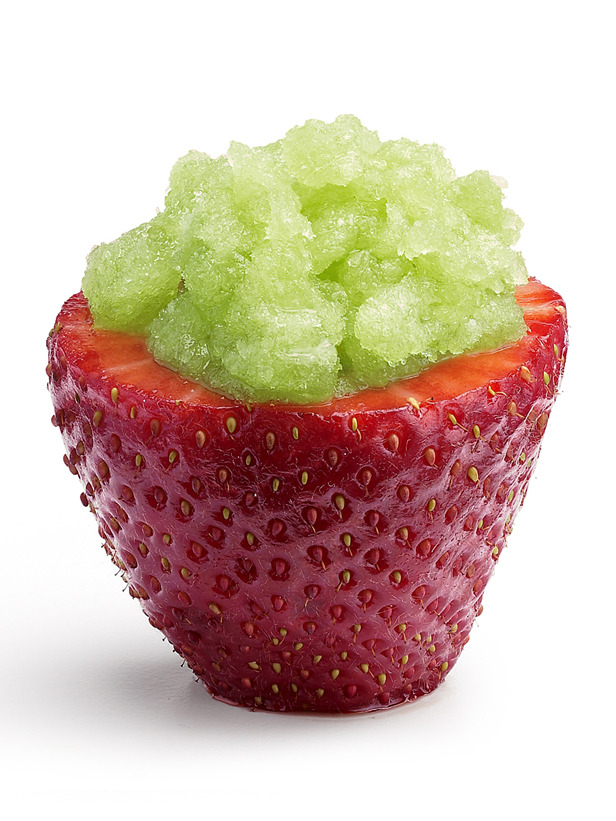
Then, head to the Healthy Eats blog to see why foods with colors are good for you, and check out this basil granita with strawberries – yum!

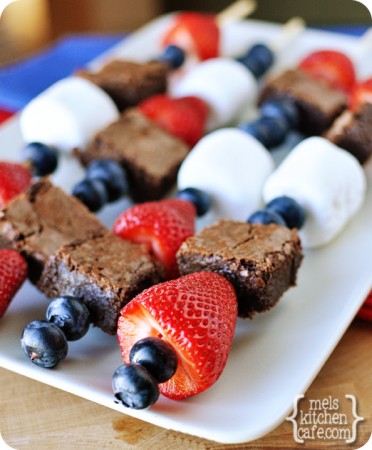
And, I am simply in love with these fruit and brownie kebab’s from Mel’s Kitchen.

Photo from Mel’s Kitchen

And, these strawberries with glaze (paired with grilled avocado!) look amazing.

What has been your favorite summer strawberry dish? Share it in the comments and we’ll whip it up for you before strawberries slide out of season!! (Only one random entry will win!)


[addtoany]