Recently Melissa and I took the foray into cheese making. She bought a cheese making kit for mozzarella, I found some non-ultra pasteurized milk, and away we went! The process seemed simple enough: take milk, heat it, add rennet and citric acid, knead, and voila! cheese.

Here is our kit (note the adorable cows!)

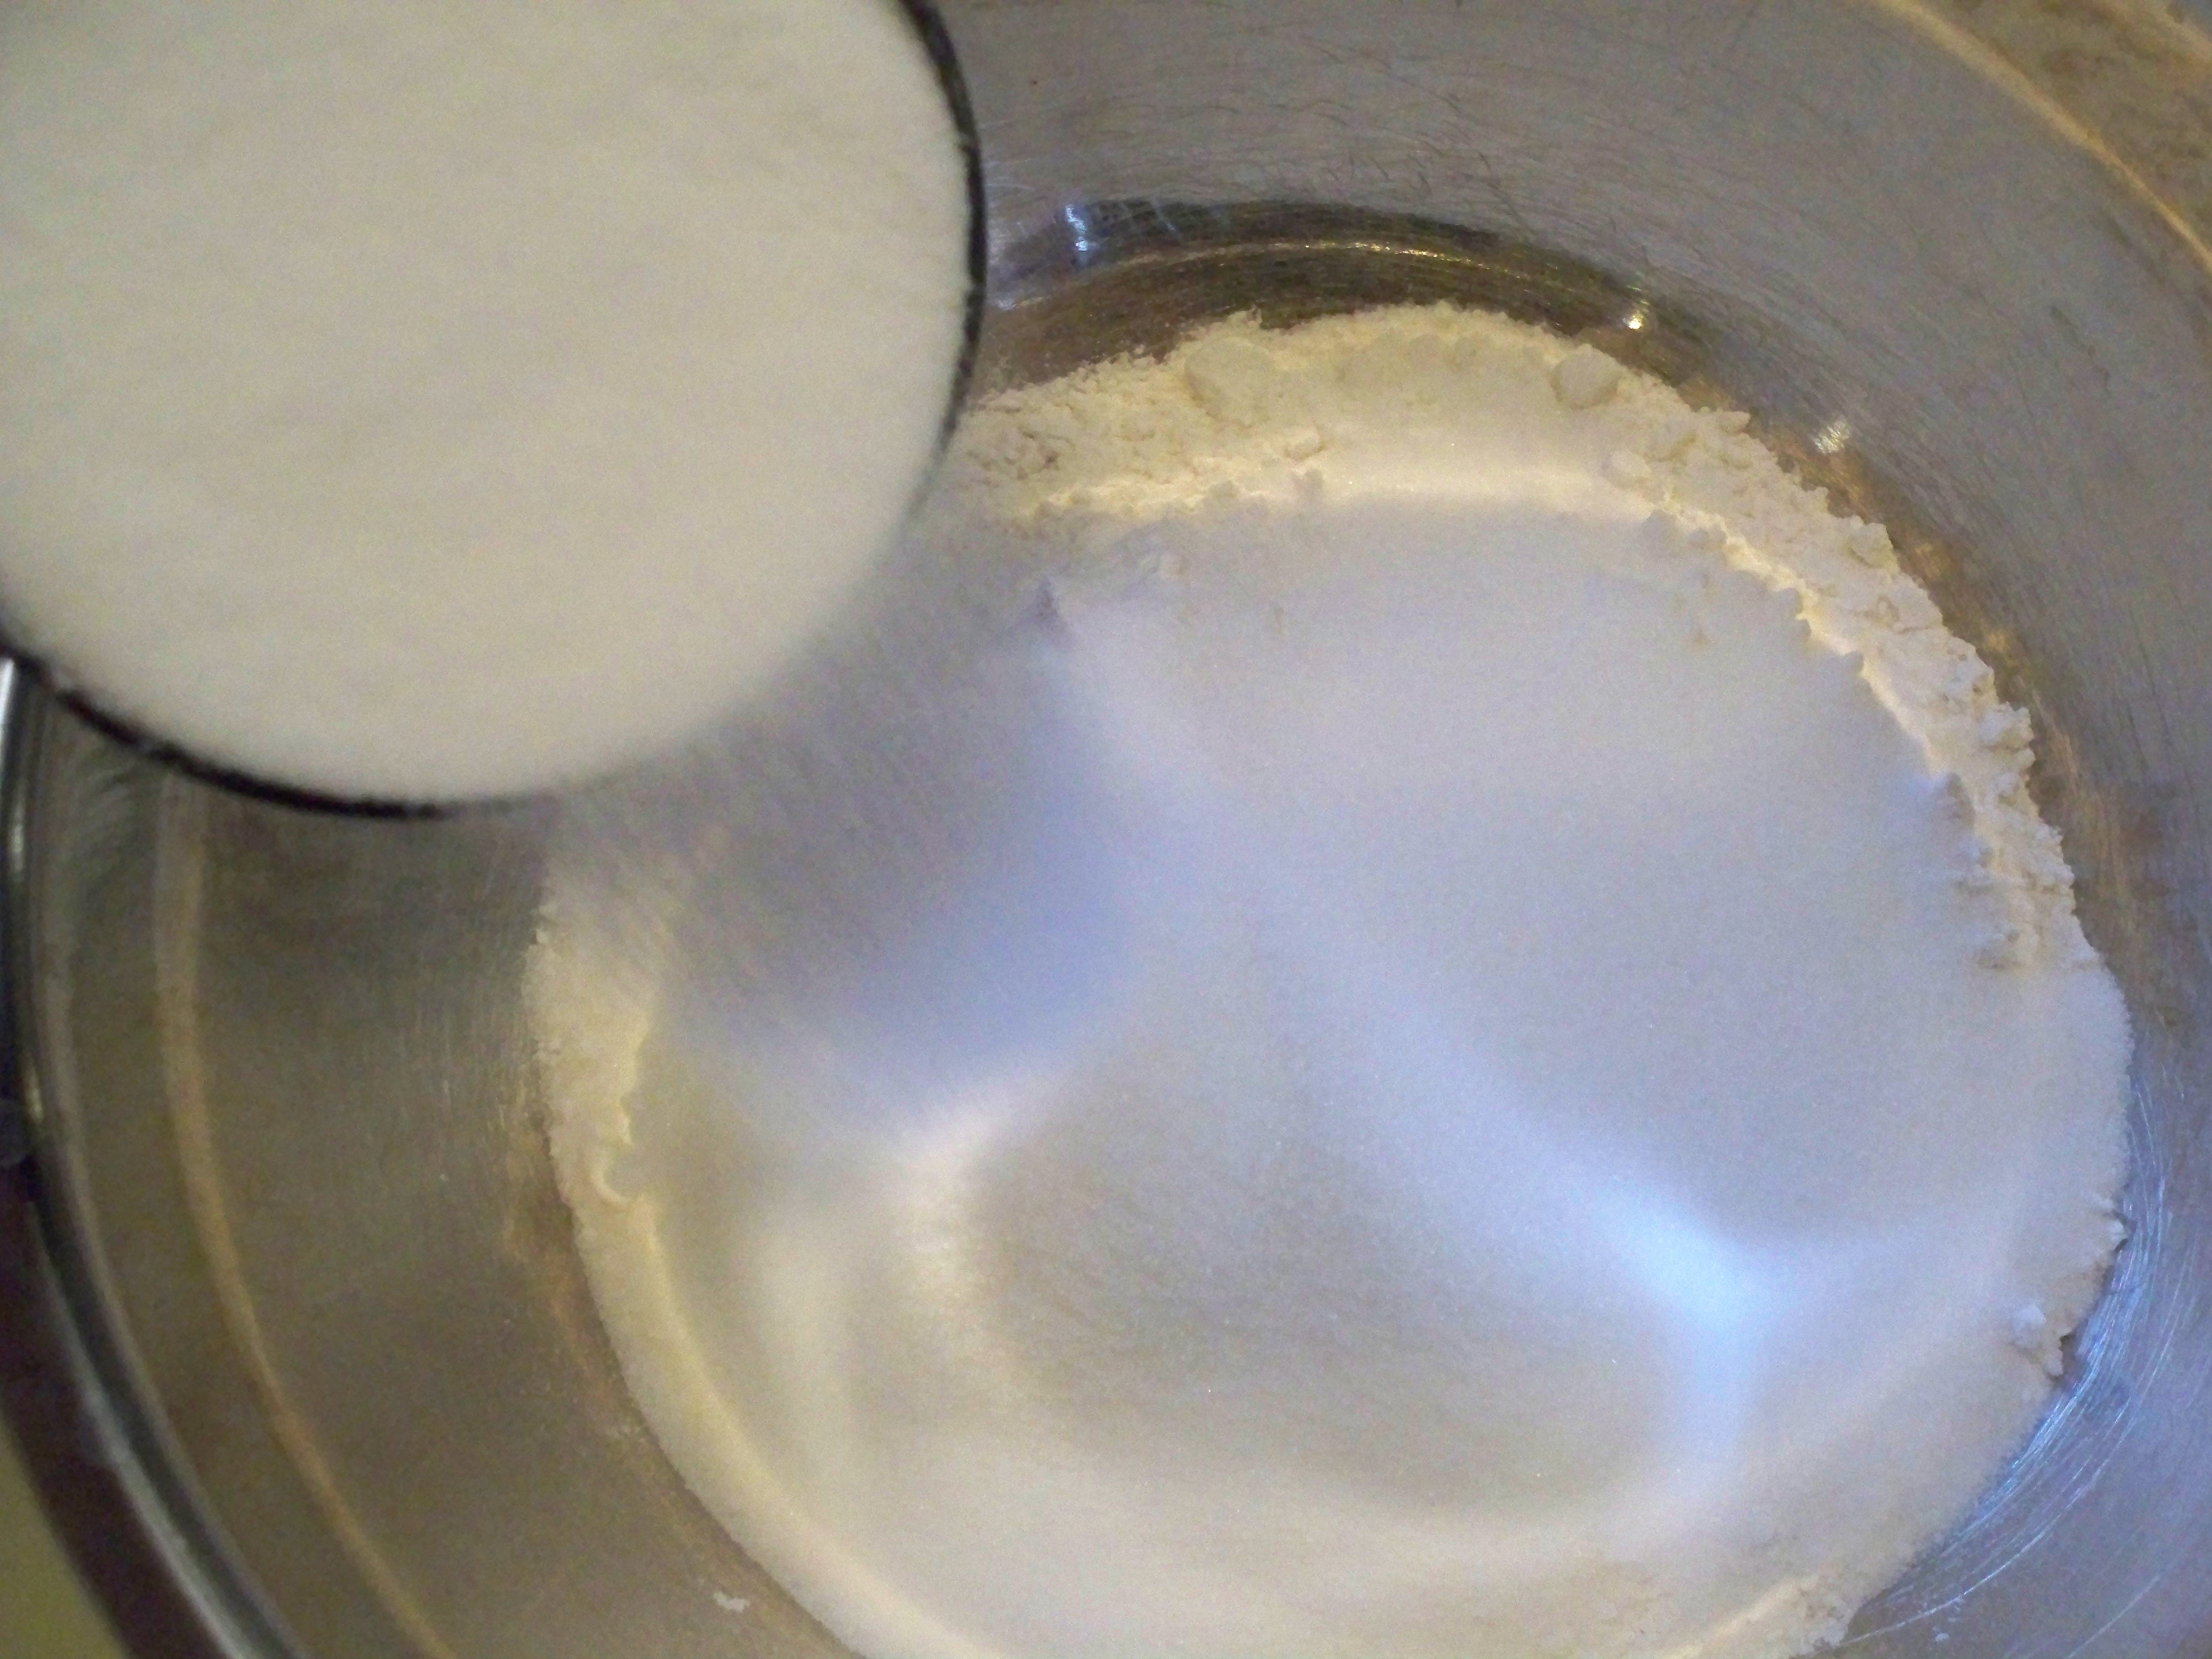
So you start with some milk. Make sure it’s not ultra-pasteurized. This, as it turns out, is hard to do because dairies aren’t required to label their milk. Luckily, Ralph’s brand turned out to be just pasteurized.

You’ll be using citric acid and rennet to help the cheese form. Here, take your rennet tablet and break it into fours.

Add it to some water (the directions, obviously, are more through with amounts and the like.)

You’re going to need citric acid in some water, too.

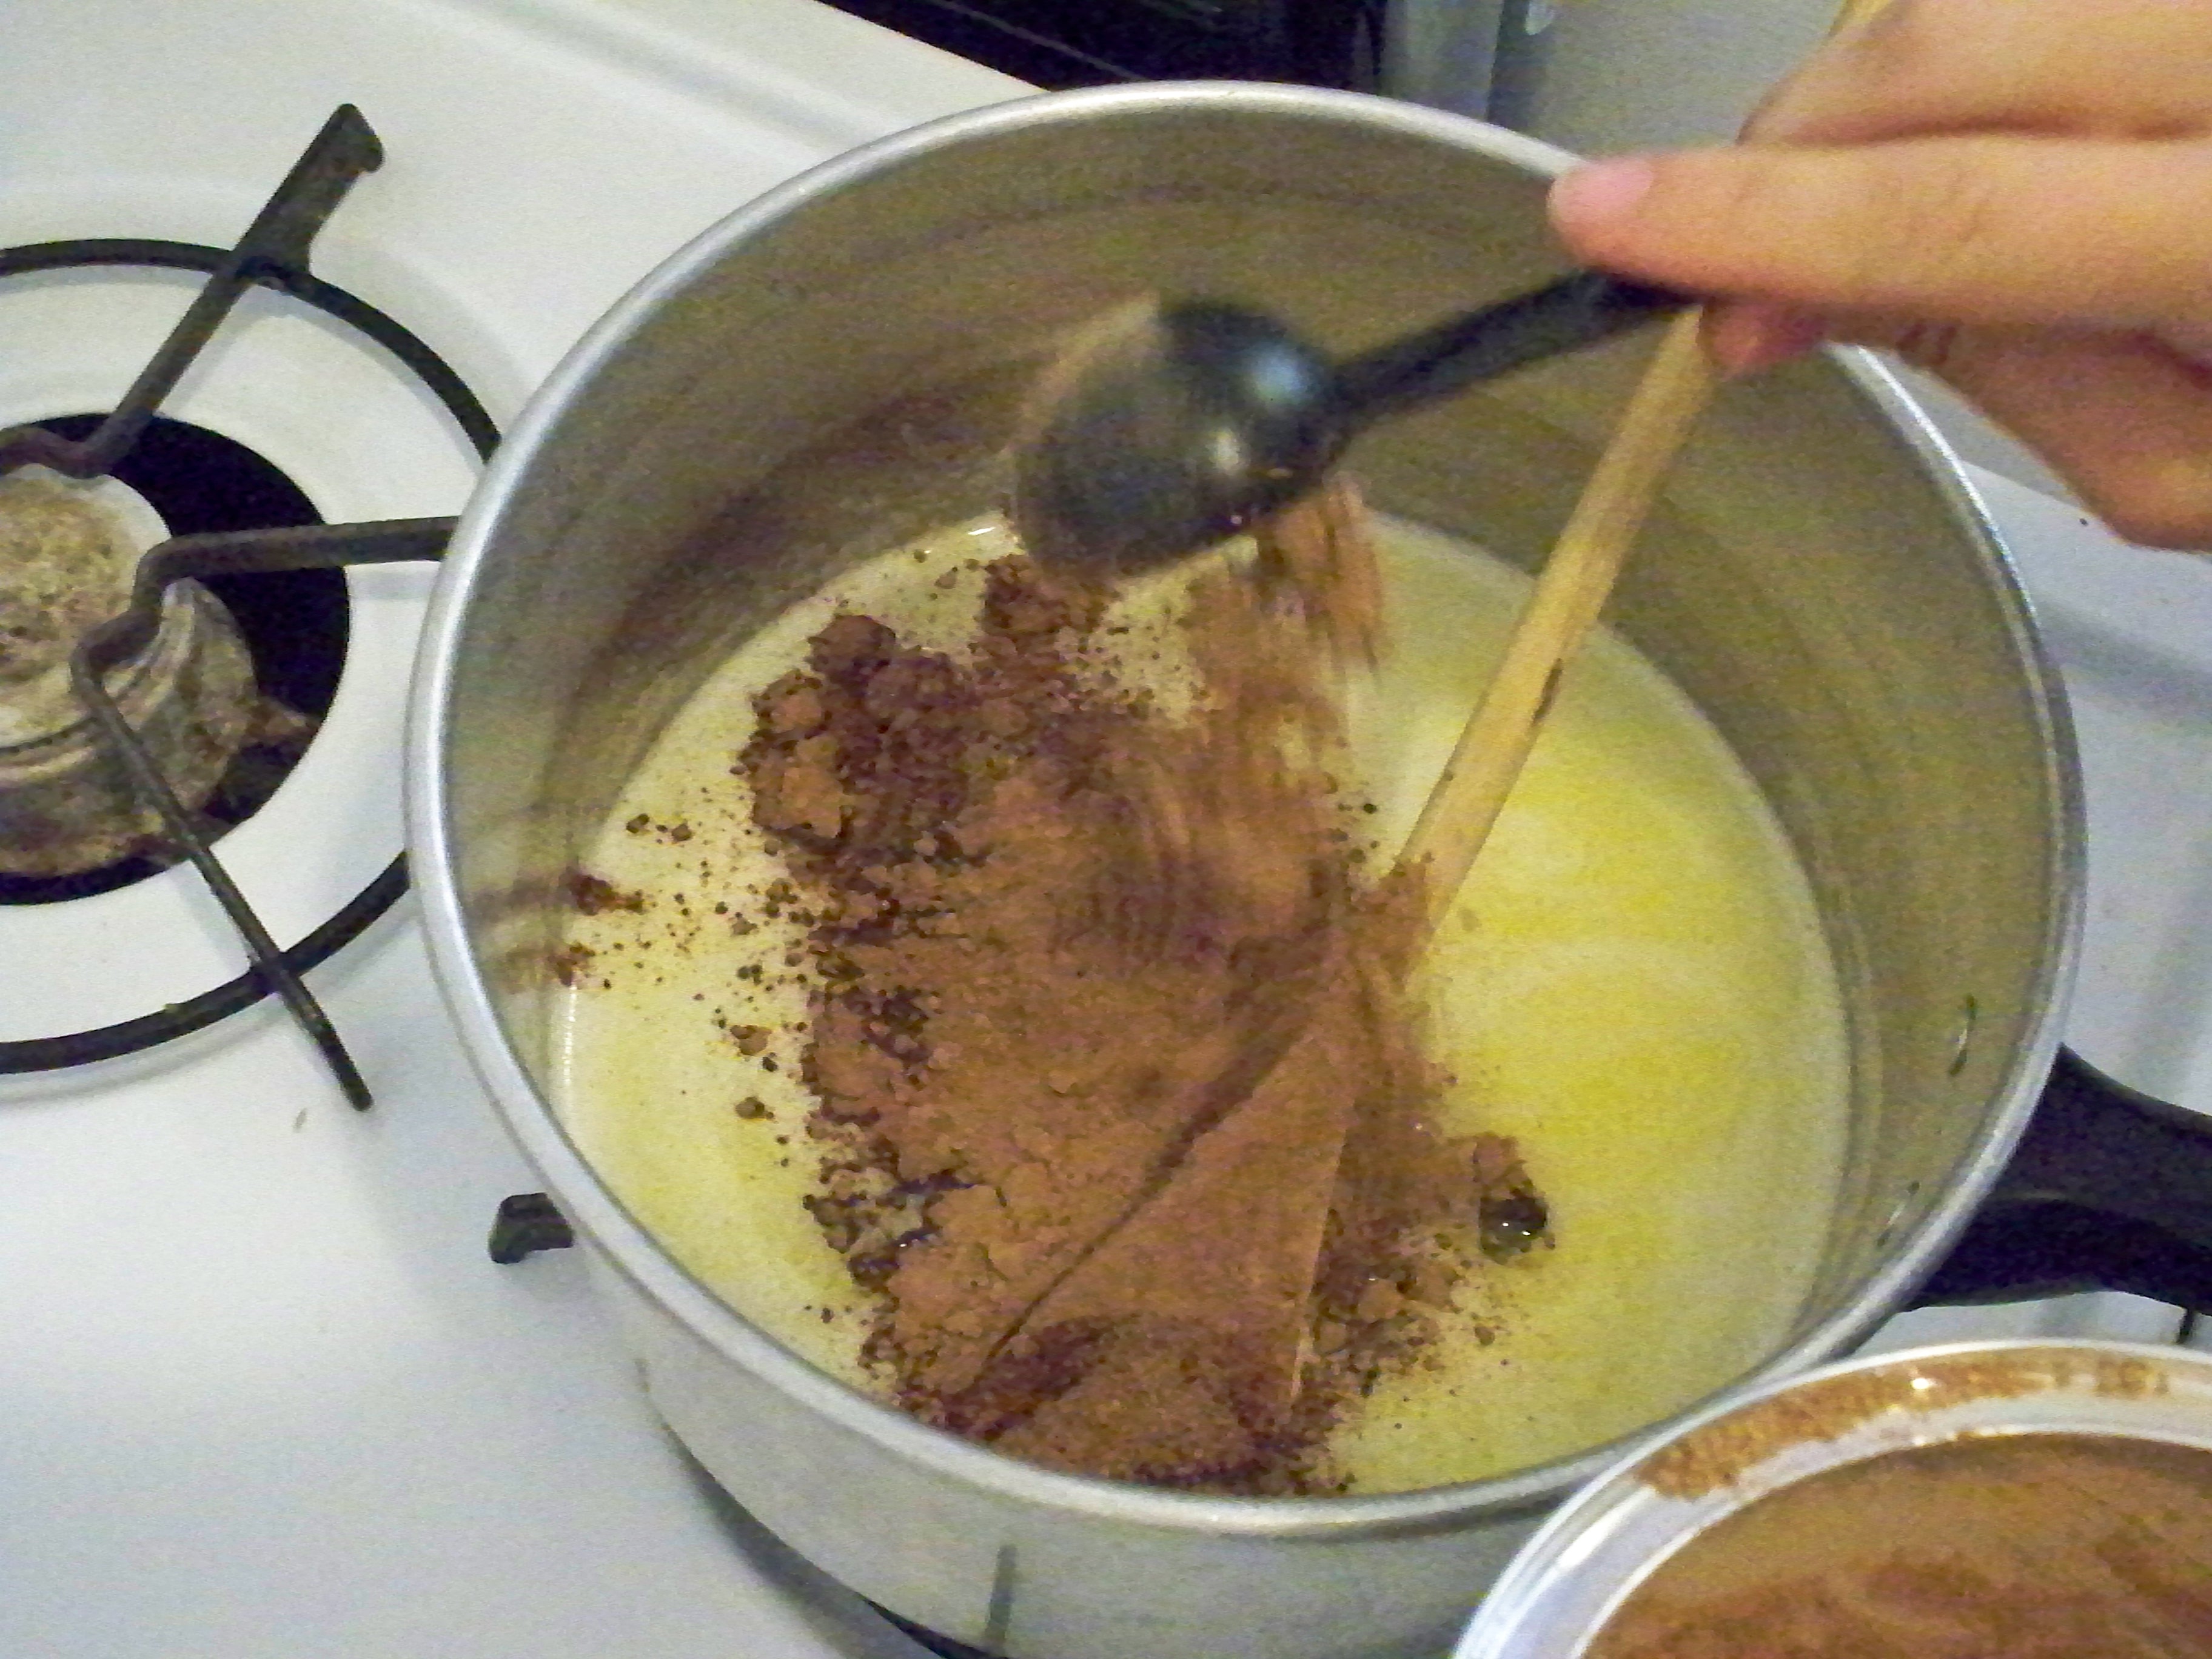
The cheesemaking kit comes with a thermometer, so you can see what you’re doing. Around 80 degrees, you’ll need to start adding your rennet and citric acid.

And then, my friends, magic happens.

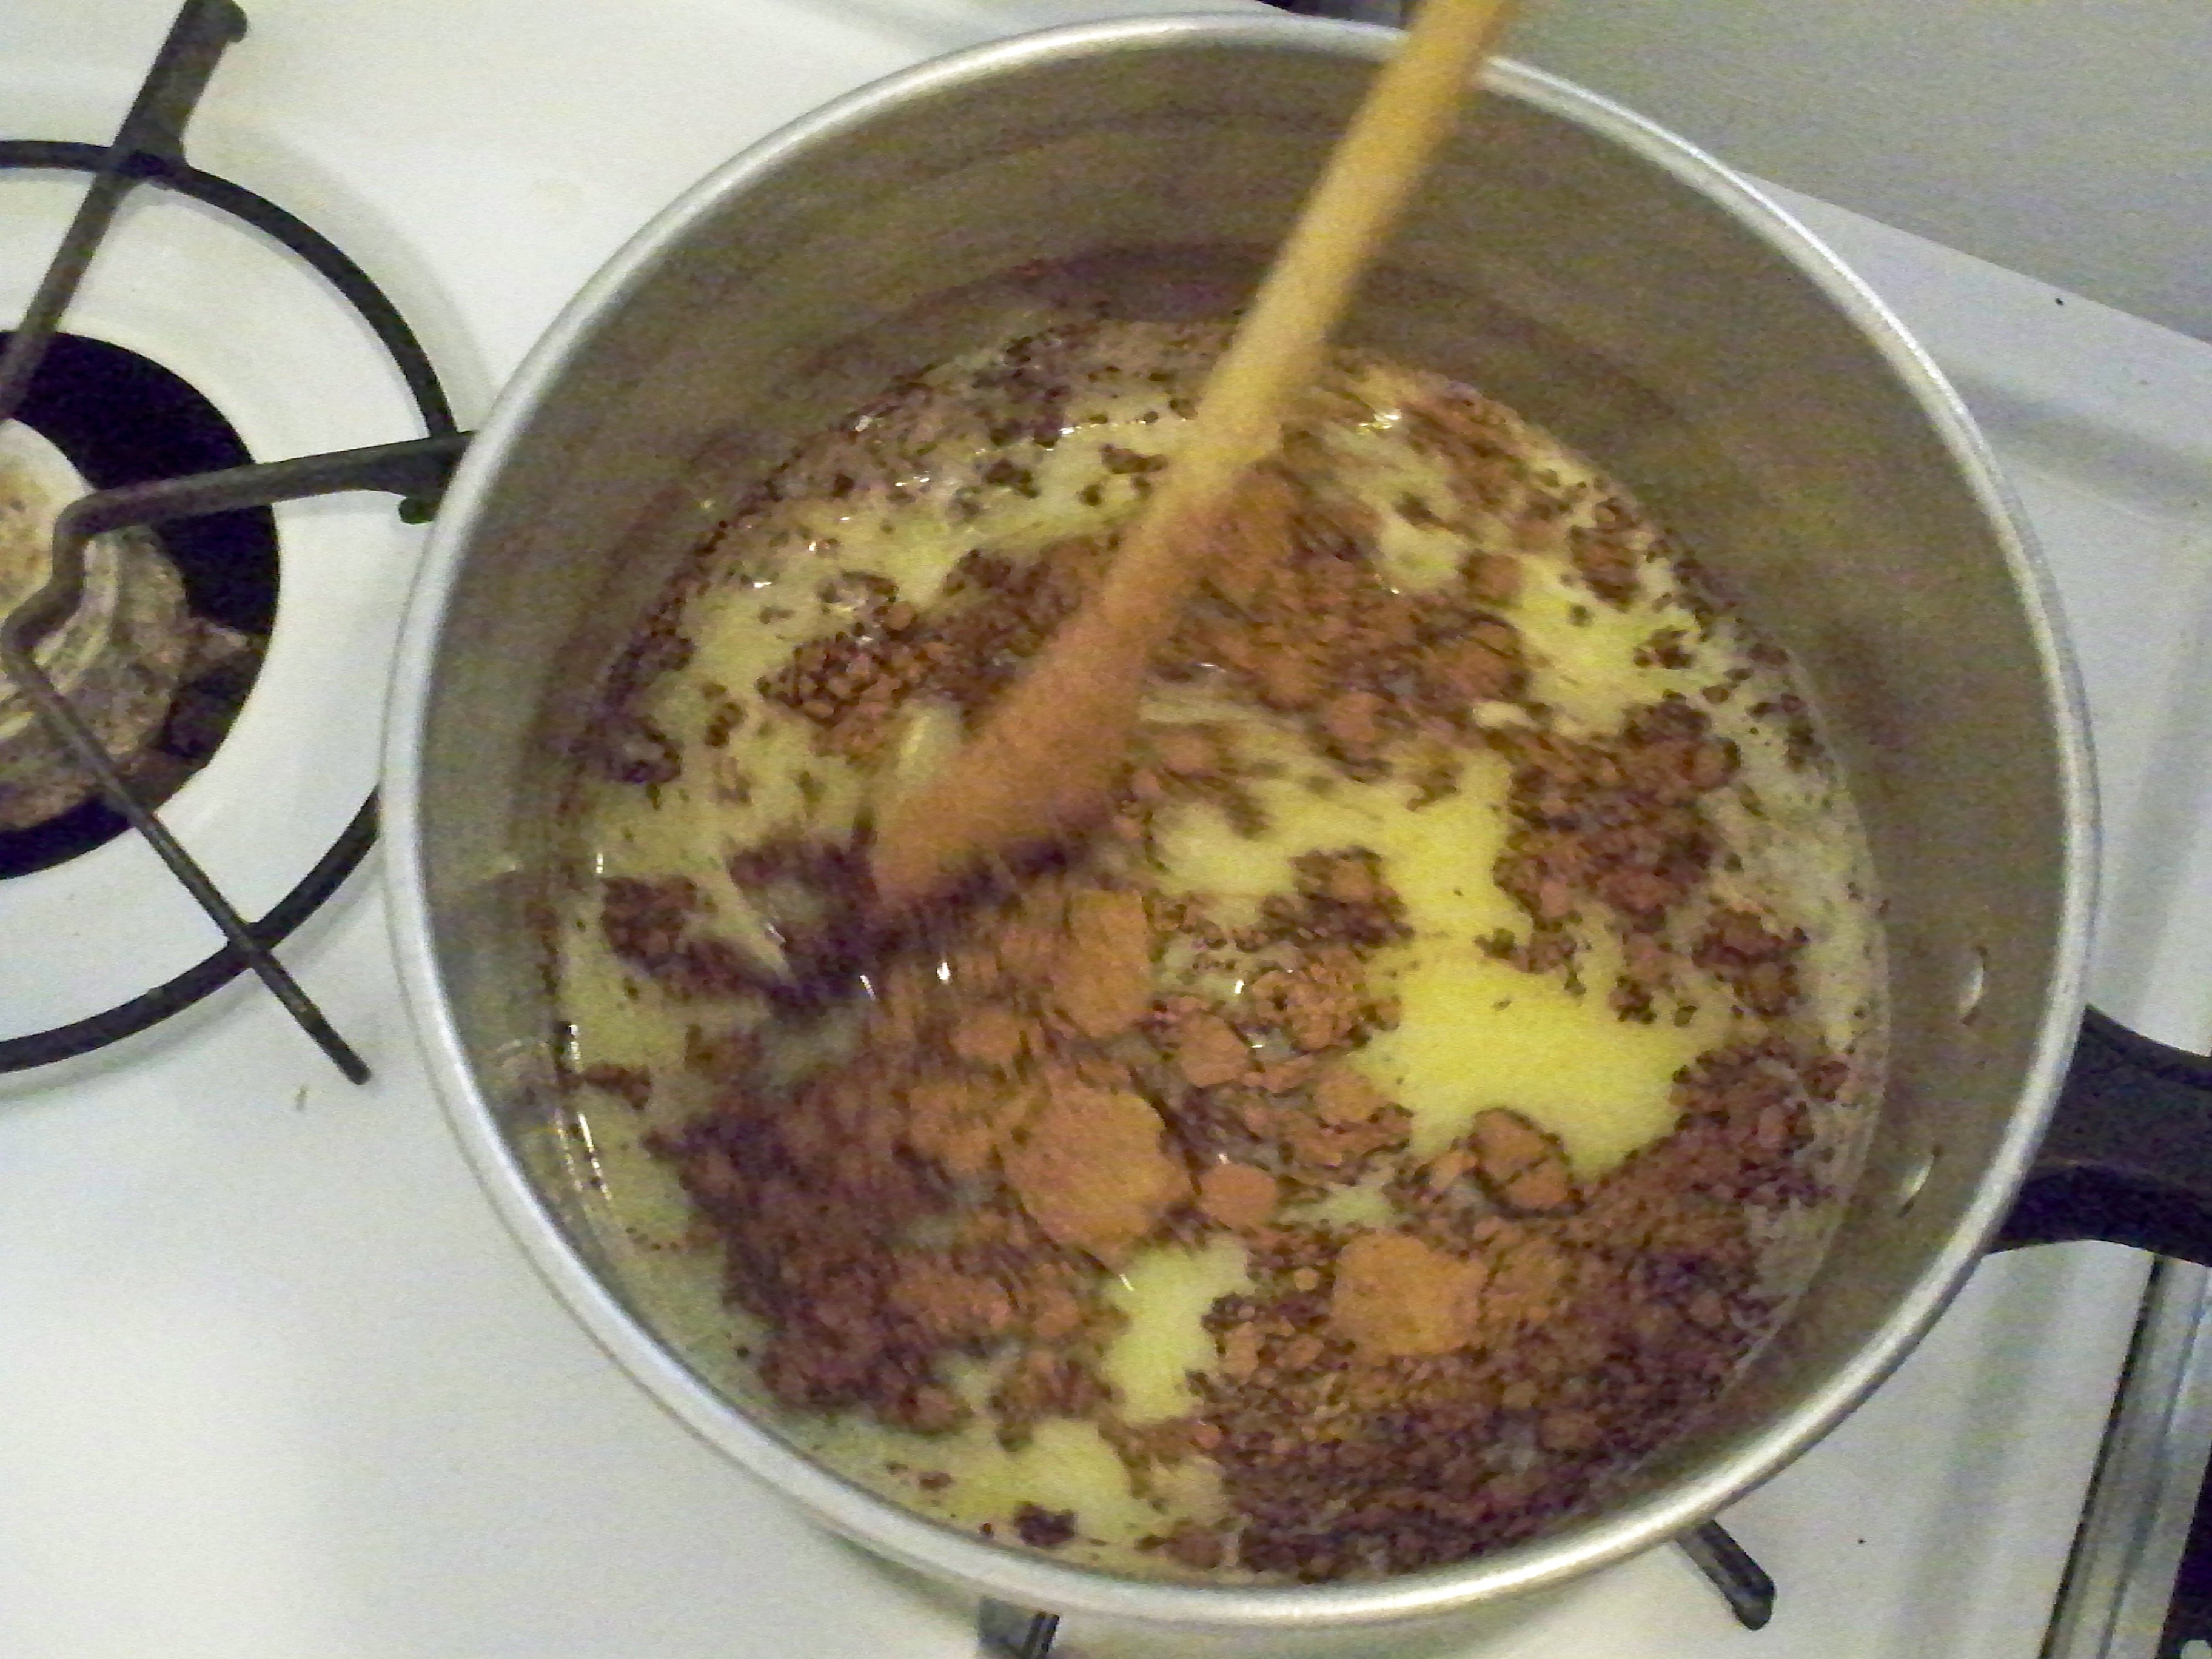
Here, my friends, the curds start to form! What joy! The first steps of curds, whey, and cheese! This led us to wonder why Miss Muffet was eating curds and whey, if it was hot, and why you’d ever want to eat that in the first place. Unless it was more curd, less whey, something like cottage cheese. But that’s another story, I suppose.

So after your curds and whey have separated, you have to get rid of the whey, leaving yourself with the curds. Hindsight says to lay cheesecloth down here so you don’t lose too much curd, but lose more whey.

Look at that curd! Amazing! Delicious! I think this is the step we added salt — don’t add too little, you want it to be delicious!

The next step is to stretch it. I added this photo merely to bring attention to my fingers — it was QUITE hot, this cheese!

This is the stretching stage. I think you’ll note my mozzarella is not stretching quite well — I think this was from over handling. We’ll have to try again and get back to you!

Here is our cheese, when all was said and done.

It cut quite nicely, and looked quite promising, but wasn’t the most delicious mozzarella I’ve ever had. Luckily, the kit makes four pounds, so we have three more chances to perfect!

Have you ever made cheese before? How did you do it? Did you use a kit? We’ll have to make this again and figure out what we’re doing wrong, and we’ll be sure to report back. I must say reading the Roaring Brook’s website was quite helpful – I’d suggest doing that before you start!

Next venture: making our own yogurt. Stay tuned!


[addtoany]

How do you tackle baking for the blogger on her birthday? It’s not an easy task, but it sure was fun!

Step One: Send her a really weird email like the following: “In a hypothetical situation where you were to have a birthday and get a dessert… what would it be?” (Her answer is chocolate, always chocolate!)

Step Two: Head to the birthday girl’s favorite food blogger for a recipe. (In this case, Ree, The Pioneer Woman to the rescue!)

Step Three: Acquire ingredients for cake and coerce a friend into helping you bake (Thanks Mary!)

Step Four: Lie about your whereabouts while making frosting for the cake when you are supposed to be meeting the birthday girl at Trader Joe’s… (Sorry Jennie and Christie!)

Step Five: Throw a killer surprise party at work for her (Thanks Jasmine!)

Step Six: Enjoy this INCREDIBLE cake!

Prep Time: 25-30 mins
Cook Time: 35-45 mins
Yields: 2 two layer cakes

Ingredients:

Cake:
4 sticks butter, plus more for greasing
8 heaping tablespoons cocoa
4 cups all-purpose flour
4 cups sugar
1/2 teaspoon salt
2 cups boiling water
1 cup buttermilk
2 teaspoons baking soda
2 teaspoons vanilla extract
4 whole eggs

Frosting:
3 cups heavy cream
24 ounces semisweet chocolate, broken into pieces
2 teaspoons vanilla extract

Directions for cake:

Butter four 9 -inch cake pans. Cut parchment paper in a circle to line the bottom of each pan. Add some more butter for good measure on top of the parchment paper.

Preheat the oven to 350 degrees F.

Mix together flour, sugar, and salt. Set aside.

In a medium saucepan, melt the four sticks of butter (try not to freak out, it’s a lot of butter.)

Add cocoa and boiling water. Or just some hot water because you are going to let it boil anyways. Oh Ree. Boil for 30 seconds. Remove from heat and let cool slightly.

Pour into flour mixture and stir.

Mix buttermilk, baking soda, vanilla, and eggs together in a bowl, then add to the flour mixture.

Pour evenly into your four baking pans.

If your oven is as freaky as mine, it will take about 40 minutes to fully cook all four cakes. These are SUPER moist. Make sure to check all four cakes with a toothpick. If it comes out clean, it’s all done! Let the cakes completely cool before frosting. I made the cakes one night, and the frosting the following evening.

Directions for frosting:

Heat heavy cream in a medium saucepan. Ree says to then pour the cream over the chocolate to melt, but since I was under time constraints, as in supposed to meet Jennie at Trader Joes and was running late, I just put the chocolate into the saucepan and let it melt that way. It was much faster, but be sure to stir continuously or the chocolate will burn!

I let this sit for about 3 hours while I was out with Jennie. Ree says to refrigerate it until it cools. If you can, do it, I didn’t have time, so I had to improvise.

Once cool, add vanilla and beat until “light and airy” as Ree put it. REE WHAT ARE YOU TALKING ABOUT?? I beat it for 30 minutes and then had to stop and google “light and airy frosting” because my frosting was just about the furthest thing from light and airy. After about 20 more minutes of beating however, I started to notice a change in color and consistency. Stick with it! I promise it will become light and airy, just like Ree said.

Keep in mind however, this frosting is nothing like butter cream. It looks like pudding and it is thick and heavy. This cake was supposed to be four layers instead of 2 two layer cakes, but my frosting would not hold four layers of this moist cake together. If I had more time, I would have kept beating for another 20 minutes!

Frost in between each layer, on top and on the sides.

If the cake is for Jennie, add sprinkles. Refrigerate until ready to serve. Enjoy before this cake gets gobbled up by your coworkers!


[addtoany]

Hey, chickadees. As we bring Providential Life and GMS together, I thought it time to introduce you guys to 5 Good Things. It started in college informally from my friend Katie who, when anyone was stressed or overwhelmed or just tired, would say, “Tell me five good things.” It instantly brought you out of your funk and into a happy place, and since then we’ve 5gts our ways out of finals, jobs, relationships, deaths, you name it.

5gts is a good way to celebrate a Friday (that you’re maybe taking off as a mental health day to hang with a buddy or two) and a day before birthdays (which maybe is tomorrow.)

And so:

1. Pioneer Woman’s Creamy Lemon Basil Potato Salad. Doesn’t it look amazing? I can’t wait to try it out – I’m thinking July 4th might be my weekend for busting out a fresh potato salad recipe. Who’s with me?

2. Eggplant, your summer friend. Yes, yes, and yes. I can’t wait for eggplant — I love it in all things.

3. My coworkers got me a gift certificate to go to a Home Coffee Roasting class, where I will learn how to roast my own coffee. Aren’t they the NICEST??

4. A new bar to try – with figs! And, as a GF recipe, this might be good for summer beach snacks.

5. This article about tomatoes. Just thinking about them gets me excited for summer.

With this, I’m off to the beach — have a lovely Friday, friends!!


[addtoany]

Recently, I had Caitlin and Traci over to make Belgian Frites. I used the recipe I found online that swore it’d produce some delicious fries. We were craving the fries we had when we were in Europe, and so we attempted to make something close to the street fries you can get in Amsterdam and other European cities.

Here is me, and Traci, circa 2006, ordering French Fries in Amsterdam.

These are the frites we got that day. I spared you (and I) the photo of us eating the fries, because a) Caitlin wasn’t in the photo, and b) we look crazy. Instead, please enjoy some photos from last week.

The thing I like about these two is you invite ’em over and they help you with dinner start to finish. Caitlin was hard at work on a salad, while Traci put together our burgers.

And, while you’re twice-frying french fries, they take artisty photos in your kitchen.

Anyways, back to the fries. First, fry the fries at 320 degrees. Try to do it in small batches so the oil doesn’t cool off too much.

Look at those delicious, amazing fries. Jeff liked them at this step, so he ate them once-fried. But Caitlin, Traci, and I foraged ahead.

You’re going to let them cool for about thirty minutes. Meanwhile, heat your oil up to 375. Sneak a few at this step to make sure they are tasting correctly. Does that even make sense? Not sure, but I’ll bet you’re with me.

Now, put ’em back in, for about three minutes, or so. They’ll darken quite a bit.

You will get a fry that looks something like this.

Look at those crispy fries!

Overall, these could have been thicker, which would have left more center to be soft instead of being crispy all the way through. I also would like to experiment with a different type of oil. But this is on the right track…maybe we’ll just have to head to Europe to investigate….ladies, you up for it?

(Repeat of this??)

Have you ever made fries? Do you prefer them crispy or soft? Thick or string-thin? Or waffled?


[addtoany]

Just a quick post to bring your attention to the top of our GMS page. You may have noticed (or maybe you haven’t) a new link – to Providential Life. This is my blog for all things not food related.

This is what it looks like now, but soon I’ll be working to make it more fluid with GMS. So, if you’re interested in what I do when I’m not in my [tiny] kitchen, check me out here!


[addtoany]