Because it was Friday, and I had a date with Melissa, Jeff and I needed a quick dinner. One that would make him happy so he wouldn’t notice that I was gone the rest of the evening. One that would use the Hawaiian rolls we had acquired from Liz. Don’t worry – Pioneer Woman to the rescue! And, to sweeten the deal, I threw in homemade fries that we made with our brand new mandoline.

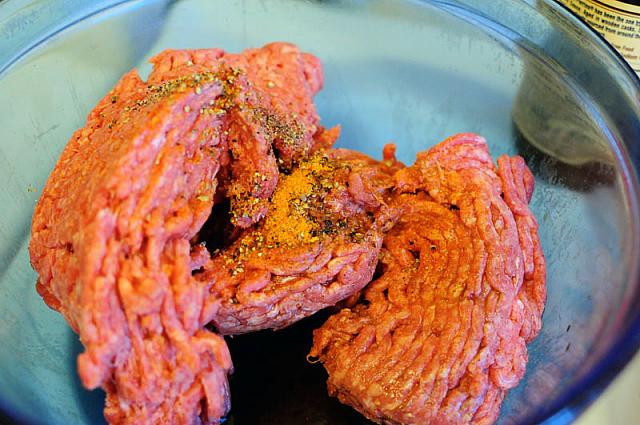
So take some meat. I used a pound. Add some spices. Delicious. Mix that up with your hands.

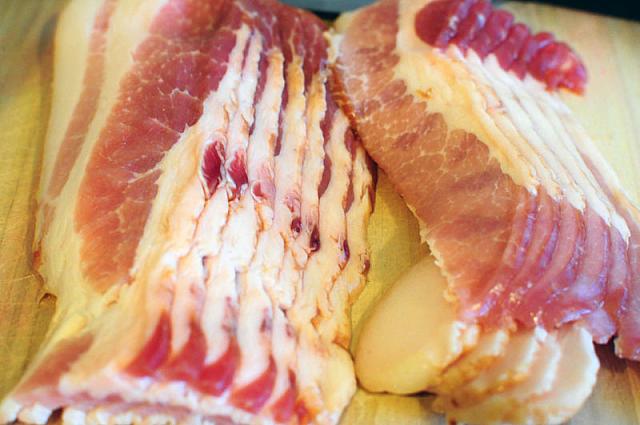
Take some bacon. Cut it in half.

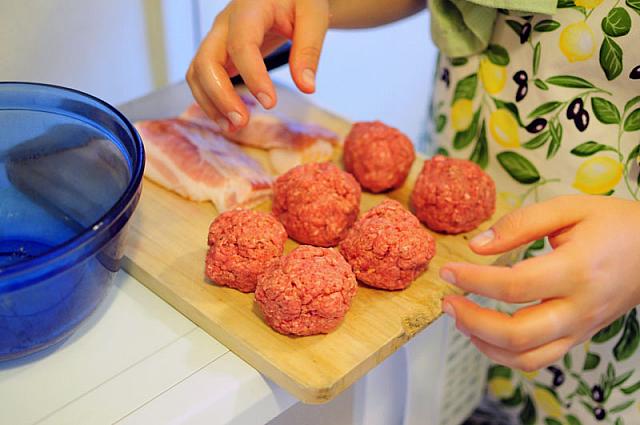
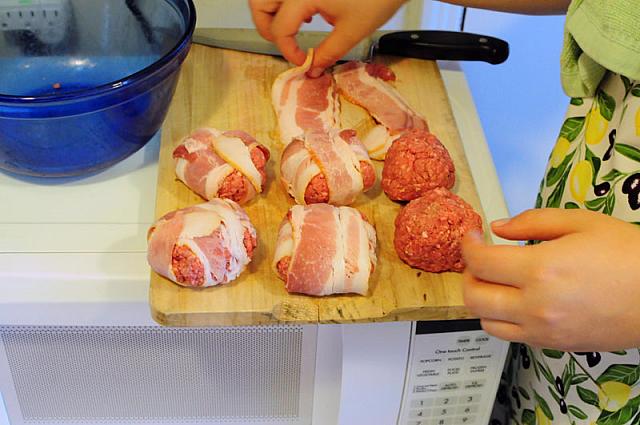
Make your sliders. I made six with my pound of meat, and they were perfectly sized.

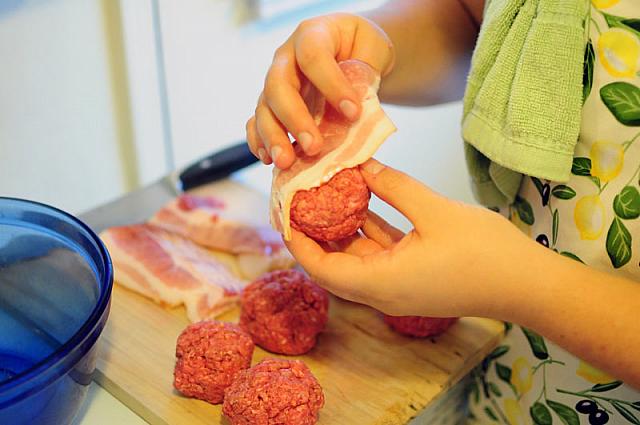
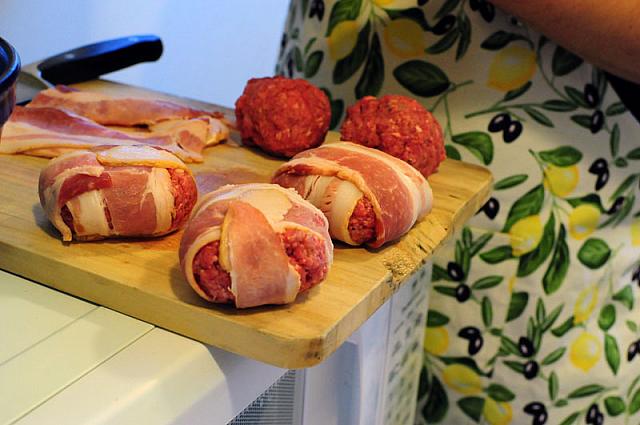
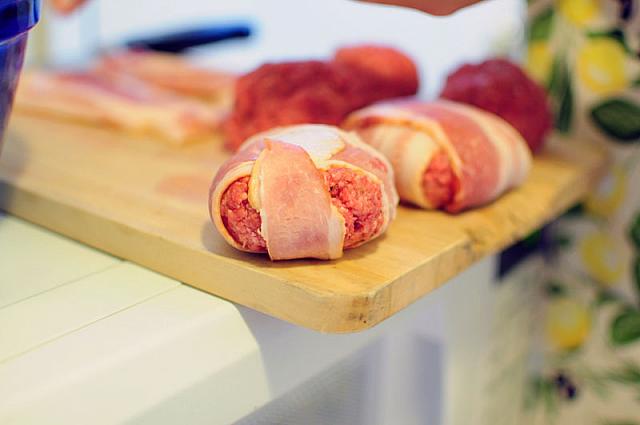
Now you’re going to wrap the sliders in your bacon. Use one piece around one way, one the other.

Flatten them a little, but don’t let the corners mush out burger meat.

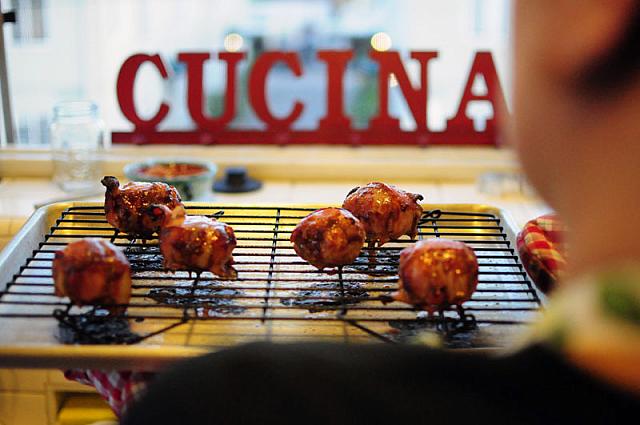
Now, brush on some BBQ. Take photos, while your bf holds the tray. Steady, now.

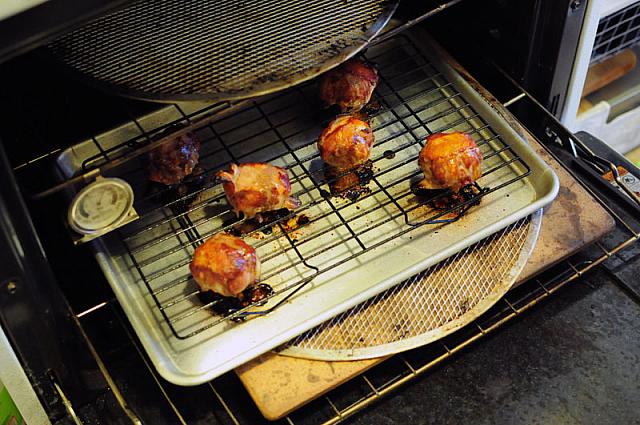
Delicious. Stick them in the oven at 400, and let them cook for about 25 minutes.

Meanwhile, you’ll make your fries!

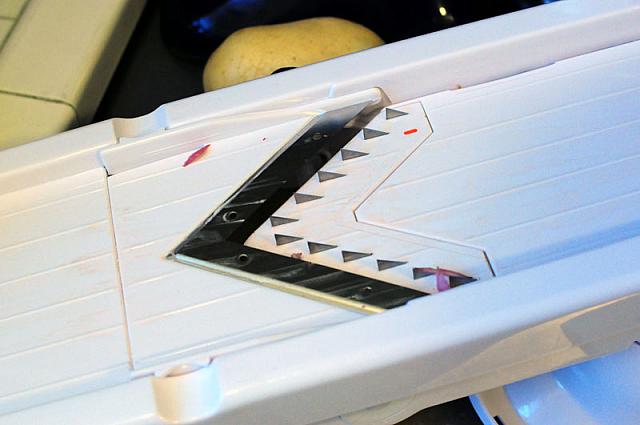
If you have a mandoline, you’re a lucky person. Put on the fry attachment.

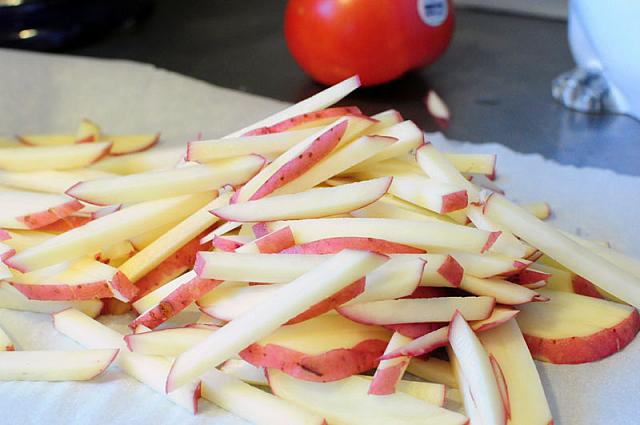
Cut up your fries. You can use whatever kind of potato you want!

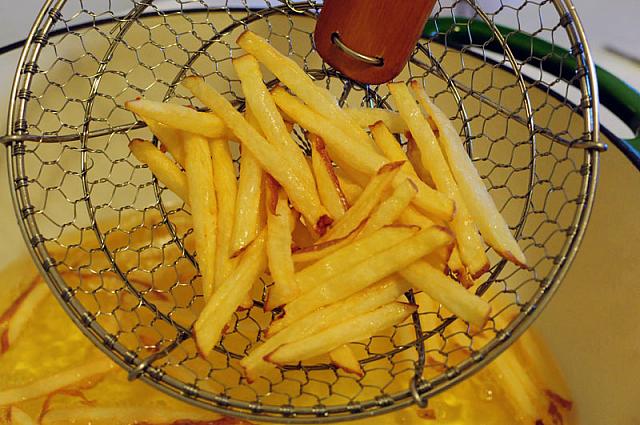
Heat your oil to 365, and then throw in some fries. Make sure you let your oil reheat between batches so you make the best fries you can!

Give each batch about 5 minutes.

When you take them out, use a slotted spoon or something like this item, which Ms. Kelly gave me for Secret Santa this past winter!

Take them out and put them on some paper towels so that some of the oil is soaked up. Salt them. Repeat with all your potatoes. We used five smallish medium potatoes, and we ate them all. That doesn’t mean we should have, though.

Check your sliders. We took them out when the internal temperature was about 135.

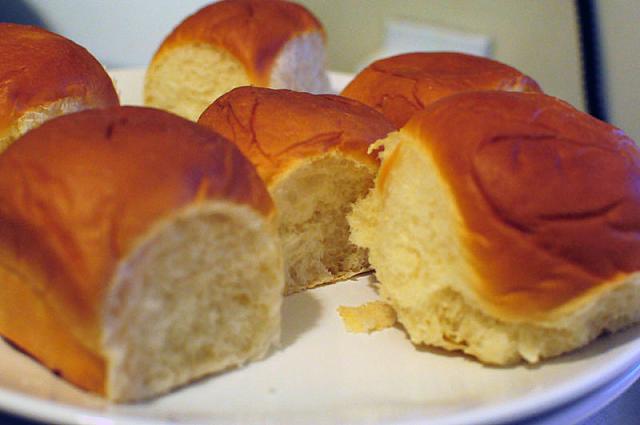
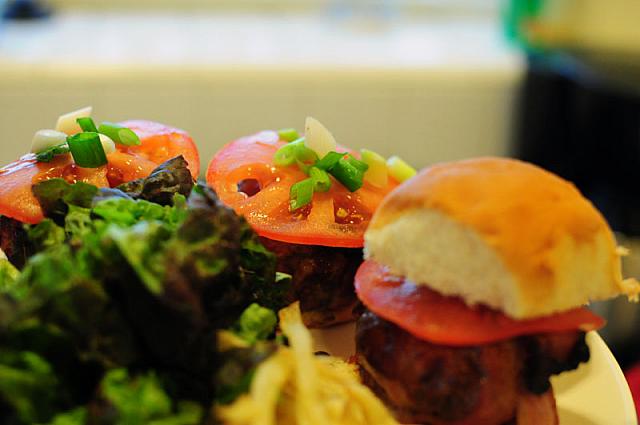
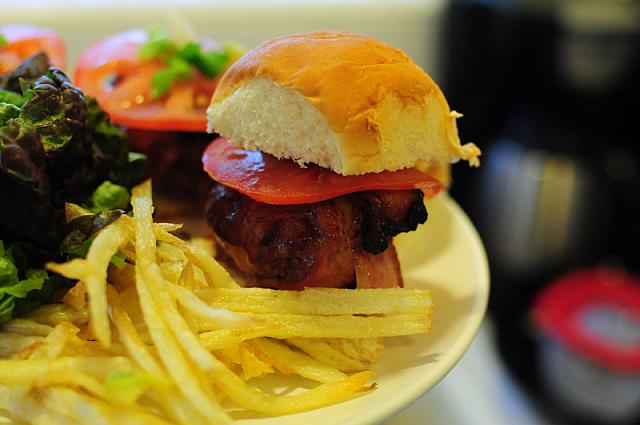
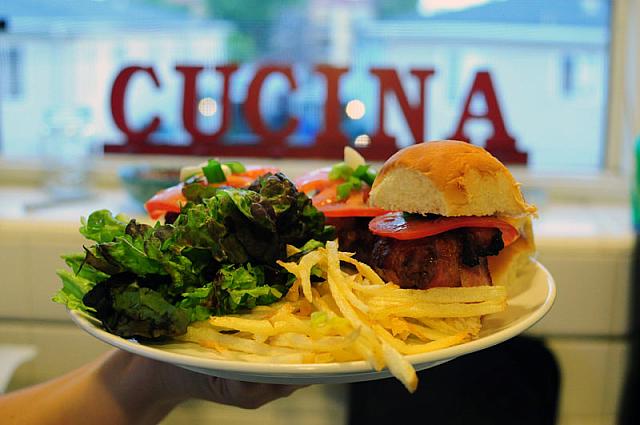
If you are lucky enough to have Hawaiian bread, you are in for a delicious dinner.

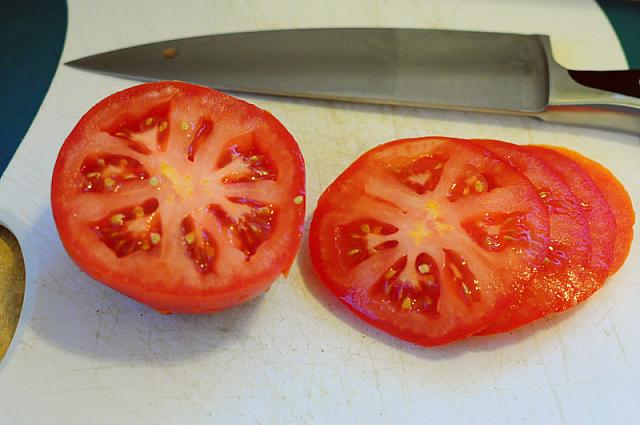
You can add veg to your sliders. I added this tomato and some scallions.

Look at that veg. Just delicious.

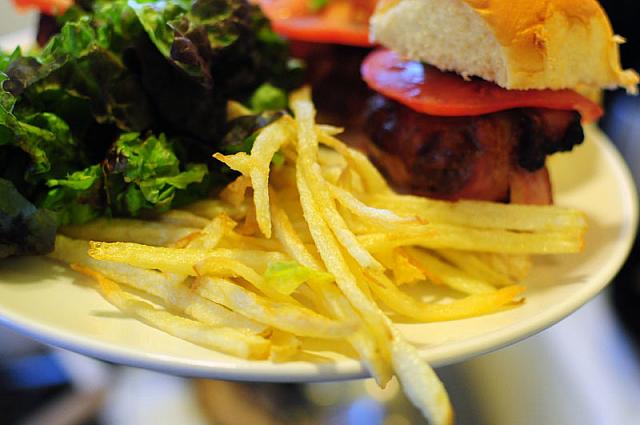
And my goodness, those fries!

Give yourself a pile of lettuce, and then eat away! I ate two sliders, Jeff three. So this meal would make enough for three, if you are ladies or of medium-appetite, and two if you are men, or large-appetite folks. Enjoy!


[addtoany]

One of this month’s Cucina Fresca recipes is Veggie Burgers. We used beans as the base for the burgers, and we looked up a few recipe options online before making a decision on what to use ourselves. We did try the recipe last night, but the final recipe will have a few tweaks. Overall, we felt there were too many beans, not enough veggies. That said, I did eat two meals yesterday that were what I DID make, so the recipe as I made it was also delicious. The good thing about making veggie burgers is you can pretty much put whatever you like in them and they’ll turn out delicious.

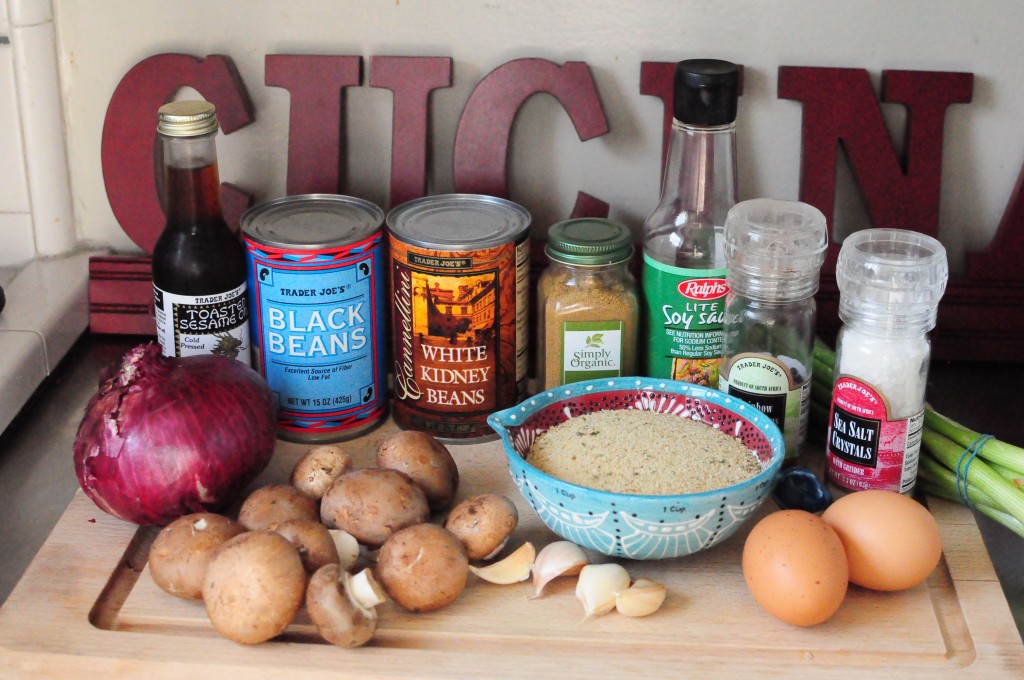
First, grab your ingredients. (Make sure you also lower the the ISO on your camera, or else your photos might not be so hot. Like mine. Never mind that, though.)

You need black beans, kidney beans, onions, mushrooms, garlic, breadcrumbs, eggs, cumin, salt, pepper, soy sauce, toasted sesame oil, or maybe Worcestershire sauce but I happened to be out of it, so I used soy sauce and sesame oil.

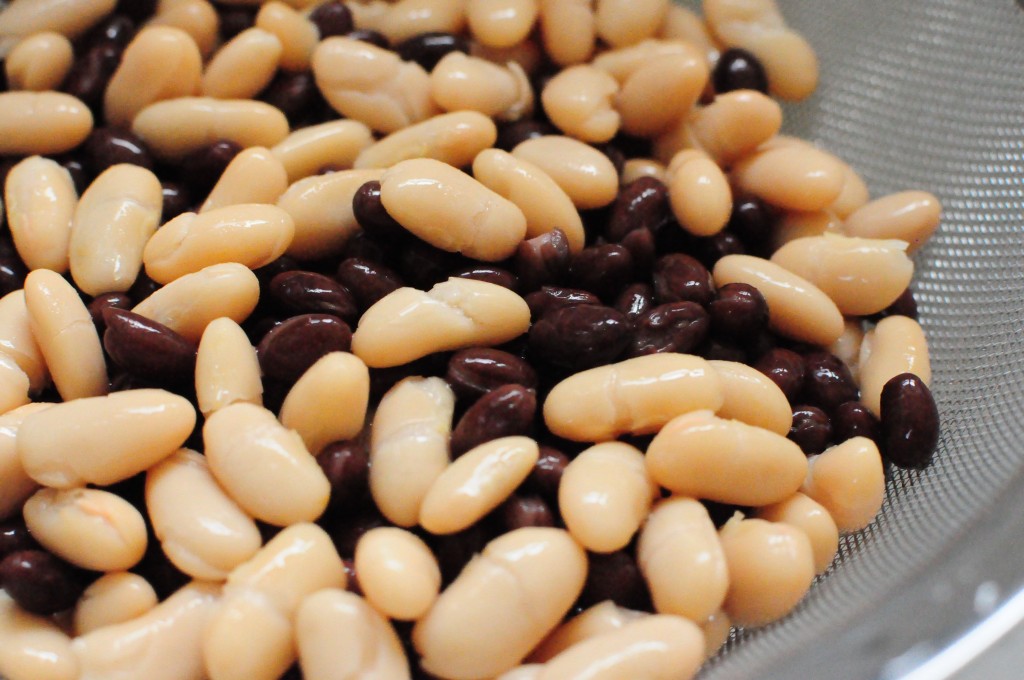
So you take your beans. You rinse them. Shake off the water for a minute. Yum.

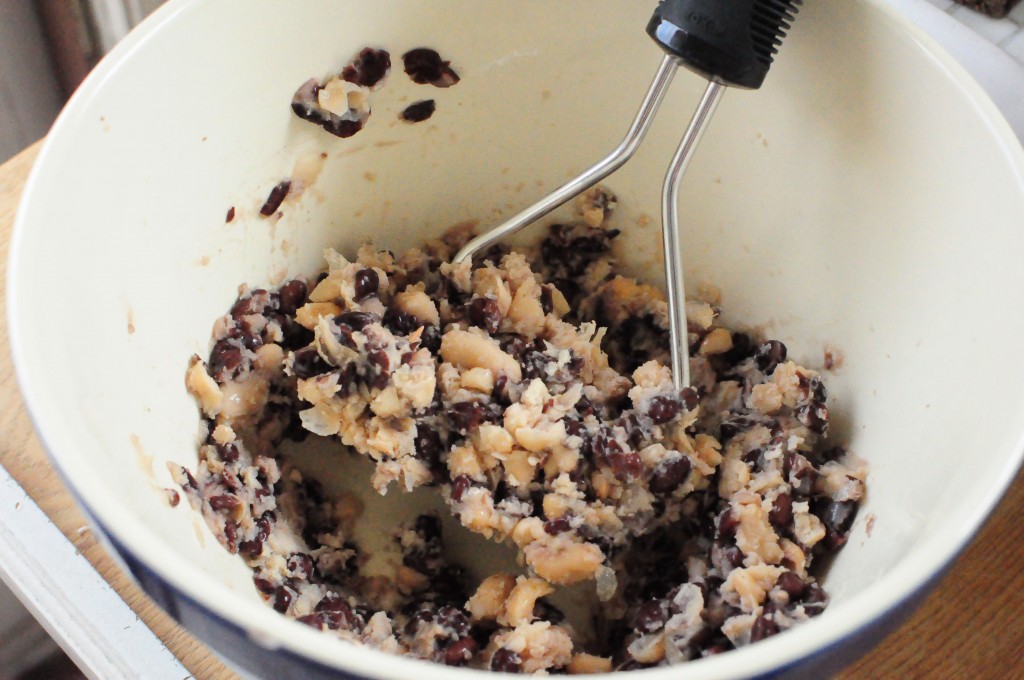
Them stick them in a big bowl. Mash ’em up. If you’re lucky, like I am, you can have a friend do it while you get some other stuff done.

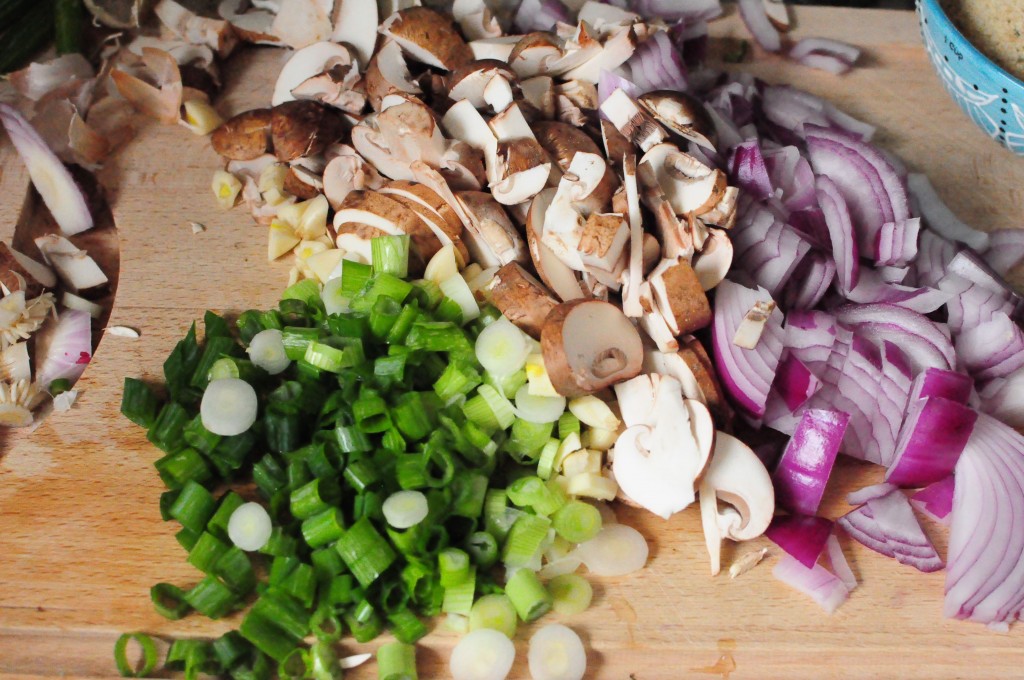
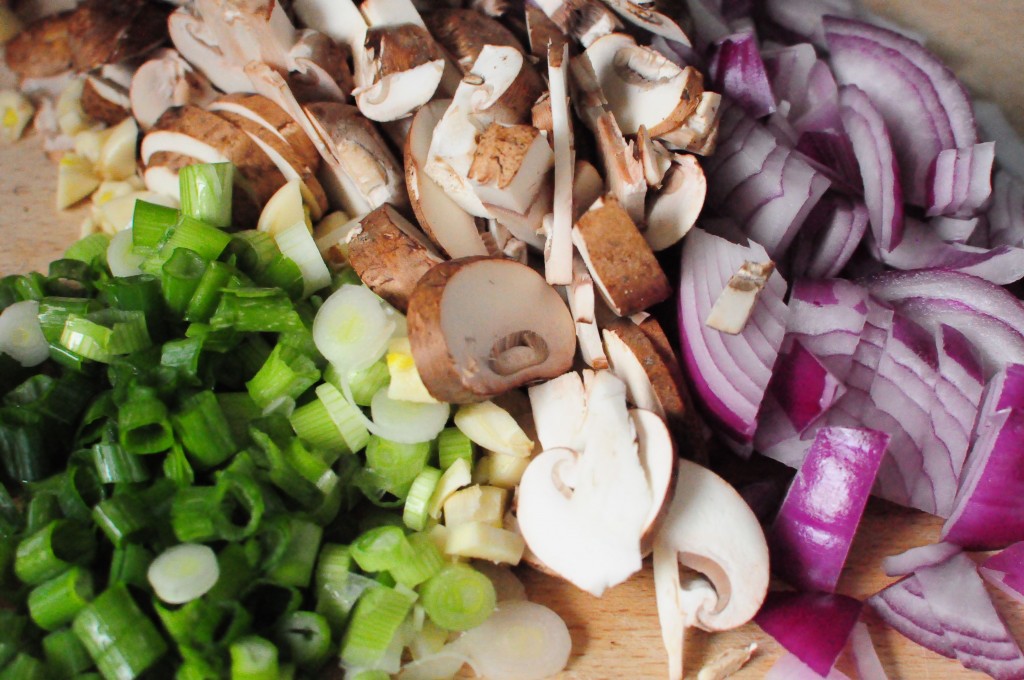
So next, you chop your business. That’d be about 5-6 green onions (greens included), an entire container of mushrooms, garlic, and a red onion. You can roughly chop it all, because you’re going to stick it in your Cuisinart. Don’t have one? Use your blender. Don’t have that, either? Chop it all up real small. Whatever you got. Mincing it up will be just fine.

Yum yum. So delicious. Make sure you let your buddies have a piece of mushroom (or two) so they don’t get grumpy.

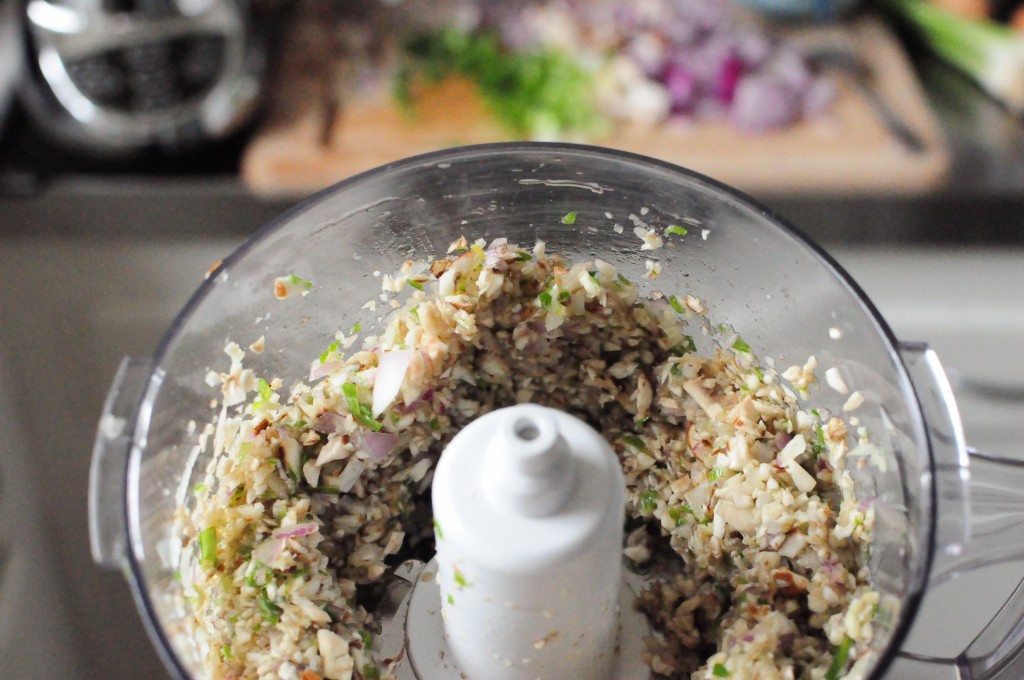
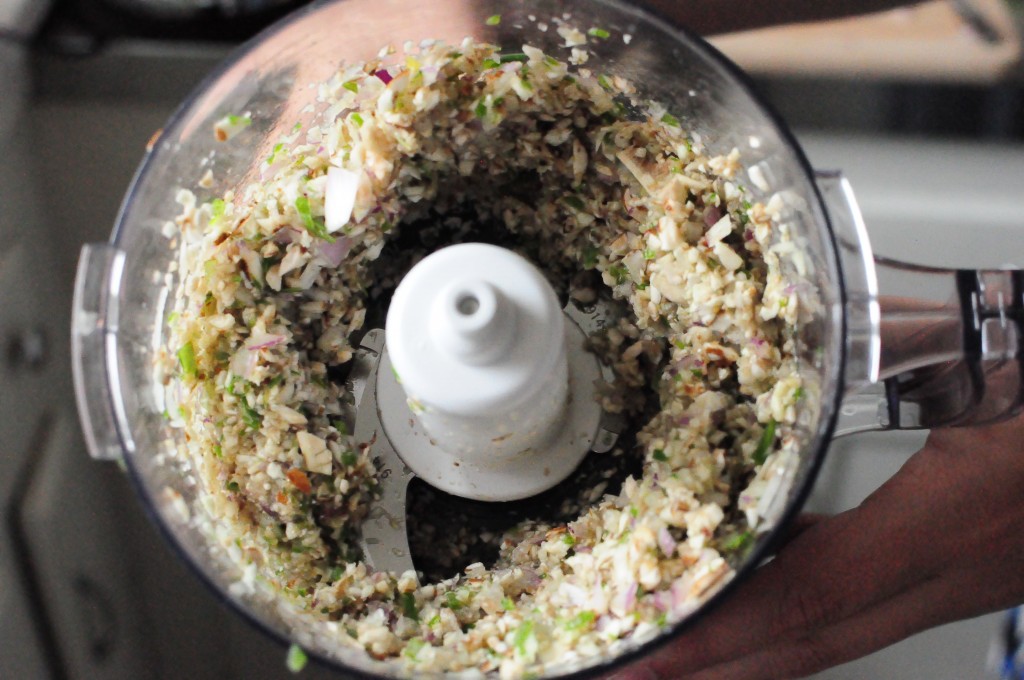
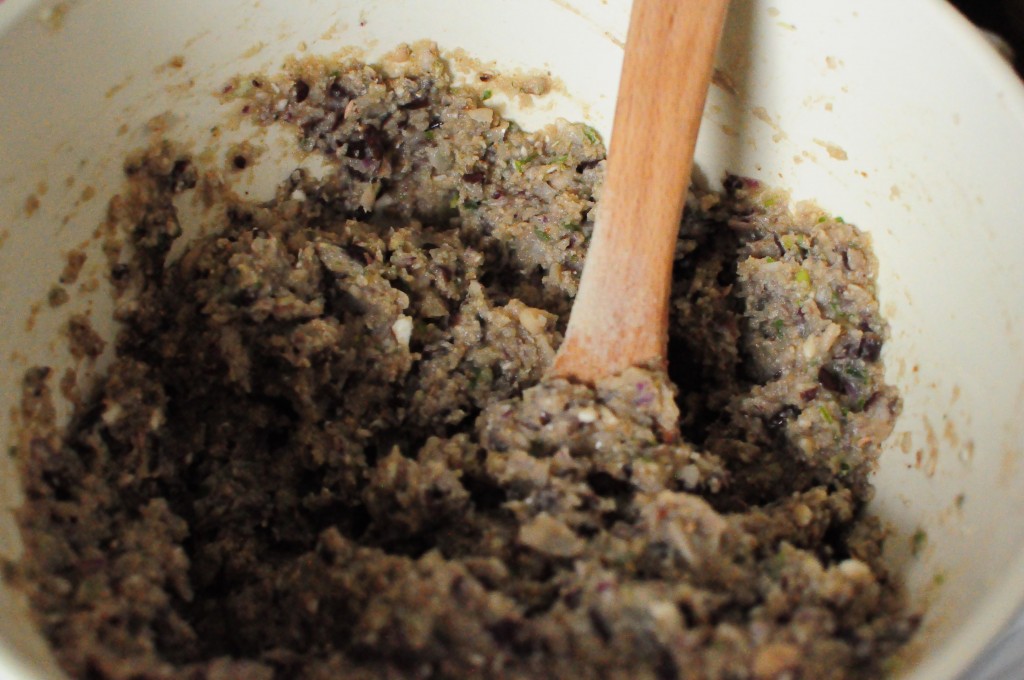
Stick about half of it in your food processor, and have at it. It should look like this when you’re done.

Look at that. Delicious. So good.

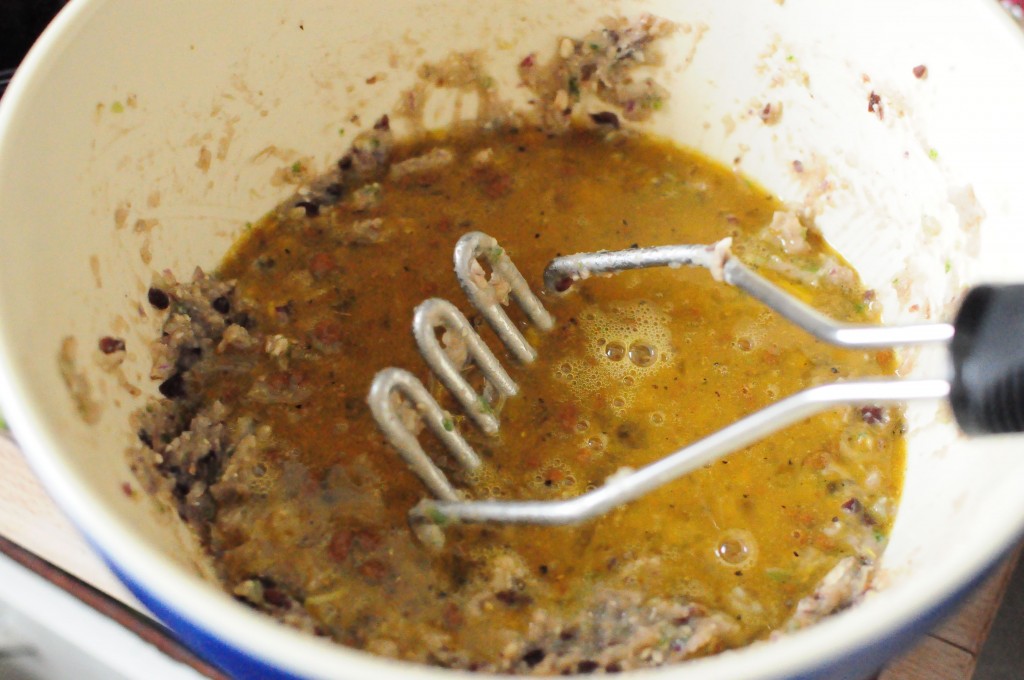
So meanwhile, you go ahead and grab your eggs. Whisk them, and then add your spices. We used cumin, salt, and pepper, but you can use whatever you want. Cayenne if you want, maybe some garlic powder, etc. You should also add your soy sauce/oil/other sauce now, if you remember. I didn’t, and my burgers were still delicious, but you probably should.

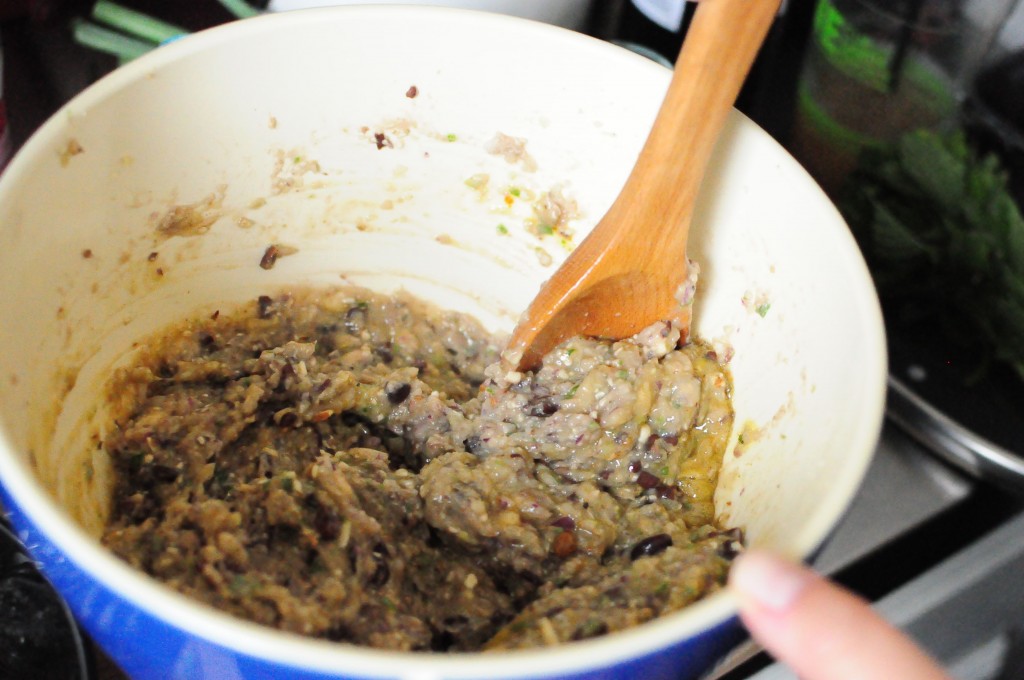
Now you’re going to add your egg mixture to the bean mixture. Mix it until it is sticky.

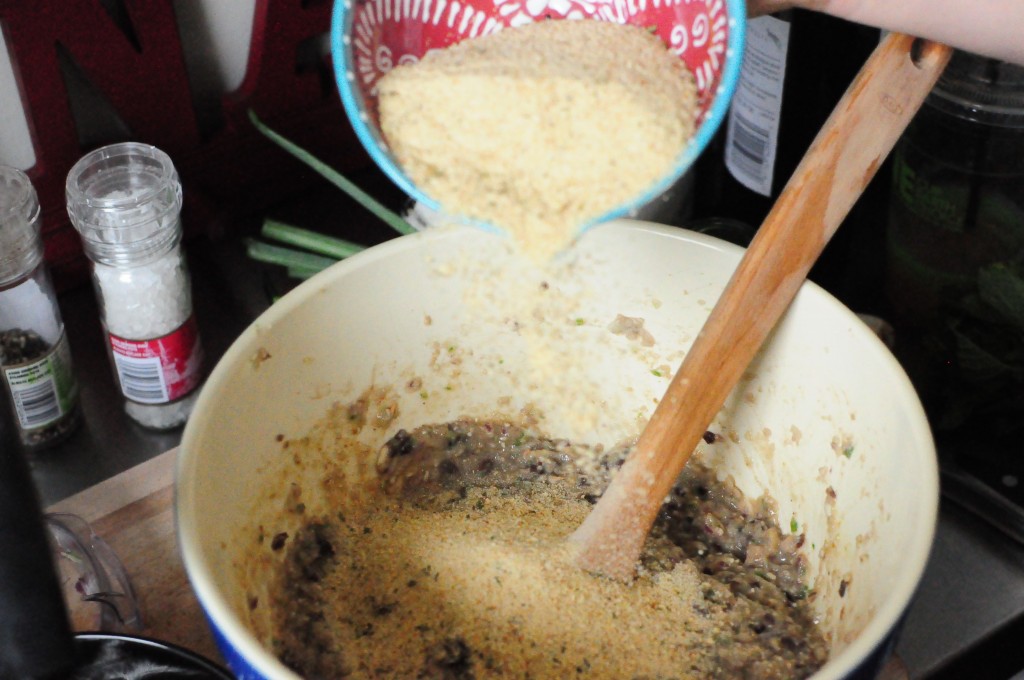
Next, you need to add your breadcrumbs in to your sticky bean veggie mixture.

Add a cup of breadcrumbs in. I used Italian seasoned bread crumbs, but you can use whatever you want!

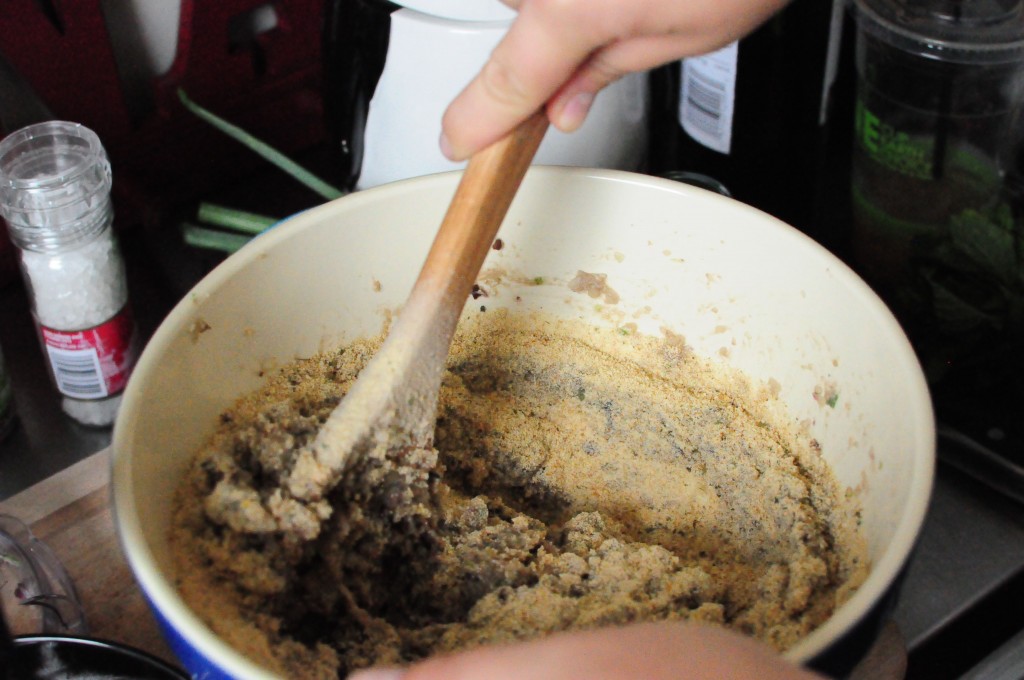
Mix it in, and you’re ready for burgers!

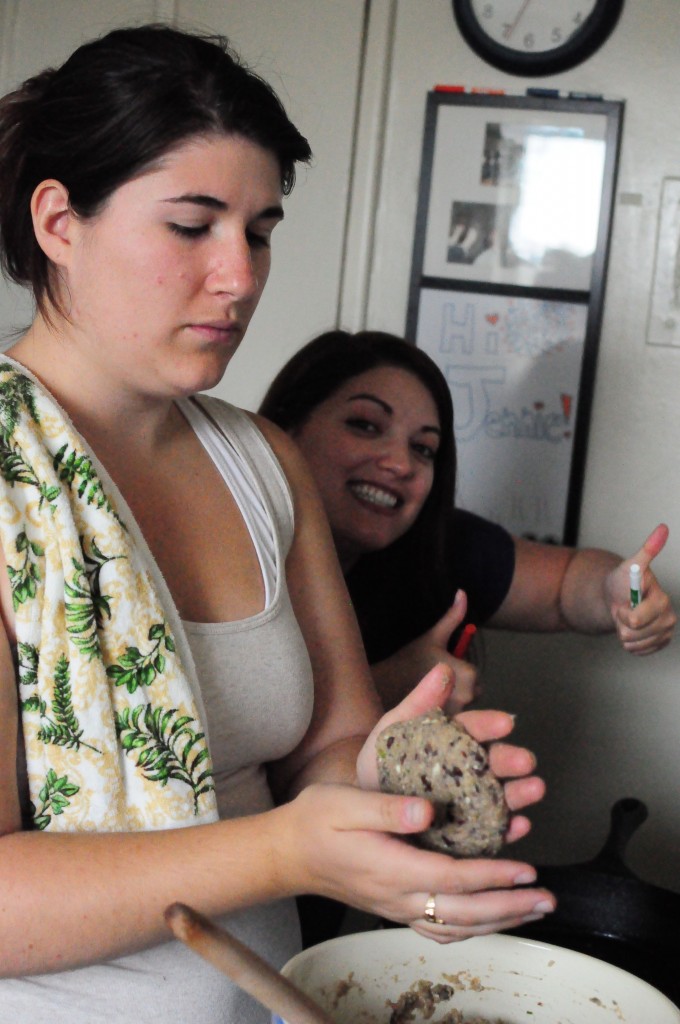
So now you should form your sticky bean burger mixture into burger patties.

Use your hands to form patties with the burgers.

Throw your burger patty in the air. If it stays together, you’re ready to go. If not, clean up the mess you made, and add some bread crumbs. (Feel free to skip this step.)

Smile. Aren’t you excited for burgers?!

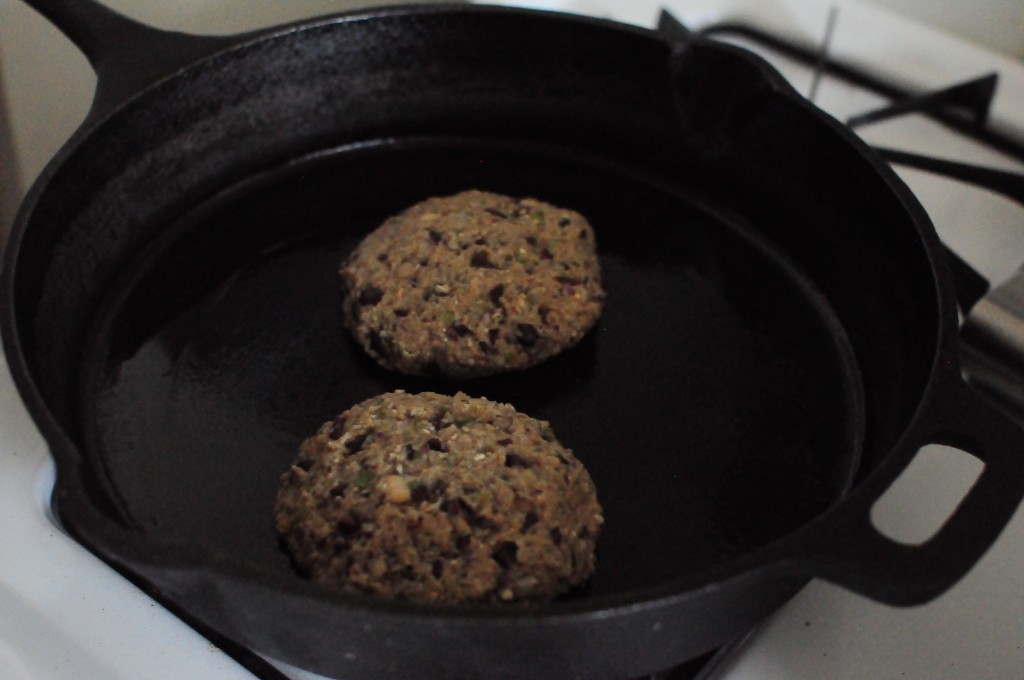
Stick your burger patties into a pan that’s been spray with oil or rubbed with butter, or greased with bacon fat, if you’re into that sort of thing. Cook ’em on medium heat for about 5 minutes on one side.

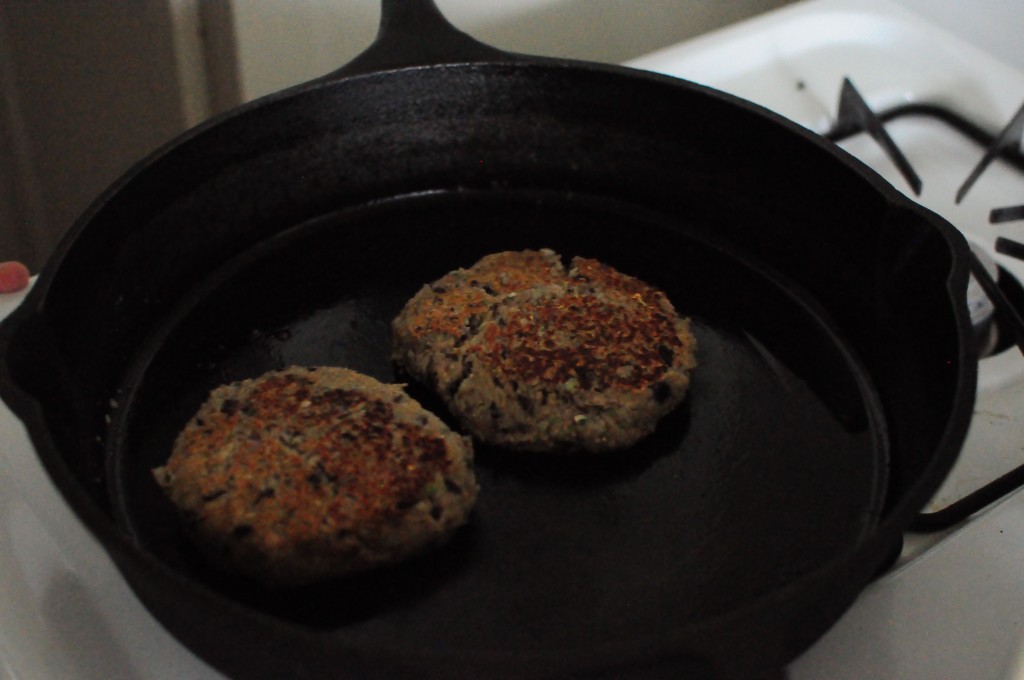
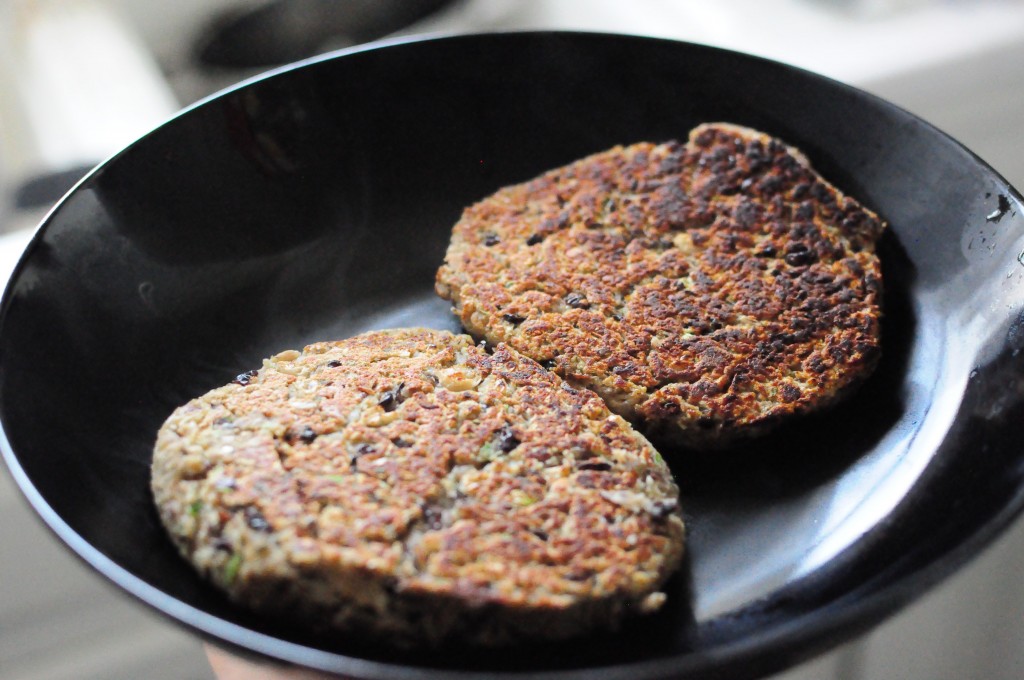
After one side is browned, flip ’em over and cook the other side for about as long. You want to make them thin enough that the edges get brown too.

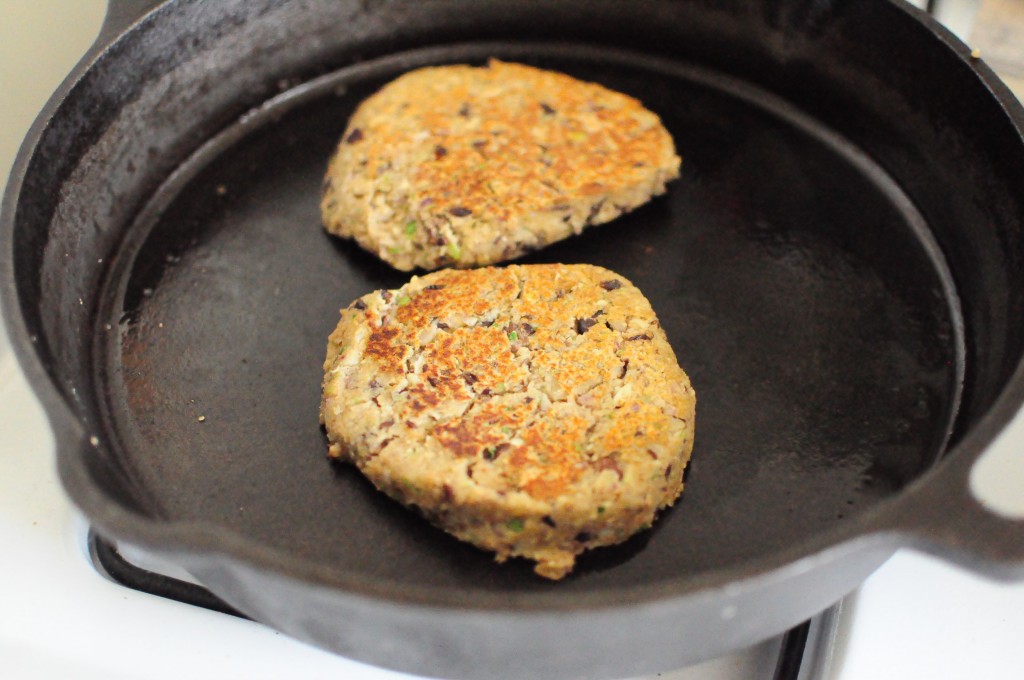
When they’re done they should look basically like this. Serve them on a plate, on a piece of toast, on a bun. With pita! Make sure to add ketchup, or BBQ sauce, or avocado, or tomatoes, or mozzarella cheese slices, or any kind of cheese in general, or fresh spinach. You get the idea. Dress ’em up! Eat ’em plain! Whatever tickles your fancy. I had one with BBQ sauce, and one with spinach and cheese on toast. Both delicious. Both filling.

This recipe makes about eight patties, more if you make them a little smaller, and word on the street is they freeze well. I froze six, so I’ll let you know how it goes when I go to make them!


[addtoany]

So if you didn’t watch the video (which you should!) here are some photos/information about the gluten-free scones!

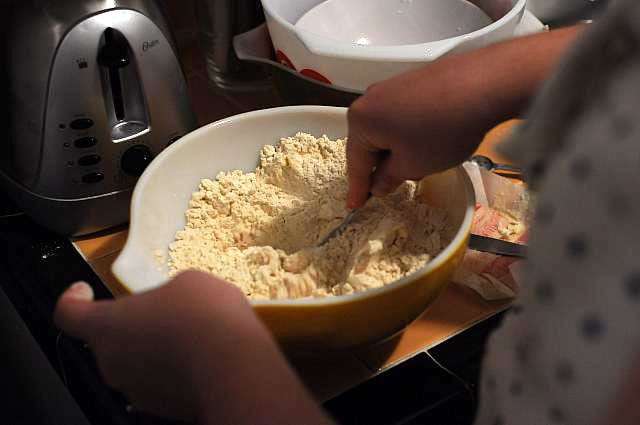
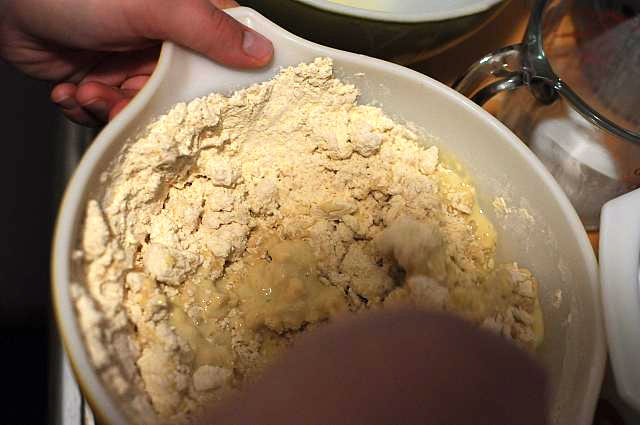
So first, you take your gluten free flour and add your baking soda, baking powder, salt, and sugar, and mix them together. Then you take your butter, and you cut the butter into the flour mixture. Chill for 15 minutes.

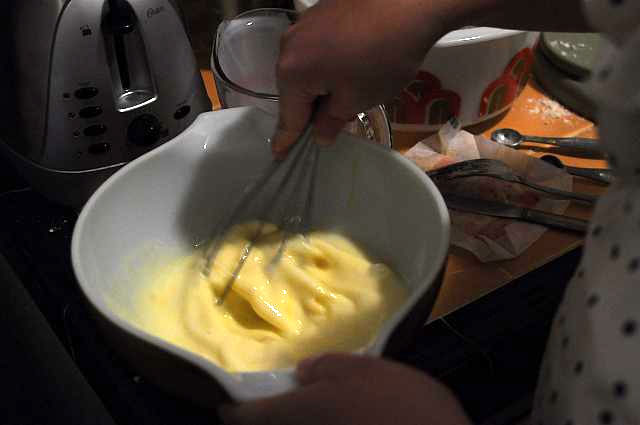
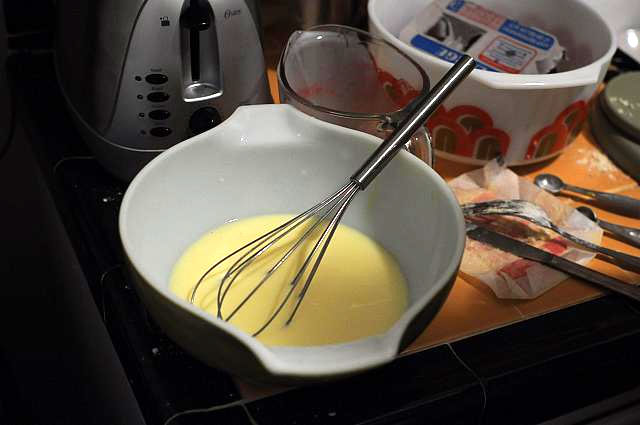
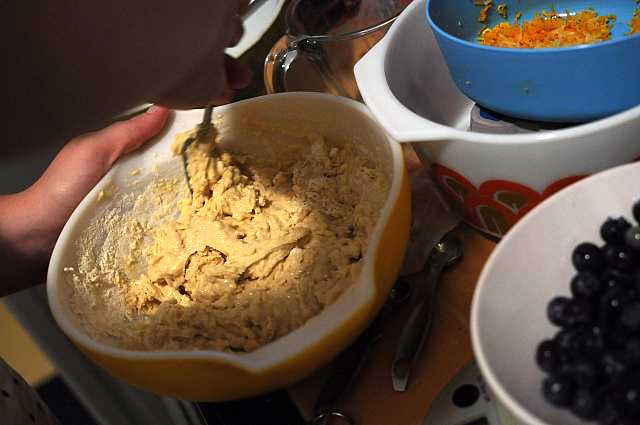
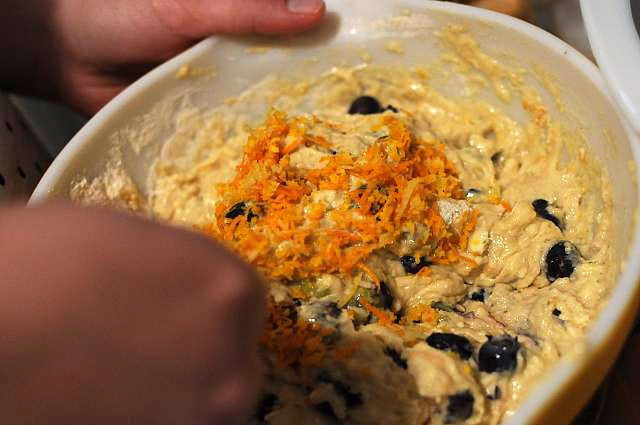
Meanwhile, you take your egg and crack it into a bowl. Add your buttermilk, lemon, and orange zest.

Whisk well.

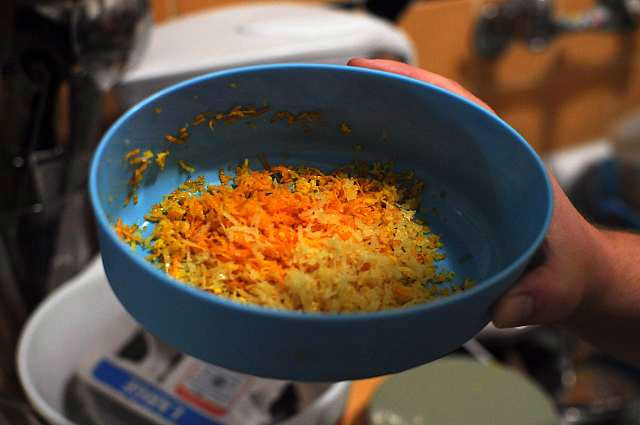
Look at that delicious zest!! Yum, yum.

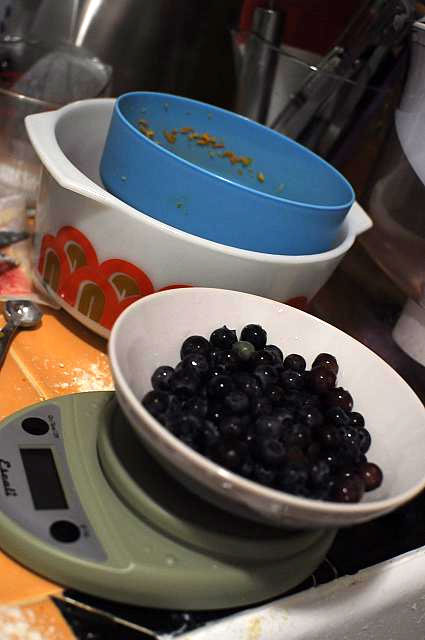
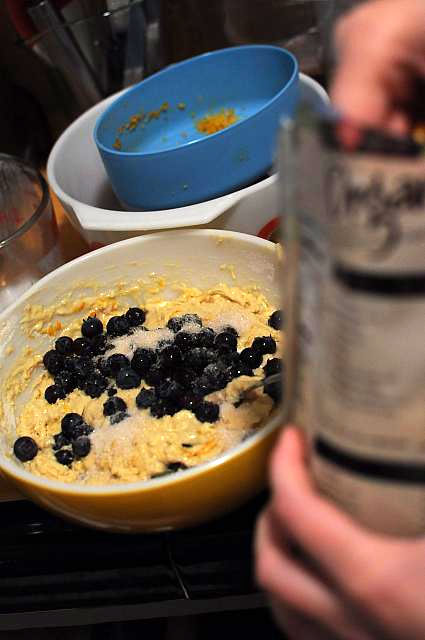
Now measure your blueberries — I used grams, Corelyn used cups. See recipe for more specifics.

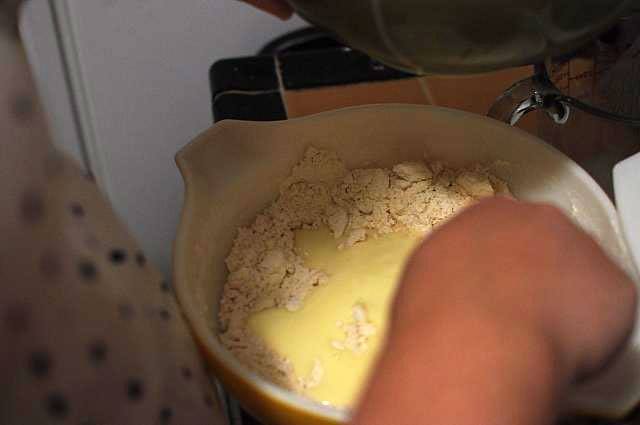
After you chill the flour mixture, add the buttermilk/egg mixture slowly, until just combined.


Add your blueberries in. And any more zest you want!

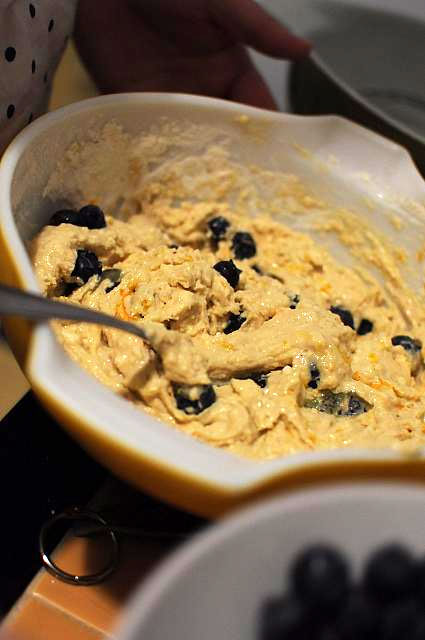
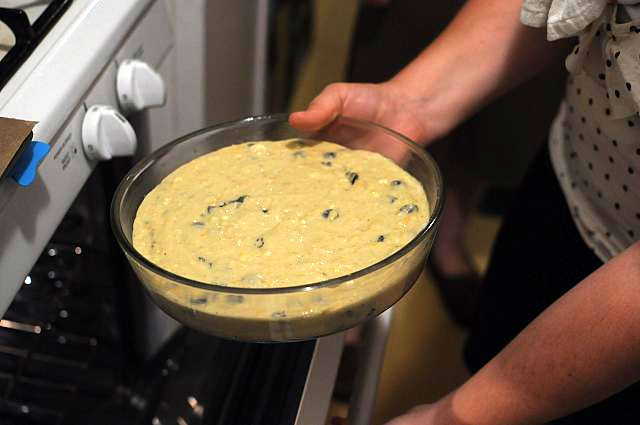
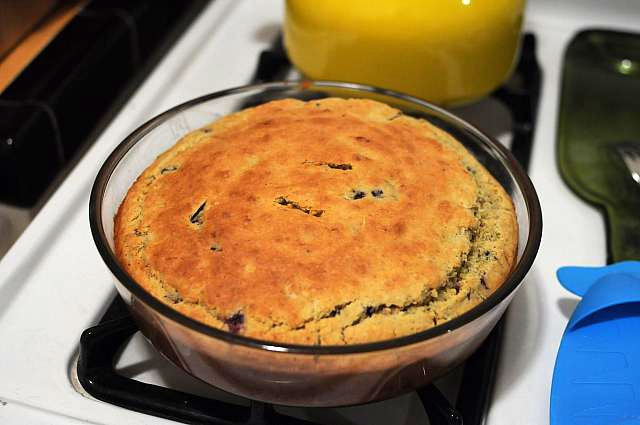
I had to use a pan because ours was too liquidly to drop/cut.


[addtoany]

Hello Sorellas!

Sorellatortina here, joining the lovely ladies of Garlic My Soul for some guest blogging! June is a very special month for me. 10 years ago in June of 2001, I stopped eating meat. It wasn’t an easy jump from carnivore to vegetarian though. In 2001 I was a freshman in high school with very little control over my own meals. Mom wasn’t quite sure what to do with me when I told her I was becoming a vegetarian. Everyone else in my family eats meat. But that didn’t stop me. Instead, I decided it was time for me to start making my own meals and experimenting with cooking all different types of food. Now, here I am 10 years later, writing about vegetarian cooking and baking, two of my favorite activities.

There are a few different kinds of vegetarians, ranging from vegan (no fish, meat, eggs or dairy) to pescatarian (eats fish, but not animal meat). I am a lacto-ovo-vegetarian, meaning I do not consume any fish or animal products. I do, however, eat eggs and dairy. My favorite thing about being a vegetarian is all of the vegetables I have been introduced to since becoming a vegetarian. Some of those include, spaghetti squash (a great alternative for pasta, btw), kale (with which you can make an amazing pesto, recipe to follow in another post…), chard, and brussel sprouts, which I used to think I hated. I have also experimented with alternatives to pasta and rice, staples for many vegetarians. I have tried, and loved, polenta, quinoa, couscous, and gluten free pasta. What I really wanted to share with Garlic My Soul readers today though is a staple in my diet, something many people think they don’t like, when in actuality they just don’t know what to do with it; tofu!
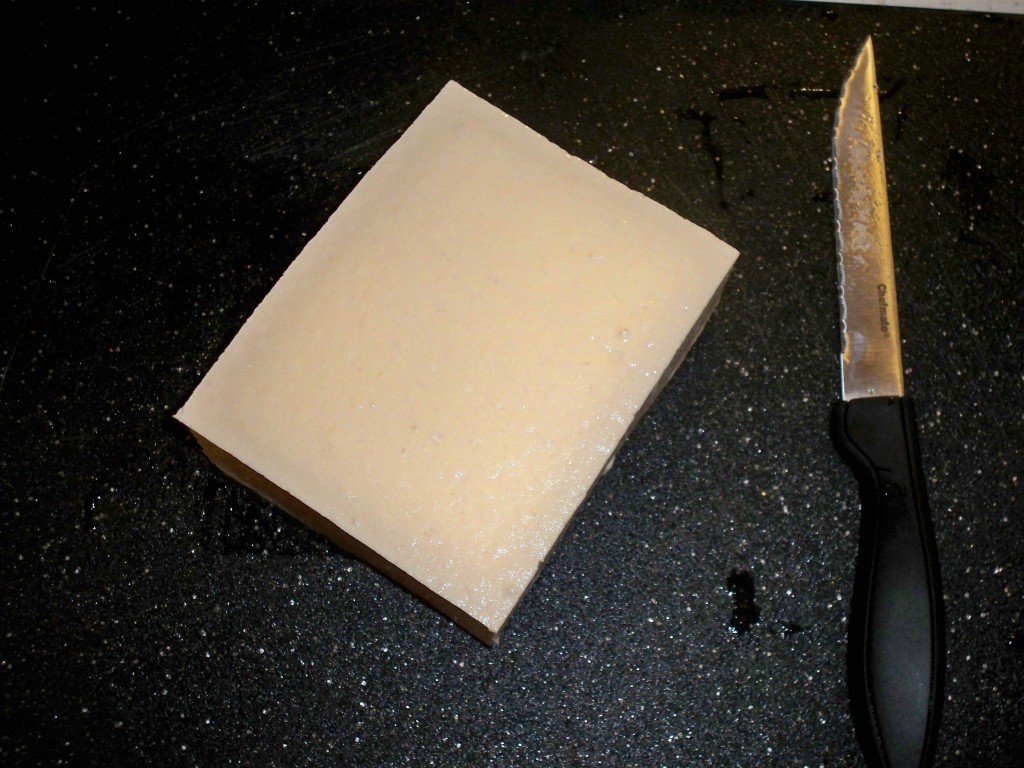
I’ve talked to many different people about tofu. Some don’t like the consistency (fair, it’s weird when it’s not cooked). Some don’t like the fact that it is soy (too much is not good for you, but we are talking EXTREME amounts of soy here). Most people I know don’t like the taste. I’m here to tell you a secret. You can make tofu taste like anything you want! I have been eating tofu for many, many years now, and every time I make it, I make it taste different. Here are some of my favorite tofu seasonings (this list could really be endless, so these are just my staples):

*Olive oil – simple and fast, goes with any vegetable or any grain

*Olive oil and soy sauce – great with rice, quinoa, couscous

*Thai peanut sauce – great with rice, quinoa, or couscous

*Spaghetti sauce – great with pasta or polenta

*Pesto – great with pasta, rice or polenta

*Italian salad dressing – great with any vegetable or grain

*Olive oil and fresh spices (rosemary, thyme, oregano, parsley, basil, dill and sage are all ones I have used)
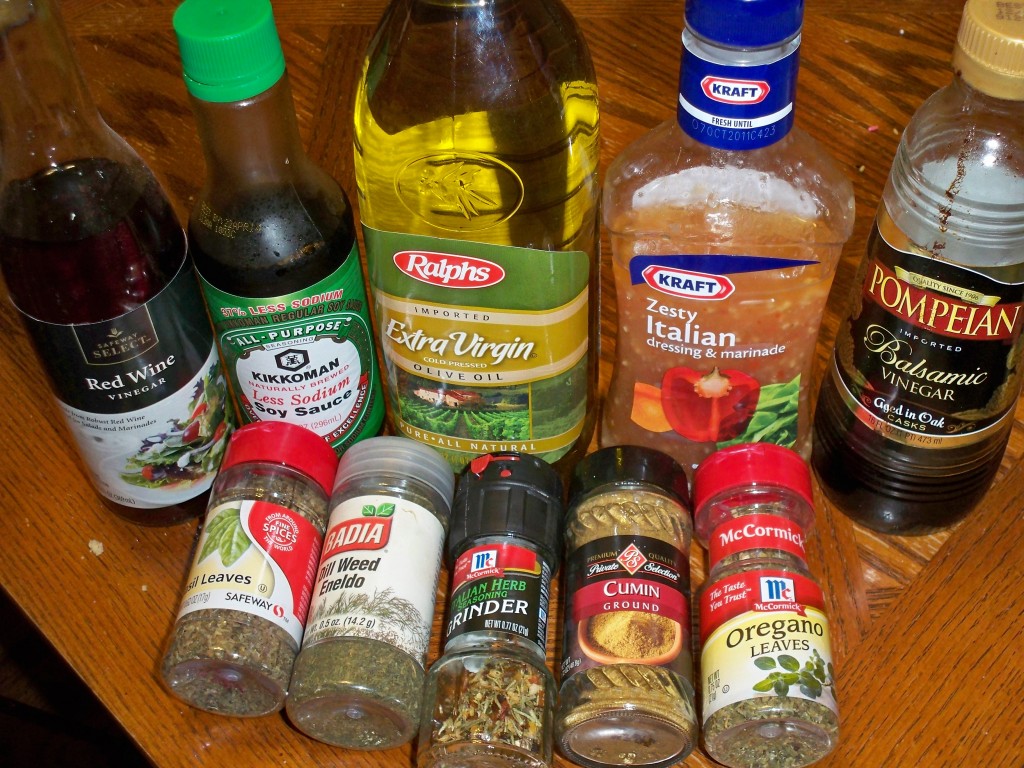
Now that you know what to put on your tofu, you probably want to know what to DO with your tofu. There are different kinds of tofu, with varying uses. For this recipe, and in most cases when I am making tofu, I use extra firm tofu. Soft and firm tofu tends to fall apart while sautéing. Soft tofu, however, can be a great substitute for ricotta cheese in lasagna (another recipe for another time).

The easiest way to make tofu is to start by throwing one of the above seasonings into a frying pan. In this example, I am using olive oil and soy sauce.

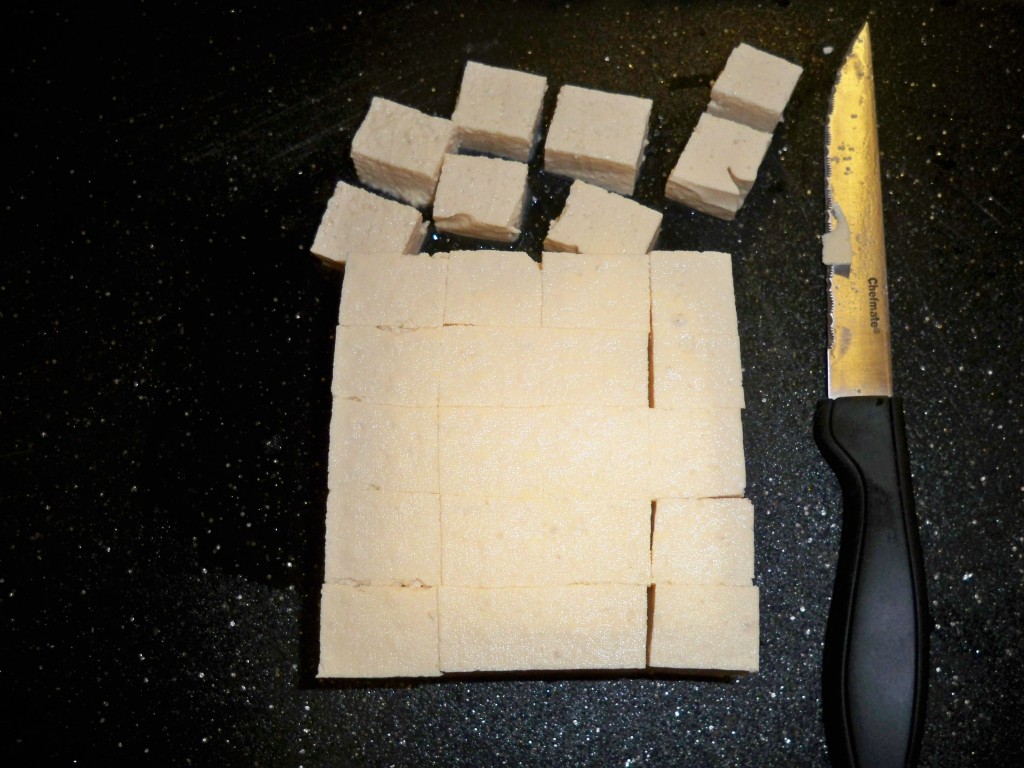
While the oil, sauce, or salad dressing is heating up, drain your tofu, and cut it into cubes, about 1/2 inch in size (though any size is fine really, it will just remain soft in the middle if you use larger pieces of tofu). Drain any further liquid from the tofu by pressing a paper towel on it.
Once your seasoning of choice is nice and hot, toss your tofu cubes into the pan and sauté until brown and slightly crispy on the outside. Be patient here! The key is not to have too much liquid, and to let the tofu fully brown once the liquid is all soaked up. This could take anywhere from 12-18 minutes depending on your pan, the level of heat (should be medium), and the size of your tofu cubes. Watch your tofu carefully, turning often, as you want to try to have the sides evenly browned.
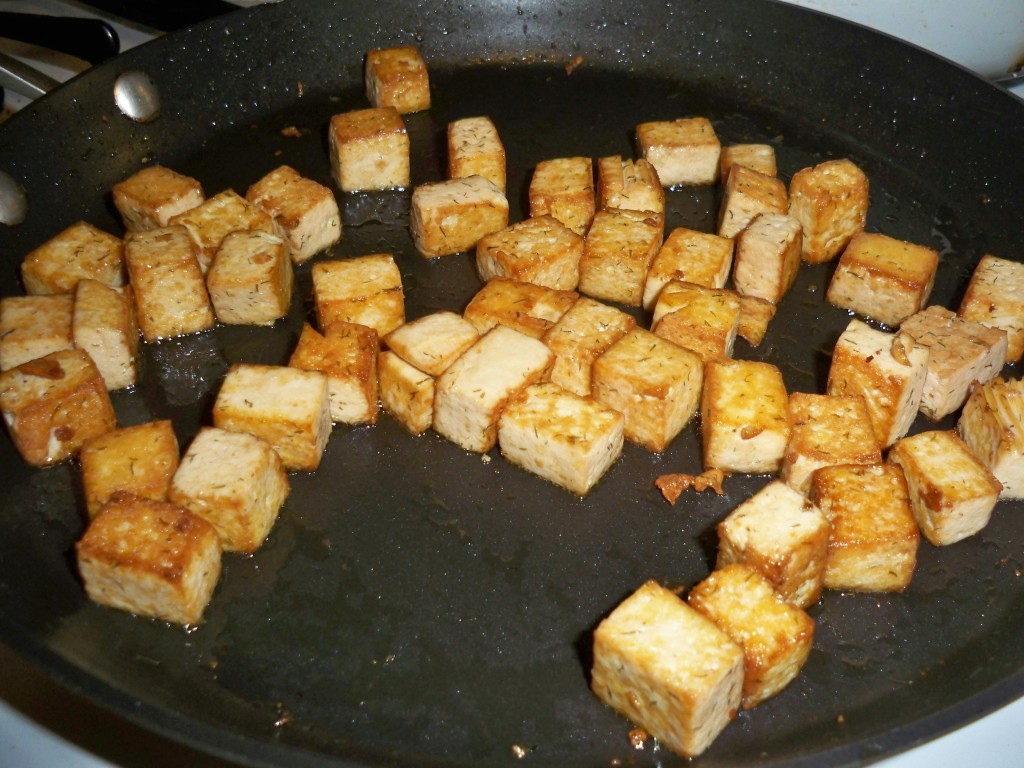
While your tofu is cooking, toss your favorite veggies in the oven with the same seasoning. Once you tofu is browned to your liking, mix everything together and serve over your choice of grain, or eat your tofu and veggie dish on its own!
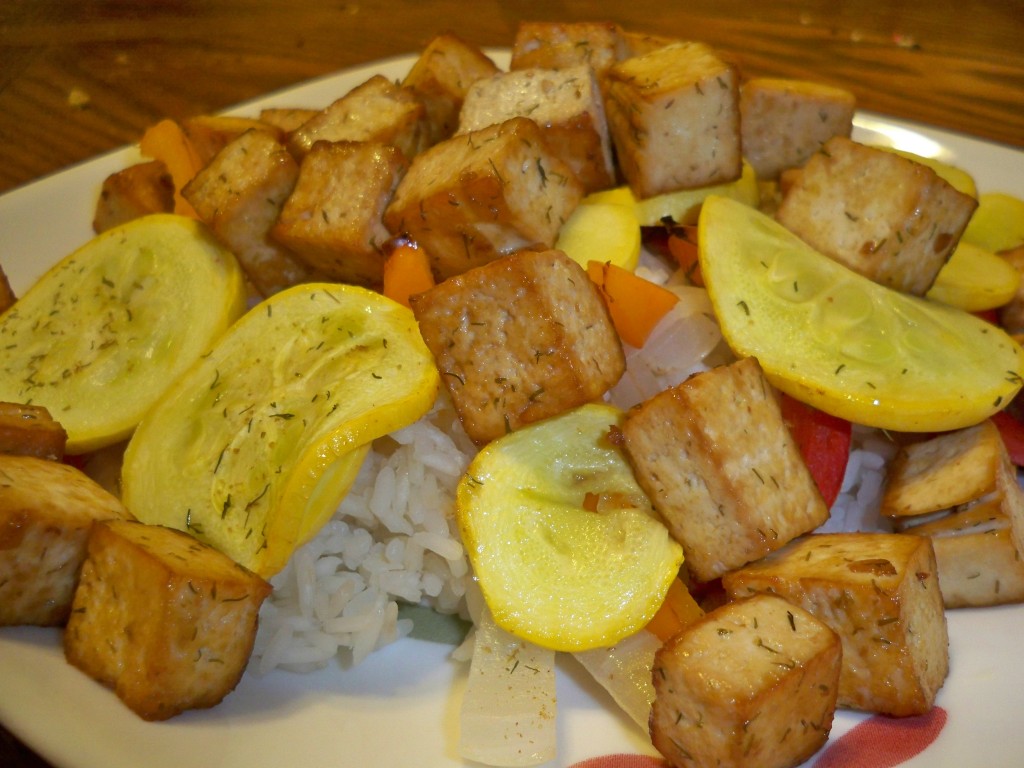
Voila! Eating vegetarian doesn’t have to be difficult, unhealthy or boring!


[addtoany]
Once again, step by step for those who have not watched the video!

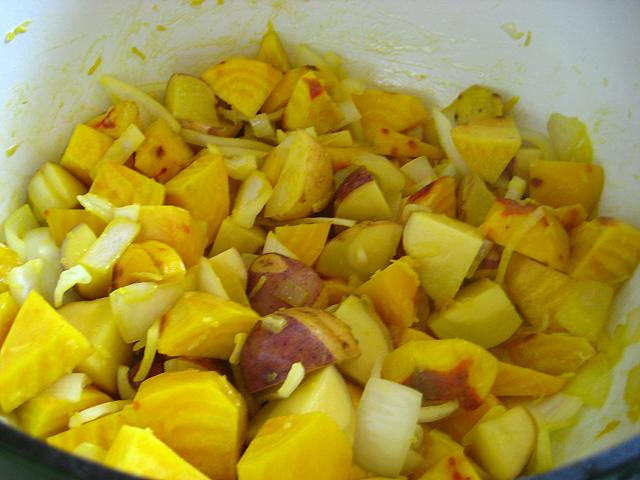
Take your onion, beets, and potatoes, and chop. Melt butter in dutch oven/sauce pot, and add chopped veg, along with your lemon zest. Mix to coat, let simmer for 15 minutes.

So add your broth now, and let simmer with broth for an hour.

Let it cool for about 20 minutes.

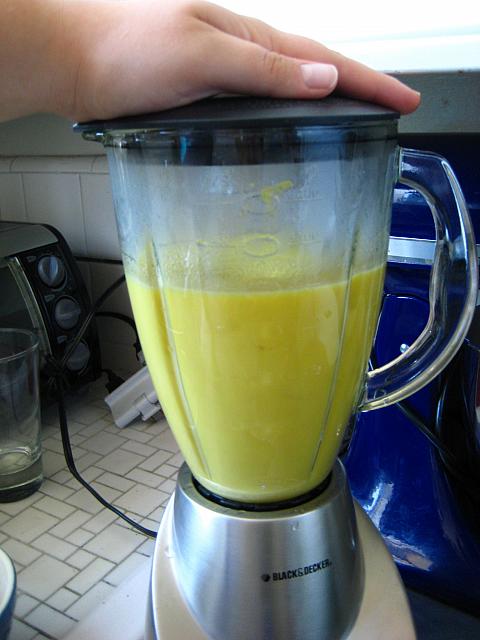
Then blend it! You can use your food processor, blender, or an immersion blender!

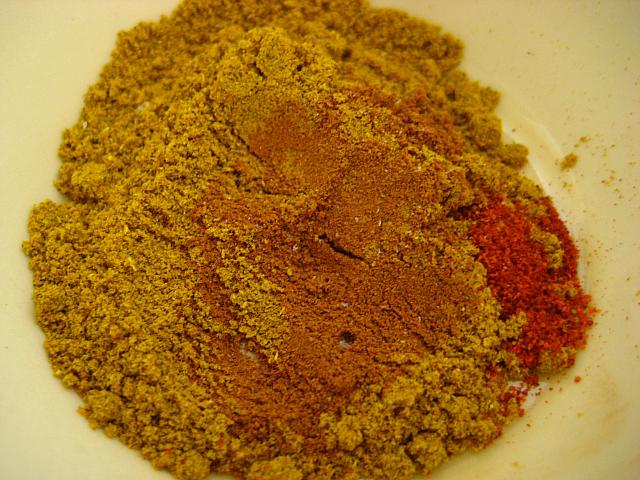
Return to heat and add spices.

Heat for 20 minutes, then serve hot with dill and sour cream. You can puree the beet greens and add them to the top, too, if you so desire!

So delicious, we ate it all up!


[addtoany]