Hello Folks!

This time around I wanted to try a fun seafood oriented dish. I thought about it for a little while and realized that I hadn’t eaten mussels in quite some time and wanted to see what could be concocted. This recipe stuck out: it is simple and wonderfully tasty. You get a great taste of the beer you use and the mussels will melt in your mouth. It takes only a few minutes and can be served in so many ways!

Stove Top Temperature: medium heat throughout

Servings: 4 Friends

Ingredients:

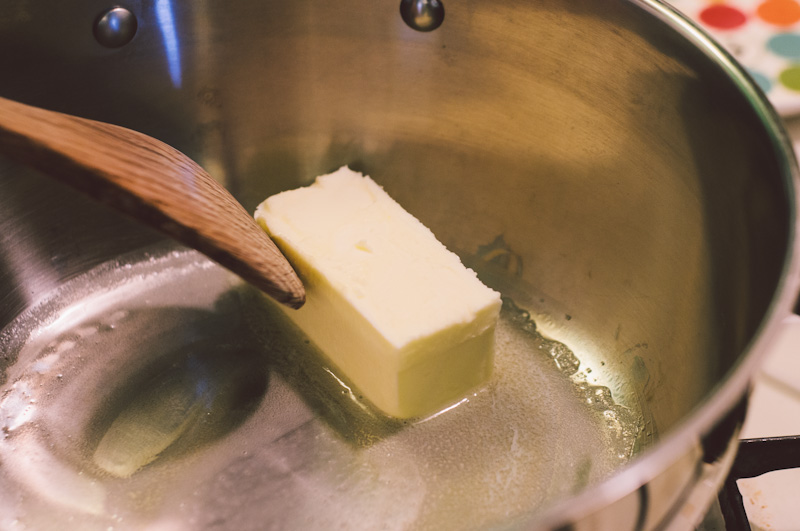
½ stick of unsalted butter
1 bottle of your favorite lager
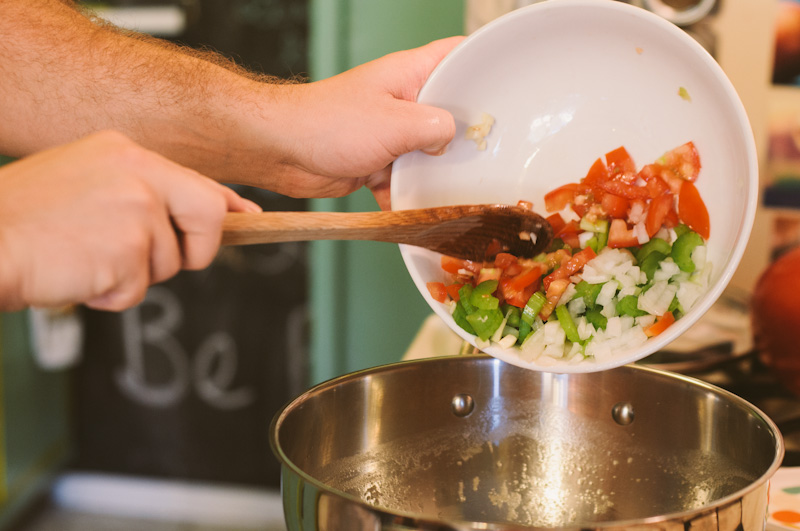
1 medium onion, chopped
3 celery ribs, diced up
1 small can of diced tomatoes, drained
3 cloves of garlic, finely chopped
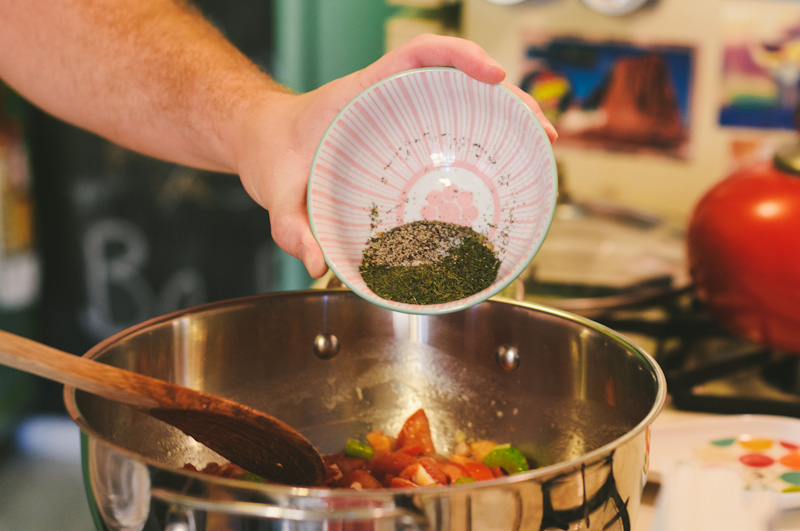
1 tsp chopped thyme
1 tsp chopped bay leaf
1 tsp chopped dill
1 tsp salt
1 ¼ tsp of black pepper
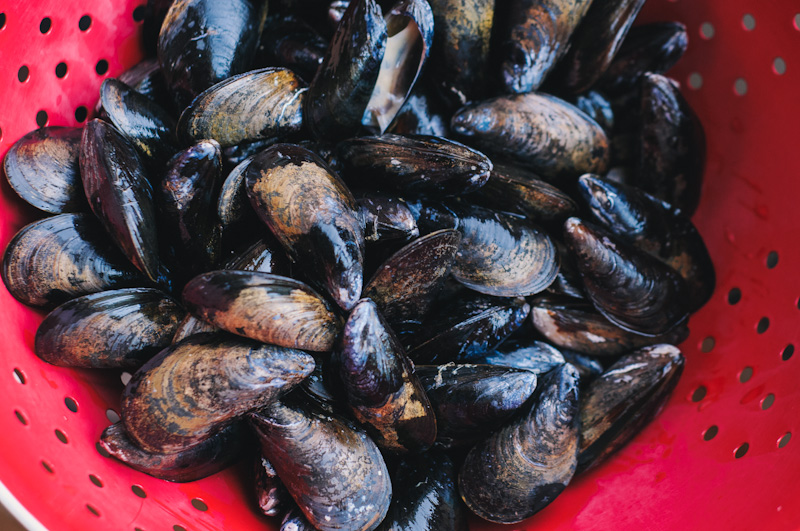
2 lbs whole mussels (don’t get the halved brands)
1 tbsp of Dijon mustard
1 tbsp whole milk
2 roma tomatoes, diced

Directions:

The first thing you want to do is give your mussels a good cleaning. Go ahead and use your hands to scrub off any dirt or loose materials on the shell. You don’t want that to end up in your final mix. Discard any broken mussels and allow them to drain for a few minutes.

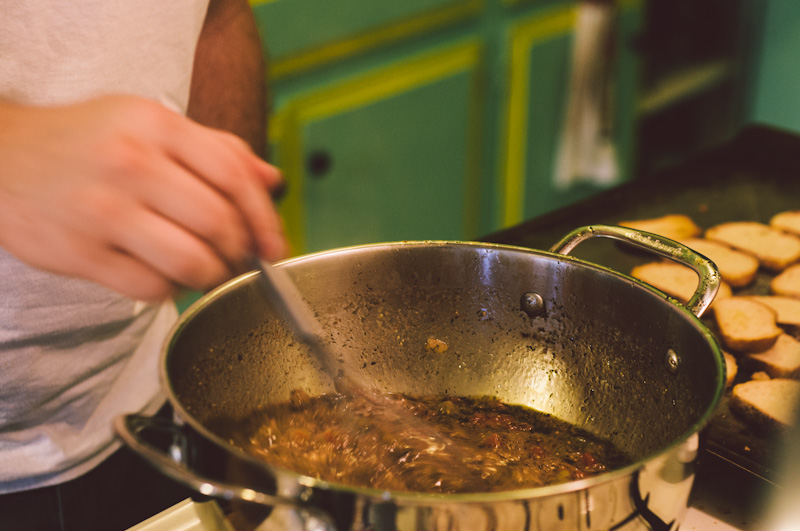
Once you have your mussels ready to go, it’s time to make your beeranara. You need a large pot that can hold all of the mussels successfully. Use one that has a cover as you will need this later. Heat up the pot on the stove top and melt down the butter, being sure to spread it out around the pot the best you can, so nothing gets stuck!

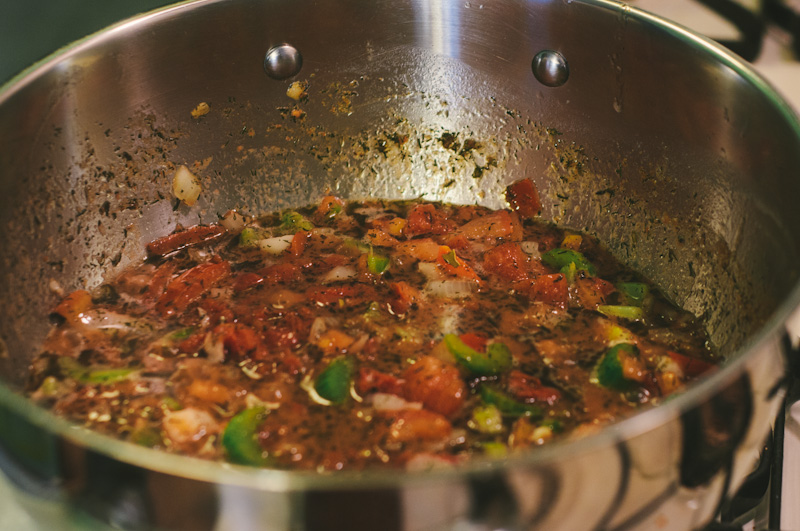
Once your pot is heated up and the butter is melted, throw in all of your spices and vegetables. (The only items you should have remaining are the beer, the milk, the Dijon mustard, and your mussels.) Mix up all your vegetables and spices in the pot on medium heat and allow them to soften. Stir occasionally for 4 minutes.  Once the veggies are softened up now it is time to add your beer!


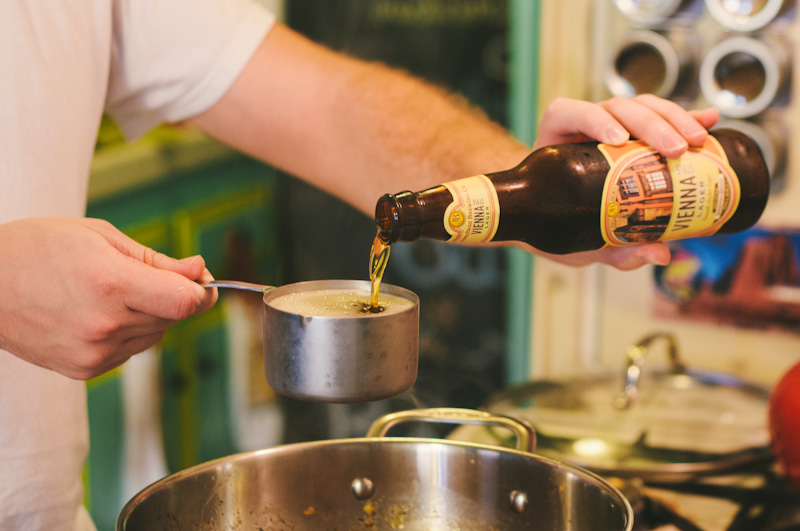
Pour in a bottle of your favorite lager, about 2 cups, and bring the pot to a boil. Give the contents of the pot a stir so everything blends together nicely. Once the beer begins to boil, drop in all your mussels. When all the mussels are in the pot, give it a good stir to make sure all the mussels get the beer broth on them. Once you have stirred, cover the pot and allow the mussels to open.


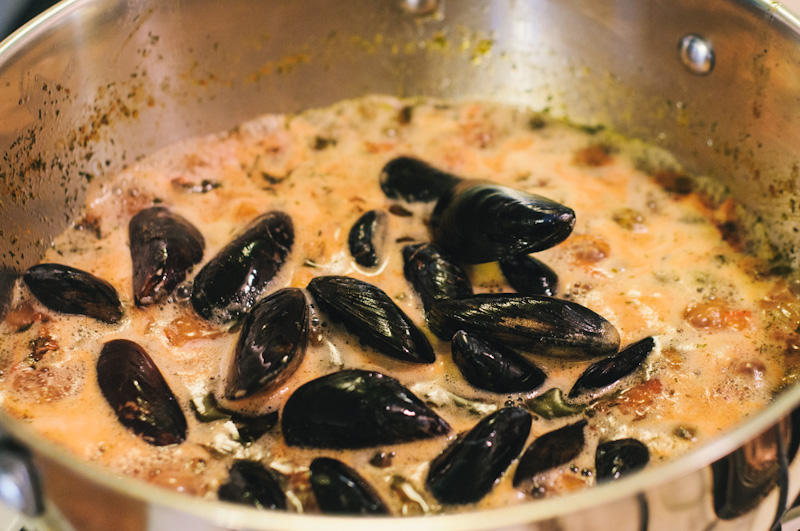
The mussels should only take about 4 to 6 minutes to open up. After 4 minutes, uncover the pot and check to see your progress. Remove mussels that have opened up into another bowl while the others continue to cook. Any mussels that have not opened up completely after 6 minutes should be discarded. There will be at least 3 or 4 so don’t take any chances (these were dead before you started and could make you sick!) You will have plenty of open ones to eat.

Once all your mussels are removed, take your pot off the heat and add the Dijon mustard and the milk to your beer broth in the pot. Once inside the pot whisk it all together until it is completely blended into your mixture. This broth will be used when you are serving the mussels.

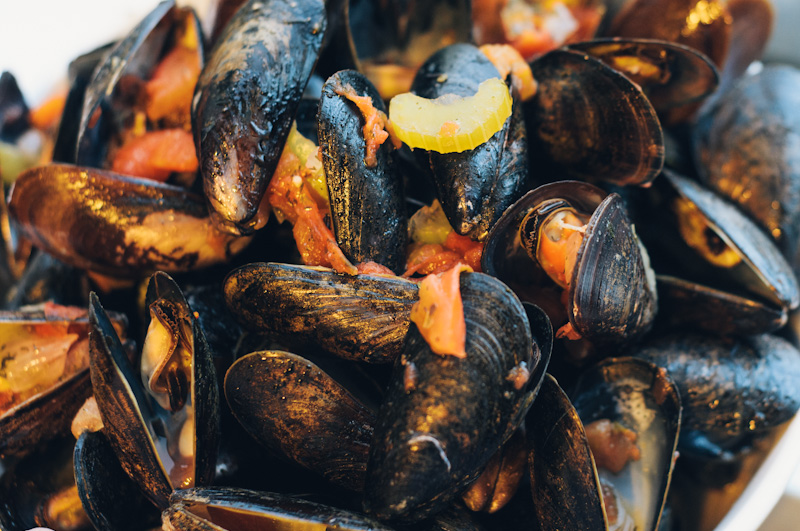
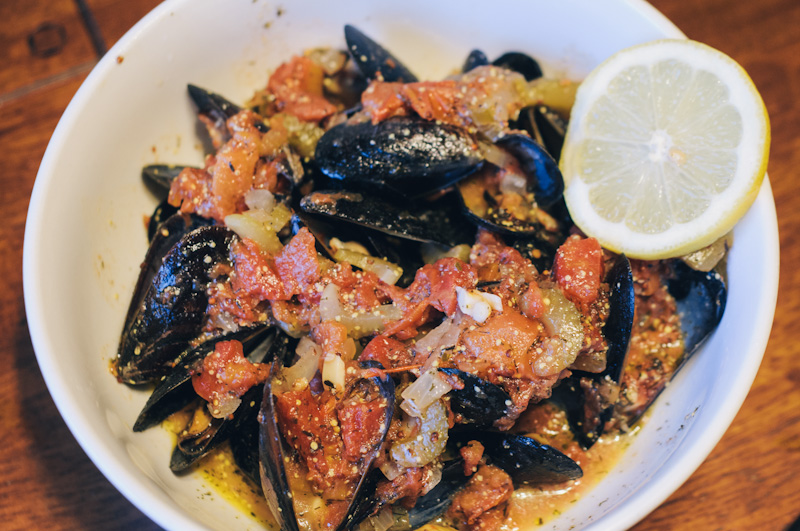
And that is it! It’s really easy and wonderfully tasty. The mussels can be served as an appetizer with toasted bread or over your favorite pasta. Simply add the broth to the mussels and you are ready to taste a wonderfully delicious start or close of a meal!

Good Spirits Folks!


[addtoany]

Recently I headed to a birthday party at A + E’s house, and A mentioned that if, you know, I had a dip to try out on people, I could bring it over.

Bring it over, I did.

Recipe:

1 bunch green kale, stems and tough ribs stripped out and discarded, leaves sliced
1 small onion, sliced
4 cloves garlic
3/4 cup ricotta cheese
1 lemon, juice and zest of
1/4 teaspoon sea salt
1/8 teaspoon cayenne pepper, or to taste (I didn’t have any so I used paprika)

So start by steaming your kale, onions, and garlic with a smidge of water.

Meanwhile, mix together your cayenne, lemon juice, salt, and zest in a bowl.

When your kale and onion and garlic are done (about 5-8 minutes) put them in the blender!

Then add your ricotta to the blender.

And, if you’re so inclined, maybe some spinach. And a smidge of water.

Blend until smooth and green! Serve with pita chips, pita bread, carrots, etc. Mine ended up being a little watery, so I would suggest adding more cheese until it’s the consistency of hummus!

What if your favorite healthy dip?


[addtoany]

As summer draws to a close (What?! How?! When!?) I have been trying to take advantage of zucchini and summer squash being in season. As such, I was delighted to try out a summer vegetable fettucine recently from my Food Network mag.

Here’s the adapted recipe:

Kosher salt
2 tomatoes seeded and diced
1 medium zucchini, finely diced
1/2 cup chopped fresh chives
1/2 cup chopped fresh basil
1 red bell pepper, chopped
Finely grated zest of 1 lemon
3 tablespoons extra-virgin olive oil
4 ounces soft goat cheese, crumbled
1 lb fettuccine
4 ounces green beans (about 2 cups), chopped
1/4 cup grated parmesan cheese

Put your water on to boil first.

Then, I like to start chopping everything up – I started with my chives.

Then zucchini.

Then tomatoes, and finally a bell pepper, if you want.

And maybe some basil, too. I don’t know, go crazy, use what you have.

Don’t forget to put your pasta in – cook al dente.

Next, chop up your green beans. These are going to go in with your pasta to cook, by the way. Get excited. Put these in with your pasta when there are 3 minutes left to boil.

Meanwhile, finish your vegetables off with your lemon zest.

Get ready to add these bad boys…

Then drain your pasta, saving about 1/2 cup of the water from the pasta.

Then you’re going to mix everything but the cheese together in your pot!

Add your cheese to the top – or mix it in if you’d like. I added to chicken to mine, but without chicken was delicious, too!

How do you like a light summer pasta?


[addtoany]

For my birthday, my coworkers got me a gift certificate to go to a coffee roasting class at the Institute of Domestic Technology.

This class taught the basics of how to taste coffee, including a cupping, and then dived into finding the right roast for you – and roasting our own coffee with Whirley Pops!  It was taught by Ian Riley of Plow & Gun, accompanied by Joseph Shuldiner, the director of the institute.

Rebecca and I attend this past Saturday, and started out by enjoying two baby goats, Poppyseed and Apple. Look how excited Becca is – she and I both obviously love baby goats.

This is Poppyseed. He tried to eat my purse, and my camera. No matter.

Back to coffee. The thing I learned from Ian really was that if you buy ground coffee, “you’re used to the taste of stale coffee.” This stuck with me because the coffee we tasted was completely different from the taste of the coffee I tend to brew at home — even though I do grind my coffee beans myself.

Ian told us it is best to drink coffee within the week it was roasted, which I am sure most of us don’t given that we buy from the store pre-packaged roast coffee. A lot of people were talking about drinking coffee with cream/milk and sugar, and Joseph mentioned that since he started home brewing he can drink his black – a testament to the difference it makes when you drink coffee right.

This is how you begin a cupping: first, you smell the coffee grinds in the cup, before water even comes into play. I must say at this point I had a fair amount of coffee in my eyes, due to the fact that I breathe out whilst breathing in the cup — not a good idea.

Then, Ian and Joseph filled the cups with water all the way to the top, and the next step was to smell the coffee as it brewed.

It apparently is customary to have the cups on the edge of the table for pouring purposes, which was pretty scary because I was sure I was going to knock one over and spill everywhere. I didn’t, thank goodness, but it was a real possibility.

Here is Becca, really getting her nose in there to smell what’s up. What was up was delicious, wonderful coffee.

Your next step is called the Break. You use the back of a spoon to break the grounds at the top, also while smelling the coffee, also creating a foam over the top. All this smelling was really making me want to TASTE this coffee, already!

So next, you use two spoons to take the grounds off the top of the cup (so you can FINALLY taste it!!) It was hard to get the hang of this, but I am confident that I can get it down eventually.

Here is a cup of coffee that knows what’s what. Next, it’s time to taste! We tasted six coffees; three from very different regions of the world, and three that were similar beans but roasted differently. My favorites were Ethiopian beans, and the dark roast, which is comical as Ethiopian beans can’t be brewed dark. Go figure, of course I’d pick a hard combination. Becca preferred the medium Vienna roast, which is a blend of Brazilian, Guatemalan, and Colombian beans.

After tasting and discussing, it was time to roast our own coffee. Ian mentioned at first he had some trepidation using a Whirley Pop to roast coffee, but once he had, he told Joseph, “we must teach this class!” because it is a relatively easy and cheap method to roast at home!

Here are the green coffee beans. They look like pistachios to me!

Here I am, roasting away! This took about 13 minutes when all was said and done for me to get to a dark roast. You start with green beans (this is where we were given a recommendation to get them from), and use the Whirley Pop (we seemed to be at a medium heat) that you have already heated. For the coffee I roasted, I let it pop twice (it sounds like popcorn!)

Ian checking to see…are we ready?

Smile of approval! Thank goodness, because I was the last one done in my group and it seemed that I would be spinning that Whirley Pop for the rest of my life.

Here are my roasted coffee beans!

Becca was next – she was the FIRST one done in her group. Go figure!

So once your beans are “done” on the heat, you dump ’em on a jelly roll pan.

These are Becca’s beans, cooling.

These are the beans we made, ready to bring home! (Which we did, and which I have drank. Delicious.)

At the end of class, Ian brewed us some coffee using a french press, which he recommended to get even, consistent brewed coffee. He also recommended a burr coffee grinder for even grinding and a more consistent grain size (do you notice a pattern of consistency?)

We also got to bring home some green beans to roast ourselves. I learned so much from this class (from how to cup, how to roast, and how to brew coffee) that I recommend it for anyone who likes coffee as part of their everyday ritual. As I sit here and sip the coffee I roasted myself, I know it’s worth it. I’ll even let you borrow my new Whirley Pop!

(For more goat inspired photos, head here)


[addtoany]

So today I wanted to bring a couple of items to your attention I find to be important, and interesting, and that I want to discuss with you!

One: This article on whether organic is getting too big for it’s own good. It’s a fascinating insight to what makes something organic, and all the work (and bureaucracy) that goes on behind the scenes. My immediate thinking is that bigger is better for larger change, but I understand that this means that the ultimate efforts of the original organic farmers get lost in the shuffle. Thoughts?

Two: Let’s talk about exercising and hunger. I think I am going to do a “Healthy” month coming up, because I think that healthy eating doesn’t have to mean miserable, diet-filled days and hunger, sad nights. I’ve been exercising in the mornings, but I think incorporating some fuel into my morning workouts will help me boost my run times.

What do you guys eat before working out? When do you work out? 

Three: Coconut oil.

So I have this coconut oil that I got in the mail from Tropical Traditions. I am going to discuss with Becca how to use it (and soon!) because we already use + love coconut oil. Stay tuned for something exciting in the future that I am sure will make you all happy!

Four: Avocados. I need to make an avocado smoothie this minute. I plan on maybe doing this next Friday before my race…I think this’ll help me run the 5k. Have you guys ever run a 5k? What did you eat beforehand?

Five: I made this pasta last night for eleven friends, and I am still dreaming of it. Luckily it’s also what I have for lunch! I can’t believe it took me two and a half years to make it again, but I will never wait that long again — you should have this for dinner tonight. I also made it in my turkey roasting pan, because I didn’t have another pan big enough to fit all three pounds of pasta. My turkey roasting pans lives under the credenza. Raise your hand if you need to move (raises hand.)

YUMMY. (Please ignore my two and a half year old photography skills. Thank you.)

Happy weekend, friends!!


[addtoany]