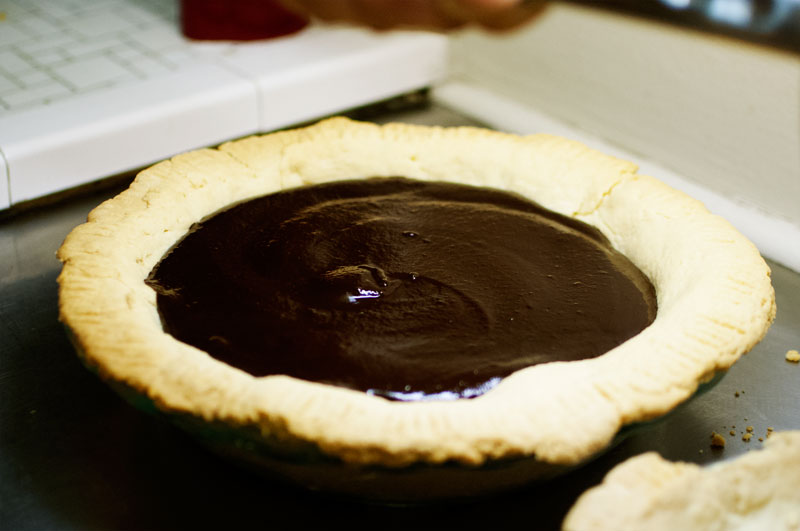
 For those of you who don’t know, I spent the first 12 years of my life on the east coast – in Connecticut, matter of fact. Most of my family (save the immediate ones) still live their, nestled in West Haven, and Hamden, and Guilford, and Orange, and the like. Something I remember fondly of my youth is chocolate lemon pie. It’s like lemon meringue pie, only it has a top crust, and on top of that top crust is a layer of chocolate.
And, apparently, no one outside of the New Haven area has any idea what a chocolate lemon pie is. Which is exactly why I asked my mom for the recipe a few years back, AND exactly why I made it for KCRW’s 4th Annual Good Food Pie Contest. My friend Christian suggested (no, actually required) that I enter, and so I did.
Although I didn’t win, I did have the only chocolate lemon pie out of hundreds, and a young gentleman told me it was the best pie he had that day, and I had five friends stop by, and I tried lots of pie, which is to say: I won.
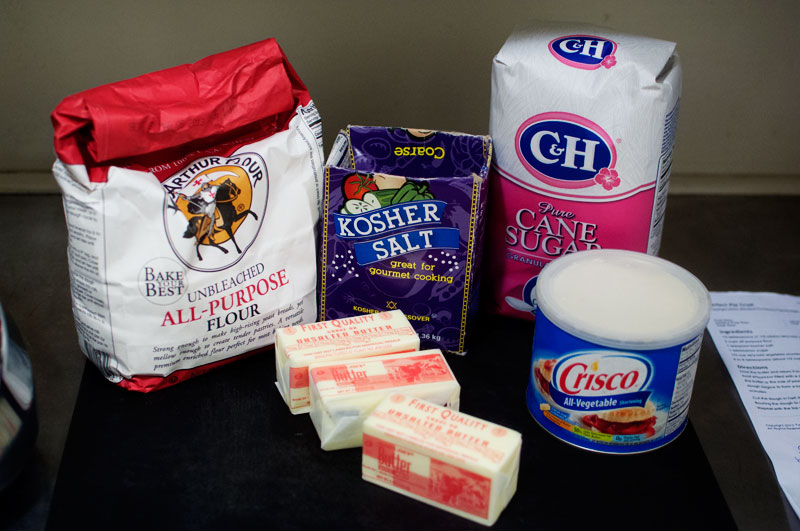
You start with crust. Crust is easy, and hard, all at the same time. I used Ina’s because she’s trustworthy, and because my mom told me too, and because when my mom, who never uses a recipe, tells you to use a specific recipe, you use it.
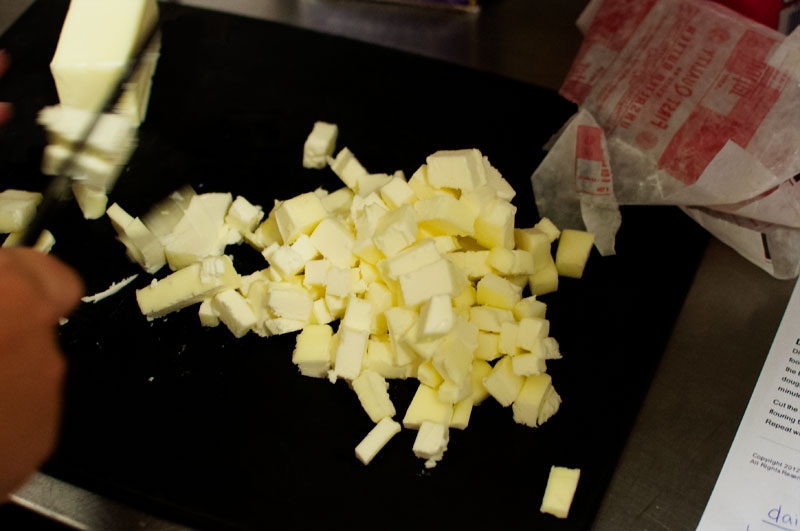
So you dice butter, first. I had to dice three sticks because I was doubling the double crust recipe to make two pies (one for the public, one for the judges.)
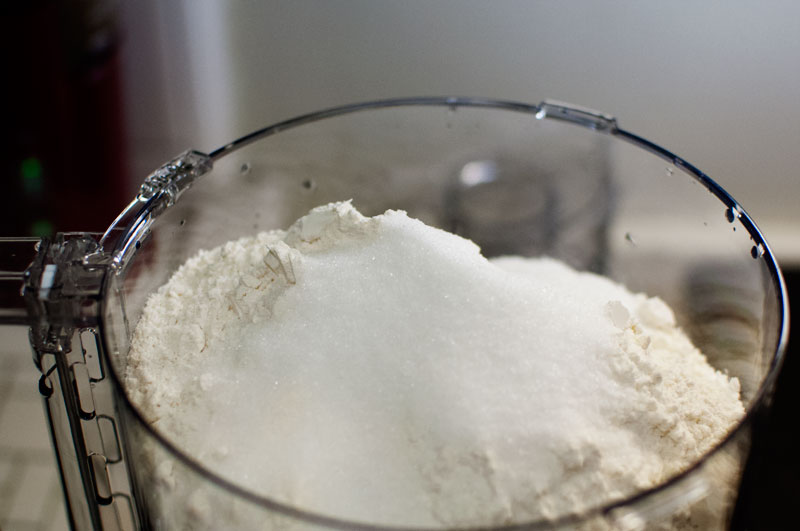
So you take your flour, and your salt, and your sugar, and you pulse ’em together in your you-don’t-know-it-yet-too-small food processor.
Or your not-too-small food processor, if you have one of those lying about.
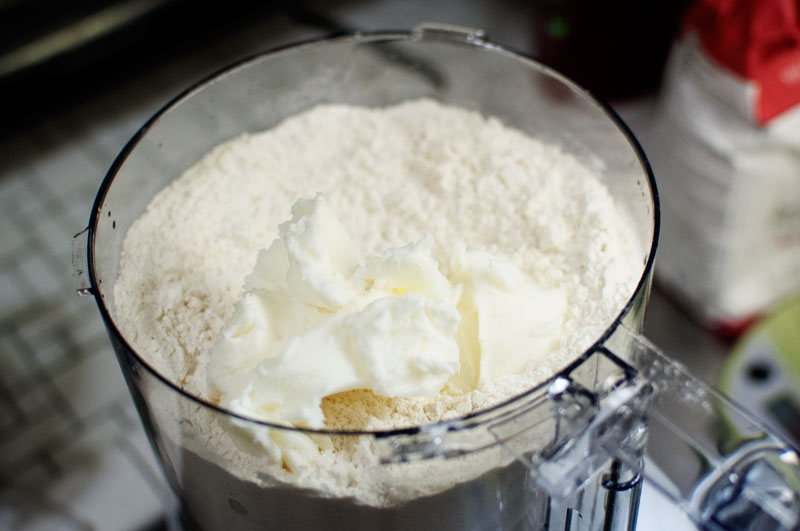
Add your cold shortening, and pulse that in too. Realize your food processor is too small, and transfer to mix by hand…
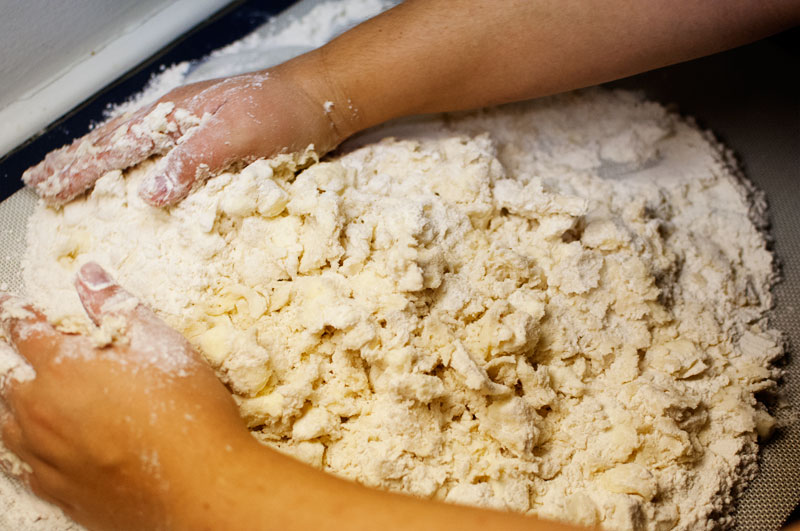
Mush it up until the butter is about pea sized, or so.
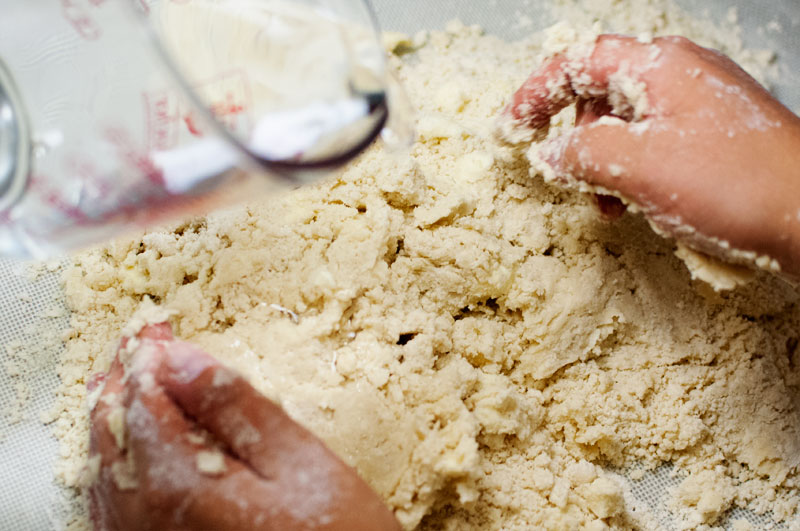
Then you’re going to add your cold water to your doughy mess.
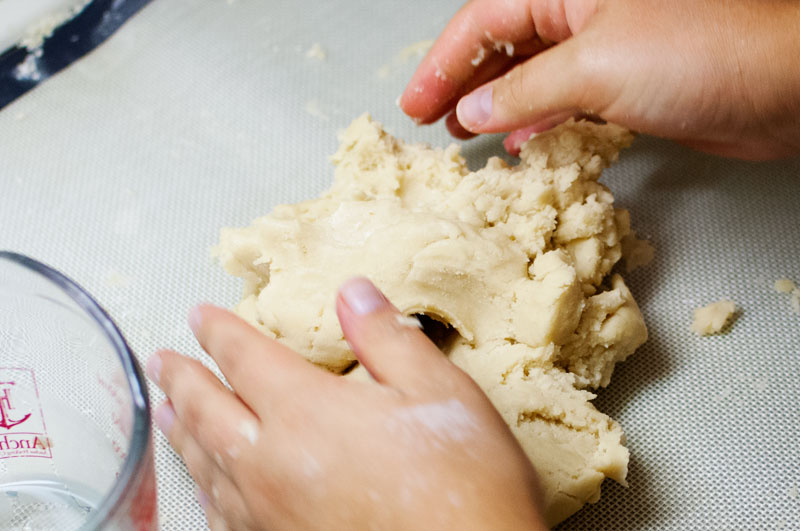
Now mix until just combined to something you can roll into a ball. Roll into a ball, and chill for at least 30 minutes.
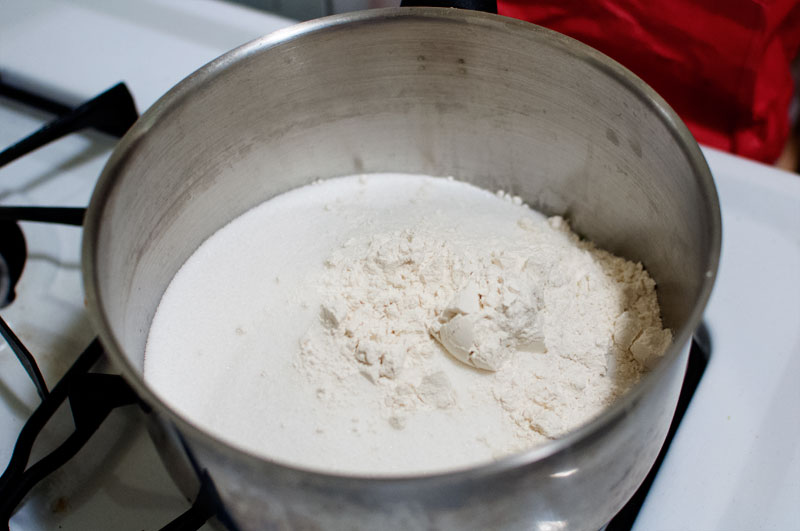
So, meanwhile, in this episode of “Jennie Mixes White Things Together” mix together sugar, flour, salt, cornstarch, and powdered lemon pie filling in a sauce pan.
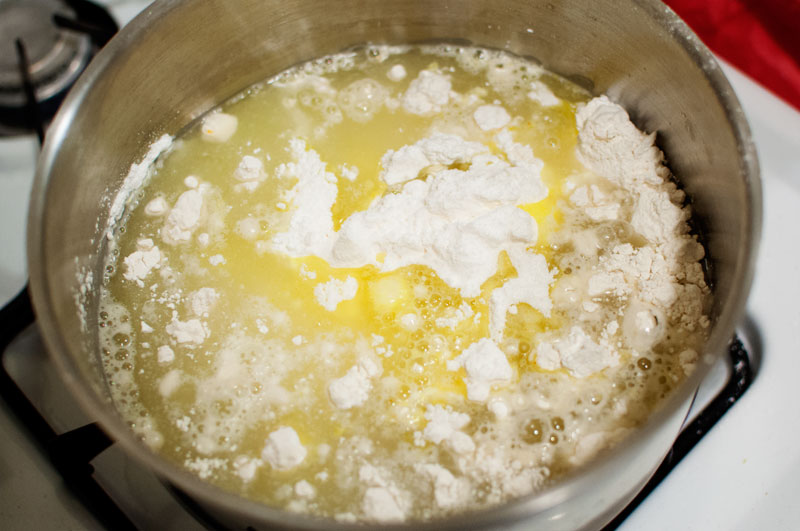
Add water and poof! your mixture turns yellow! Voila! Lemon! Delicious! Ok, I’ll stop.
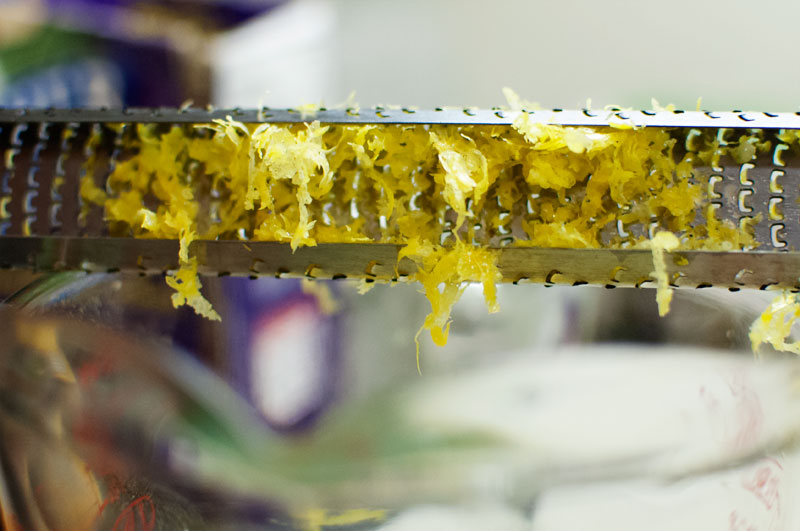
Zest your lemon and juice ’em while your mixture simmers…don’t forget about it though, it thickens fast!
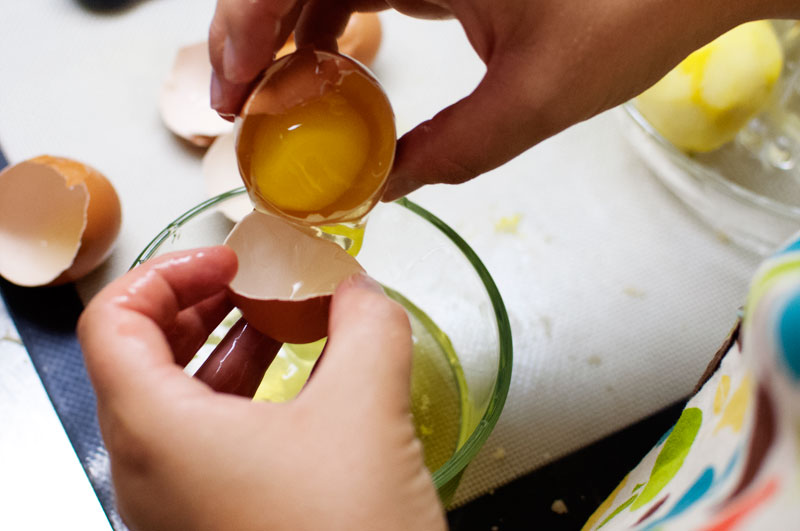
Also you maybe should separate your eggs. I had to separate ten, and this took a bit of time…don’t be like me, do it before hand.
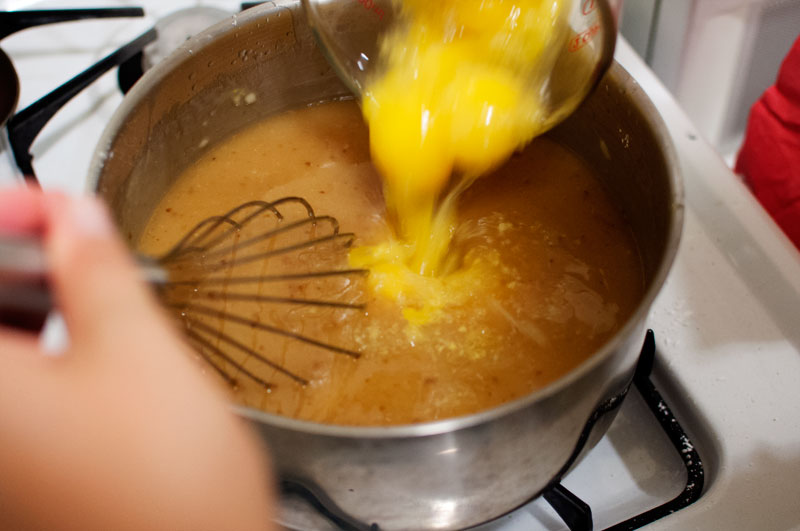
So then add your yolks, zest, and lemon juice to your thickened lemony-goodness.
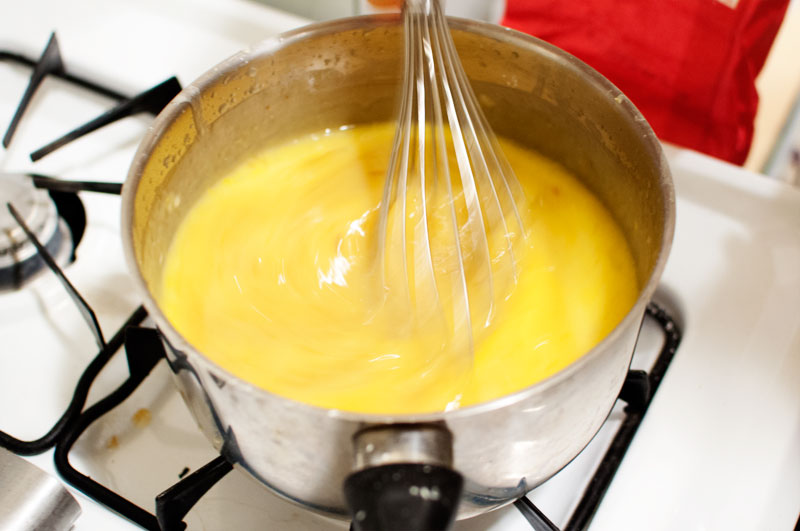
Boil it, then let it cool. I know, I know, annoying. But while it’s cooling you can lay out your pie crust!
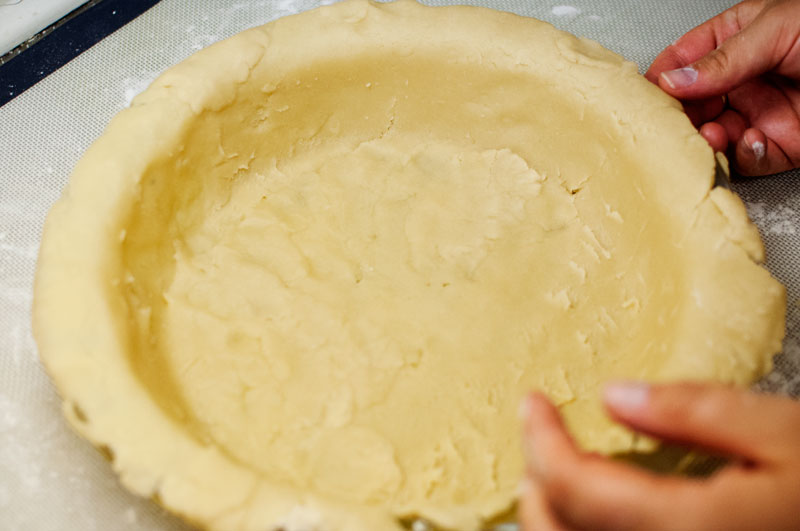
Confession: I think that I used too much water, or something, but I need to work on my crust-making skills.
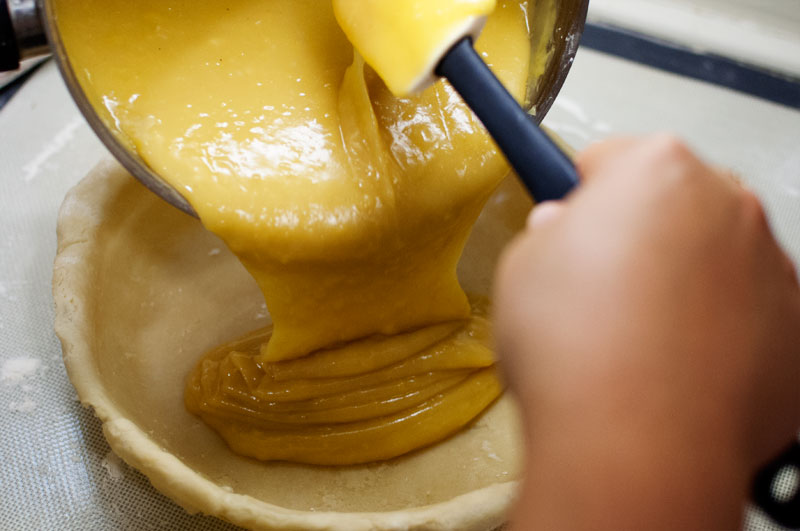
So once your lemony goodness has cooled, pour into your pie crust. Resist the urge to eat straight out of the pan (although I supposed you could, in theory, do this.)
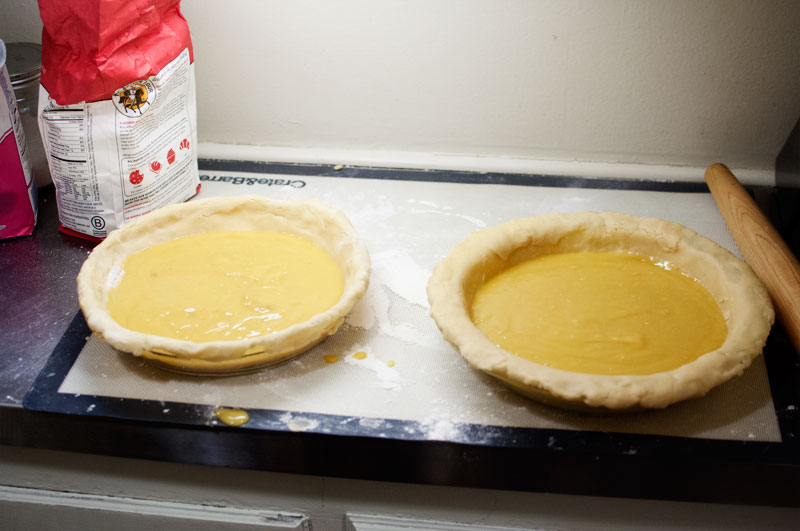
Double the fun here – now you need to top your pie with your top pie crust. This, in my household, did not go so well, as it was late, and I was out of ideas, and finesse, and Jeff though a pizza tin would help us flip it onto the pie, and…well…we ended up with some pie crust in the lemony goodness. But don’t fret if this happens to you – there will be chocolate over your pie crust, so never fear!
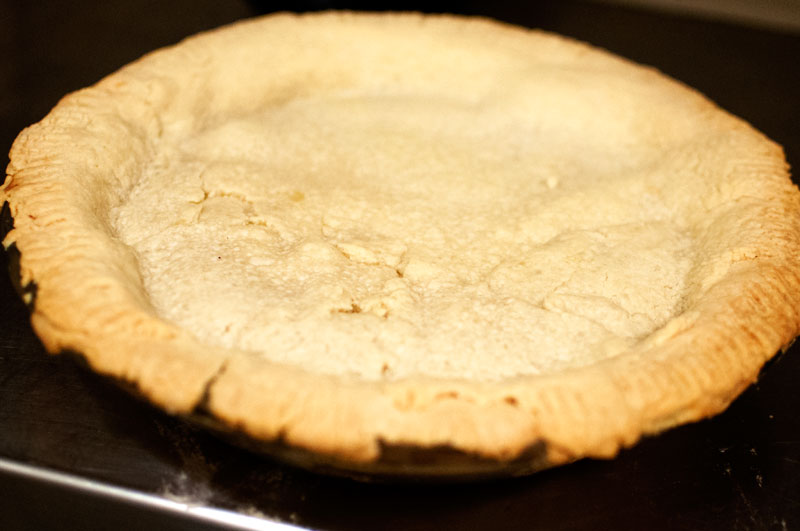
After you get the top on, you’re going to bake for about 35 minutes in a 350 oven and, you guessed it! Let! It! Cool! I used the fridge for this one.
The next step is not pictured: you are basically going to clarify the butter. Melt, put in the fridge for a few minutes, and then skim the water off the top.
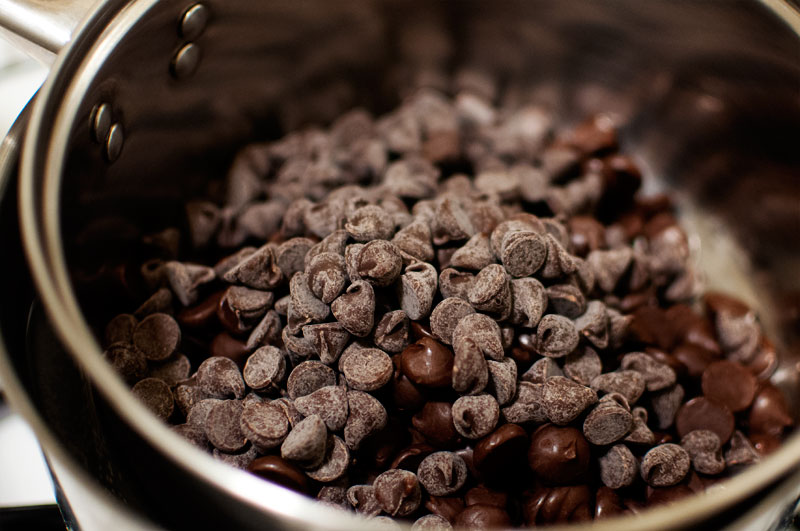
And now, for the chocolate. Take your chocolate and melt in a double boiler.
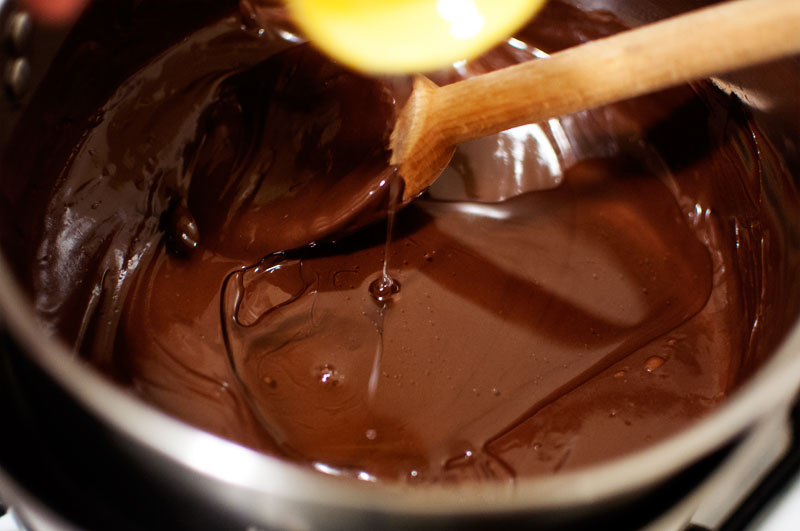
When melted, add your corn syrup. This will make it harden fast, so get ready!
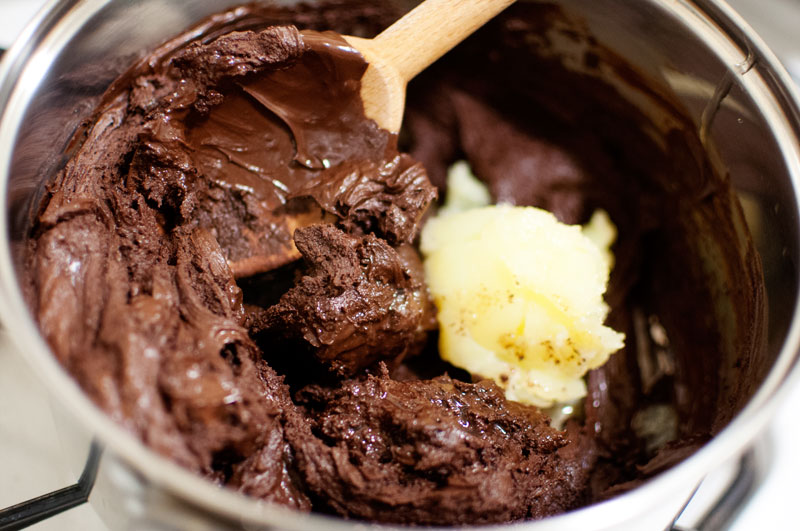
So at this point, the chocolate just wasn’t remelting, so I had to add a splash of milk to get it to a pourable state.
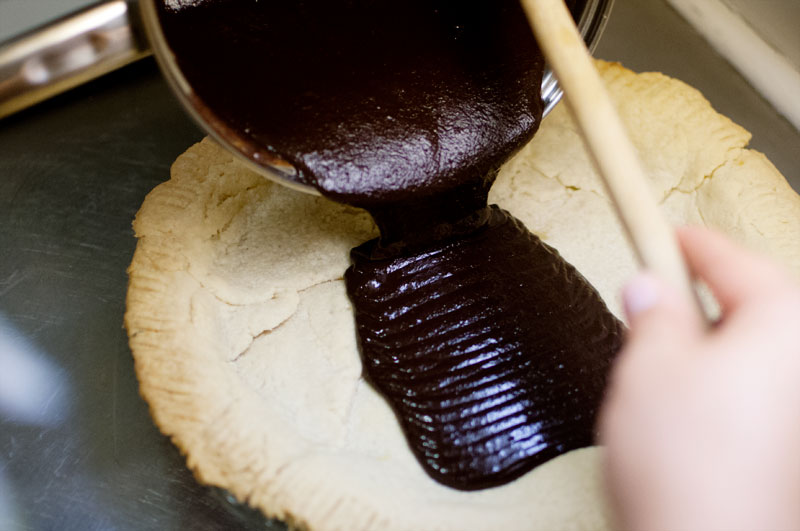
Pour chocolate over the top. Put! It! In! Fridge!
Let the chocolate harden, then pull out and serve – you can serve room temperature or cold, it’s delicious both ways!
I adapted this recipe and I used Ina’s pie crust:
Pie filling
¼ cups sugar
2¼ tablespoons flour
3½ tablespoons cornstarch
Pinch salt
2 tablespoons powdered lemon pie filling
12 ounces water
1 fresh lemon, zest and juice
5 egg yolks, lightly beaten
Chocolate topping
3 tablespoons butter
1 cup chocolate chips
2 tablespoons corn syrup
slash of milk
Pie filling: Mix sugar, flour, cornstarch, salt, pie filling and water in pan on low heat. When mixture thickens, add lemon juice, rind and egg yolks. Bring to a boil.
Cool (I cooled on the counter for about thirty minutes, but I supposed you could stick it in the fridge.) Pour into pie crust and cover with top crust. Bake for 35 minutes in pre-heated 350-degree oven or until golden brown. Cool in refrigerator. (I let them cool about forty five minutes, which was all I was willing to wait, if we’re being honest.)
Chocolate topping: Melt butter and refrigerate. Once cool, skim off water on top. Melt chocolate in double boiler. Add corn syrup to chocolate, then butter, a splash of milk, and melt. Pour over top of pie and let cool. Refrigerate. Makes 9-inch pie.

Me and the pie on the way to the contest!
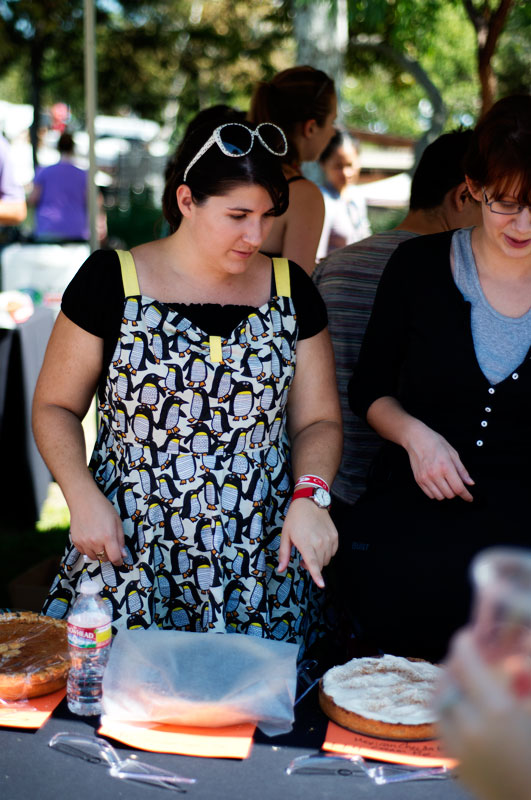
This is me in the booth where I served my audience-pie to the crowd!
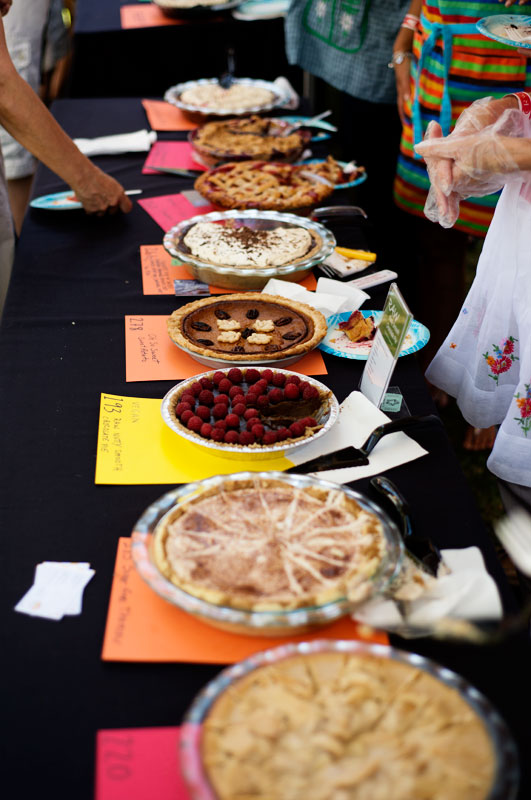
Some of the competition – and delicious pie!
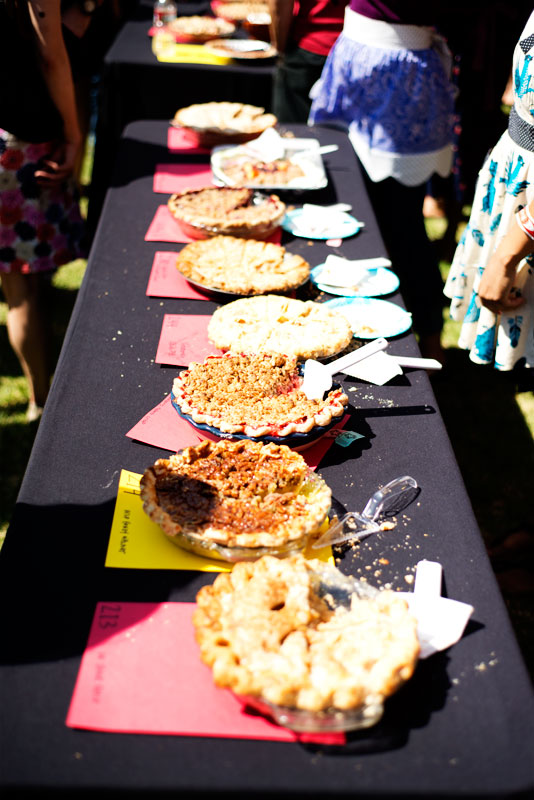

Some of my entourage! Special thanks to Kelly from Studio DIY and her bf Jeff for stopping by, too!
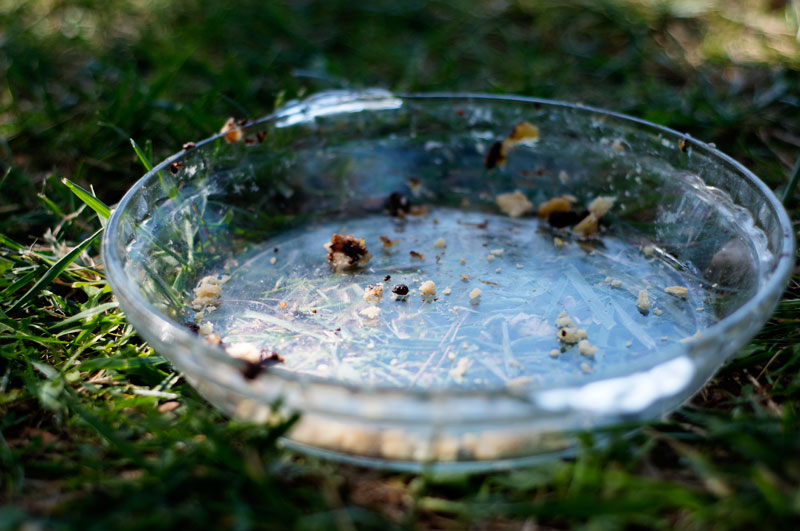
Here’s my empty pie tin – it went pretty fast, I think because it withheld the 90 degree weather well!

Here’s my judge’s pie – which means there is some left over for my work (they’ll be so excited, I am sure!)
Have you ever entered a pie contest? Have you ever been to one? What is your favorite pie?
[addtoany]
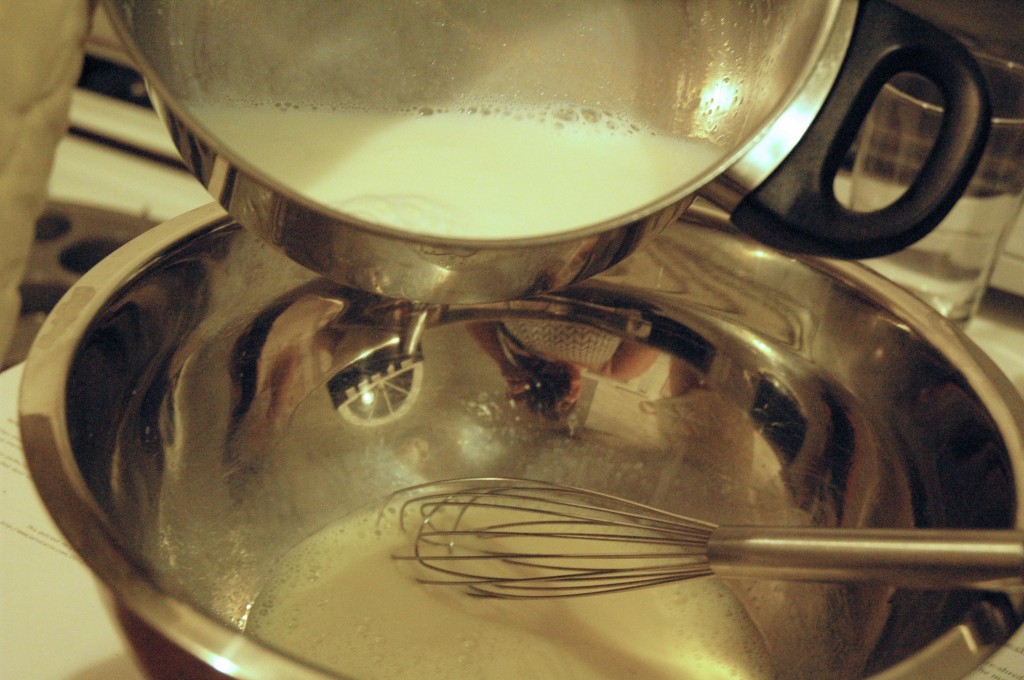
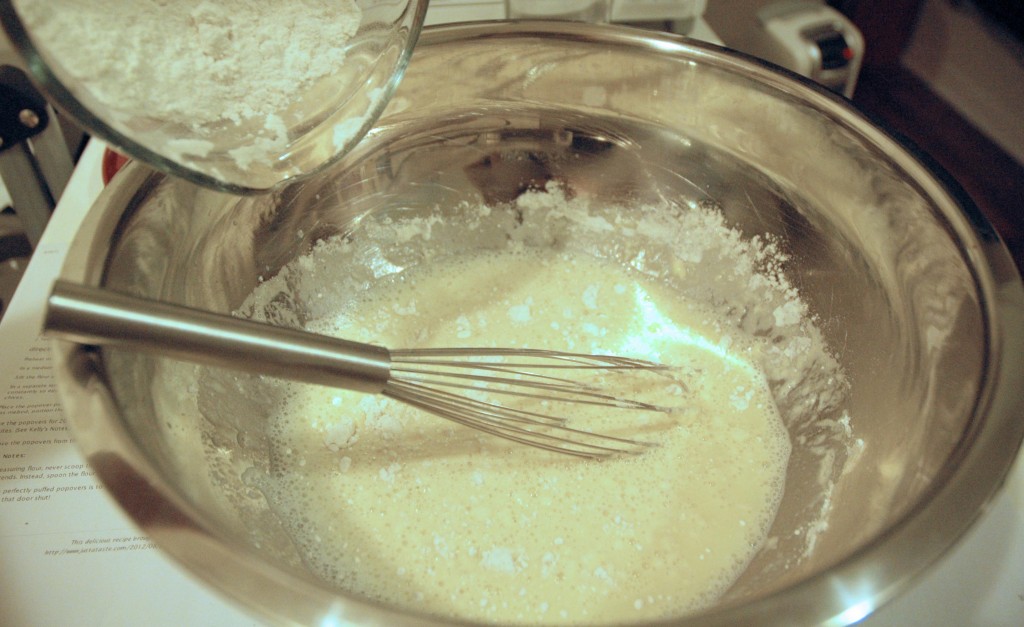
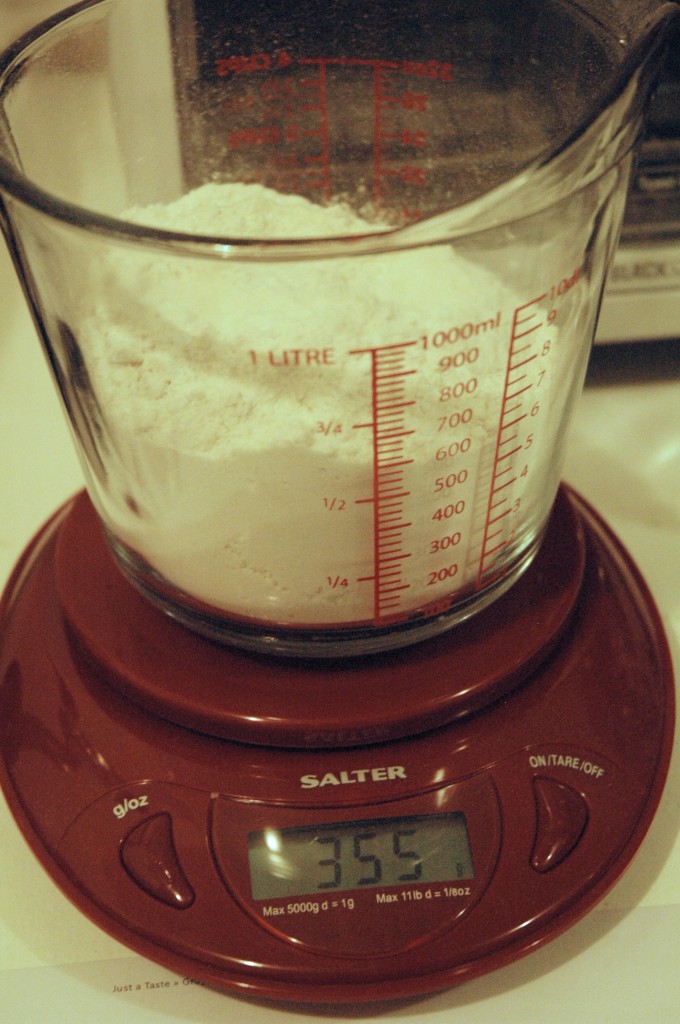 In another large bowl (I know, I’m sorry, I pretty much used every bowl in my house) whip your eggs until combined and frothy.
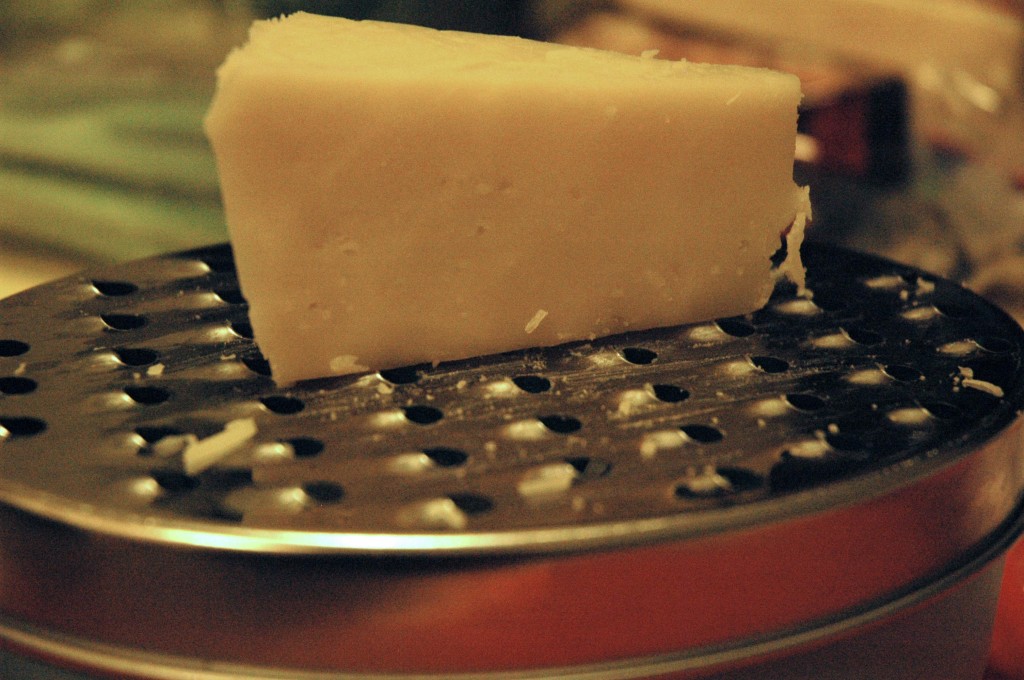
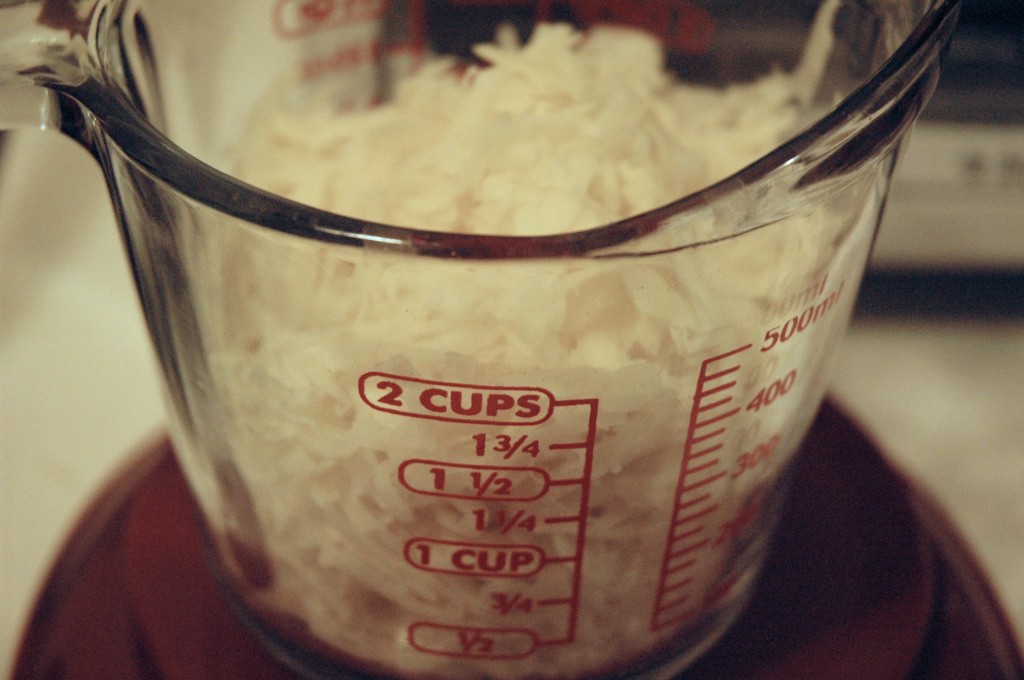
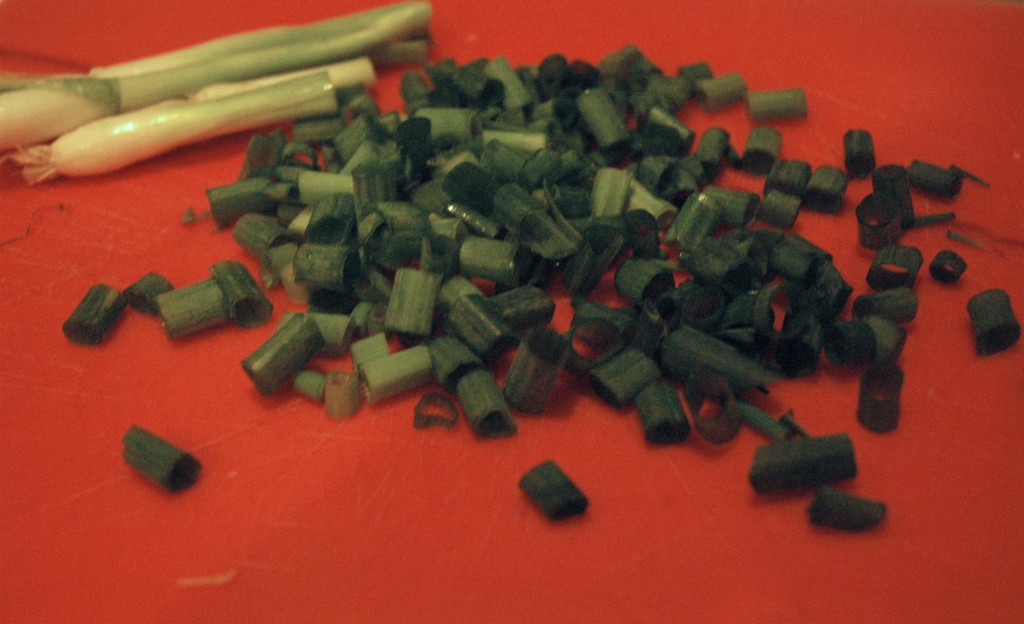
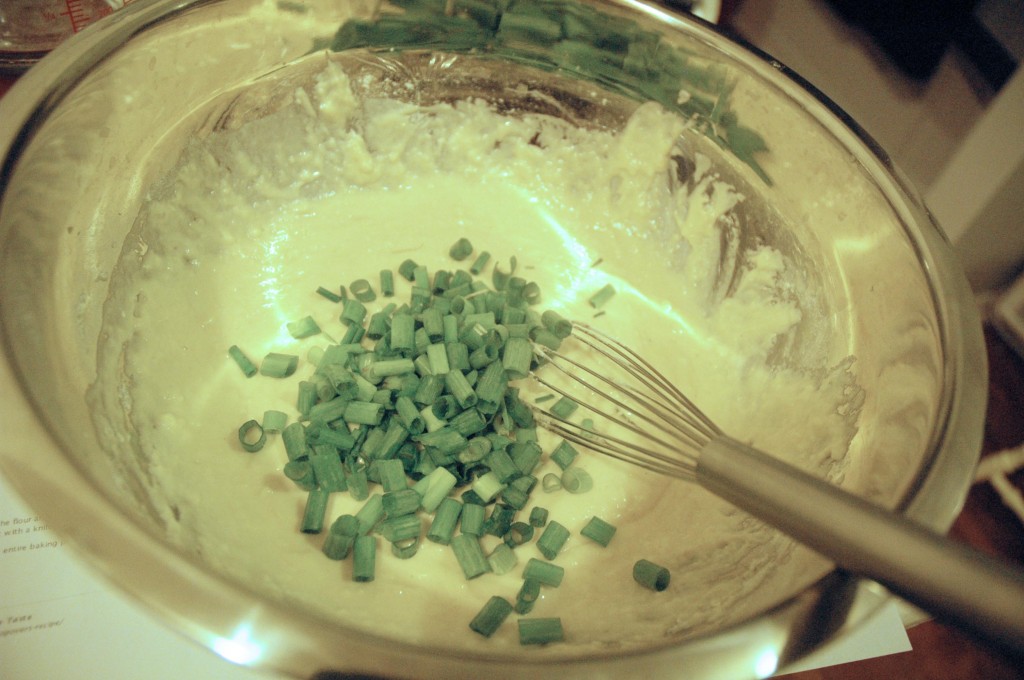
 Add cheese and chives, saving some cheese to top your popovers.
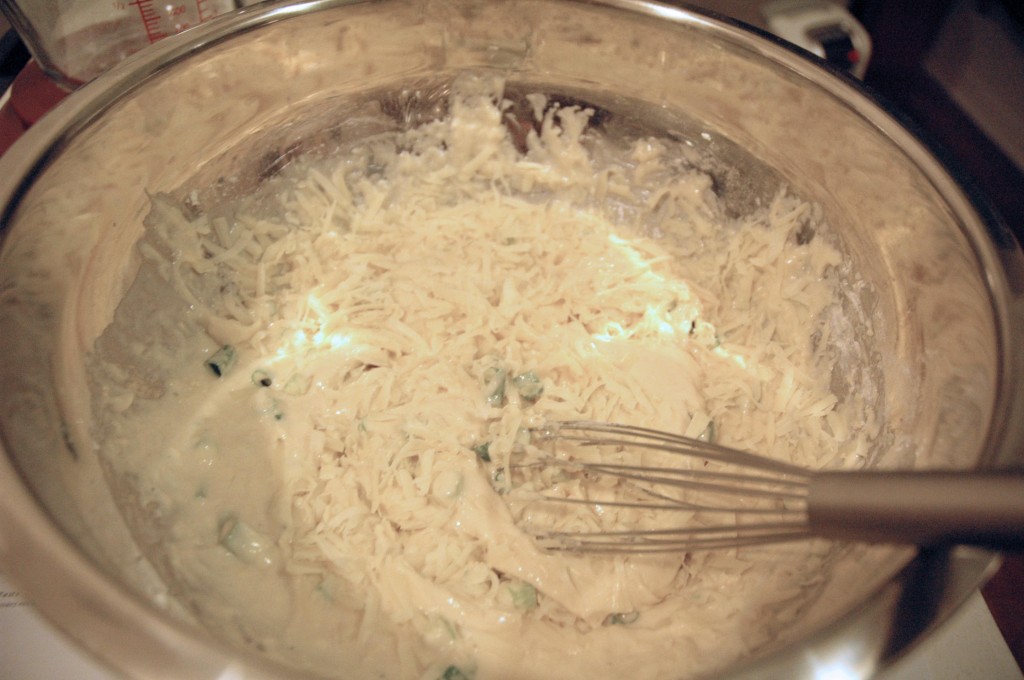 Fill muffin tins ¾ full of batter and top with more cheese.
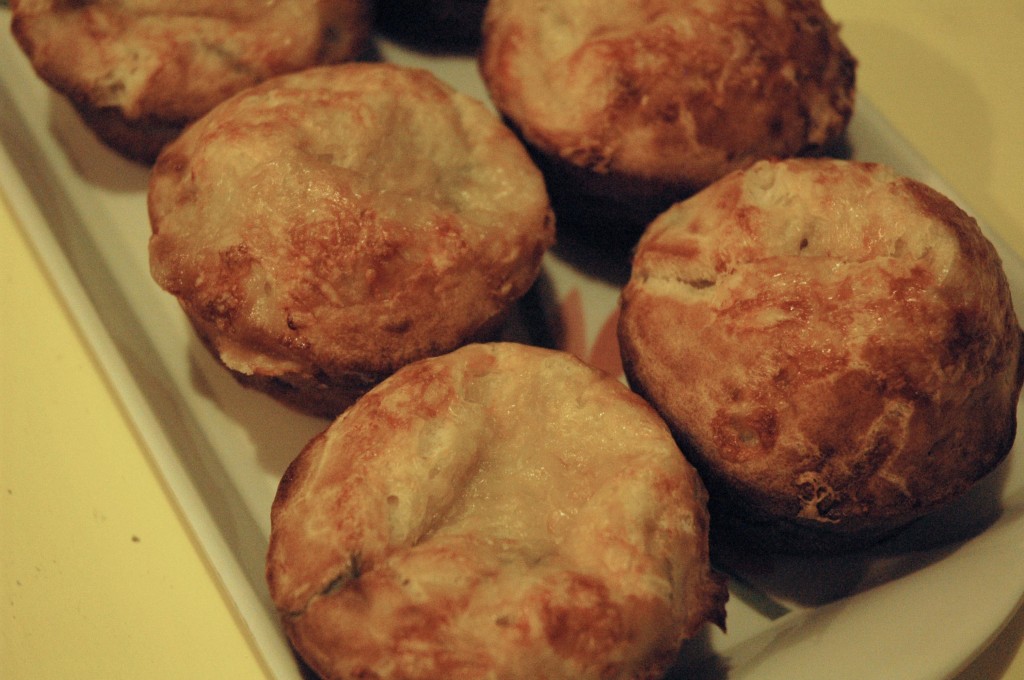
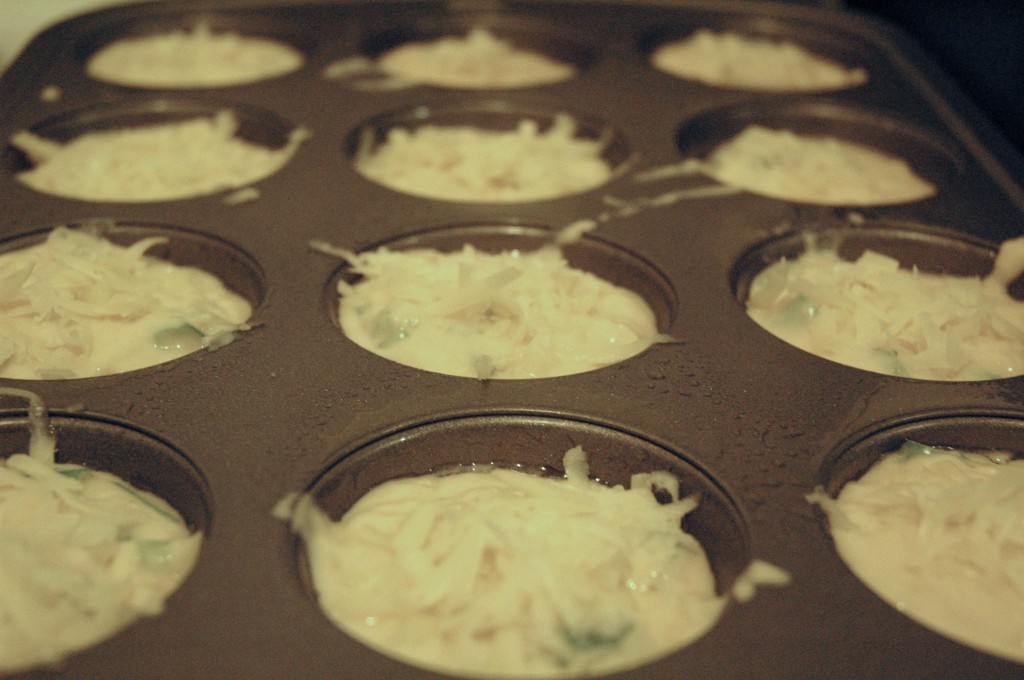 Bake for 25-30 mins. Popovers should expand and brown on top.
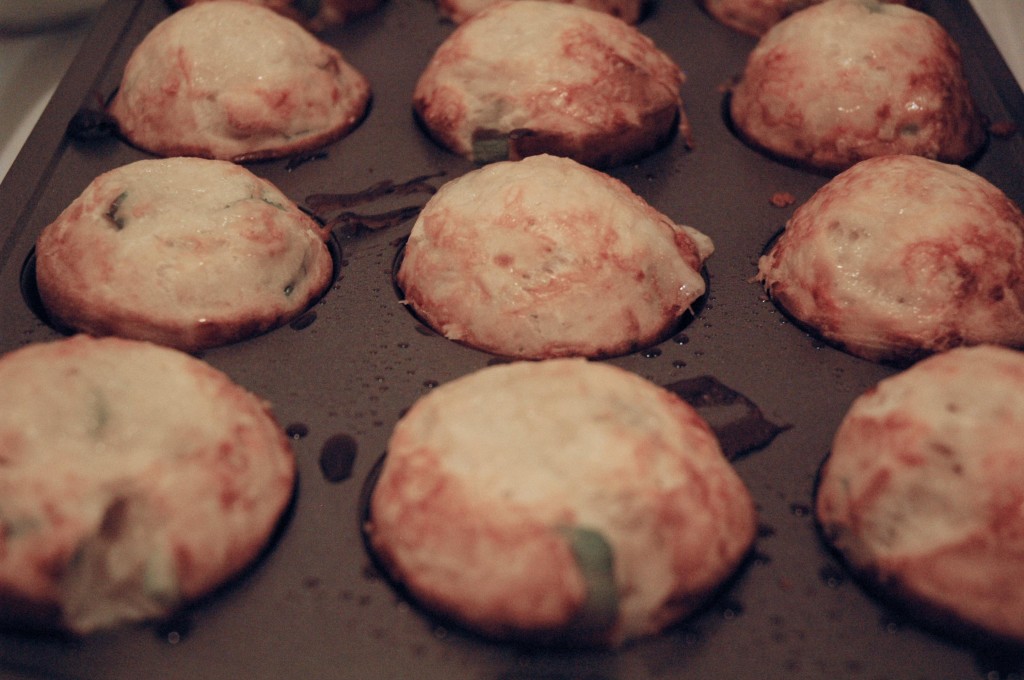 Eat immediately, these won’t last long!
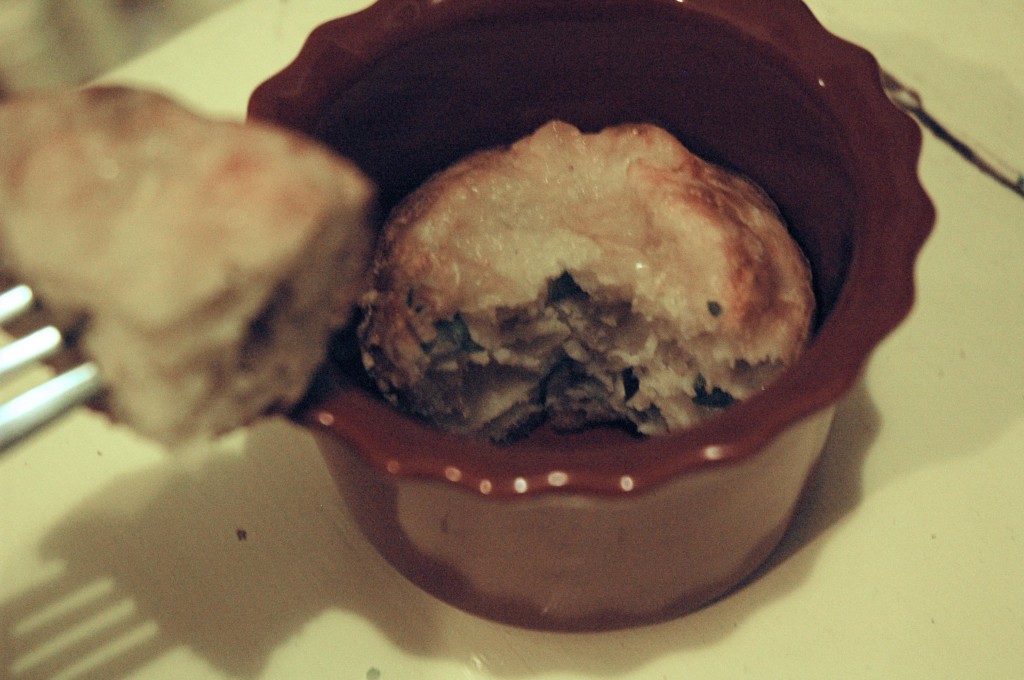 What delicious treats have you made from Pinterest?
