I’m not going to lie. One of my favorite parts of fall/winter is the fact that pumpkin is everywhere. For the past four years, I have made pumpkin pie for Thanksgiving in honor of my love for all things pumpkin. This year, I also tackled pecan pie for the second time, after a not-so-good attempt in year one of Friendsgiving that I don’t want to talk about. After three years of purchasing frozen pie crusts, I finally bit the bullet and made my own crust for the pumpkin and pecan pies. I’m SO glad I did. It’s so easy, and so much better than anything you can buy in a store. In typical “go big or go home” Rebecca fashion, I ended up making both pies twice over the course of two weeks. After Thanksgiving, we had a bake off for work for which I submitted my pecan pie. Then, a work birthday required an additional pumpkin pie. Needless to say, I’m prepared for next year! Here are my delightful pumpkin and pecan pie recipes for your baking pleasure.

Pumpkin Pie with Shortbread Crust

Start by making your shortbread pie crust a la Martha Stewart. This crust is super easy to make, and completely delicious as well.

4 tablespoons unsalted butter, softened
3 tablespoons sugar
1 large egg yolk
1 cup all-purpose flour
1 teaspoon coarse salt (I used kosher salt, duh.)

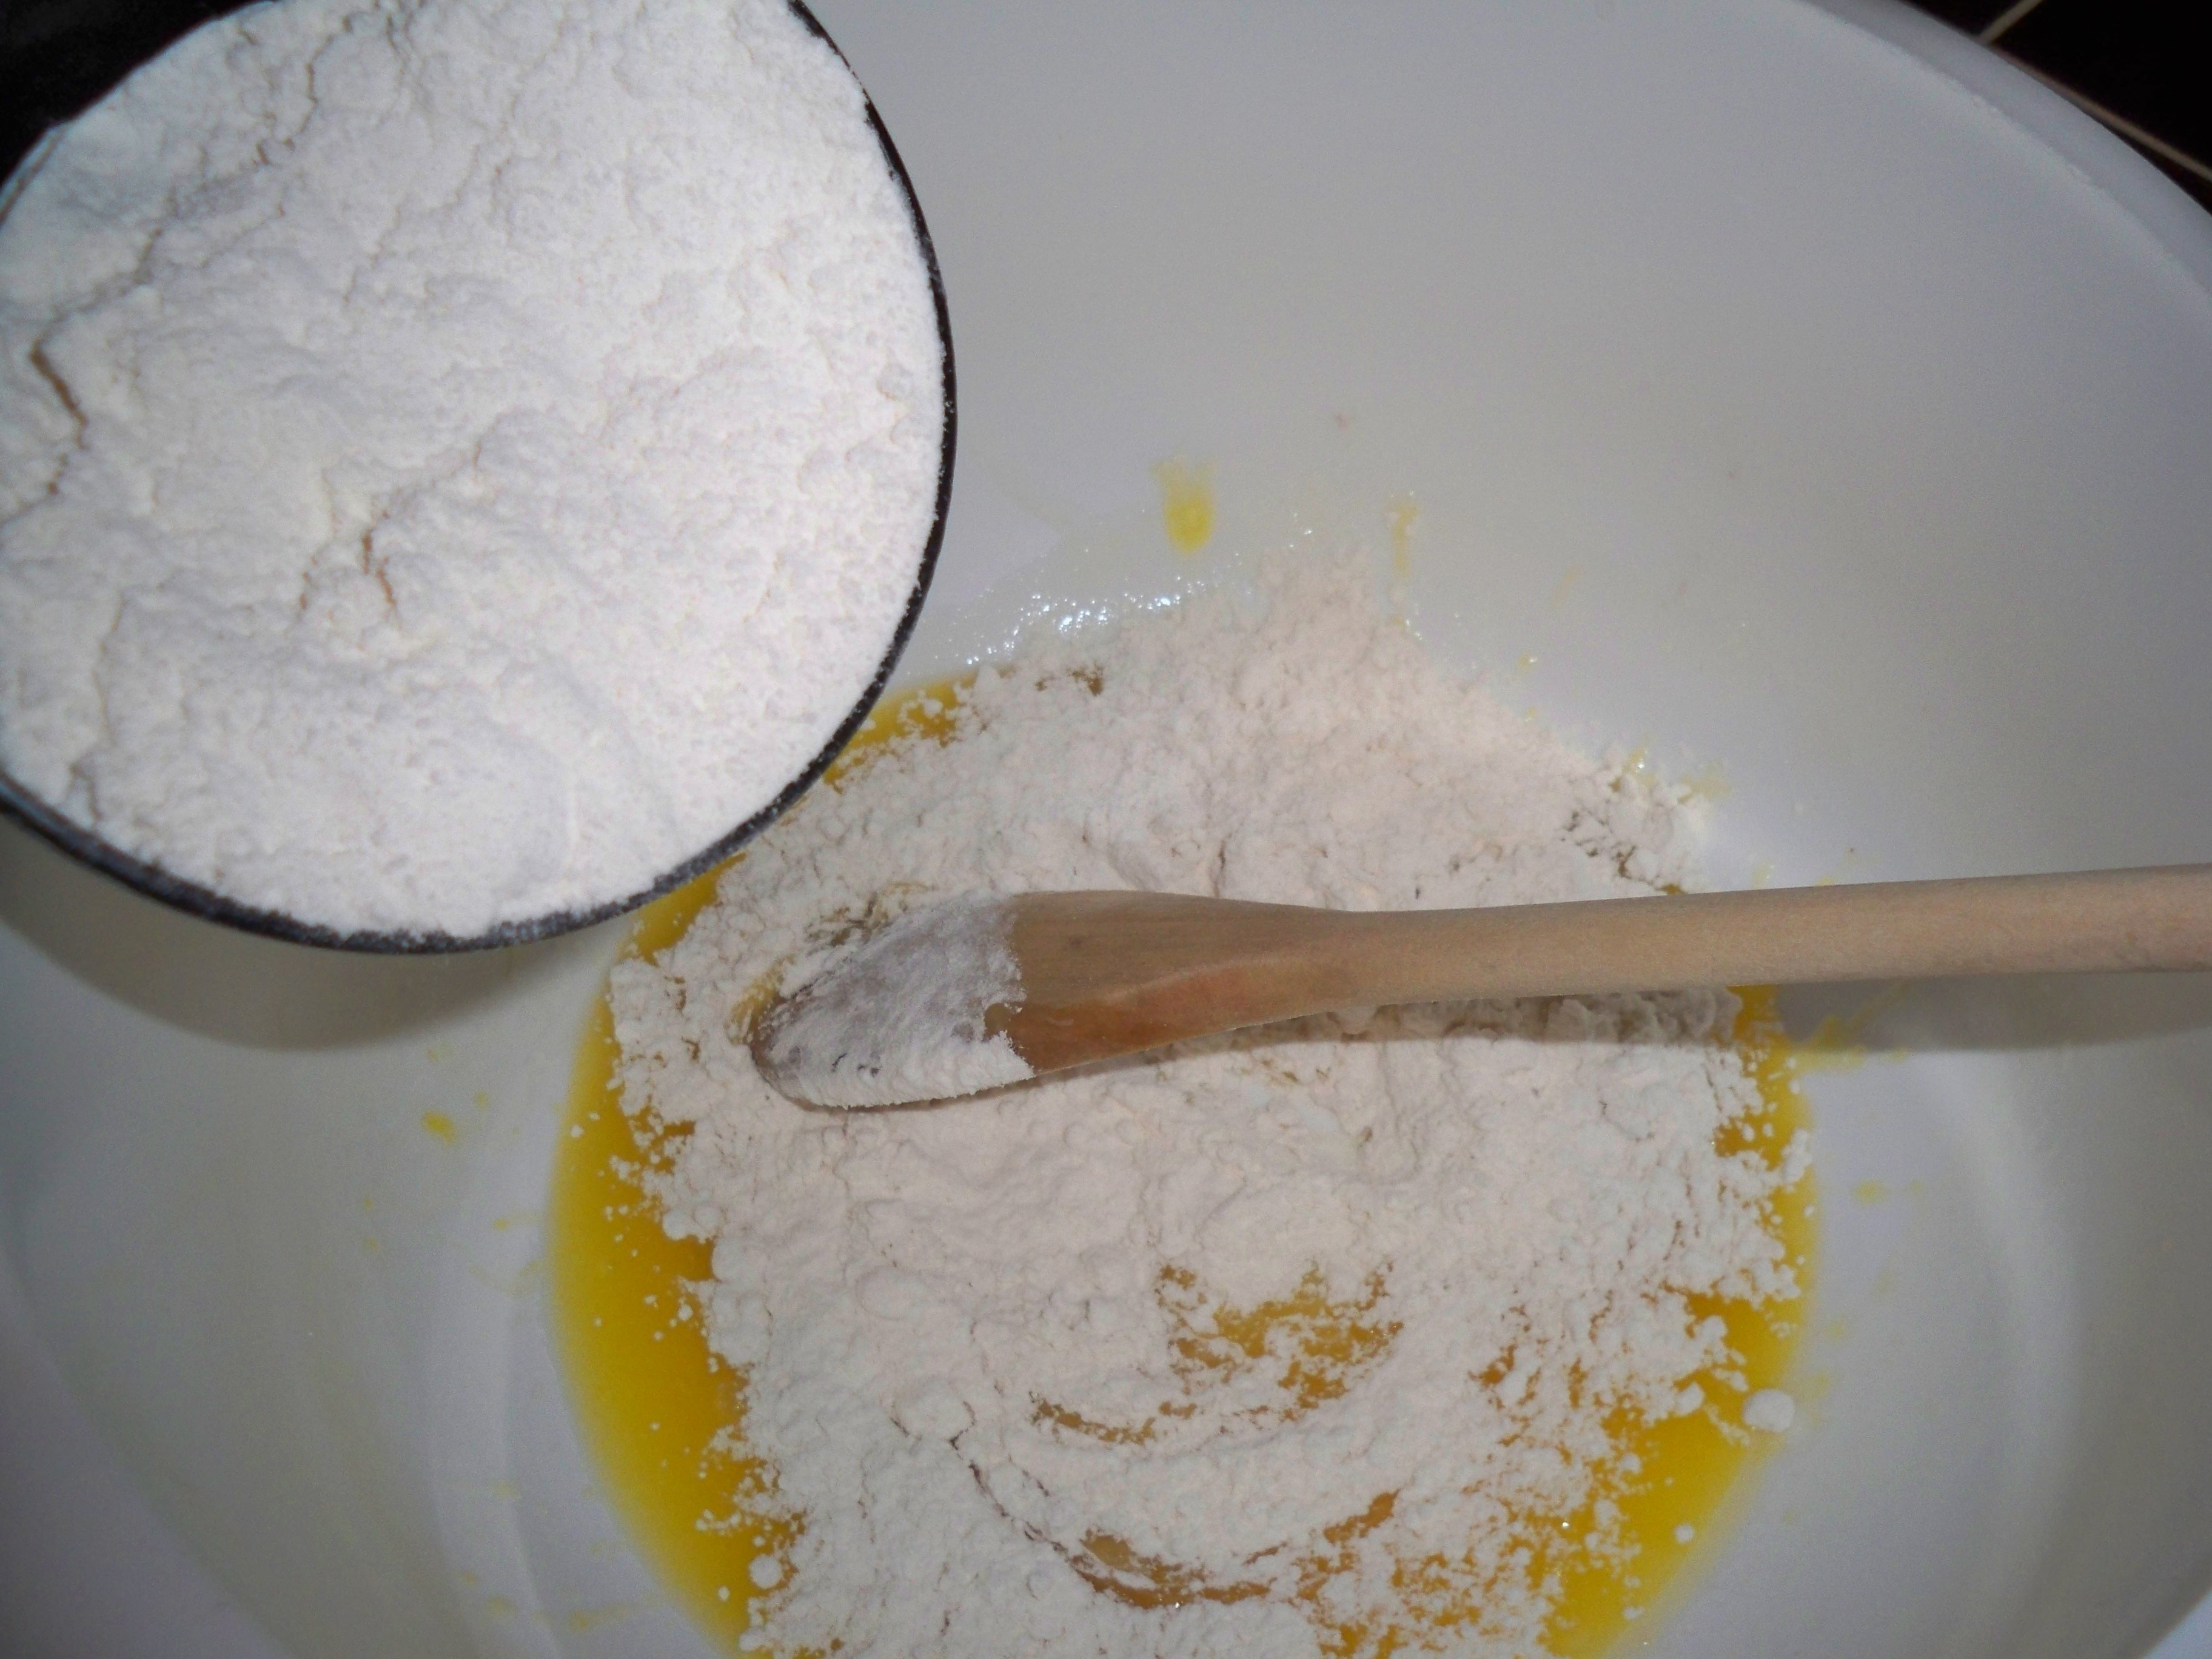
Mix together butter and sugar, followed by the egg yolk, then flour and salt.


The first pie crust I made was normal tasting, but the second time I made the pumpkin pie, my crust turned out slight salty. It actually tasted good as it cut the sweetness of the filling, but if that does not sound like a risk you are willing to take, I would half the salt.

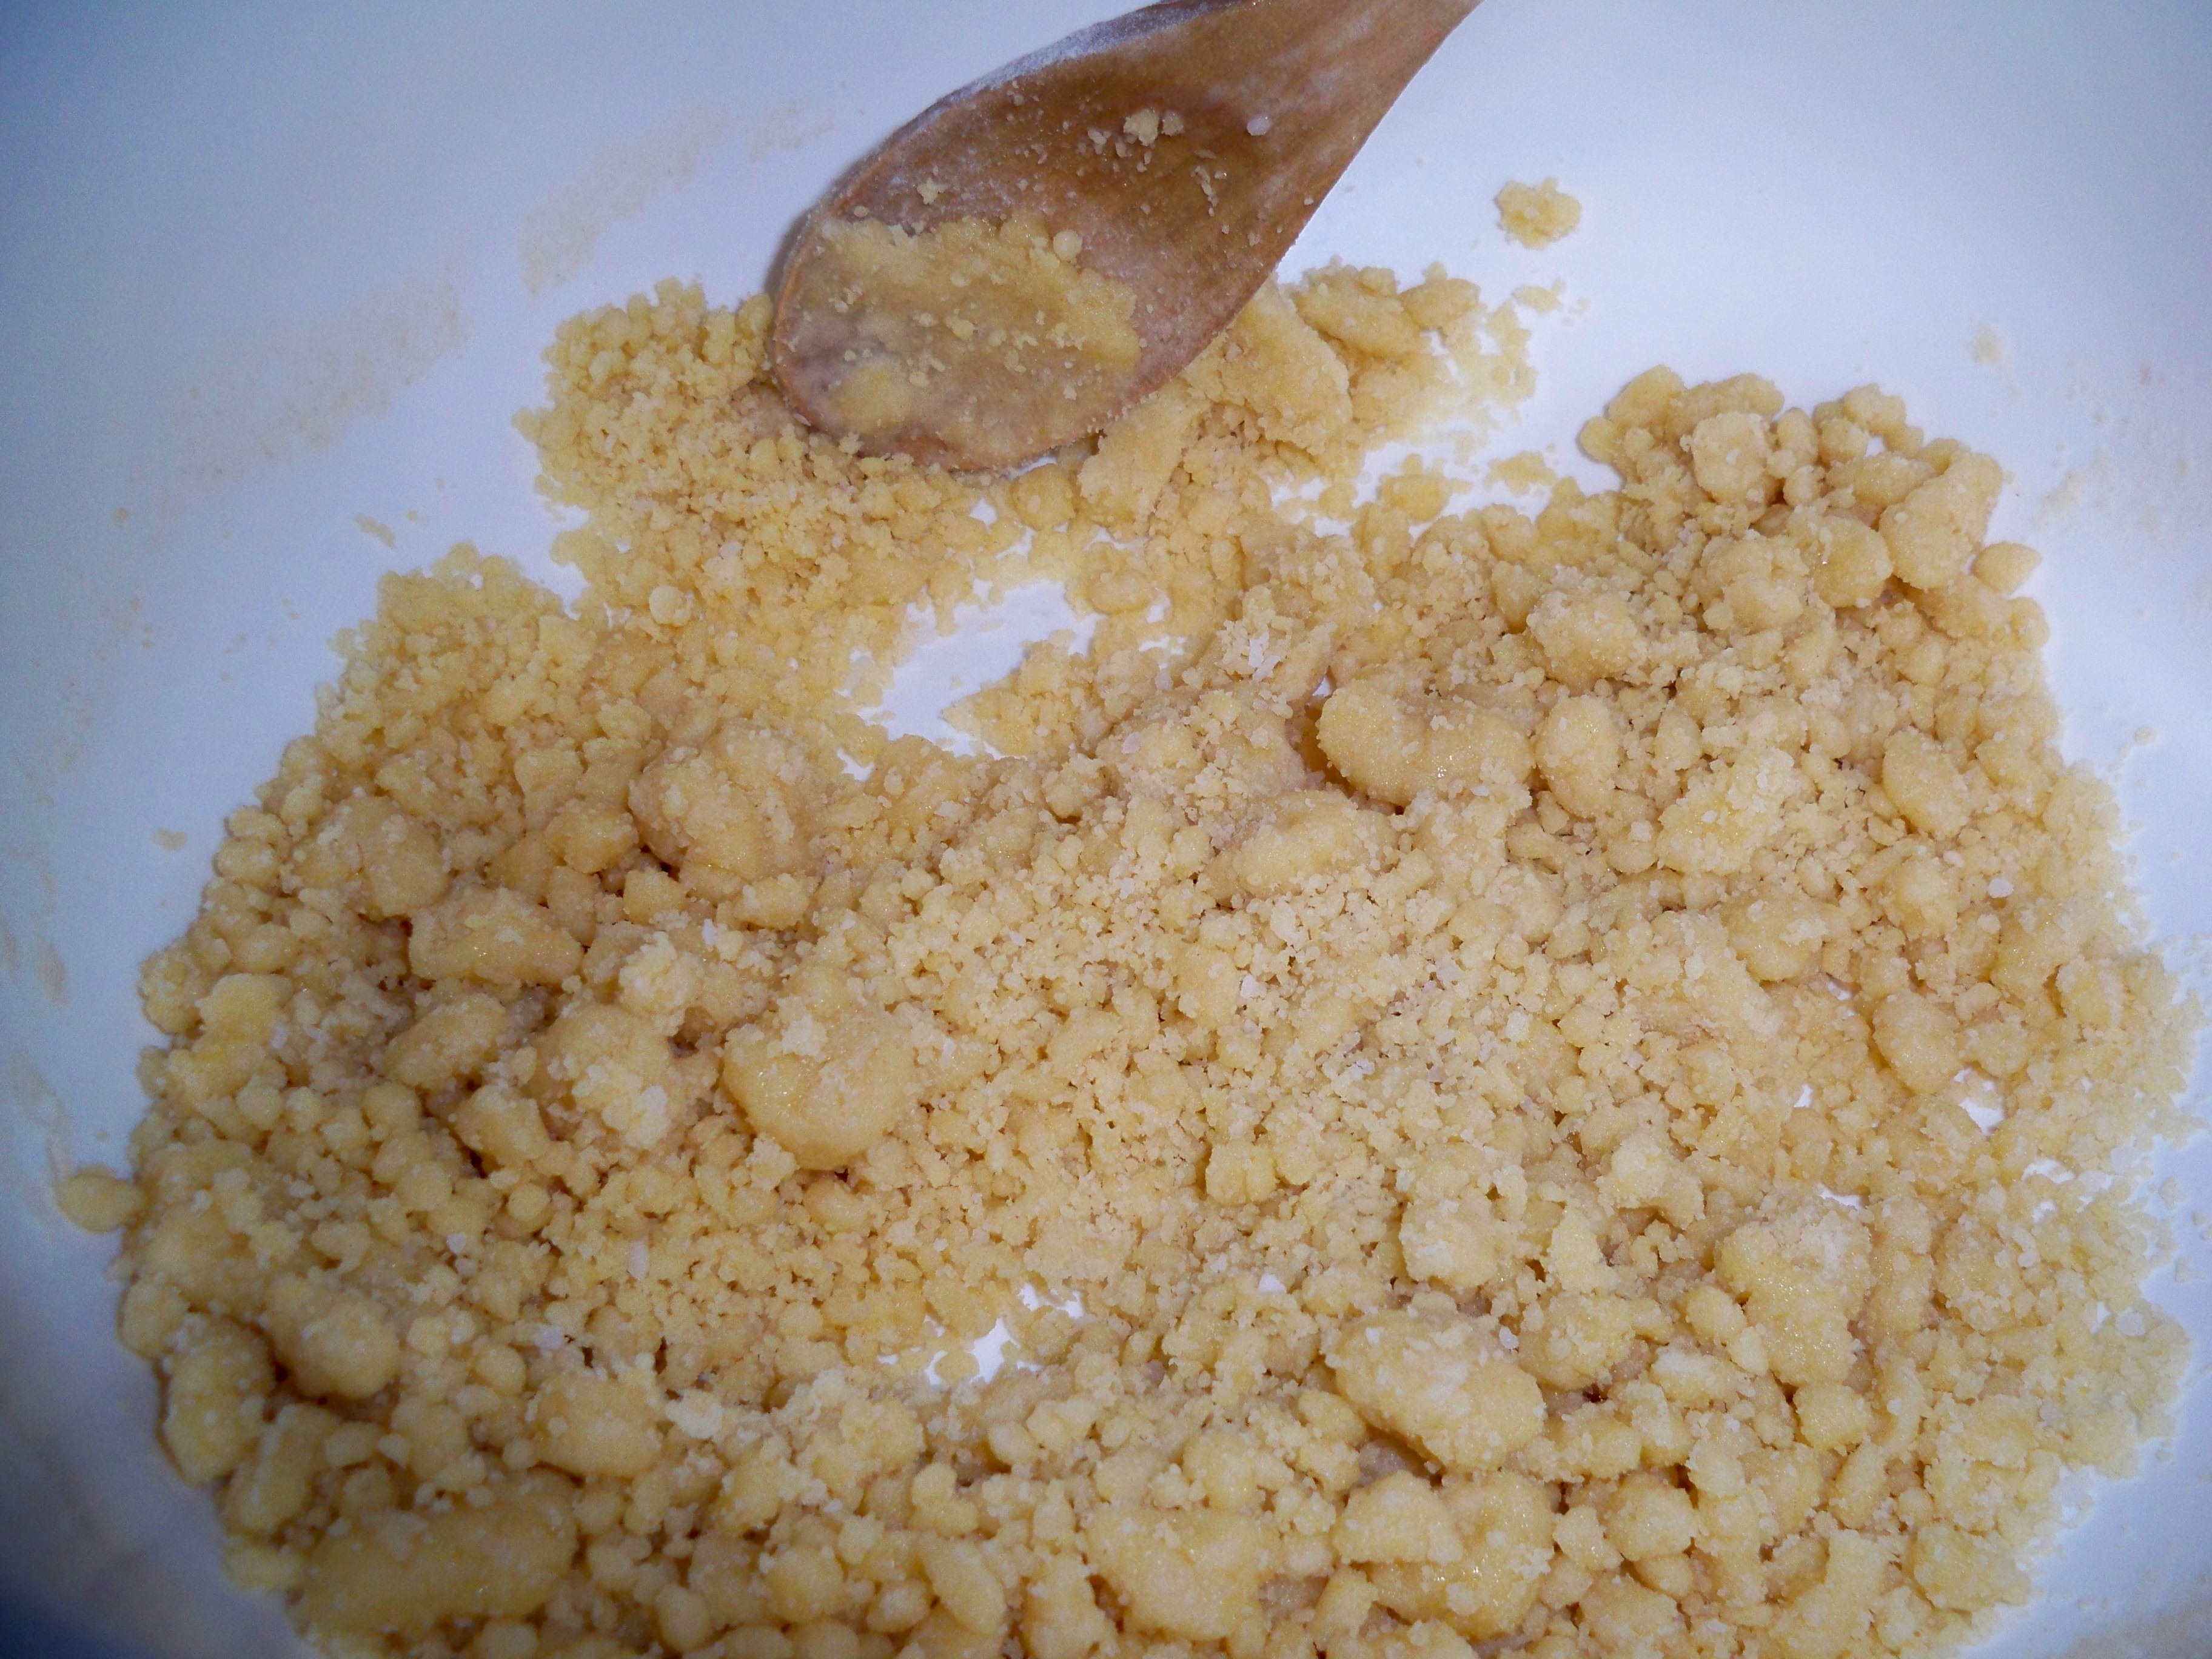
The mixture will be very crumbly. It’s totally fine. Don’t worry. Once all the ingredients are combined, press the dough into a 9-inch pie pan.

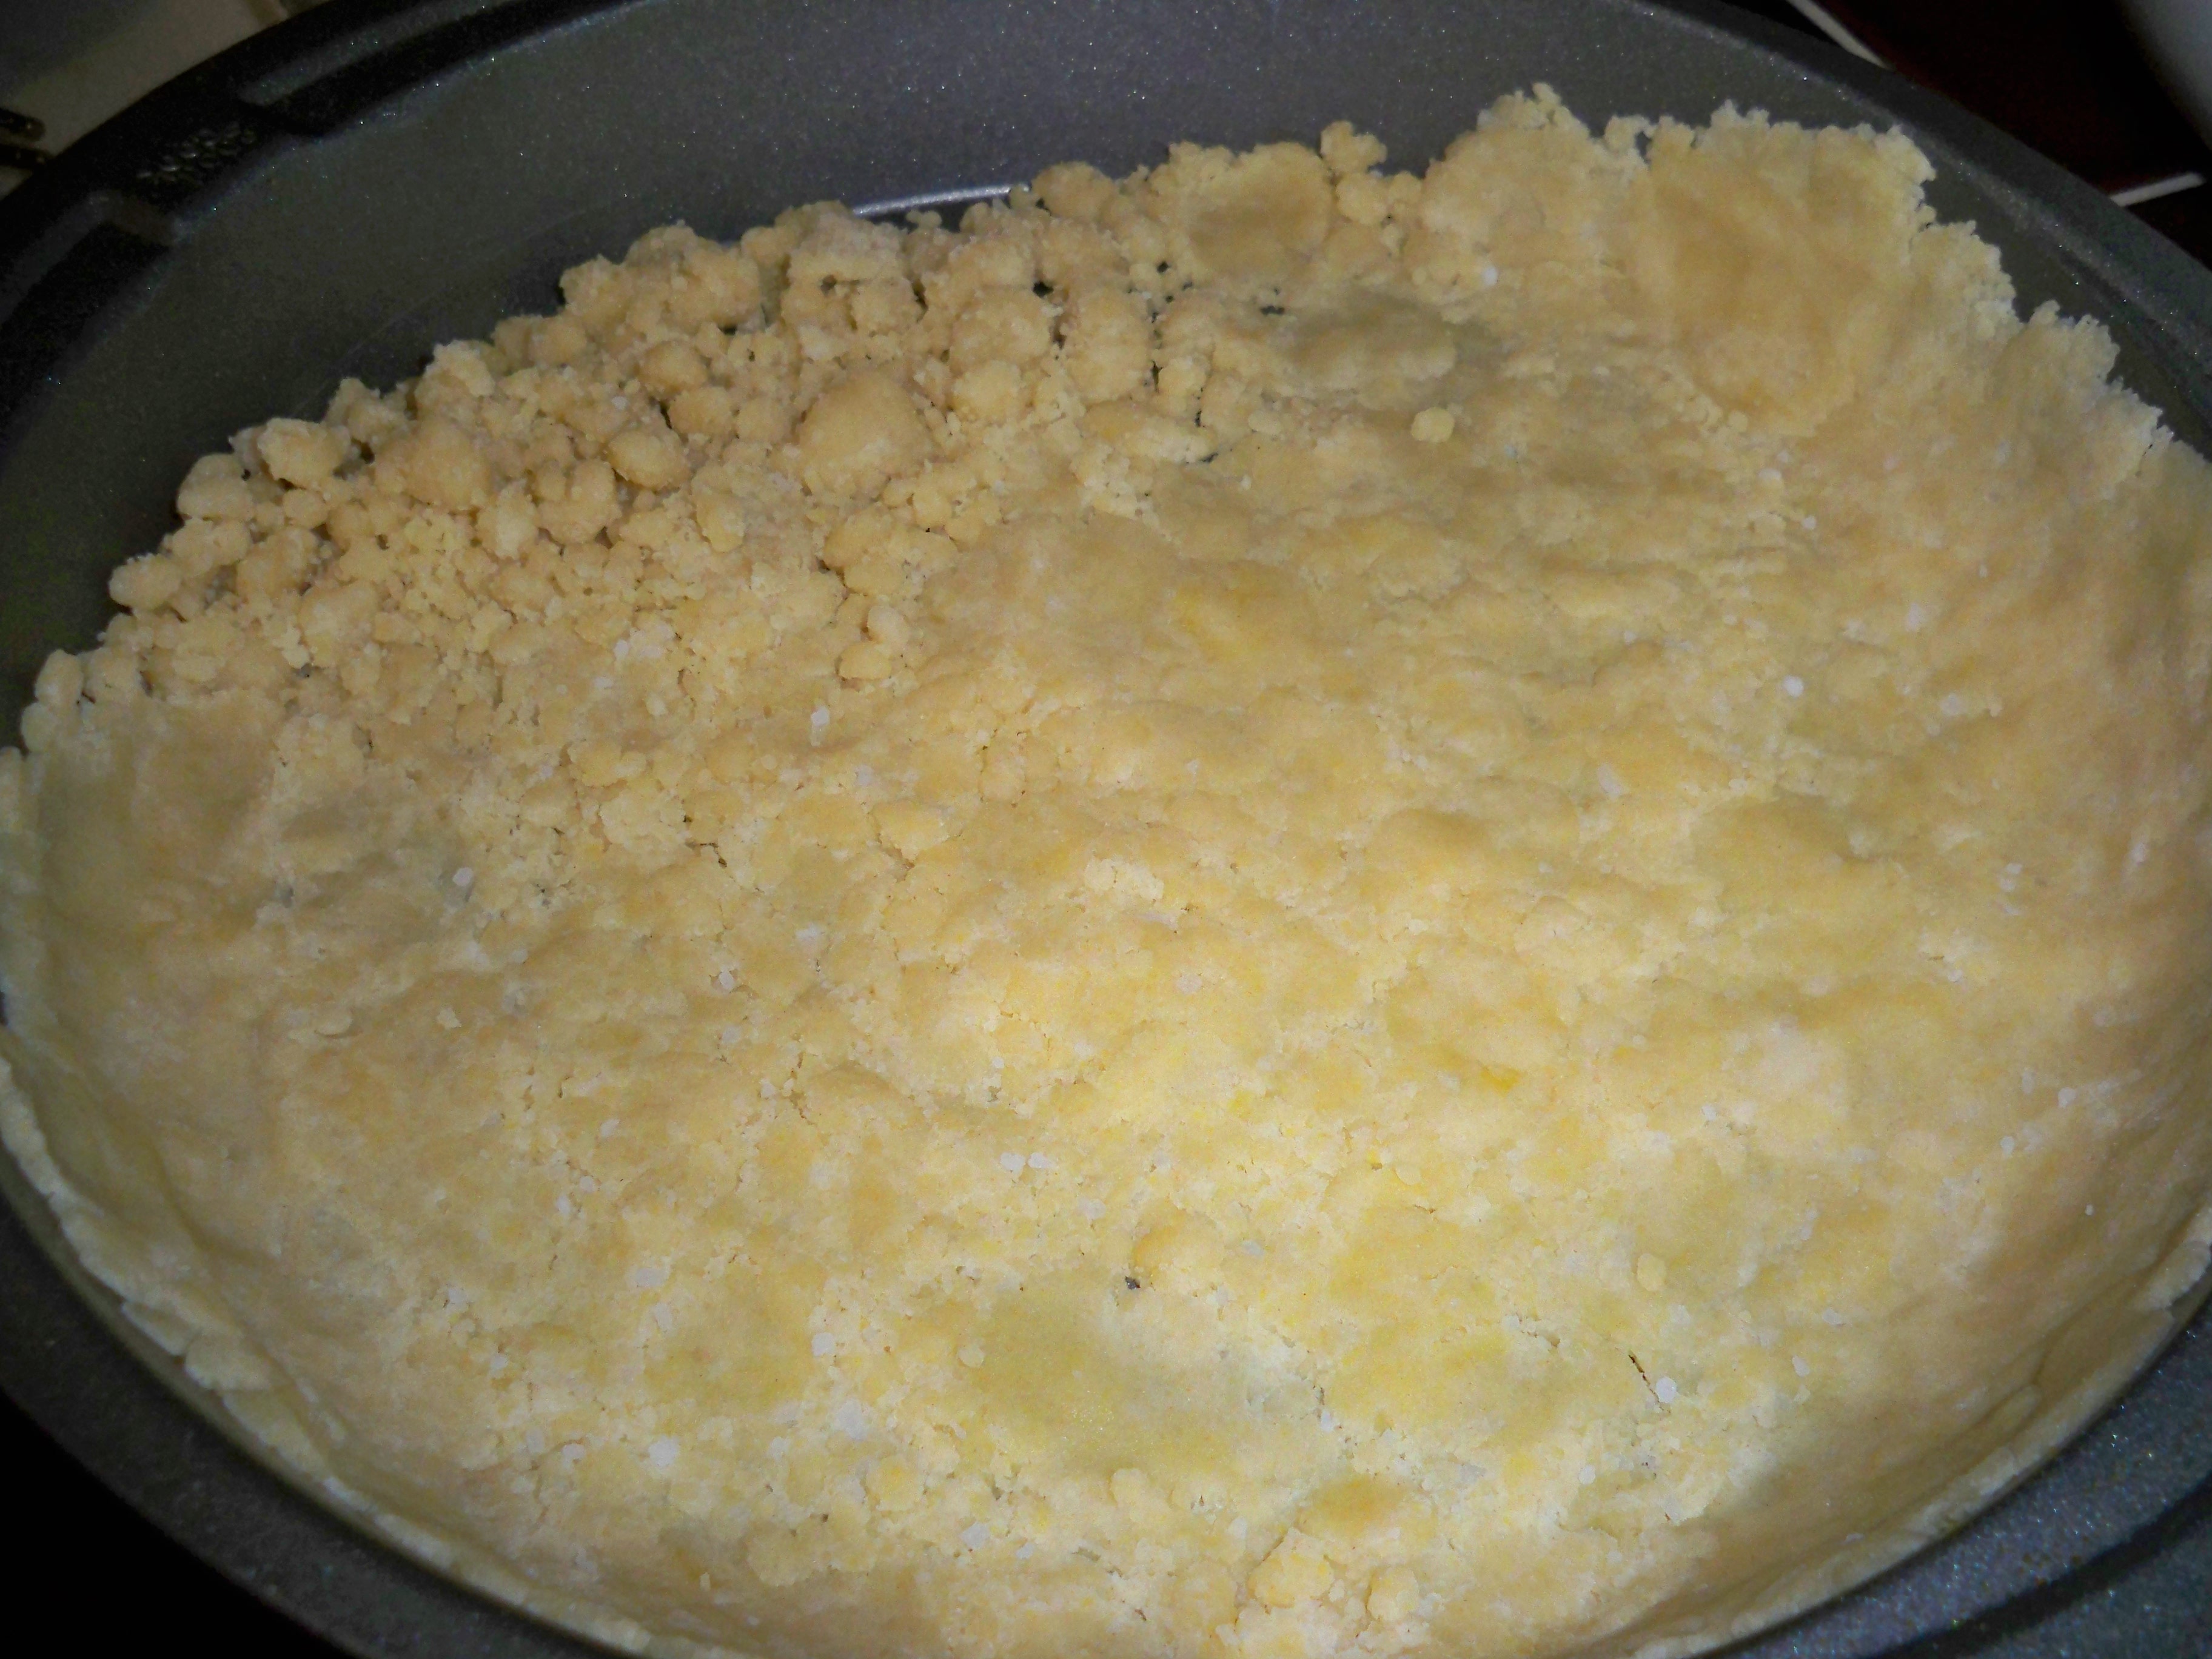
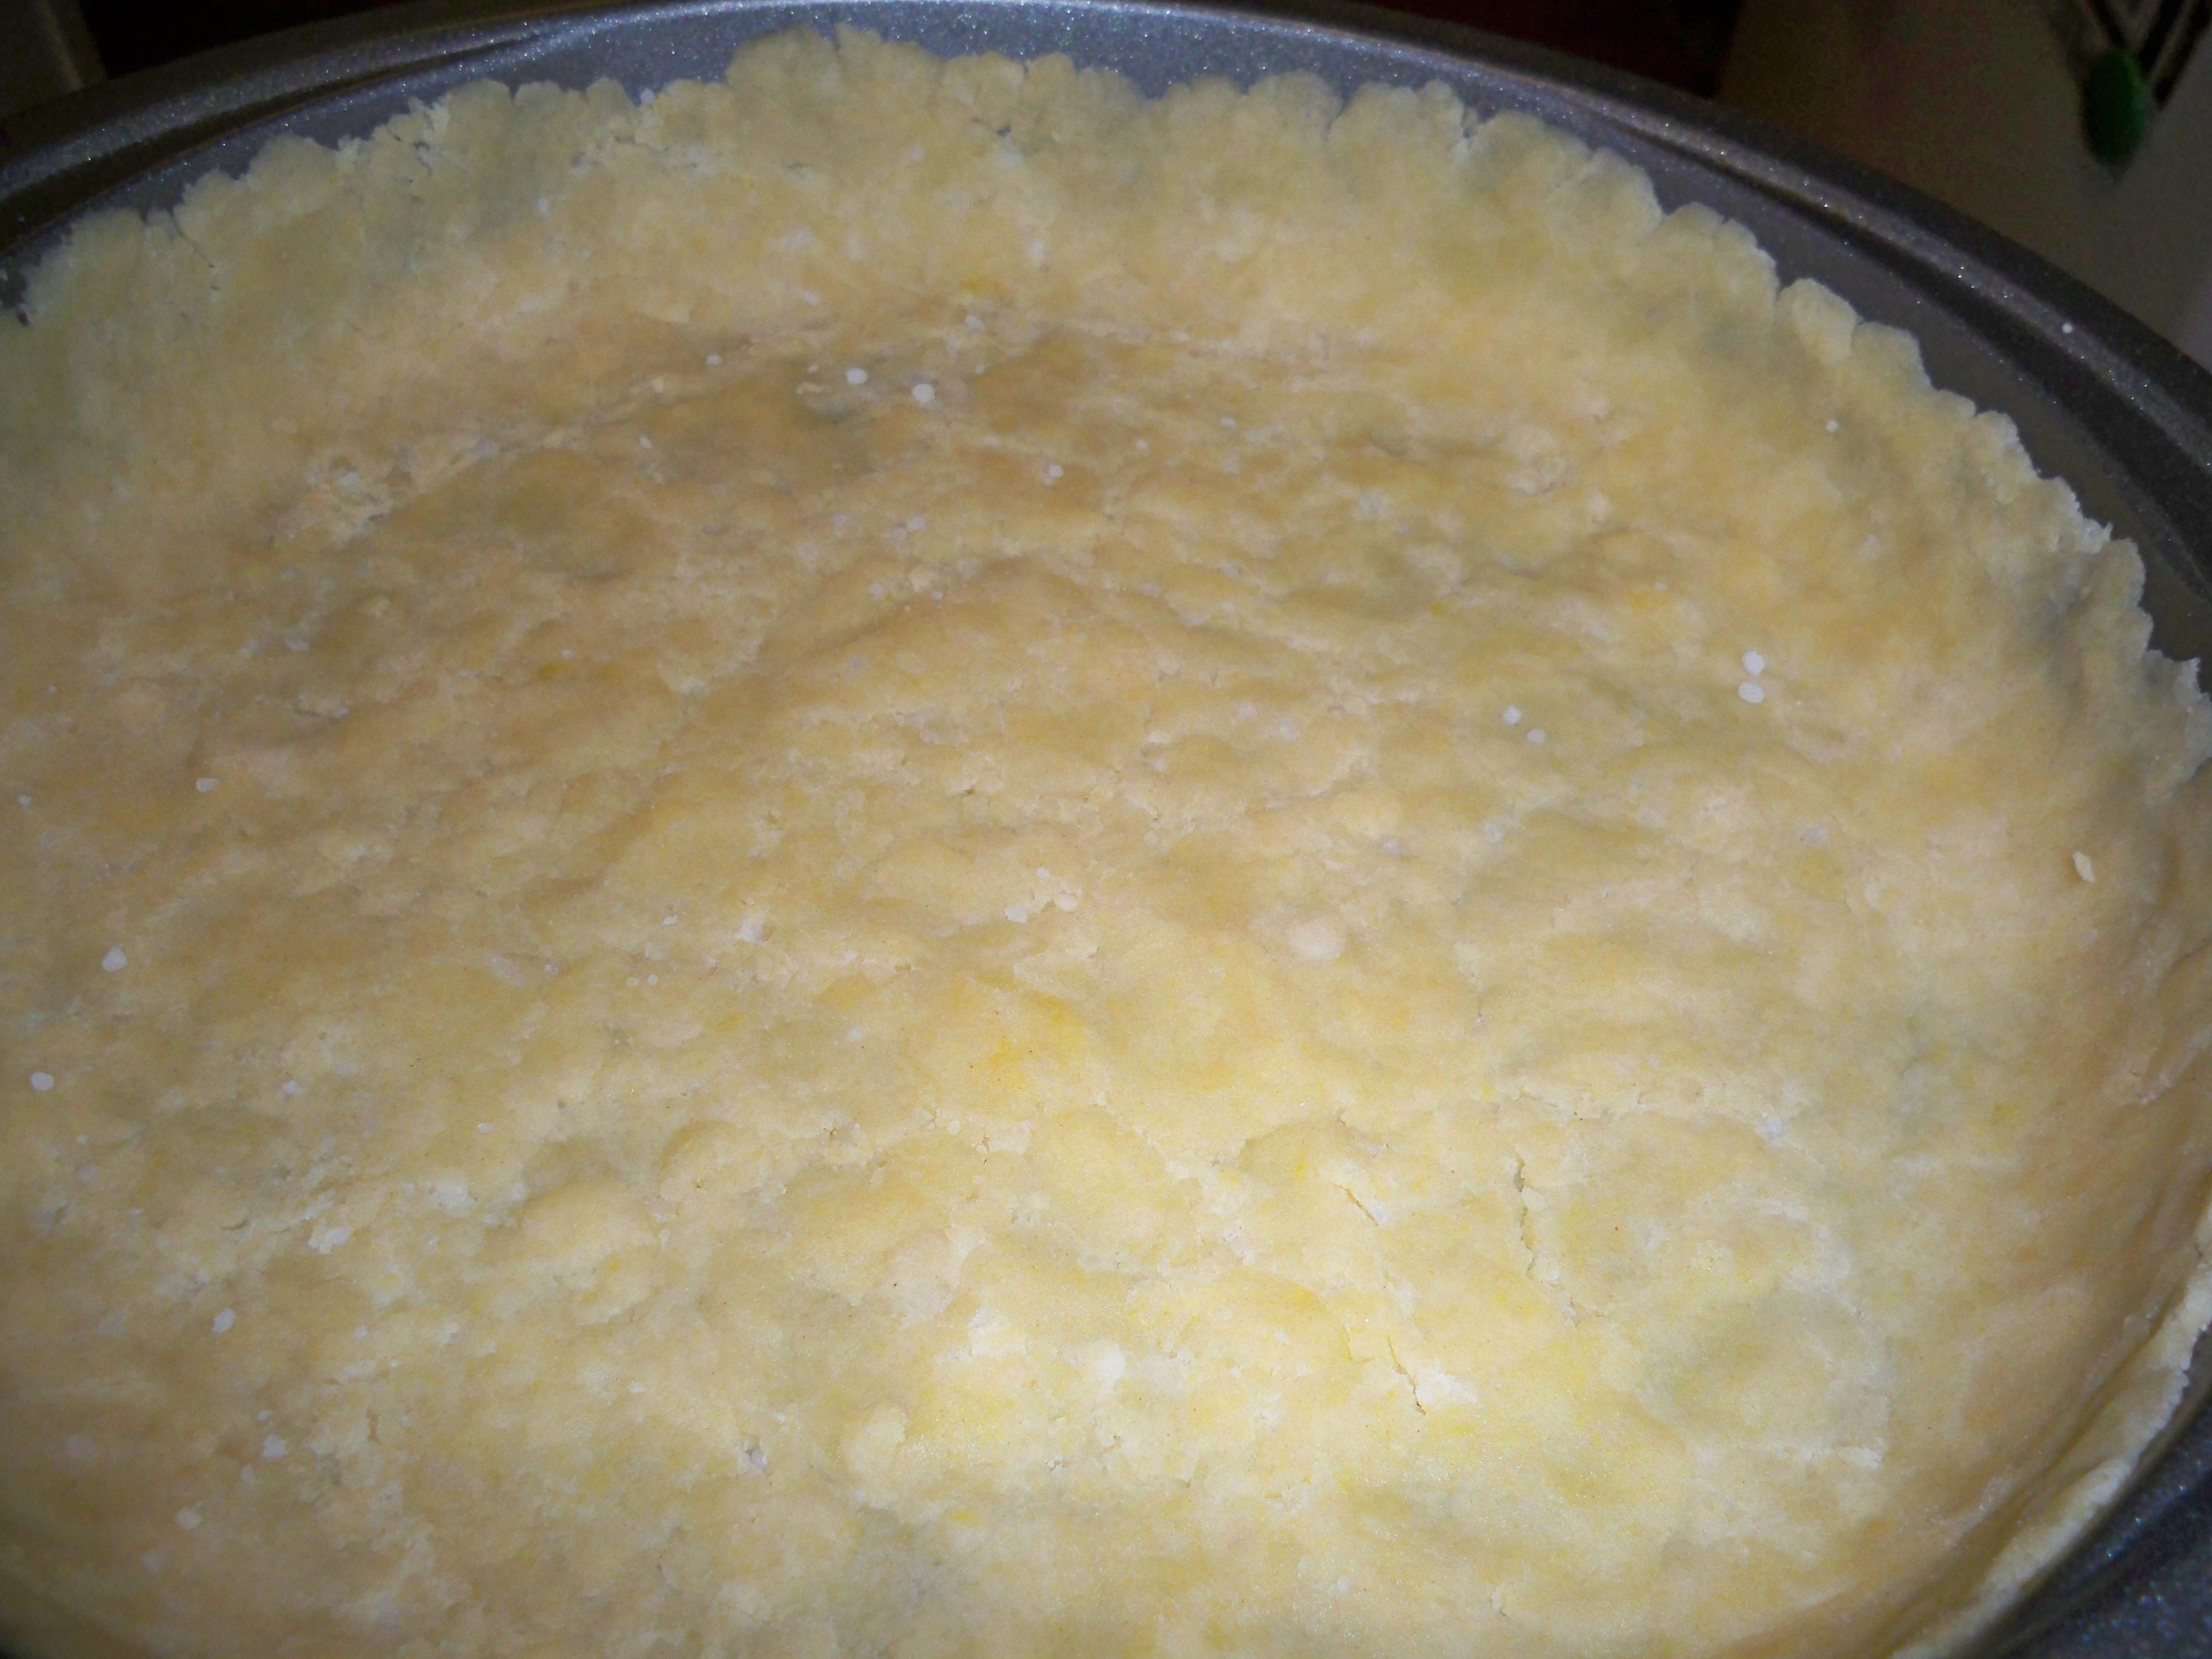
Stick the pie pan in the freezer for 20 minutes to firm up. Preheat the oven to 375, or if you are me and your oven knob has no numbers on it, accidentally preheat your oven to 425 and burn your first pie crust.

Text Jennie a picture, then start over again, and turn your oven down. Bake for 20 minutes, rotating the pie pan halfway through baking. Let the crust cool slightly while you make your pumpkin pie filling.

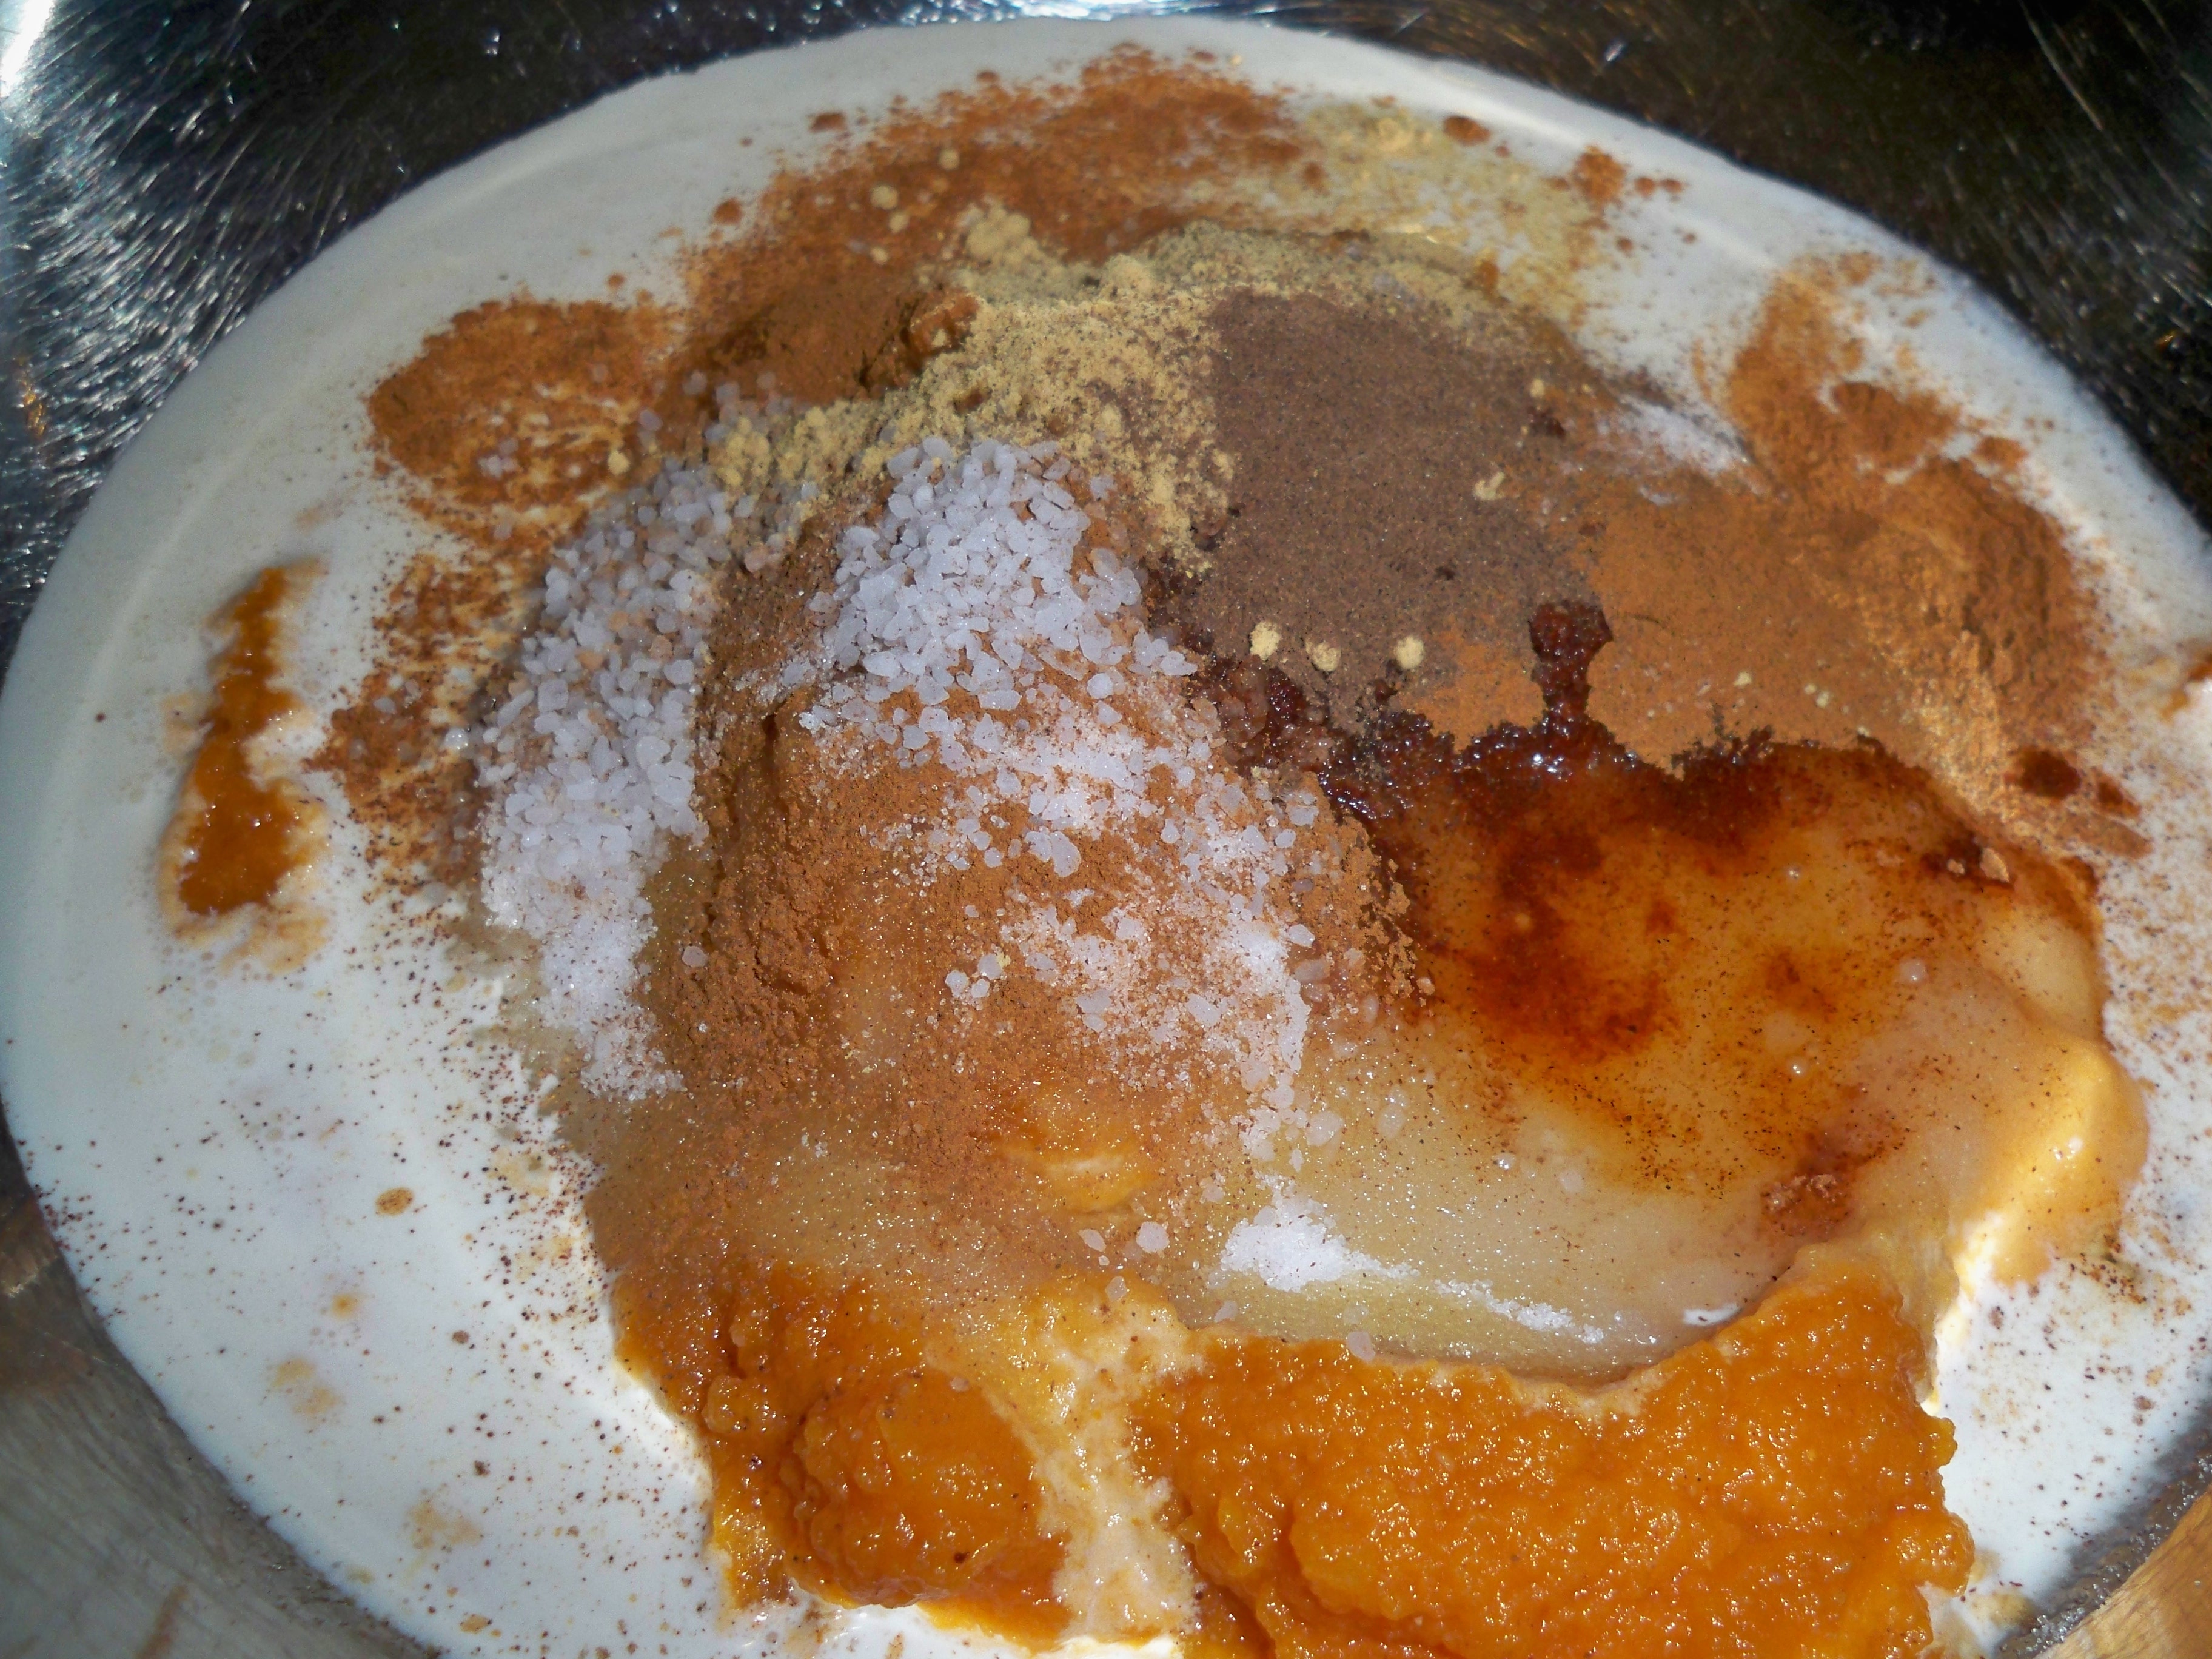
1 can (15 ounces) solid-pack pumpkin
1 cup heavy cream
3/4 cup sugar
1 teaspoon pure vanilla extract
1 teaspoon coarse salt (again, kosher salt was used here)
1 teaspoon ground cinnamon
1/2 teaspoon ground ginger
1/4 teaspoon ground allspice
2 large eggs, lightly beaten

Turn your oven down to 325. Whisk together every single ingredient in a large bowl.

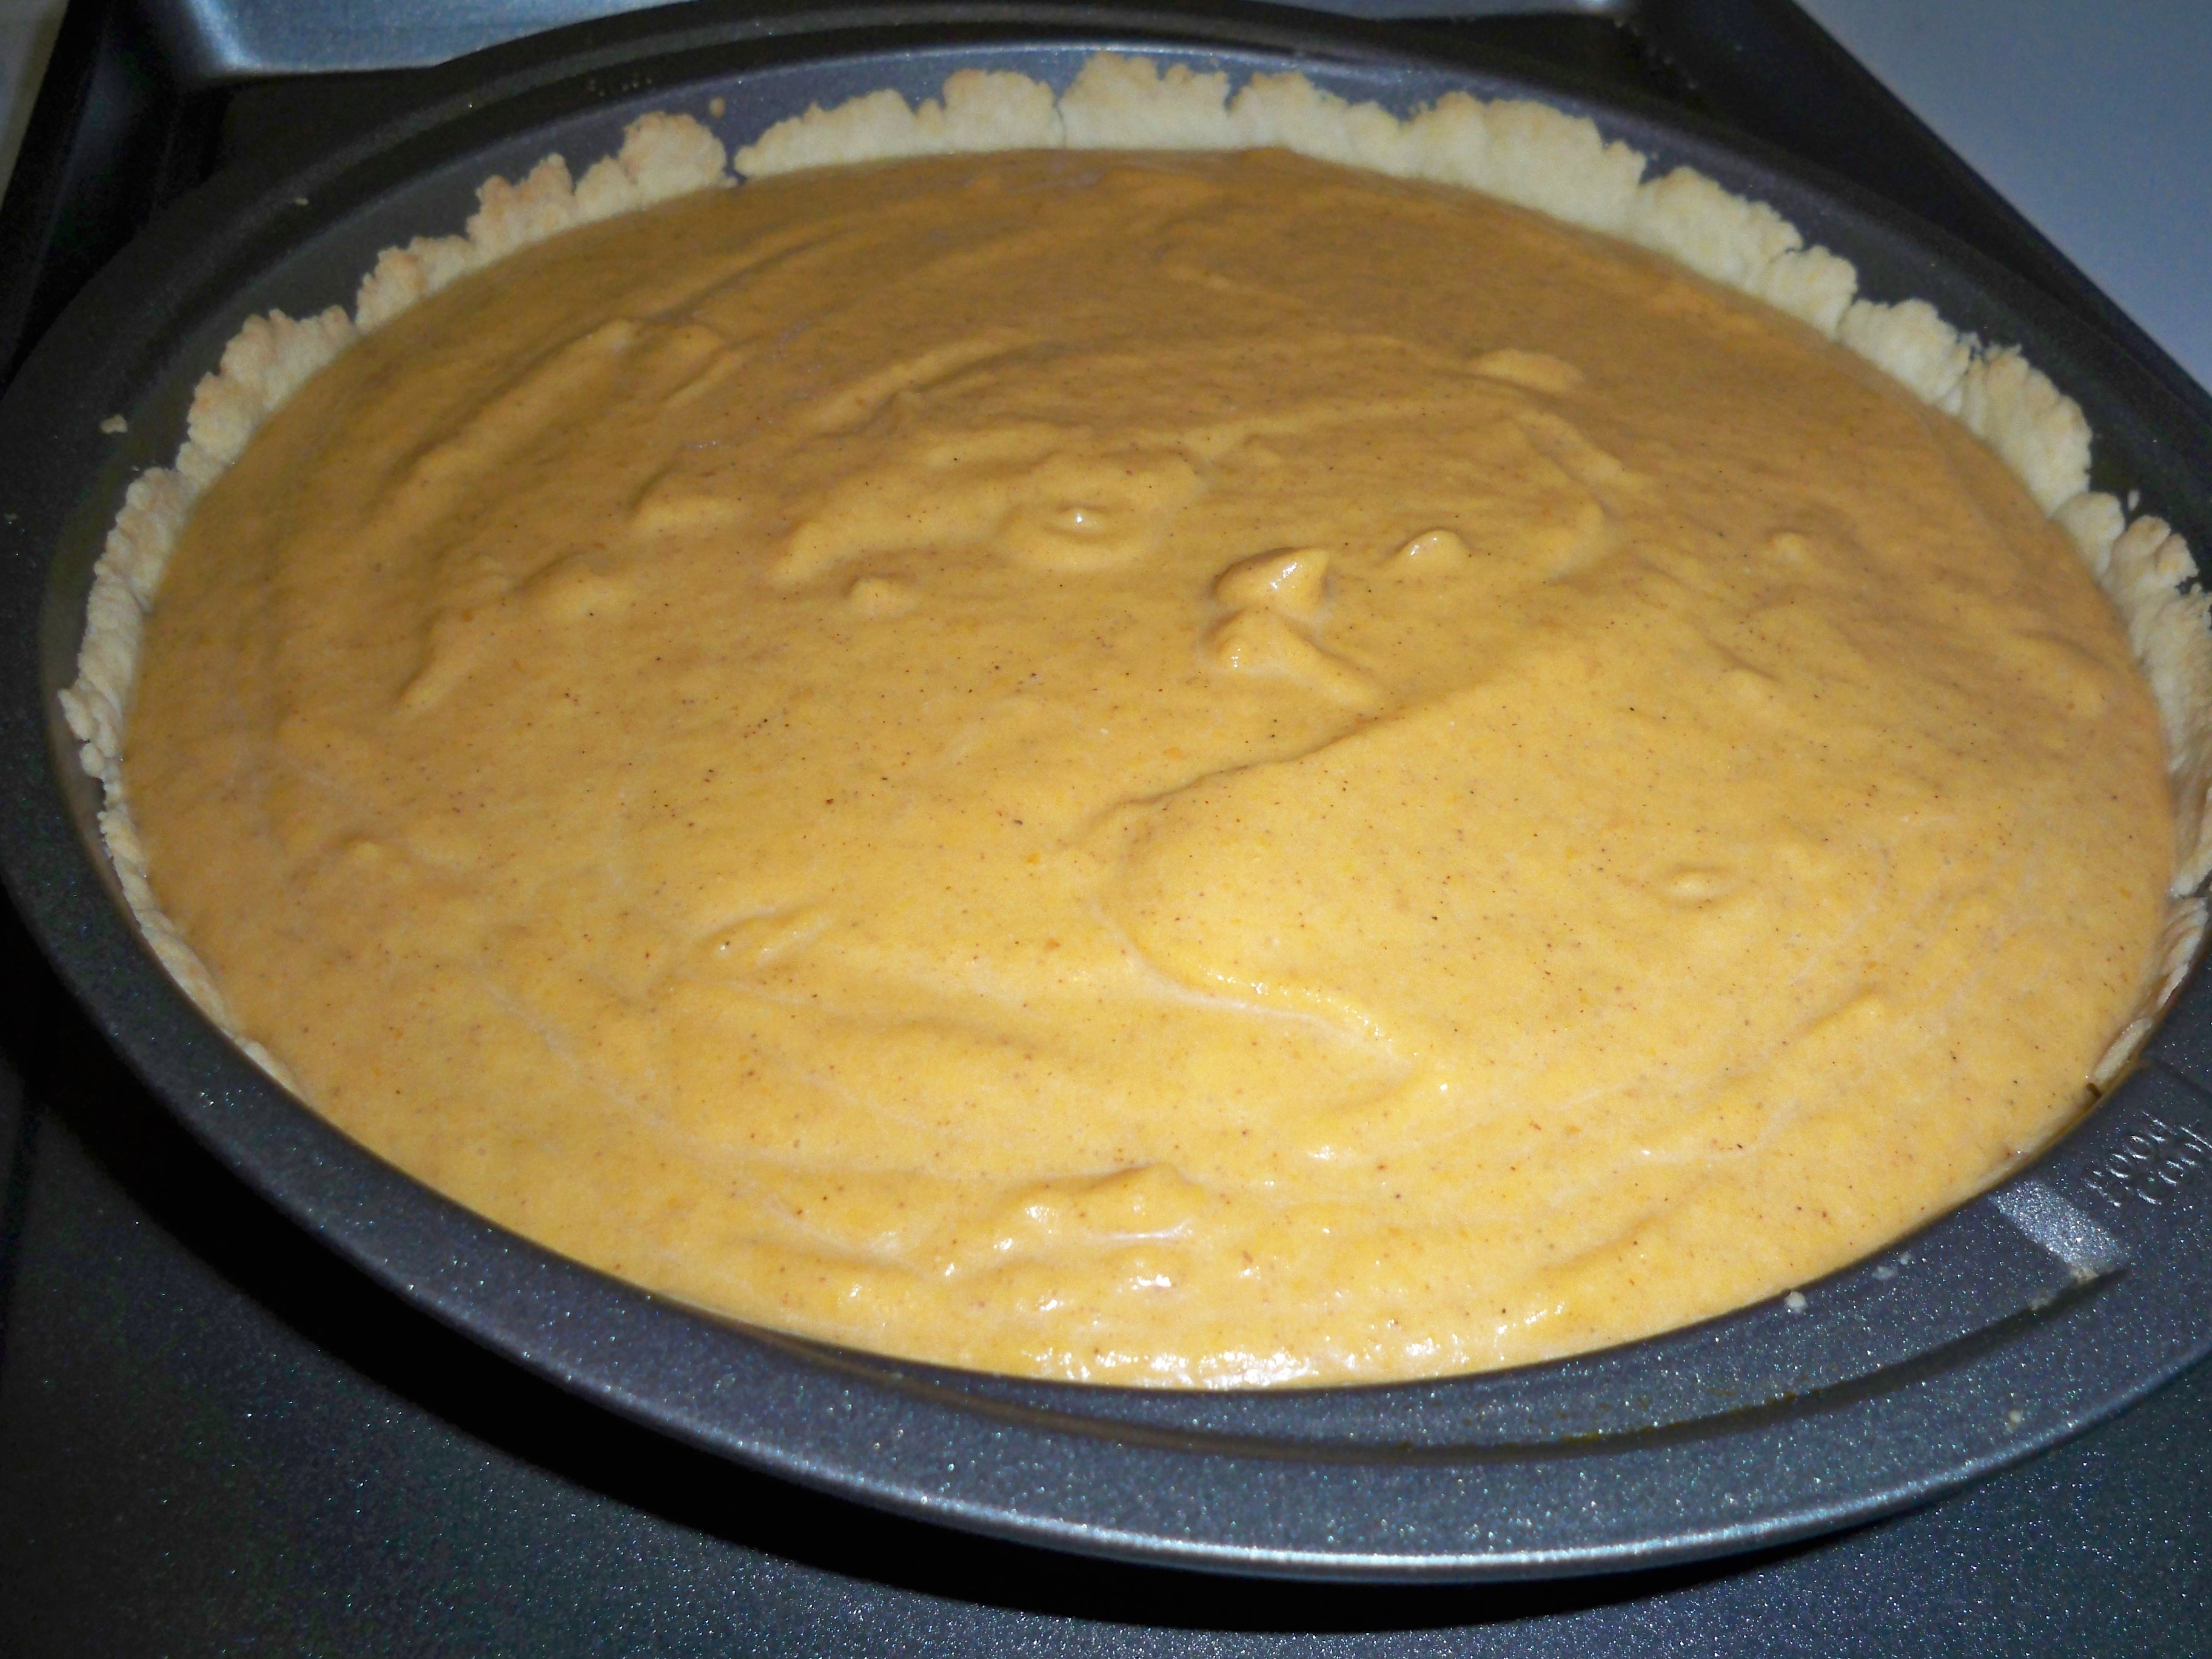
Pour the filling into your cooled shortbread crust.

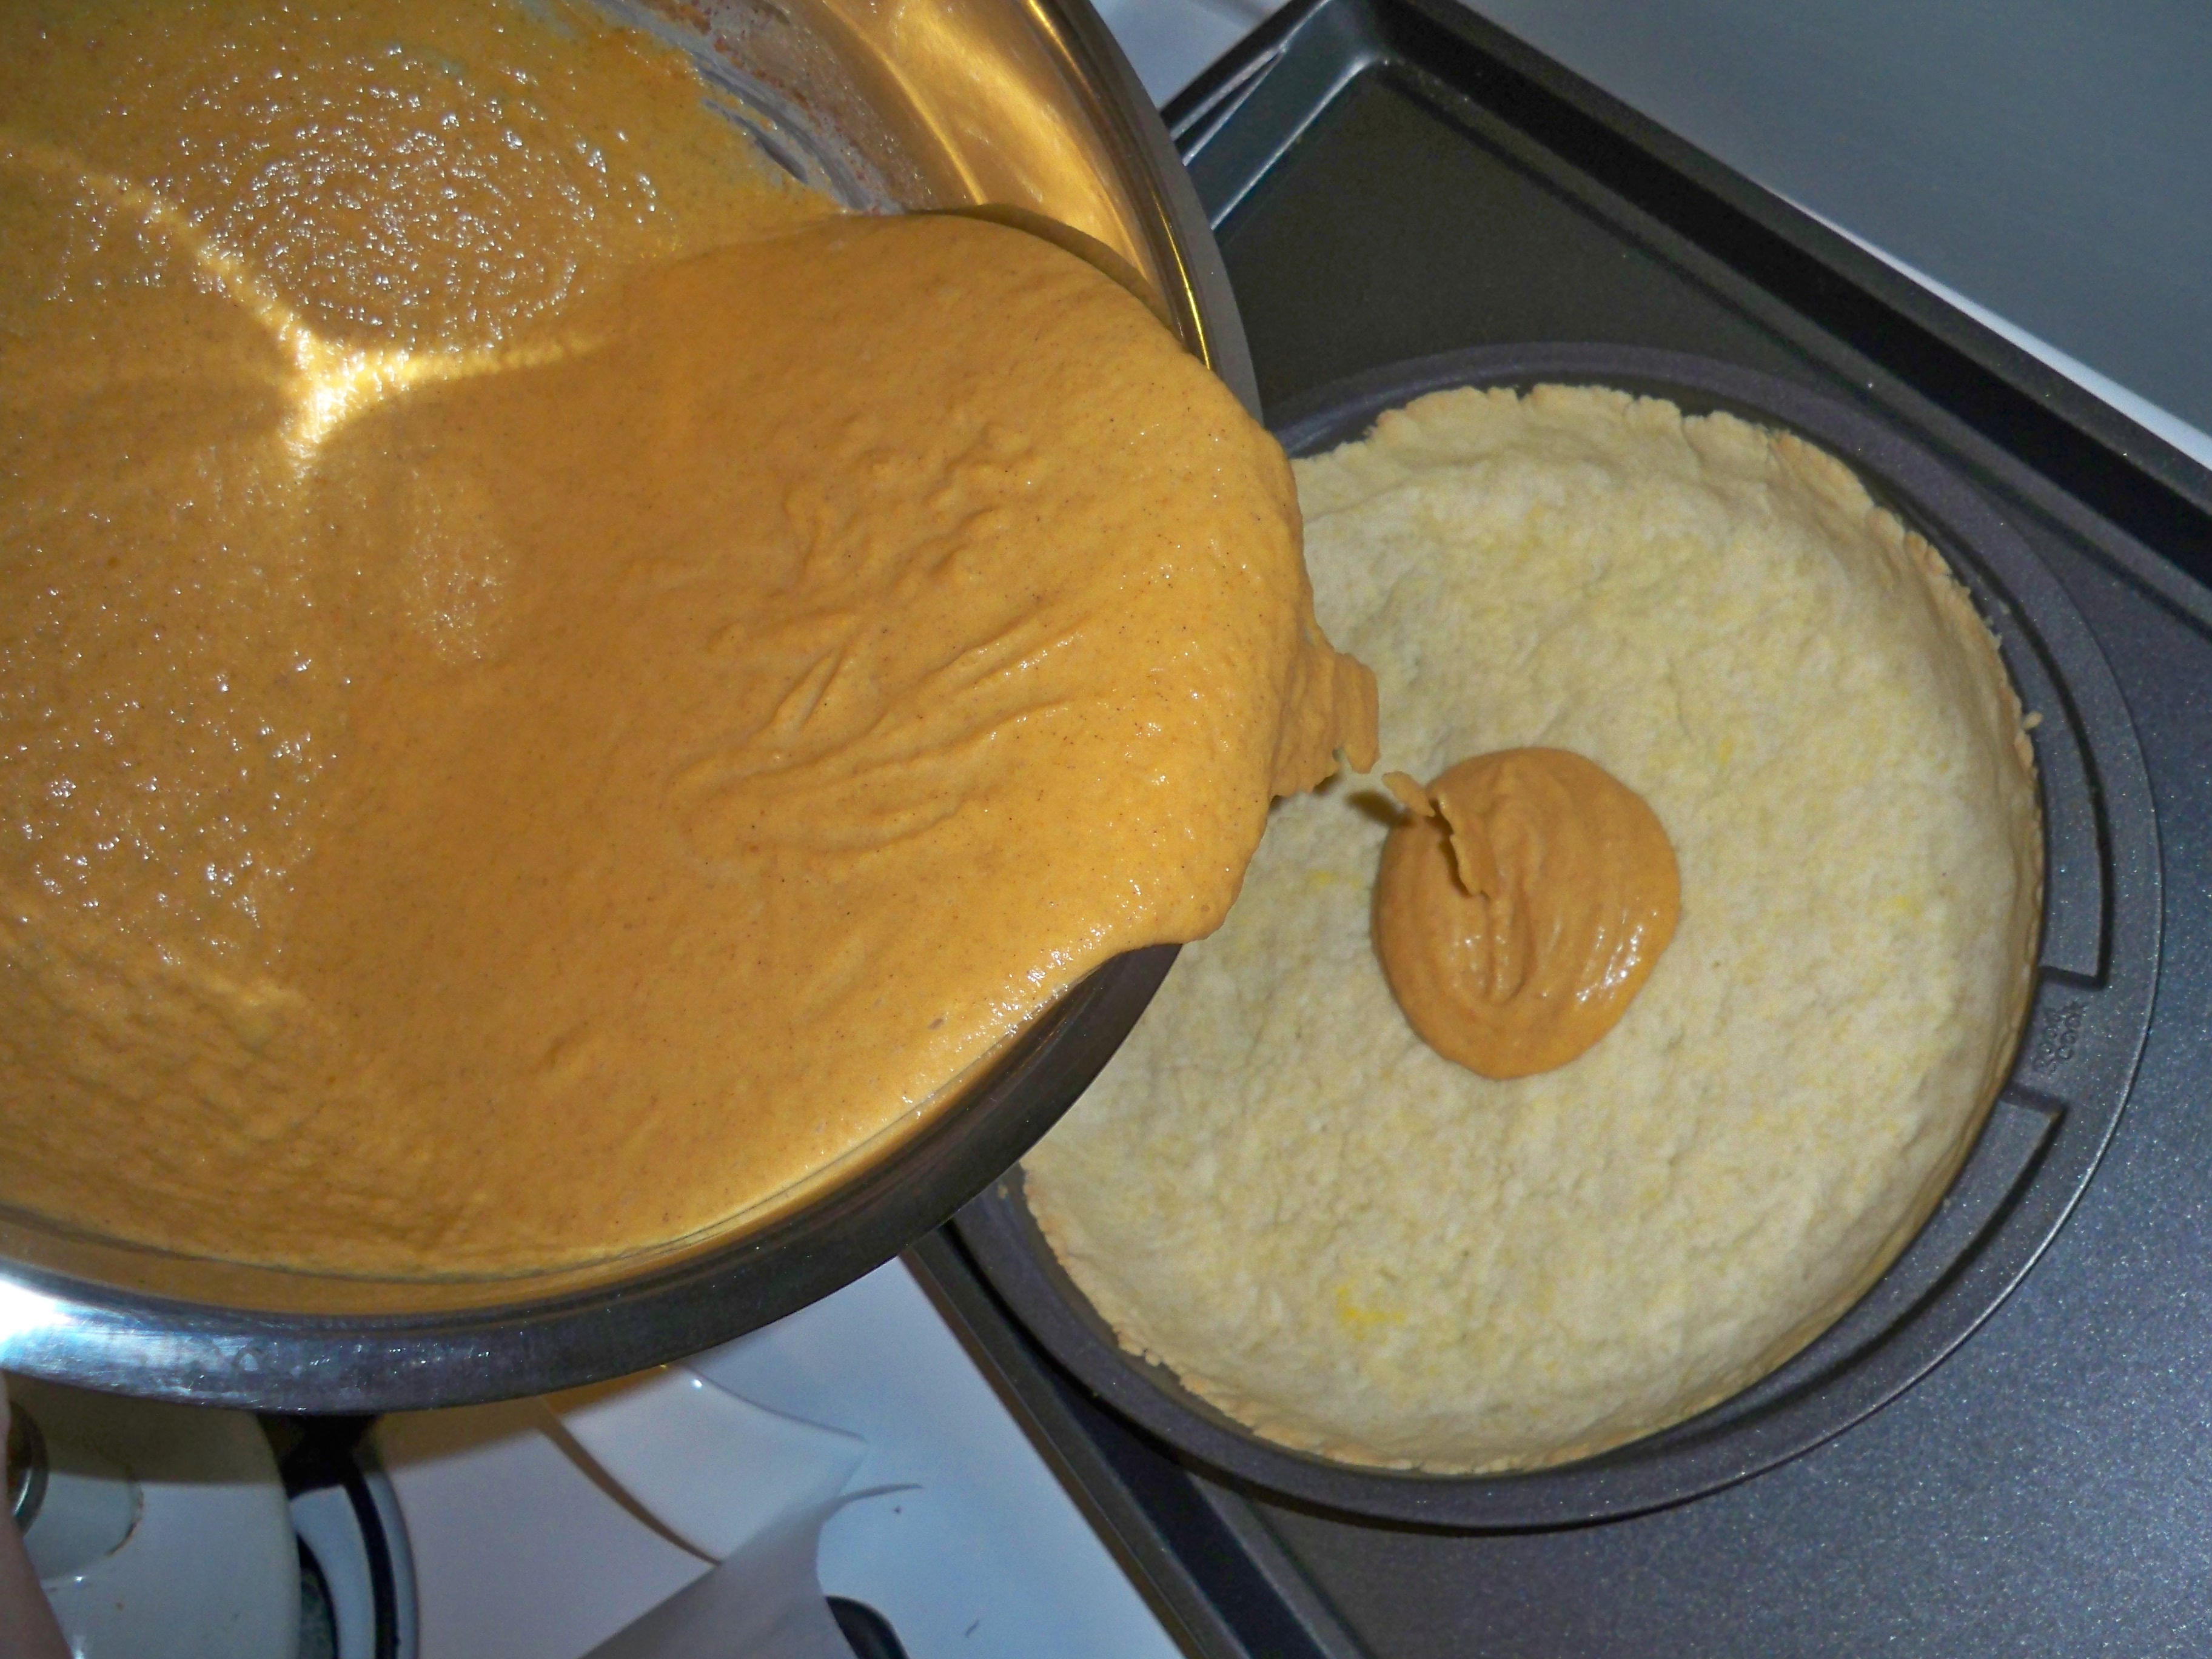
Place your pie on a cookie sheet and bake your pie for 65 minutes until the pie is puffy and still a bit wobbly, but set. It will be dark orange in color, and look delicious.

I recommend baking pumpkin pie the night before it is needed so it can cool completely, and sit in the fridge overnight. If you are feeling really ambitious, you can whip your own whipped cream with the remaining heavy cream. It takes about 30-45 minutes (no I’m not kidding) but it is a delicious pumpkin pie topping!

Pecan Pie (also from Martha Stewart!)

Pie Crust (makes 2)

2 3/4 cups all-purpose flour
1 1/4 teaspoons salt
2 sticks plus 2 tablespoons cold unsalted butter, cut into small pieces
1/2 cup ice water

Mix together flour and salt by hand if you are me, or in a food processor if you have one. Add the butter, cut into small pieces, and mix until you have crumbly crust. Add ice water slowly but steadily until your dough stays together, but isn’t sticky.

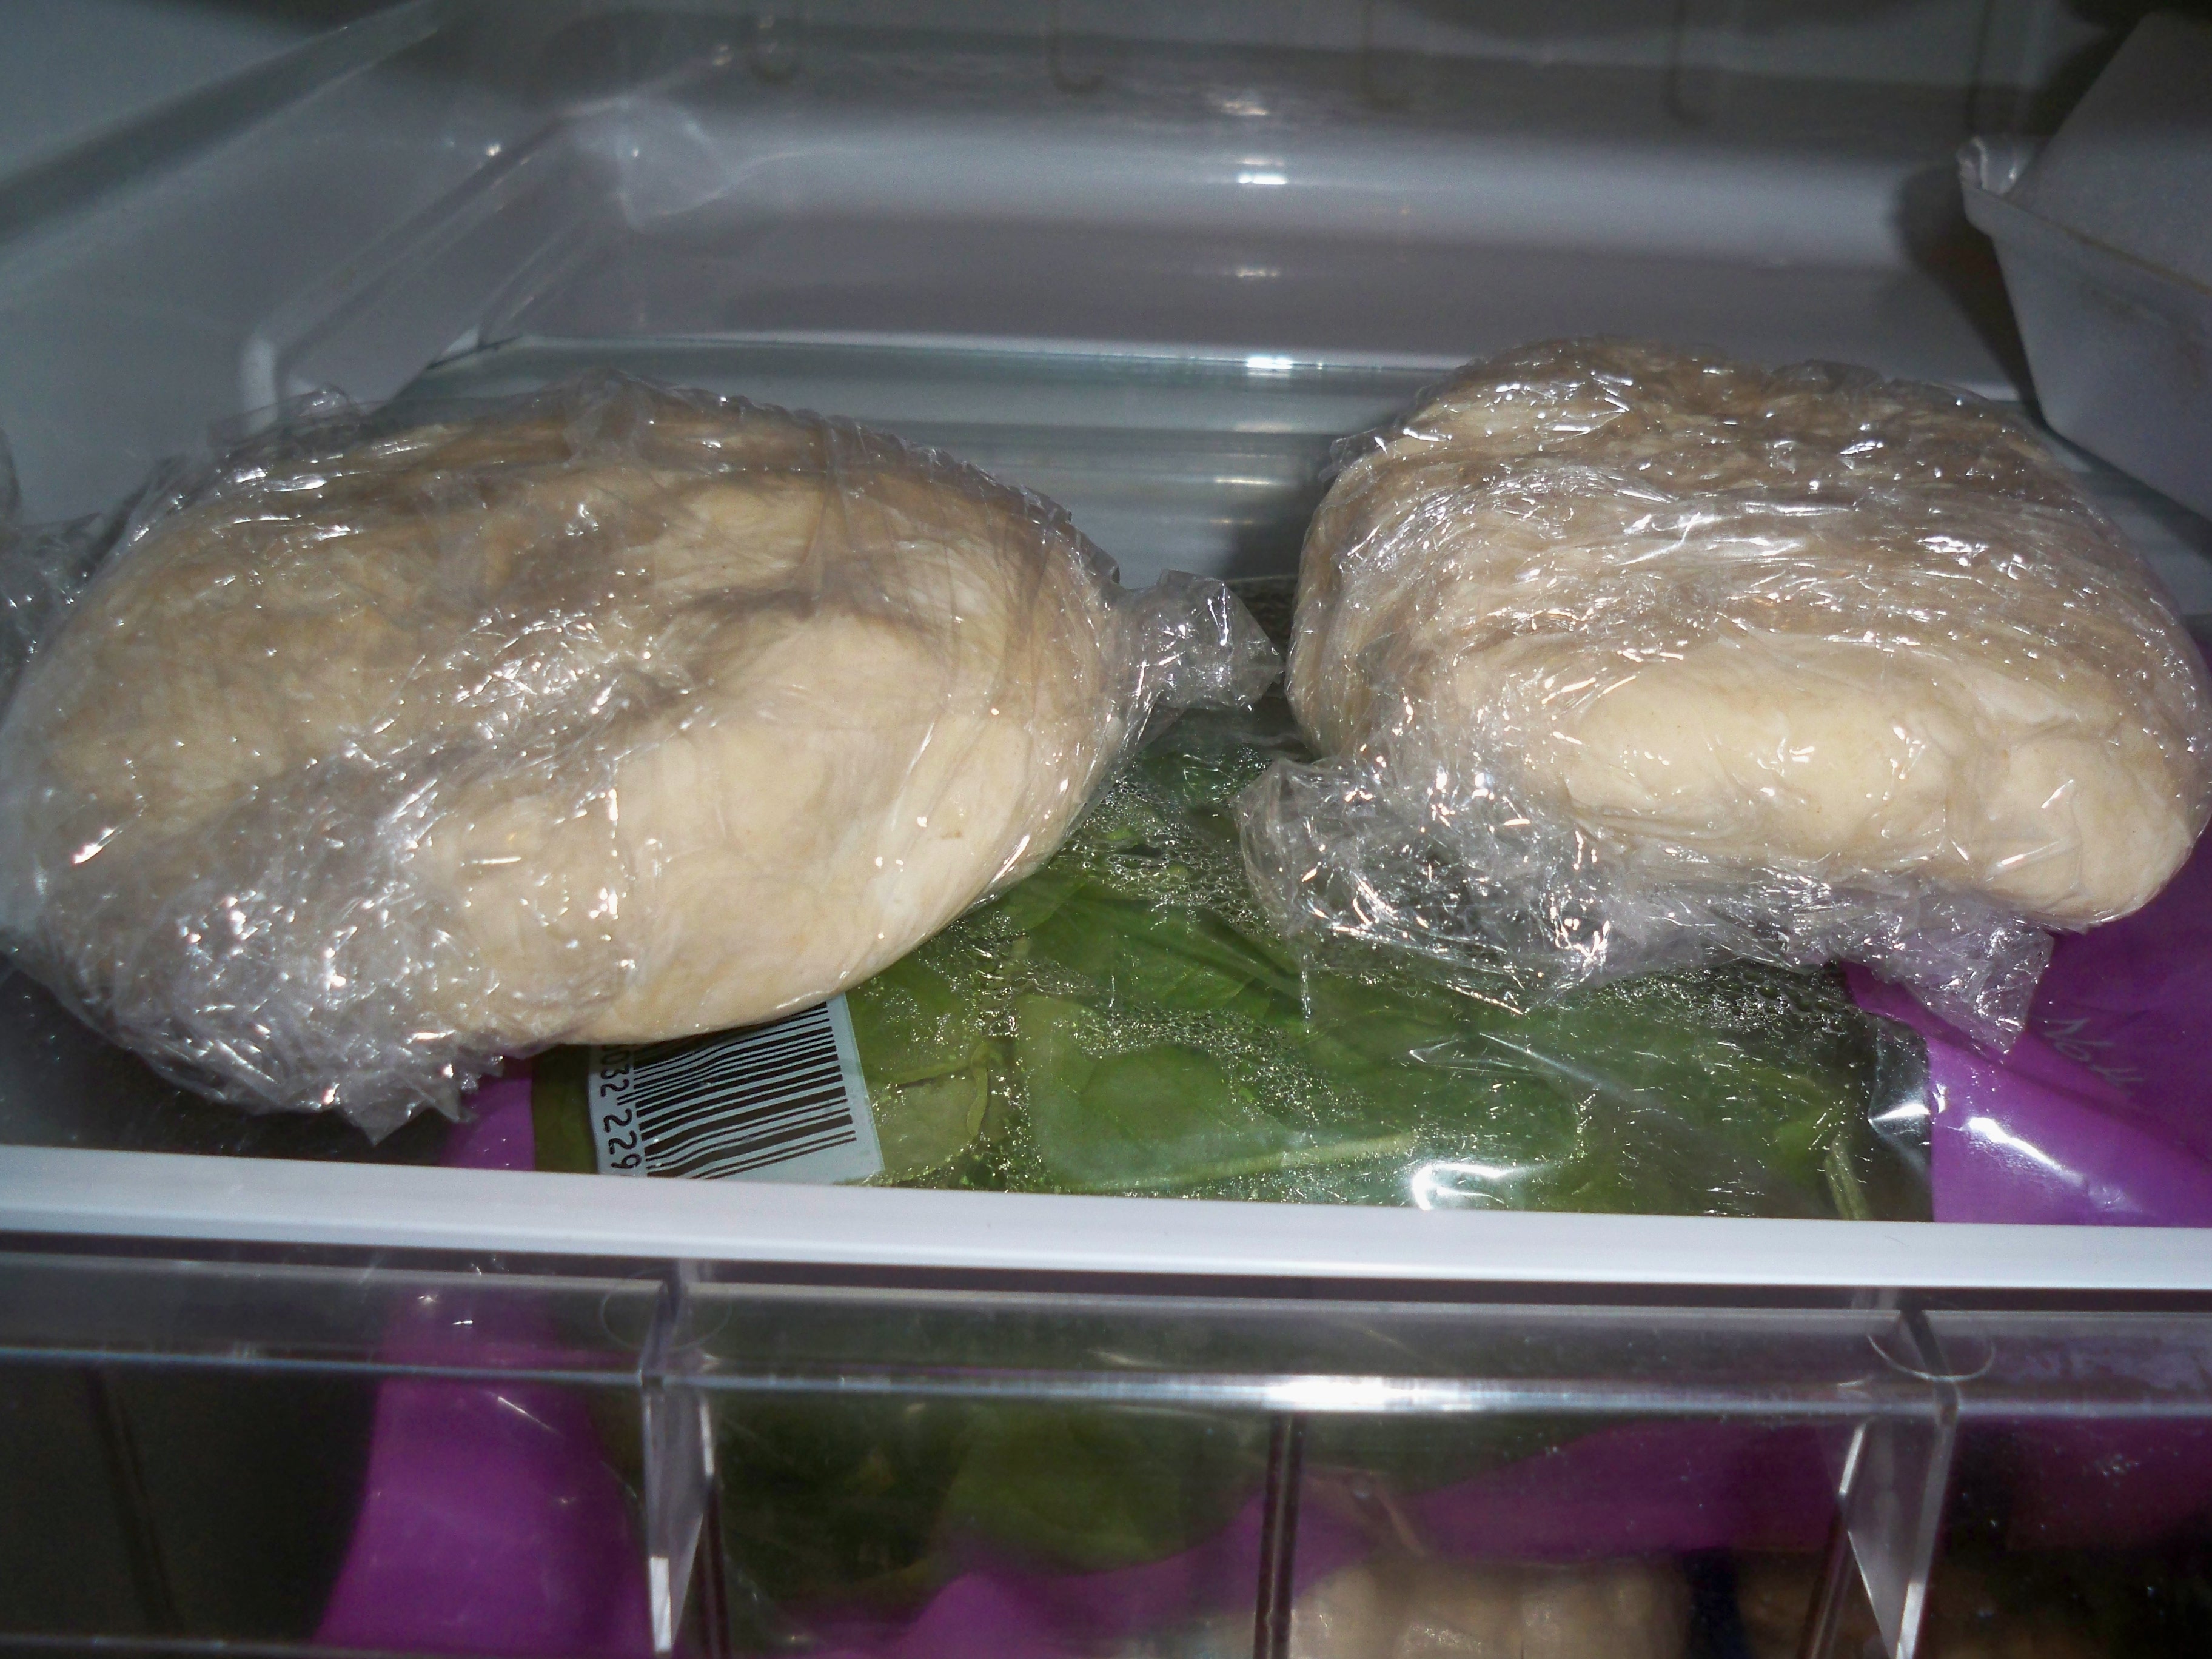
Divide your dough into two balls, wrap them in plastic, and refrigerate them for about an hour. While you are waiting, eat some dinner, catch up on some reading, or make your pecan pie filling.

Pecan filling

All-purpose flour, for dusting
6 large eggs
1 1/4 cups light corn syrup
1 1/4 cups packed dark-brown sugar
5 tablespoons unsalted butter, melted and cooled
1 tablespoon pure vanilla extract
2 teaspoons fresh lemon juice
1/4 teaspoon salt
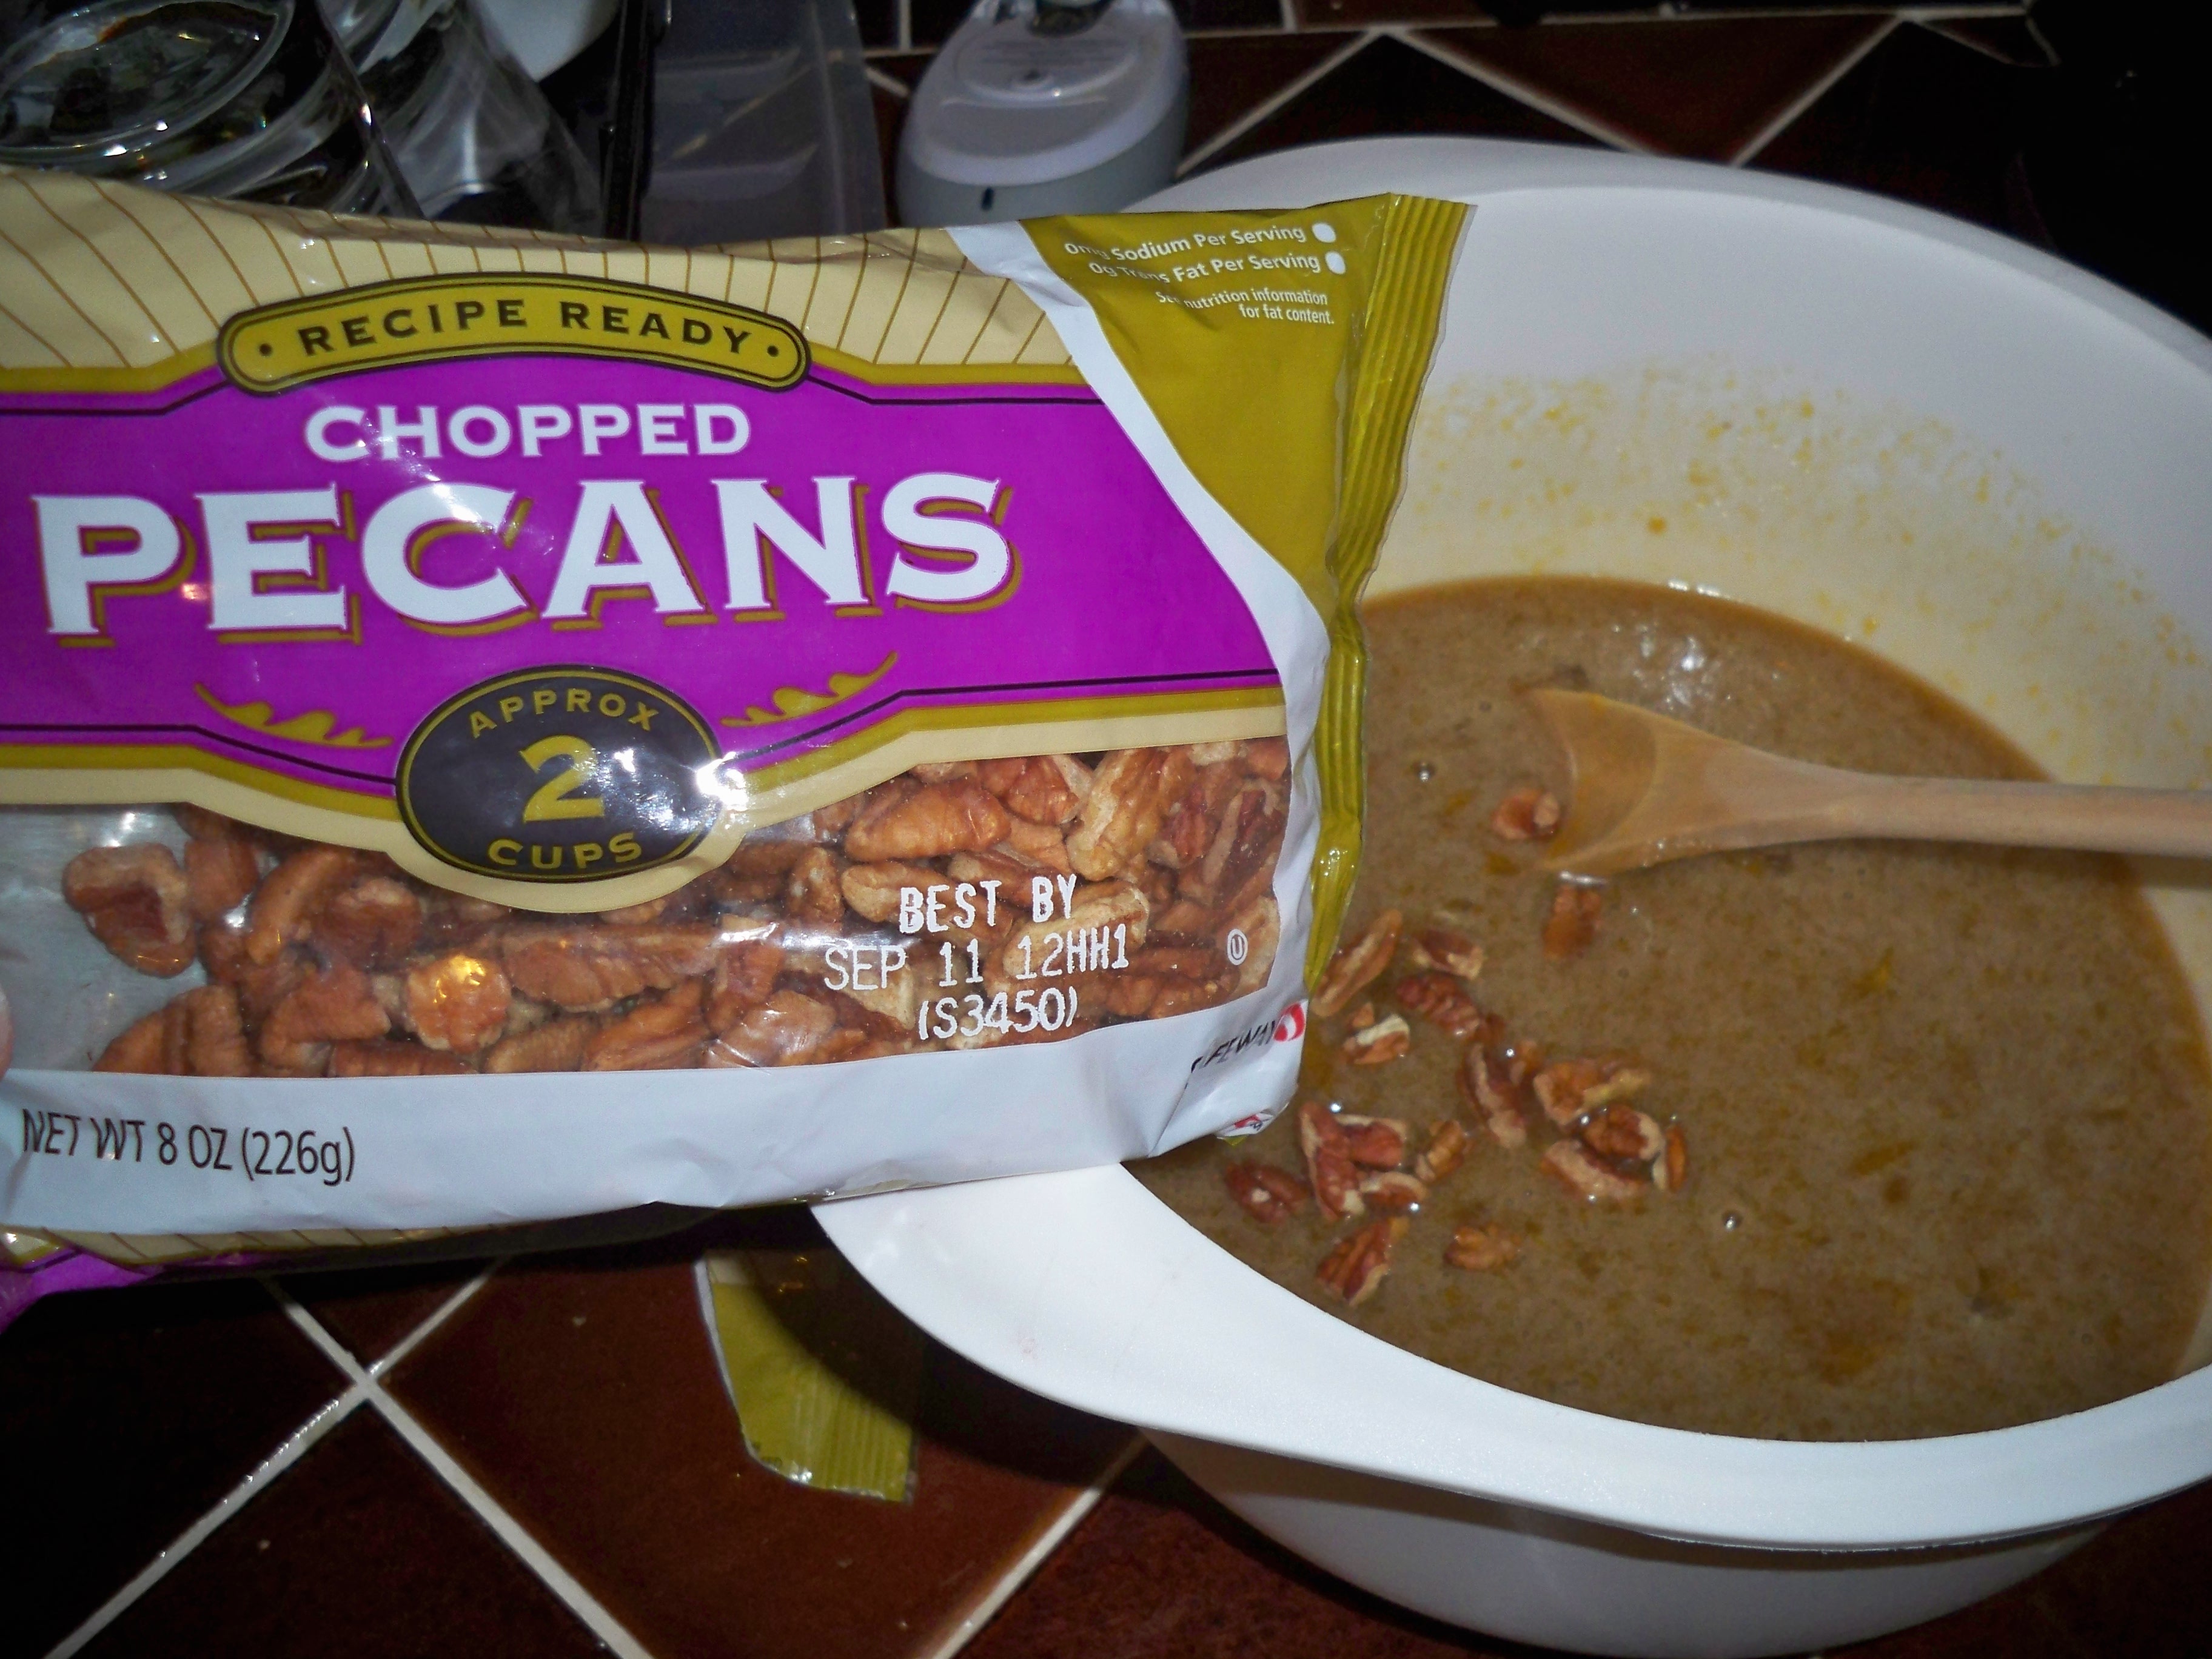
2 1/2 cups coarsely chopped toasted pecans (about 10 ounces), for filling
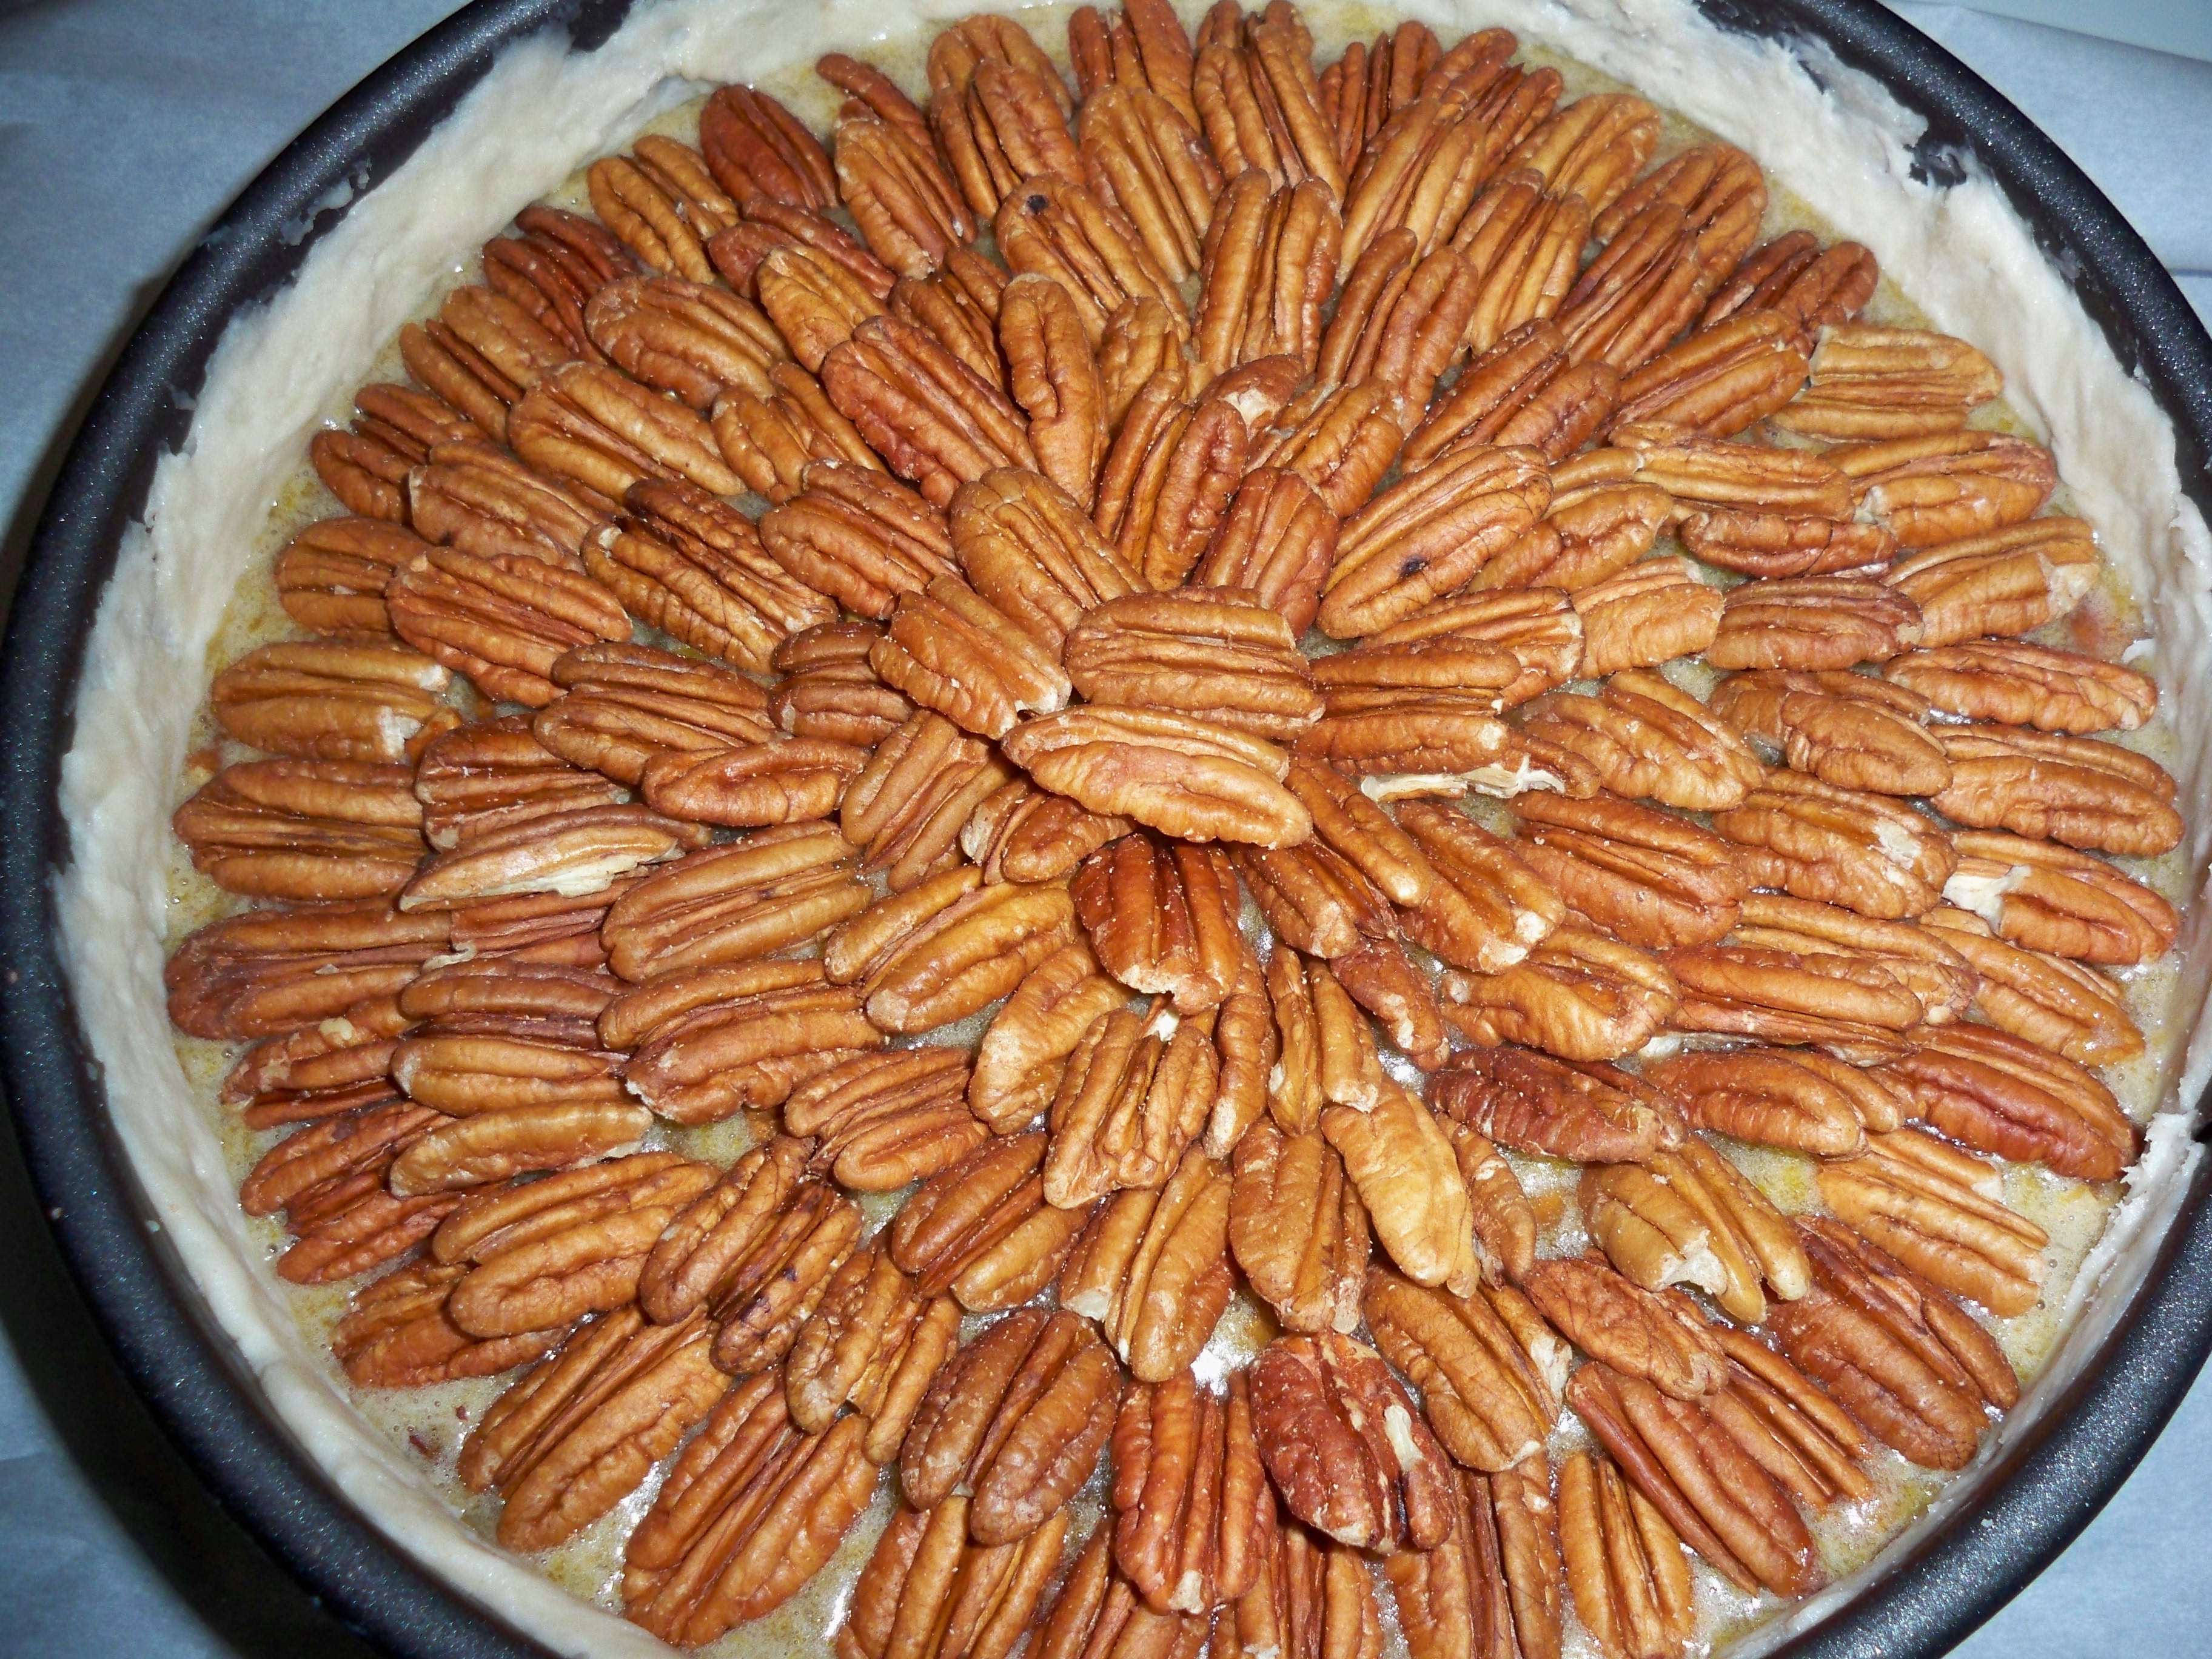
2 cups pecan halves (about 8 ounces), for topping

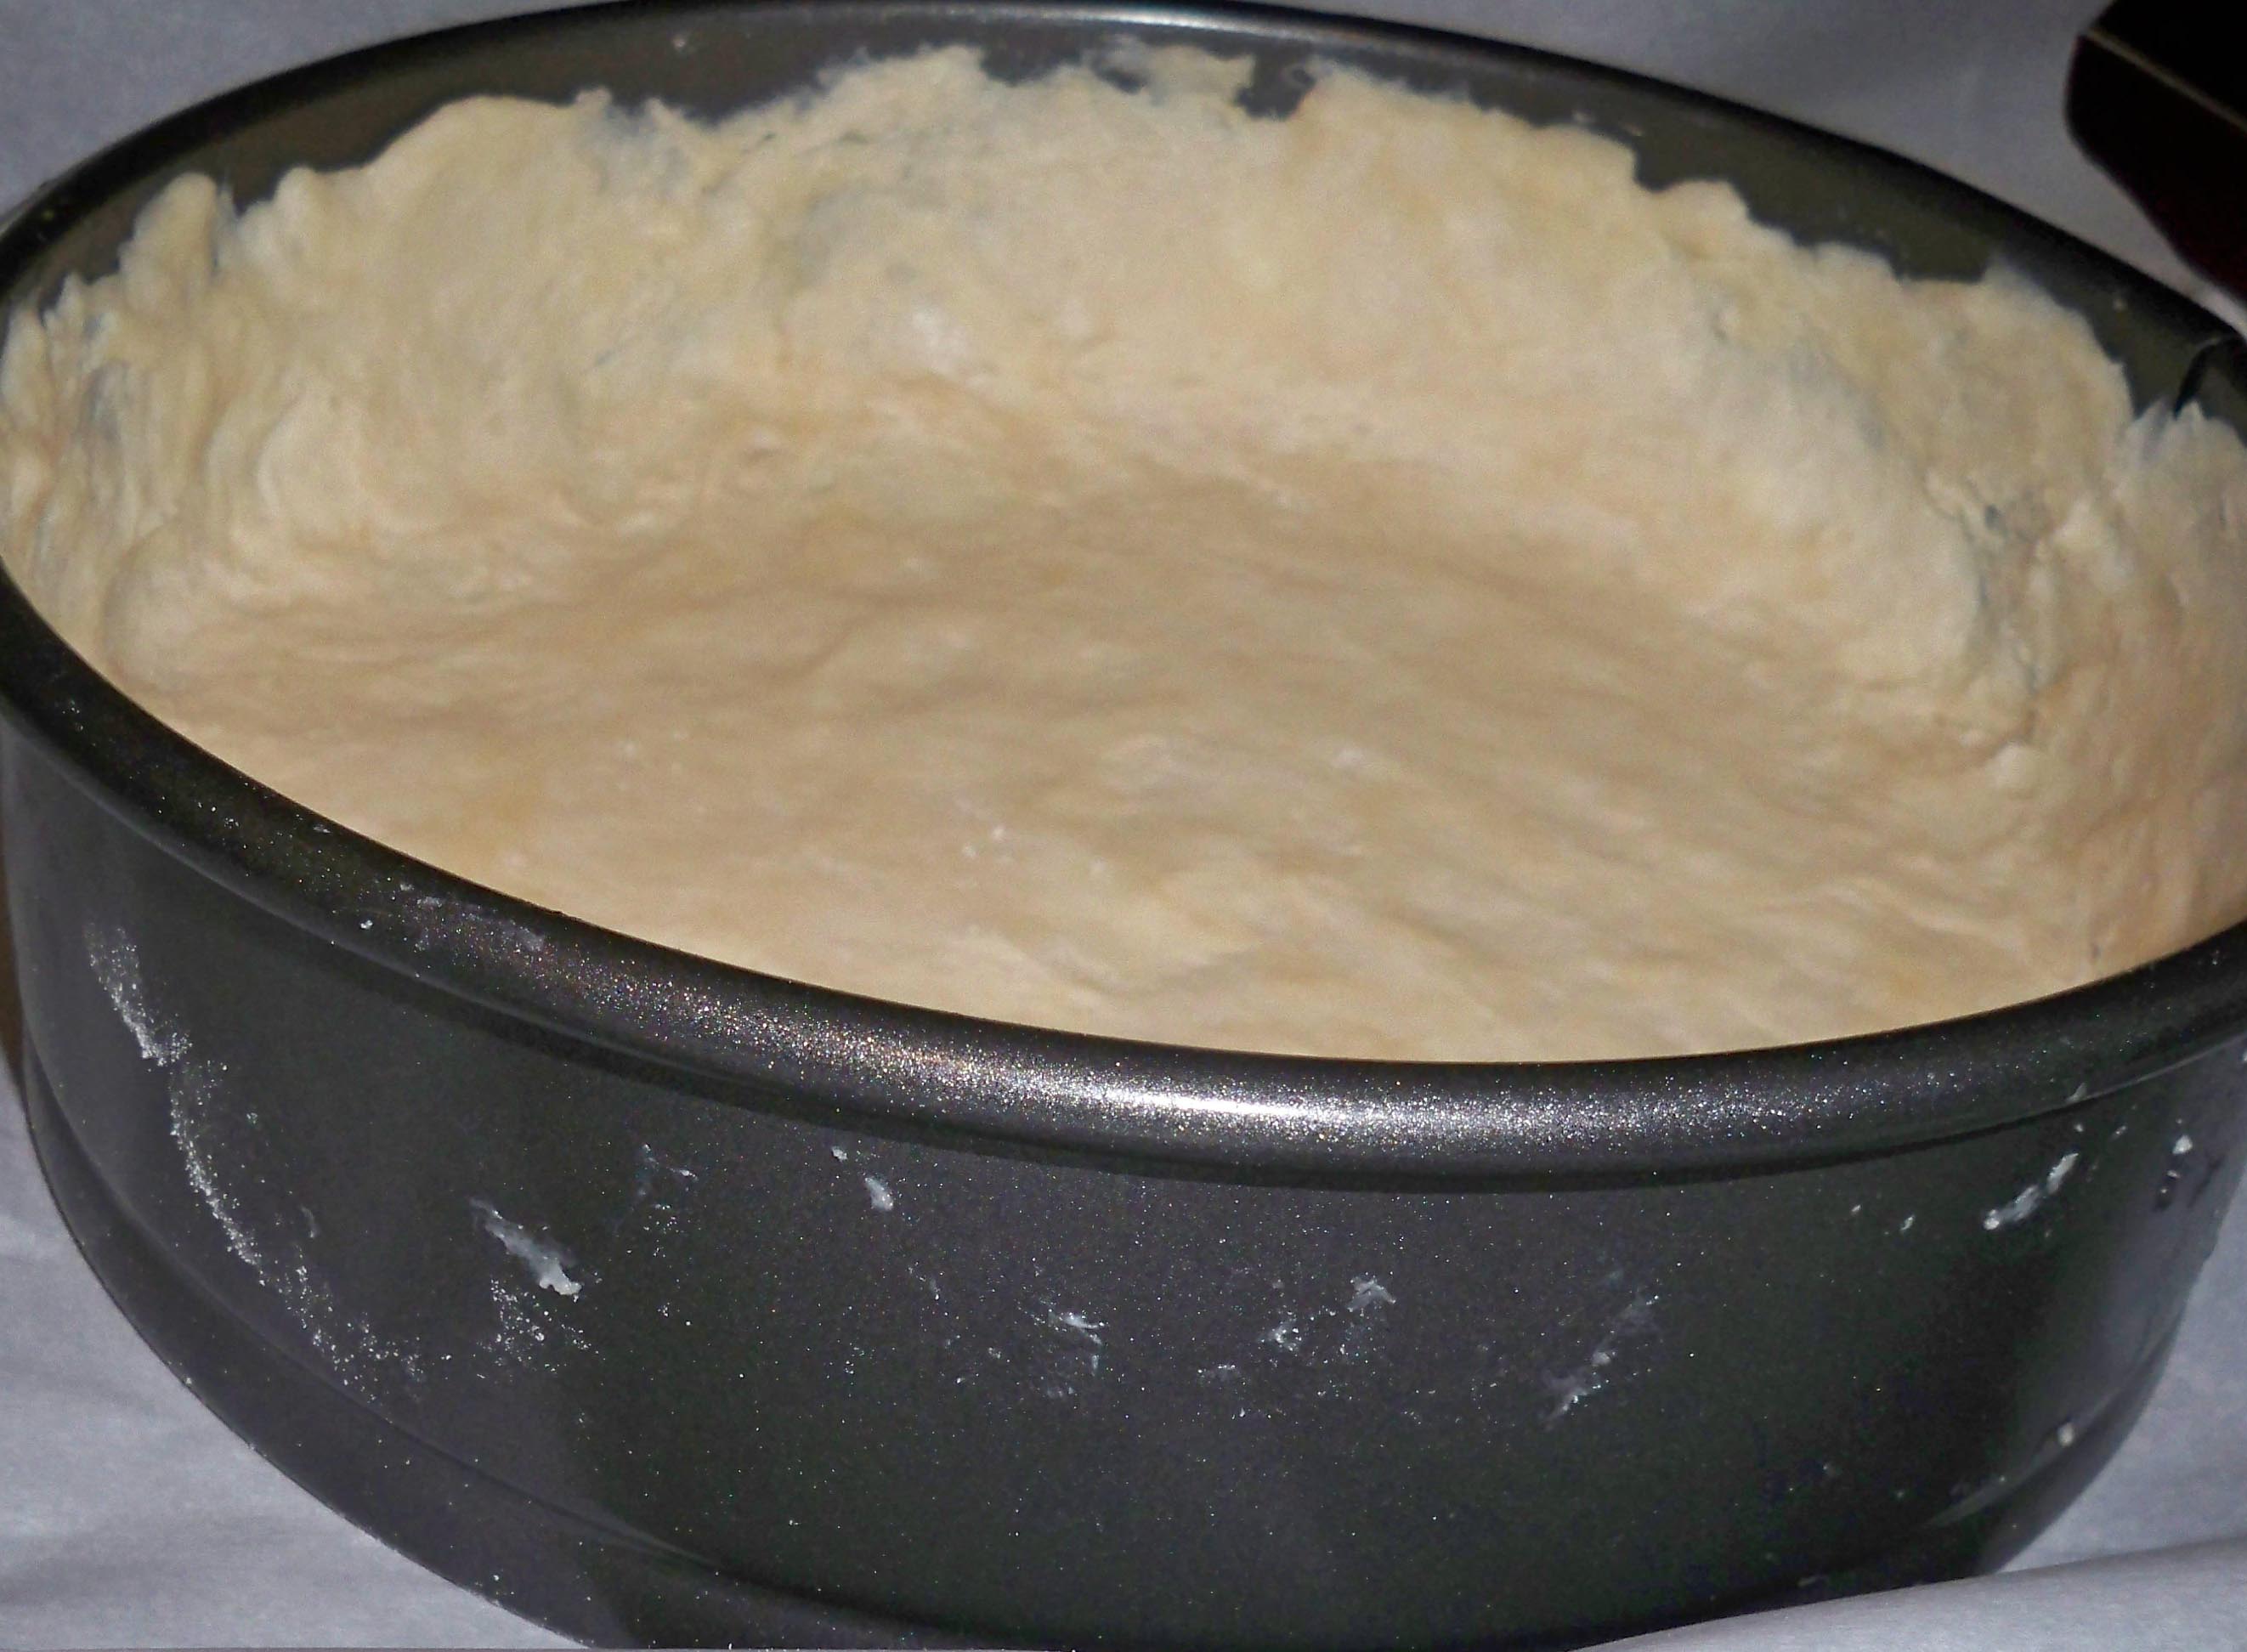
For this pie, I used my springform pan, but any 9-inch cake pan with high sides (Martha Stewart recommends 1 ½ inch) will do. Set this pan on a baking sheet lined with parchment paper.

When your crust is done refrigerating, roll it out with a flour dusted rolling pin until it will cover your cake pan, approximately 13 inches. Stick it in the freezer for an additional 30 mins to firm up again.

Preheat your oven to 400. Mix together the eggs, corn syrup, and brown sugar.

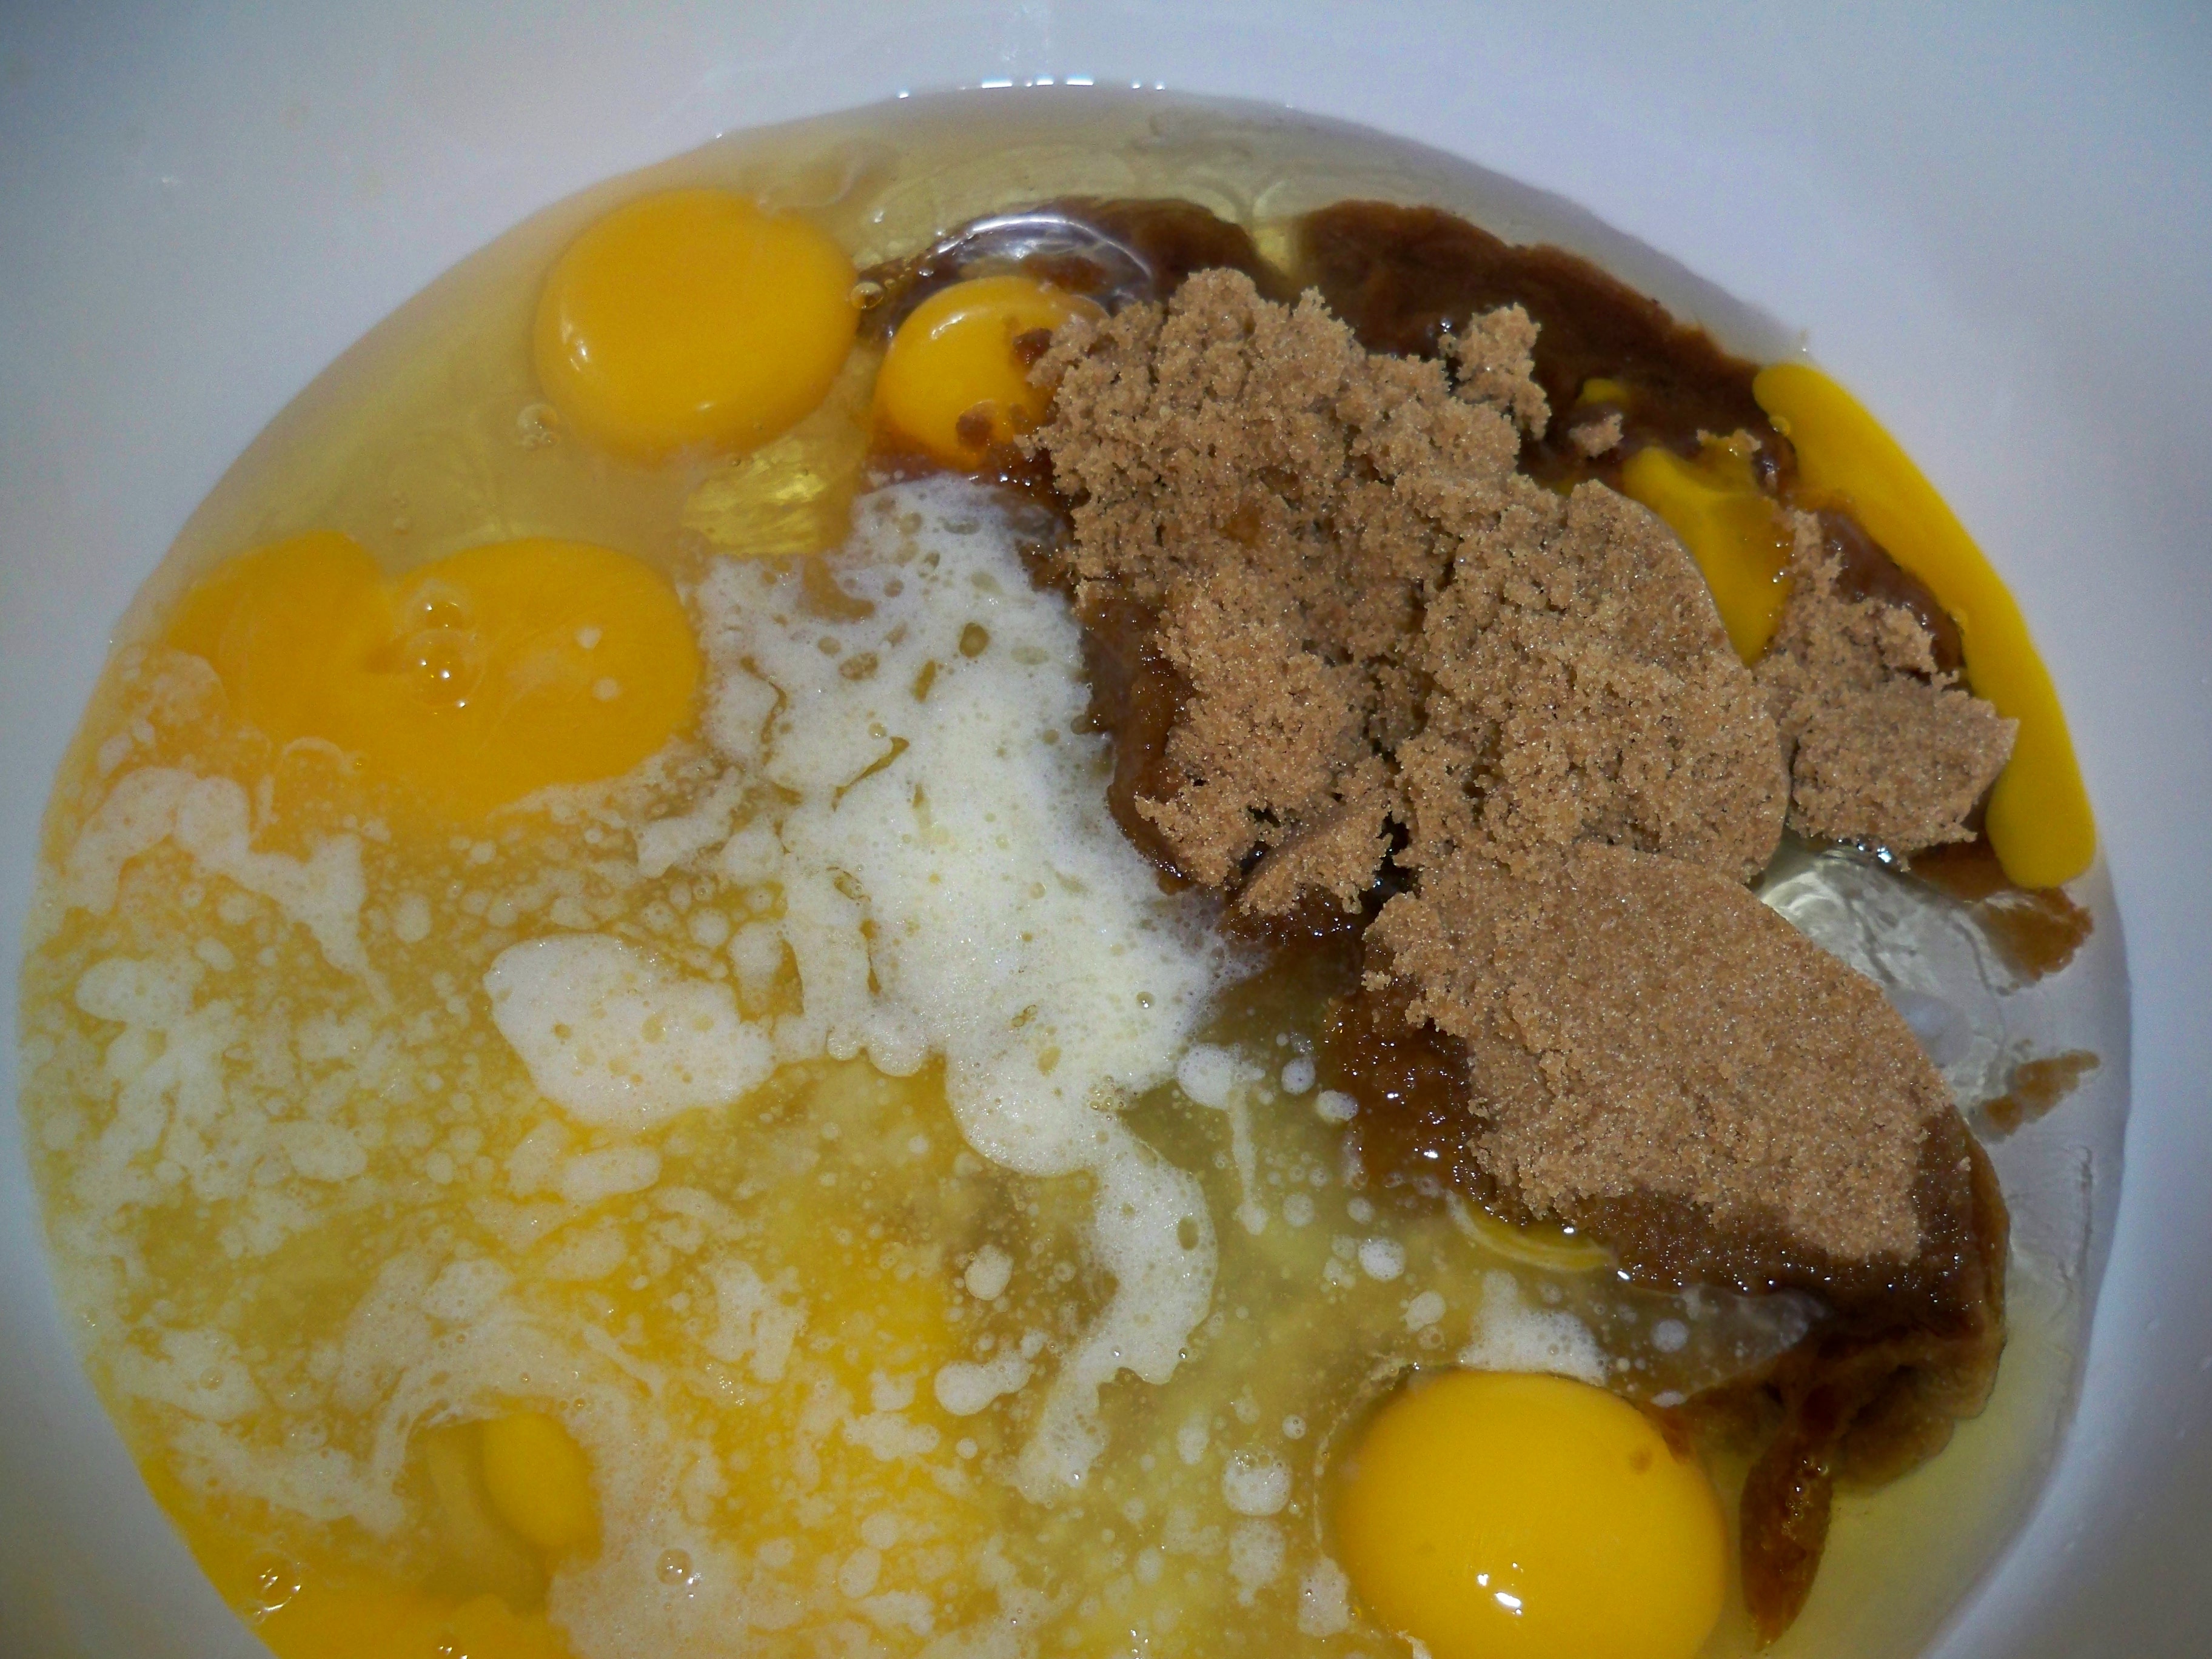
Add the butter, vanilla, lemon juice, and salt.

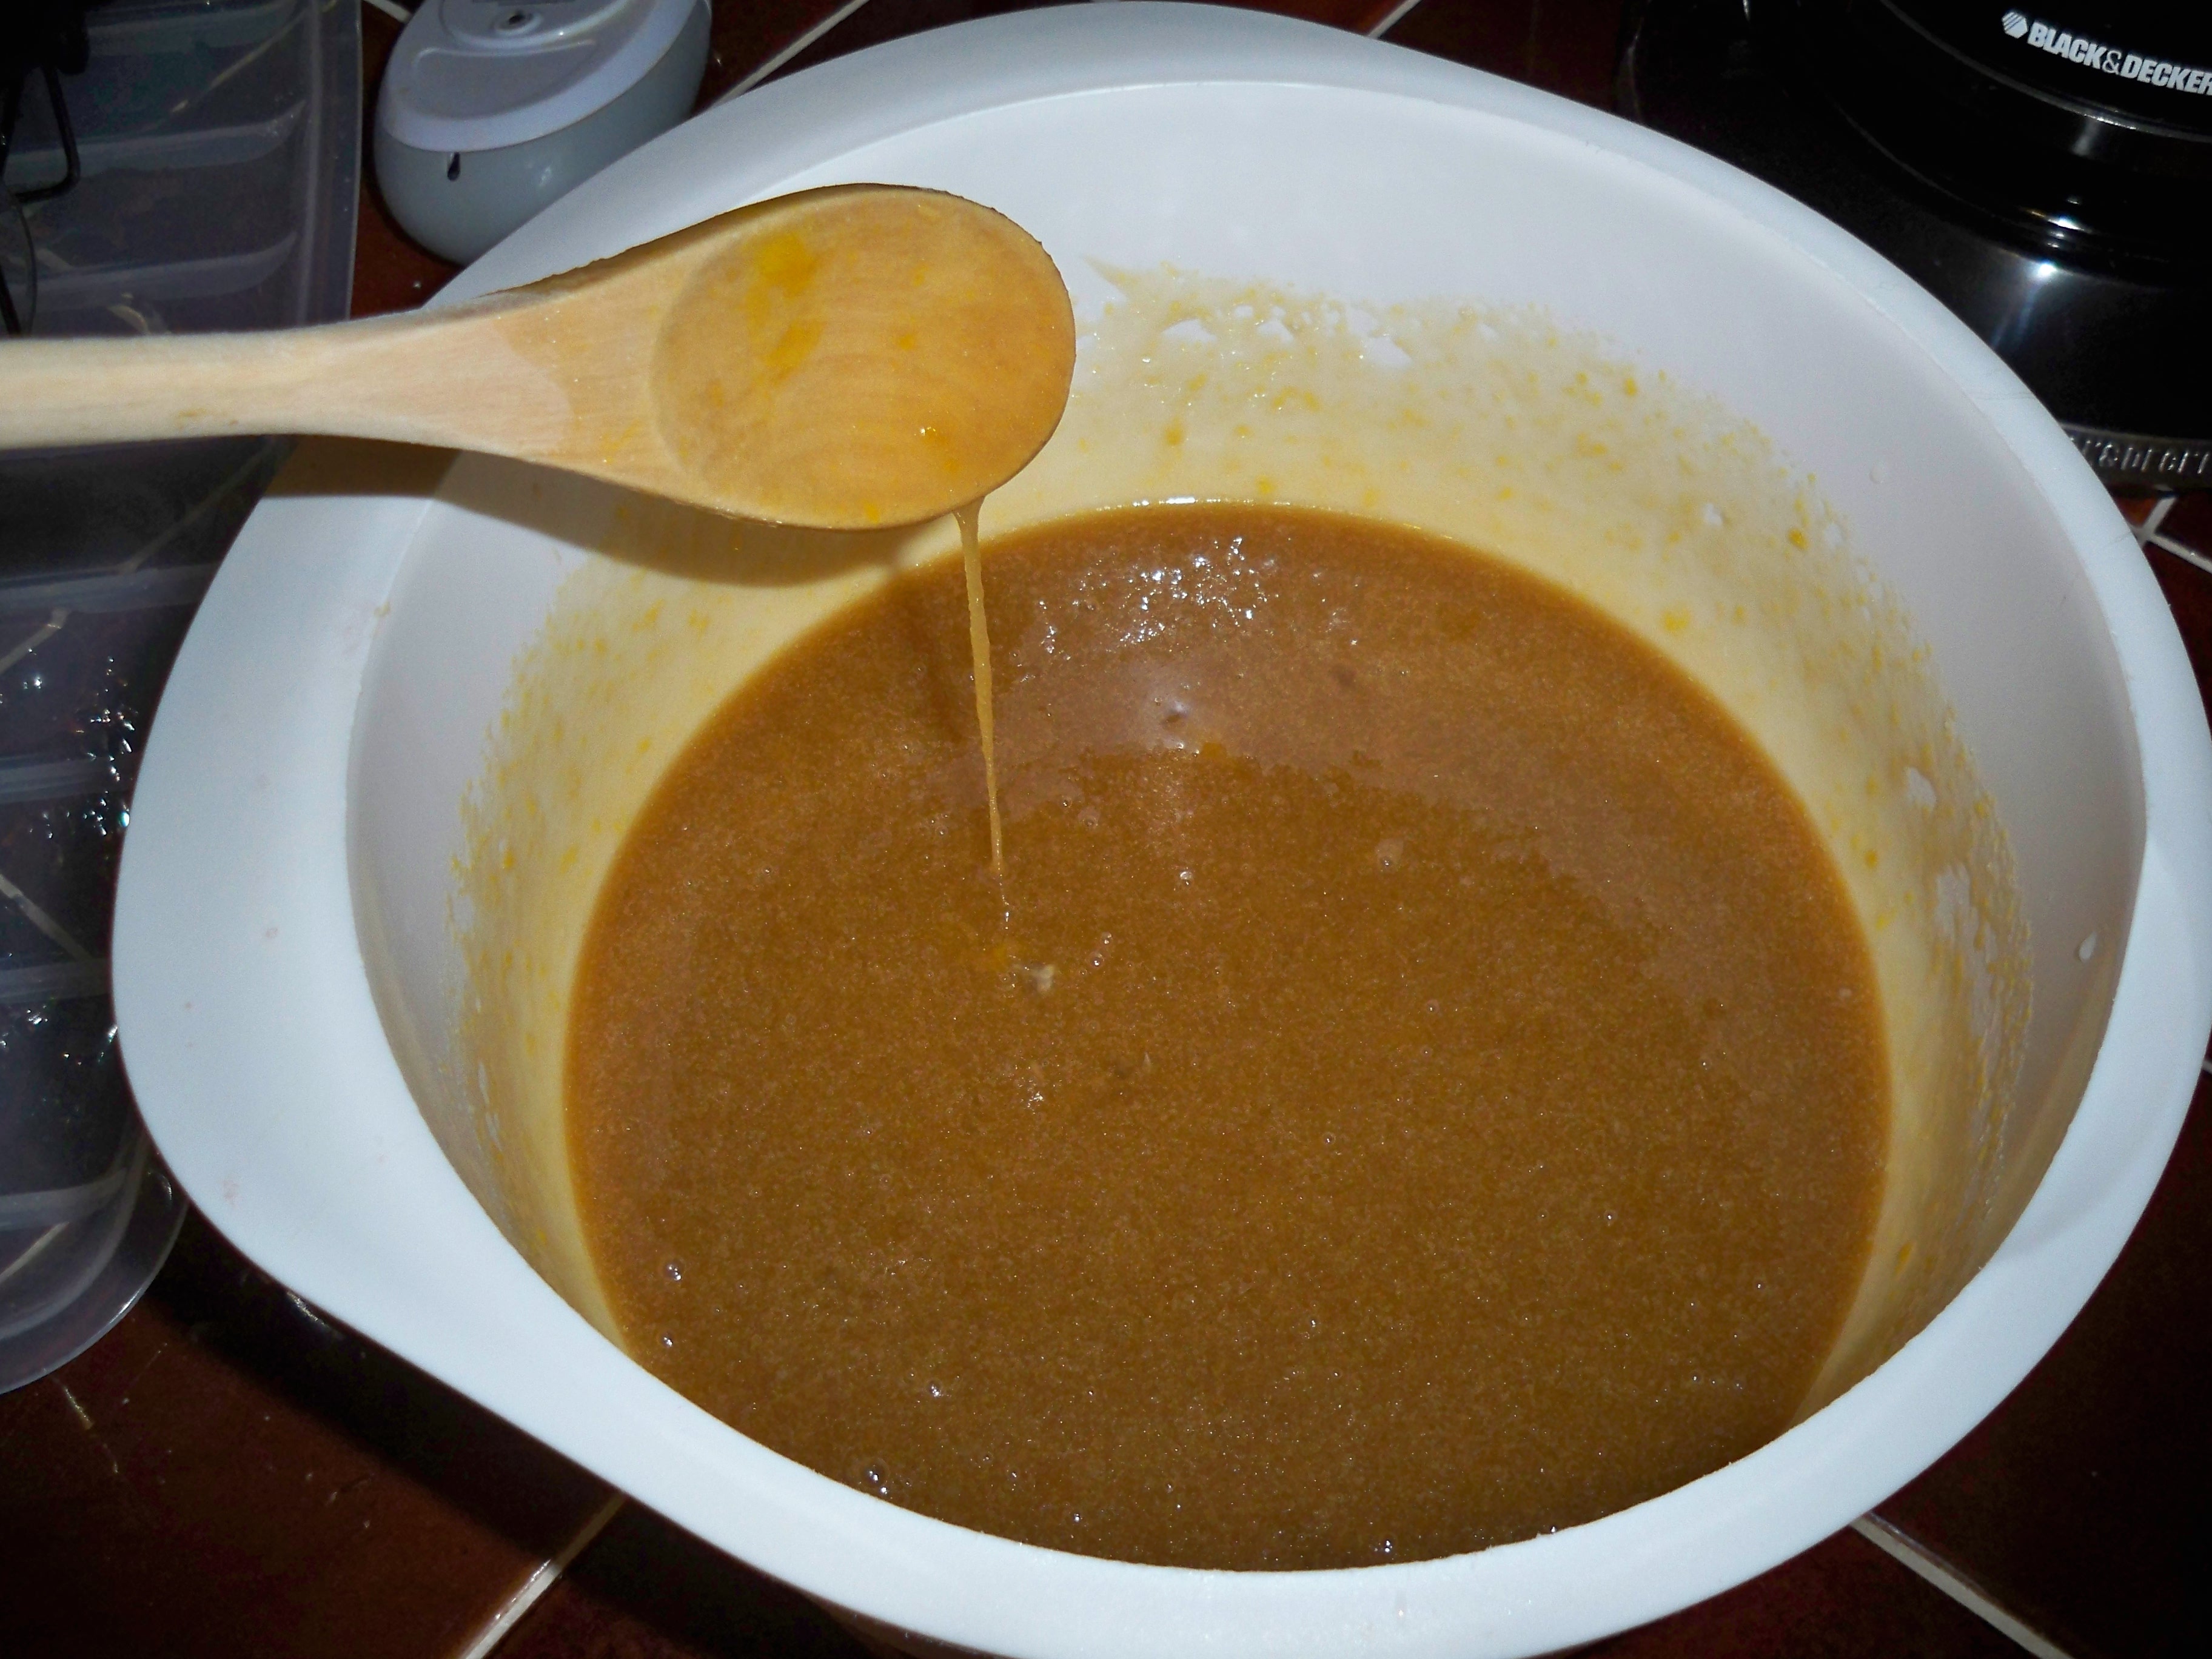
Finally, add your chopped pecans.

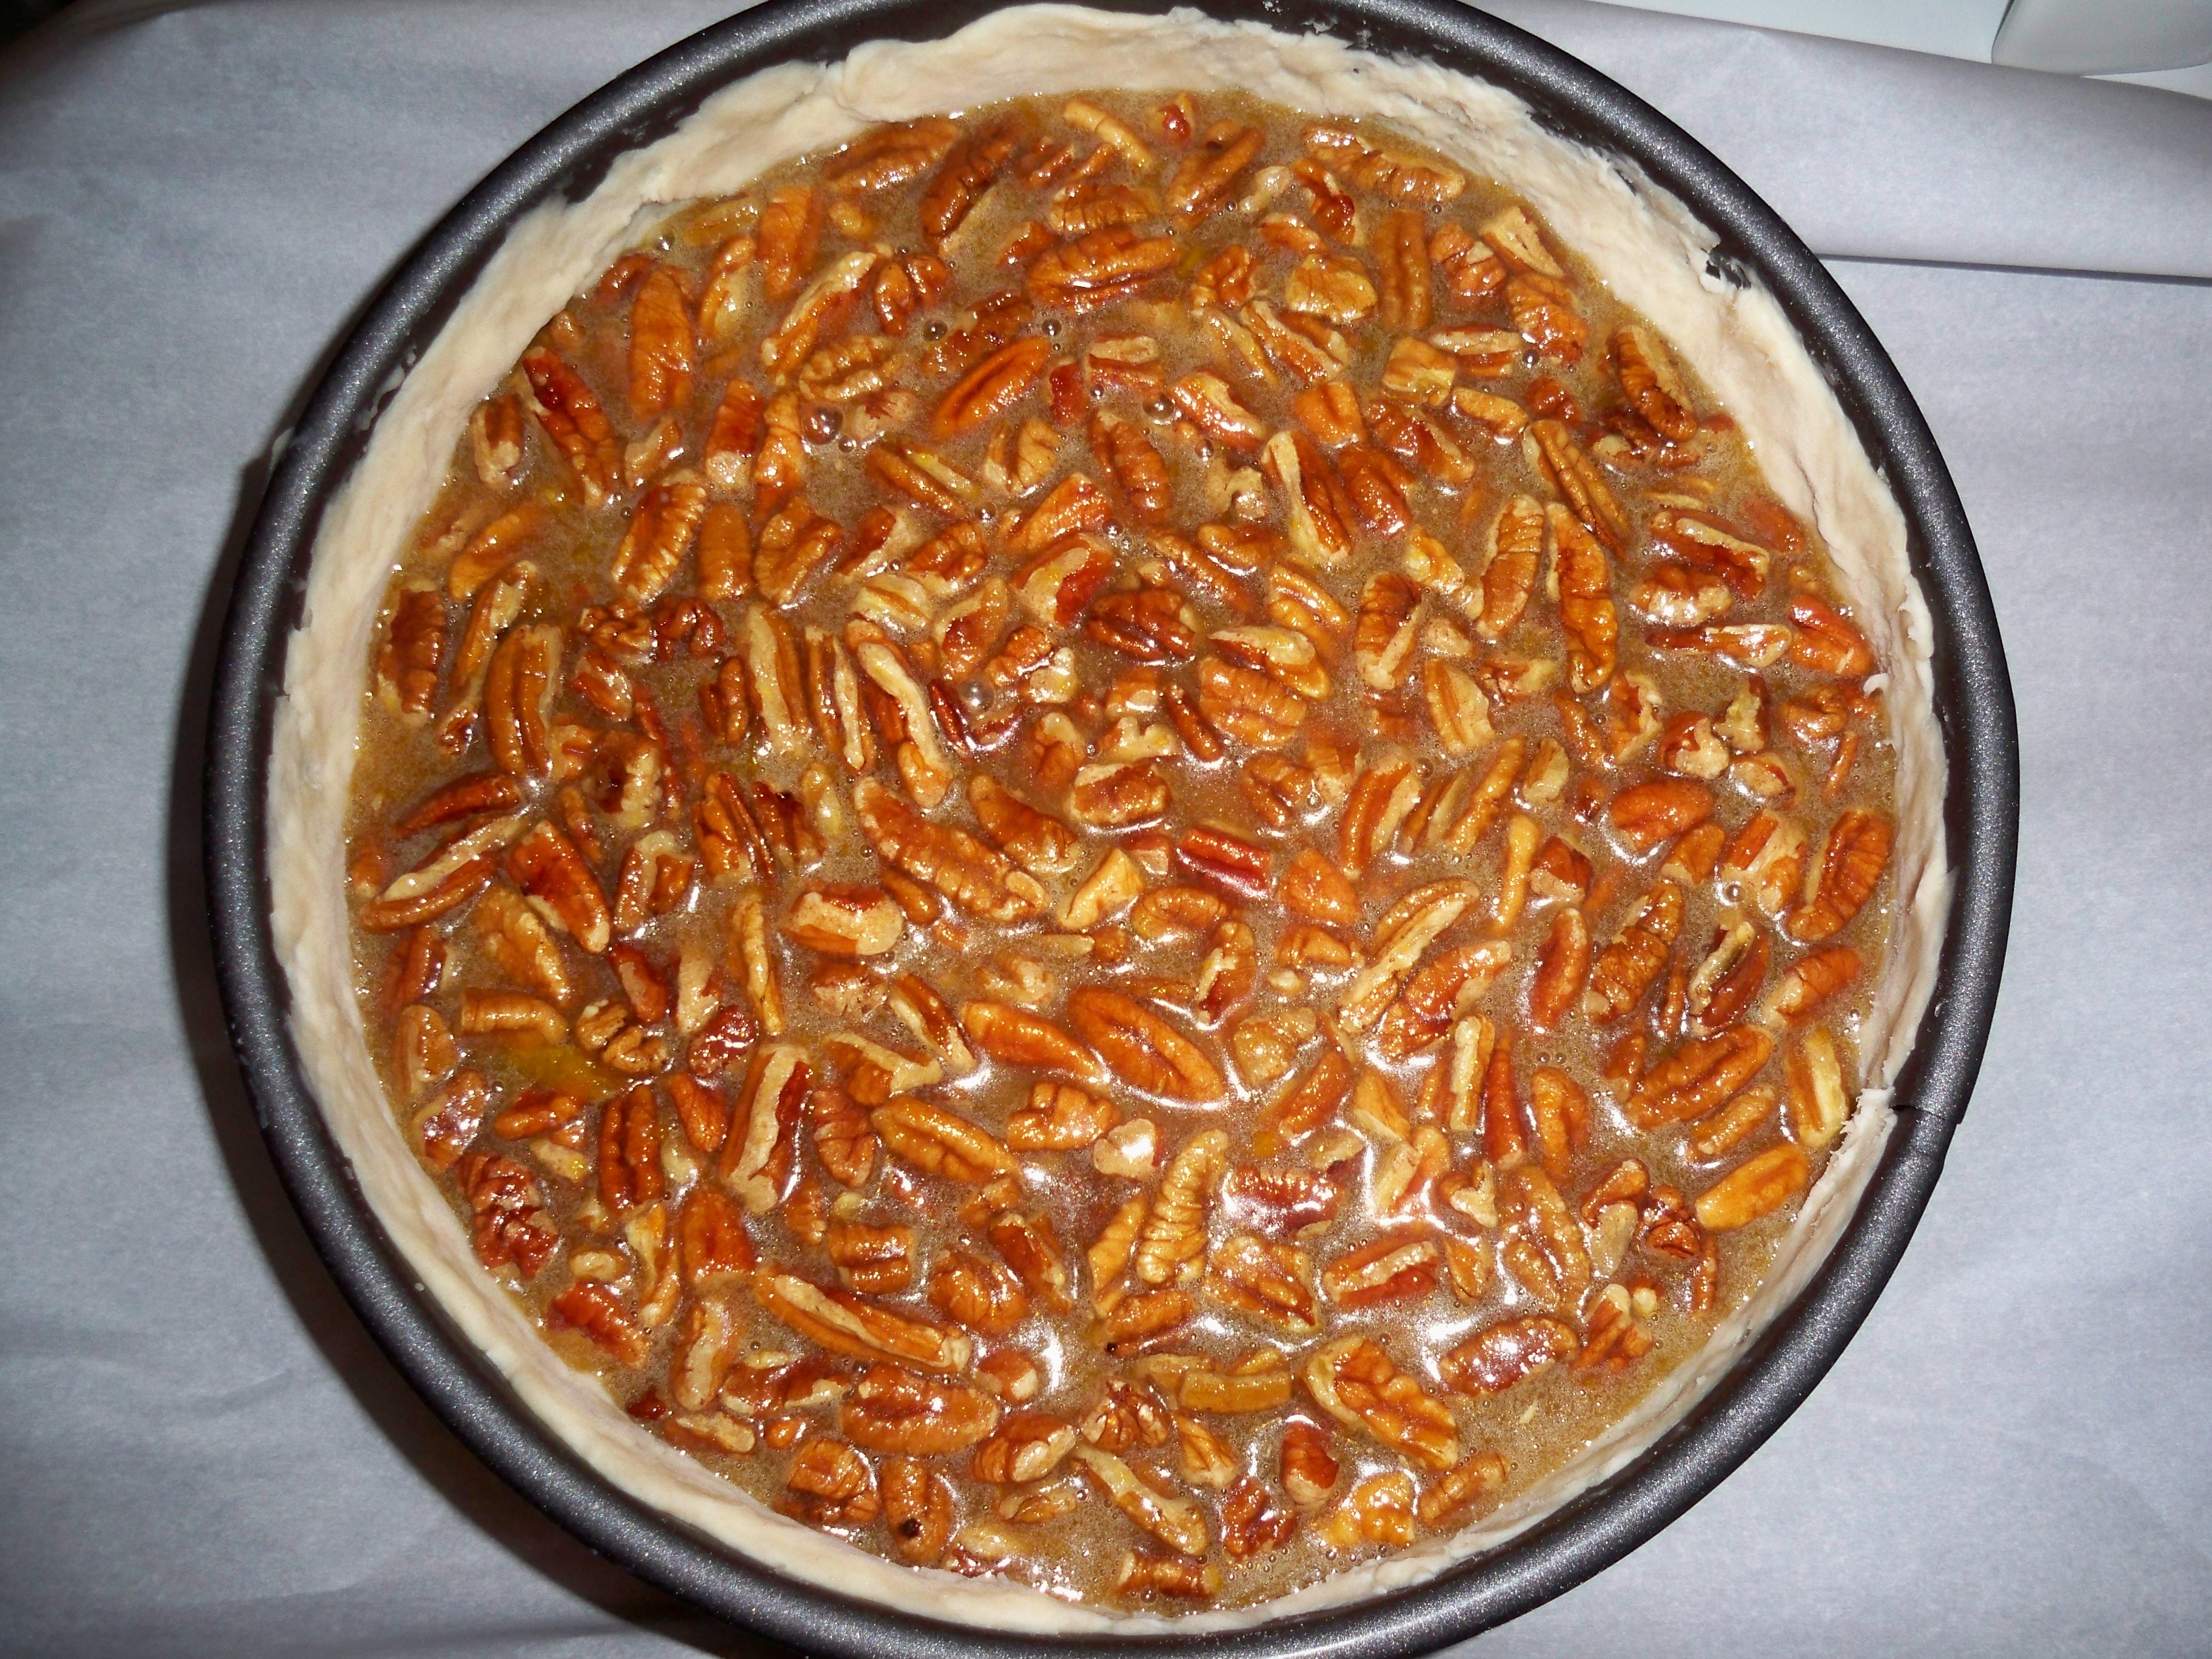
Pour the filling into the crusted cake pan.

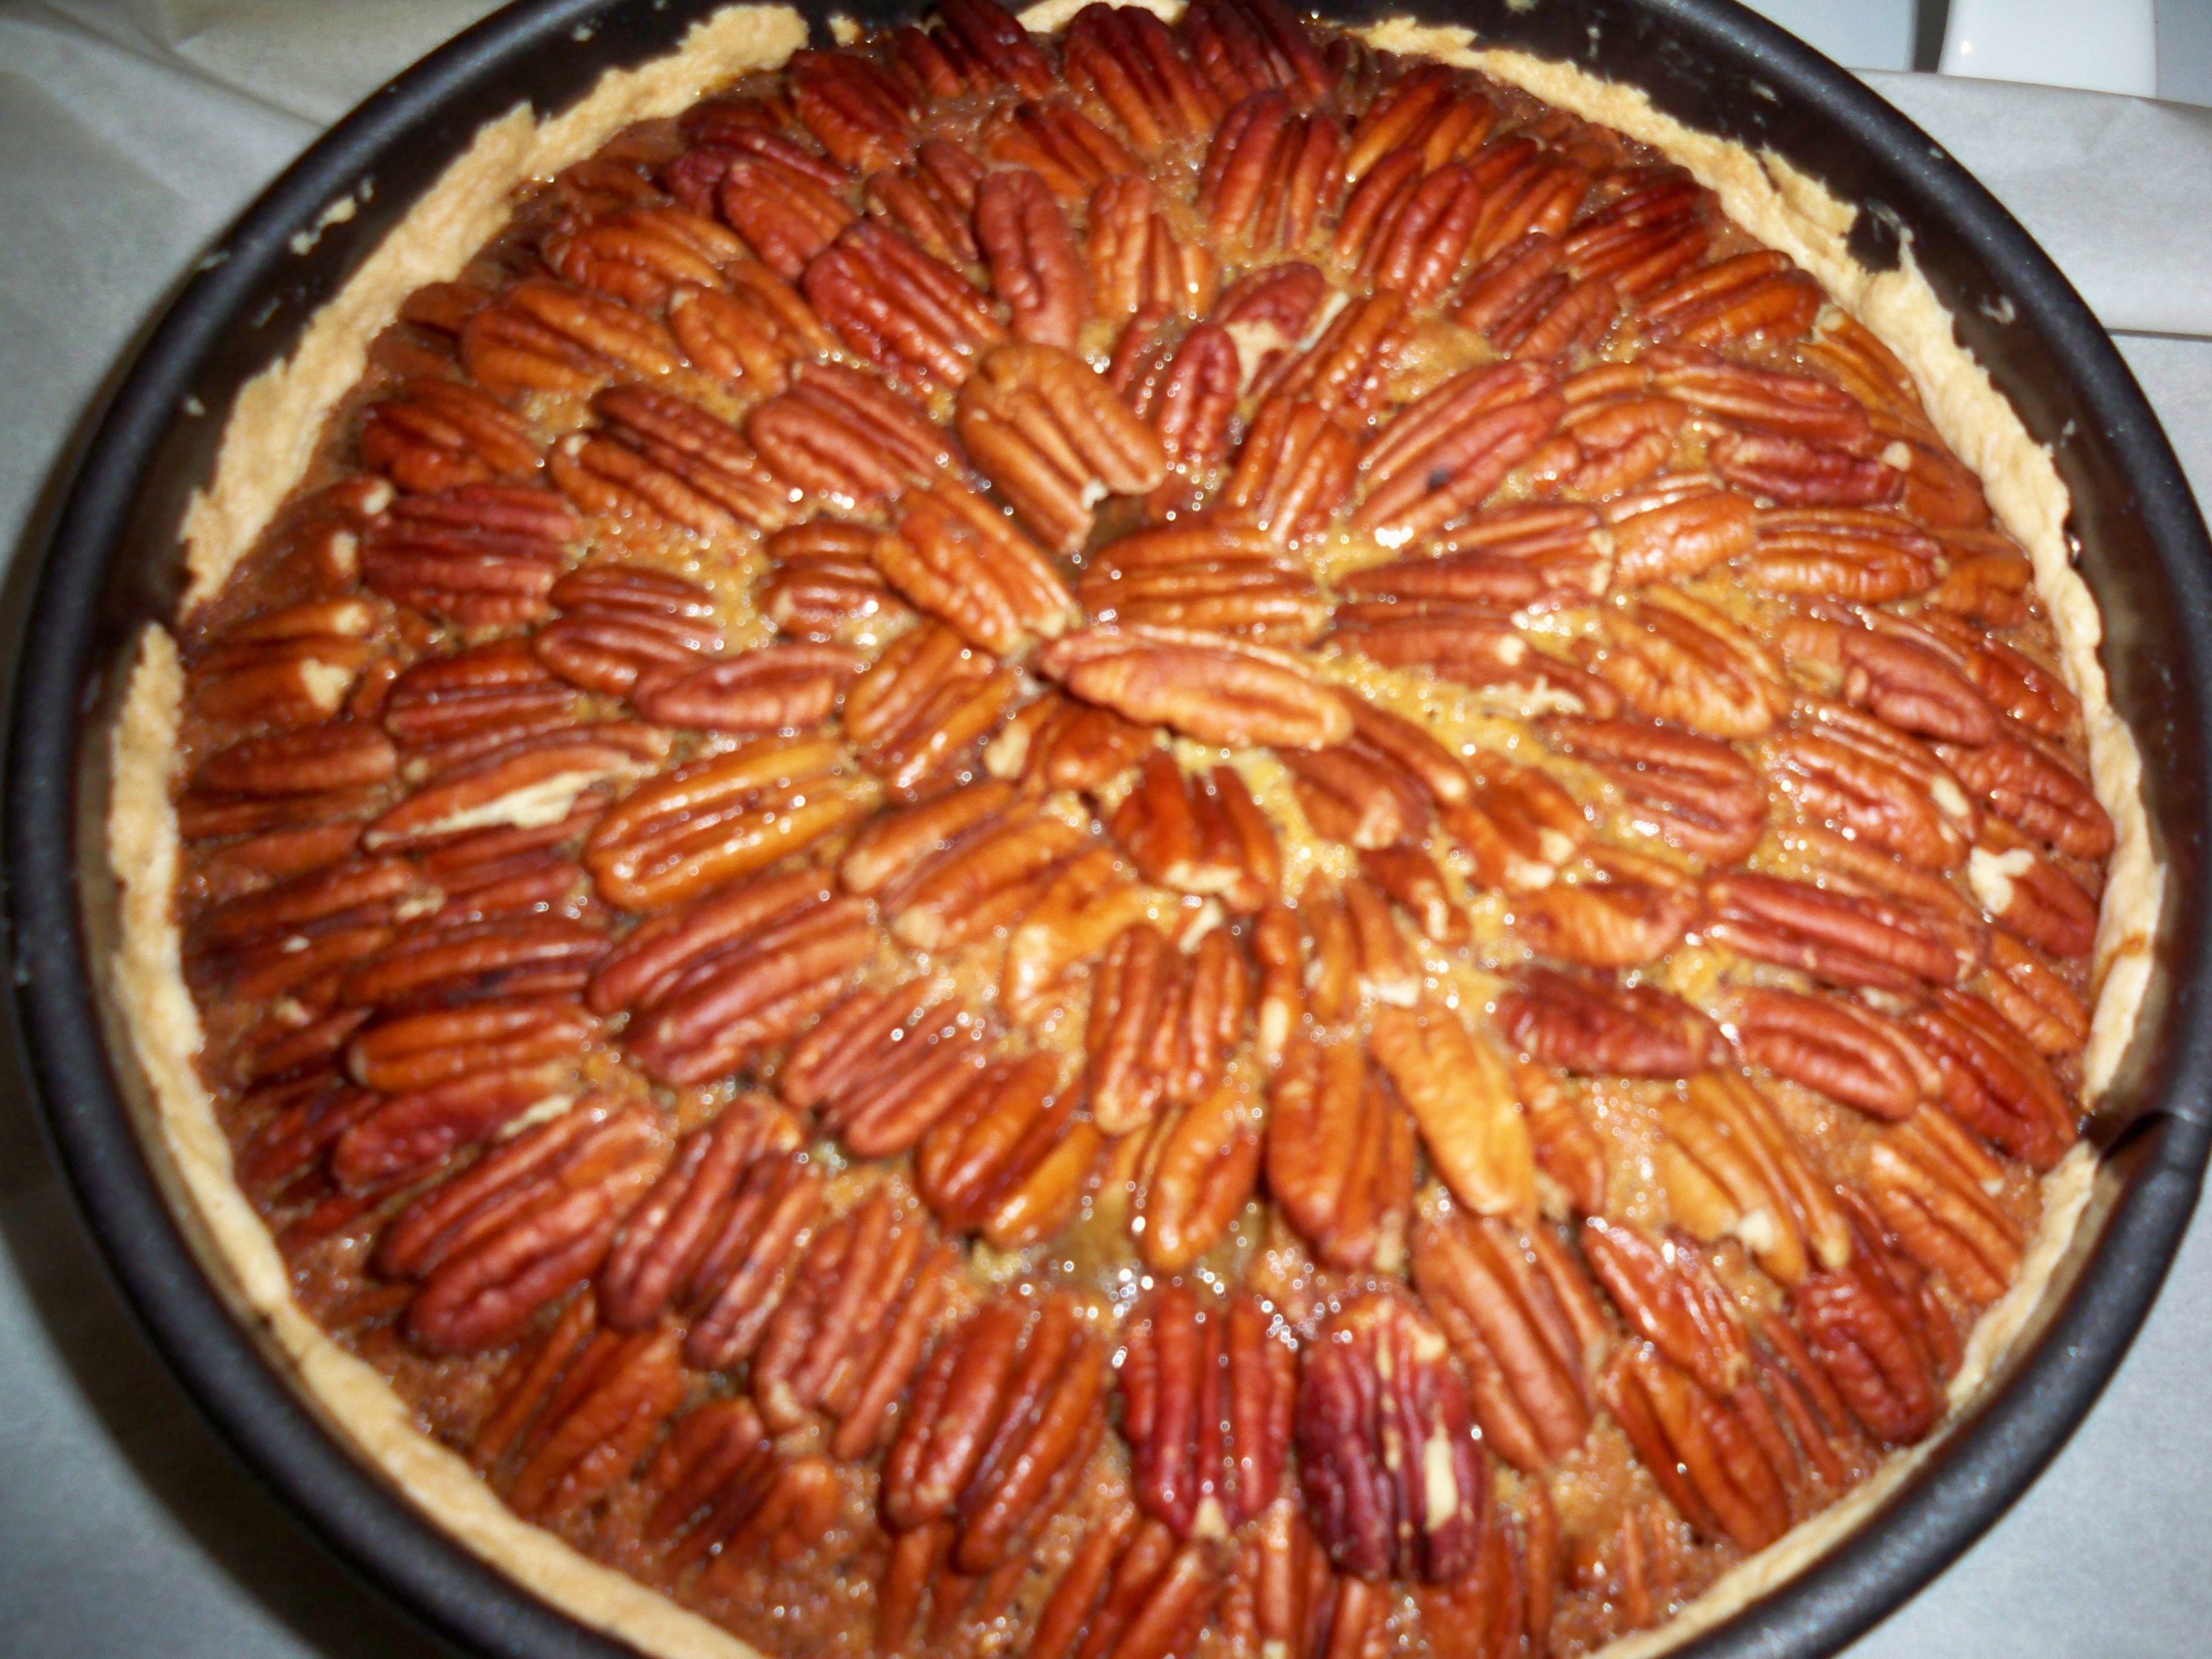
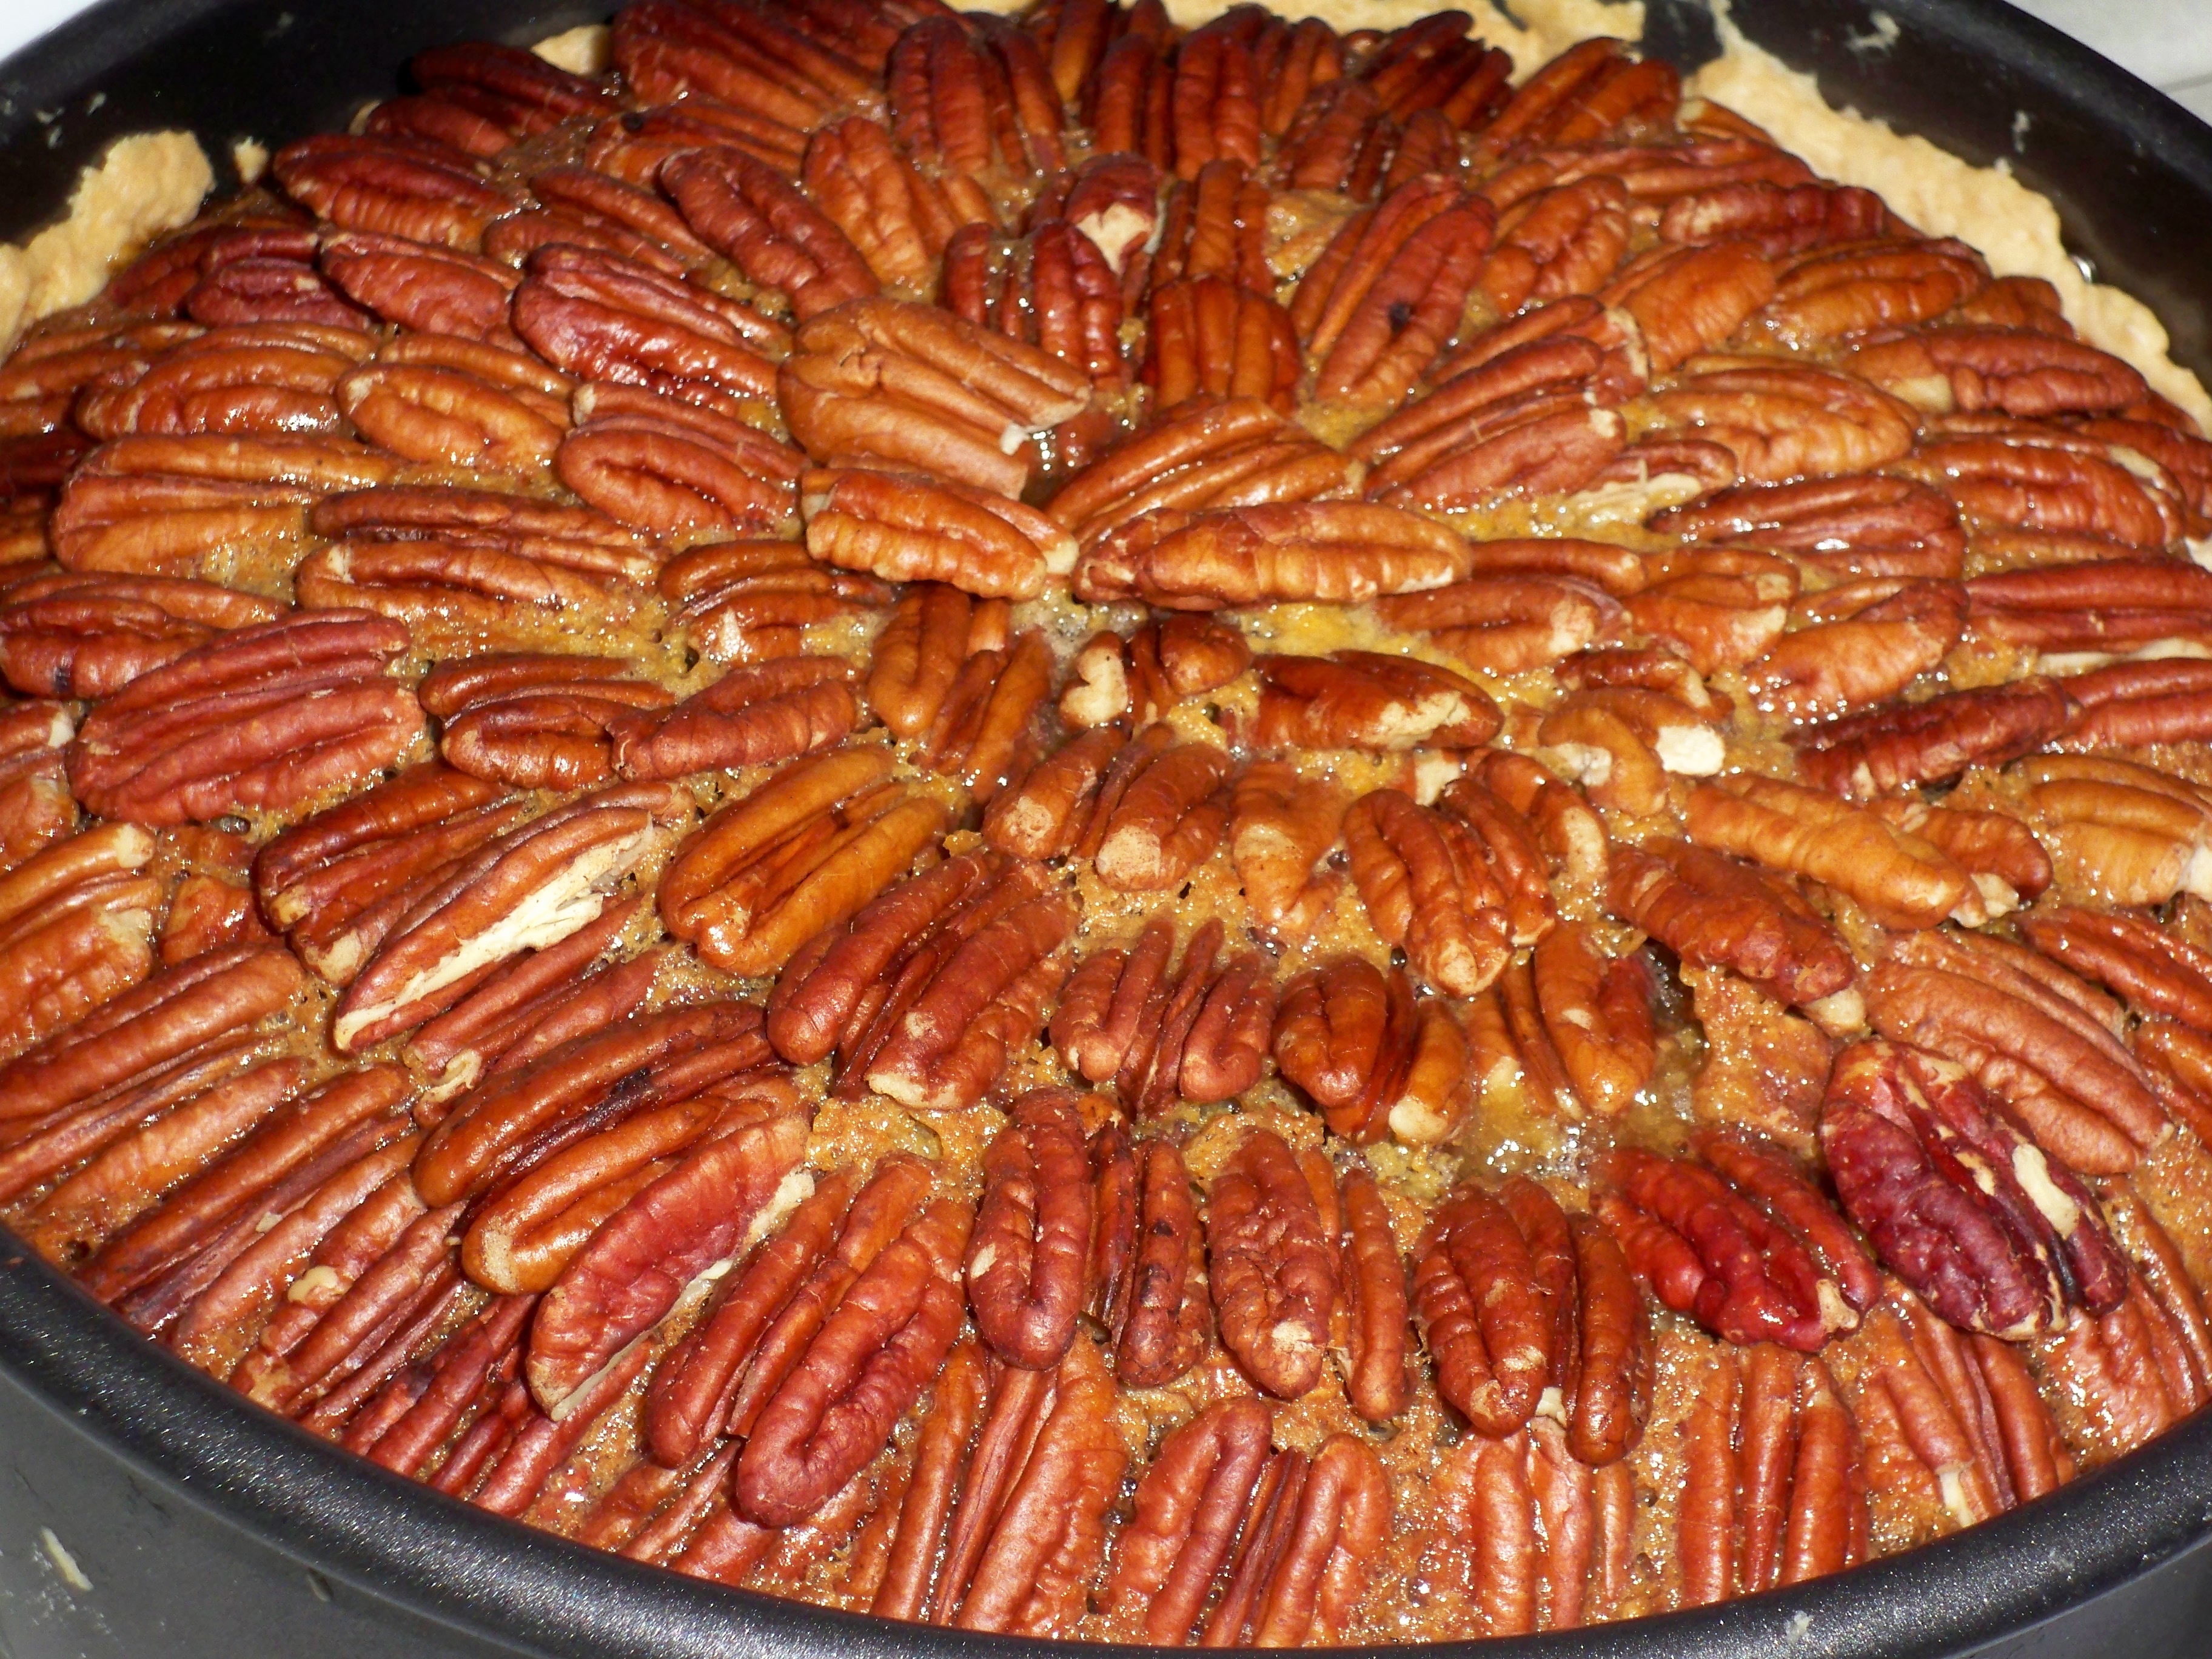
Now comes the fun part. Using pecan halves, lay out the nuts in a circle around the edge of your pan. Then lay another circle and another until the whole top of the pie is covered. This is a delicate process, as your filling is not very sturdy and the pecan halves have a tendency to sink in. But I was successful twice, so I know you can be too!

Bake for 15 minutes, then lay aluminum foil on top on the pie, but with lots of room, not tightly wrapped. Martha Stewart calls this “tenting.” It’s really just a fancy way of making sure your pecans don’t burn while your pie is cooking for an hour. Yep, an hour. My freaky oven wouldn’t commit to a temperature, so my pie was baked at about 350 for 100 minutes. It was a late night.

It will still be a bit gooey when it comes out of the oven. That is fine. It has to set, but then it will be the pecan pie you recognize and love. Make sure to let the pie cool for at least 2 hours before serving. Your whipped cream can also be used here!


[addtoany]

This week we’ve been learning lots of things here and there.

First of all, Liz taught me always to use fresh nutmeg.

I also found this awesome article about the properties of nutmeg and I cannot wait to try nutmeg in some macaroni and cheese or fettuccine alfredo!

I also came across this article about sugary cereals, and also about healthy breakfast alternatives. It’s a long report, but important for those of you with children or those who need alternatives to their normal routine of unhealthy cereals!

Speaking of sugar, over on Mel’s Kitchen, Mel reinvents the sugar rush by focusing on some savory options, such as this delicious-looking hummus.

Up next? A beef stew based with red tea, and some other photos from cooking with Liz. Also on deck: holiday cookies, appetizers for parties, and figuring out how to work this recipe into the holiday plans. And maybe this one, too.


[addtoany]

Liz, of Onions and Chocolate, is a dear friend of mine from my old job. A few weeks ago, I headed to her house (and her delightful kitchen) to help her cook up some delicious food. I figured we’d both cook, and both photograph, but it quickly turned into my photographing and her cooking. Which might be for the better, since she is a better cook, anyways.

When I was over, she made bread (which she had made the night before but just baked while I was there), a beef stew that had a substantial amount of tea in it, and some delicious gougeres (cheese puffs) for us to snack on while we waited for the stew.

I’m sure she’ll blog about these recipes over on Onions and Chocolate, but I wanted to give you a taste of the recipes, so here’s the first installment – Cheese Puffs!

The cheese puffs she made were from the Barefoot Contessa’s Barefoot in Paris.

This is the base of the recipe – milk, butter, salt, pepper, nutmeg, and flour.

Speaking of nutmeg, look at this nutmeg. Liz taught me that you should always use a fresh nutmeg (well, so did Alton Brown, but I don’t always listen to him.)

Liz added her own spin to these puffs – because a fresh herb can always change (and improve!) a recipe.

Anyways, back to the base. Put your base into your food processor…

Add your cheese, and eggs, and pulse until incorporated.

Then add your herb, if you want to add an herb. I also think that rosemary would be superb, myself, but this thyme was grand.

Now stick it in a pastry bag, and pip it, or let your friend do it while you watch, and lick the spoon..and take some photos.

Now, all you have to put it in the oven for 15 minutes!

Then, eat as many as you can before anyone else notices they’re out of the oven. Then, share a little, but keep a few for yourself, because they are irresistible.

Be sure to look out for photos from the beef stew and bread, to come!


[addtoany]

Hello Everyone,

Today we begin what is sure to be one of the highlights of my blogging experience.  Today I get to start justifying drinking more quality alcohol.  The excuse, “I have a blog now and readers to share my thoughts with“, is going to be wonderful.  I am only half kidding.

With that being said let’s get right into it.   As promised in my introductory entry, every week I will bring you a review of a particular alcoholic substance that I have greatly enjoyed or wholeheartedly disliked in the previous week.  It can be wine, beer, or liquor.  I will share some old favorites that I am enjoying again as well as some new discoveries.

This week the focus will be on wine, specifically a white wine, that I have had several times and enjoy immensely.  The wine is called The Honey Pie and it is very deserving of its name.

I discovered The Honey Pie several months ago in Malibu, California, while driving through the Santa Monica mountains with my beautiful girlfriend Mary.  We had just picked up a shipment of wine from another local Malibu vintner.  The Honey Pie is one of the tasting selections at a small establishment called Sip.  Now I have to say that it was Mary’s idea to try this establishment.  We had passed by it several times in the past and I always refused to go, because I thought it looked kind of off, but I was sorely mistaken.  She finally convinced me to try it and thus a new favorite wine was found.

Sip is in actuality a wonderful location.  It’s small tasting room which is tucked behind an old style looking general store and is decorated in a very inviting way.  Full of shelves, counters, and chairs made entirely of polished wood.  It feels like sitting in a cozy log cabin.  The staff is incredibly knowledgeable about wine and have wonderful stories to share.  They love what they do and it translates into a more comprehensive and enjoyable experience – which probably makes the wine taste even better.

Now before I tell you why I love this wine, I need to share a personal tidbit.  I don’t have an active sense of smell.  I lost the ability to smell when I was very young.  Because it was not a handicap I was born with, my sense of taste was never negatively affected.  In fact, my lack of smell has allowed my sense of taste to become more detailed and my palette more sensitive.  With this is mind you need to know that I love incredibly flavored wine.  Not necessarily sweet, but it has to be multifaceted and well layered.  With more generic and poorly made wines it becomes harder to find the niceties.  So when I find a wine that has the power to engage my sense of taste by its aroma, I know that I have usually found a winner – and The Honey Pie was one of these wines.

The 2009 Woodstock Collection Honey Pie is a white wine blend.  It works out to be 45% Chardonnay, 45% Sauvignon Blanc, and 10% Muscat.  Now for those of you who have no idea what all these varietals are I will do my best to break it down.  At some point most of you have had at least one if not all of these types of white wine individually.  They are all grown a bit differently and taste differently, but they are all associated by one major trait. They are all what can be considered wines on the sweeter side.  The lesser known of the bunch would more than likely have to be the Muscat.  The Muscat varietal borders almost on a dessert wine.  It is very sweet.  The Chardonnay is a bit more commonplace. Typically Chardonnay depending on how it’s made can be very buttery sweet or earthy sweet.  This will depend upon whether it was aged in a wood cask, a metal cask, or a combination of both during the aging process.  The Sauvignon Blanc varietal is my least favorite of the group.  I find it has a more metallic taste, and I enjoy its presence more when it is blended with its siblings.

With all these sweet varietals together you would probably think The Honey Pie is overwhelming.  But I can assure you it is not.  Don’t get me wrong; it is absolutely on the sweet side of things, but somehow it wonderfully balances.  When you pour your first glass you will immediately be able to catch the aroma in the air.  Most comprehend this by sticking their nose in the glass and taking a breath.  I comprehend this by sticking my face in the glass and taking a deep breath with my mouth.  Yes this looks weird and if you ever have the opportunity to see me try a new wine you have my permission to laugh.  But you will without a doubt get the scent of honey, but not in an overwhelming way, more in a distant way.  Almost enticing you to drink it.

As you take a sip and catch the first drops on your tongue you will sense the Muscat. While it is only 10% of the final blend it starts off the wine perfectly.  It fulfills that desire for something sweet that the initial aroma promises.  But it is not a one stop wonder.  It is more complex. As the initial sweetness calms down you begin to get a more muted citrus taste that hits the back of your tongue and cheeks. This is thanks to the Sauvignon Blanc – it keeps the wine sweet but stops it before it becomes overwhelming.

But the finish is the best part by far. I define a good wine by its finish. And by finish I mean the way the wine feels as I swallow it. The way it goes down. I truly believe that what gives this wine a great edge is the finish that the Chardonnay so wonderfully provides. Who hasn’t swallowed a dessert or a sweet liquor and not felt that sickly feeling as it goes down? The “Oh I’m gonna feel weird later because of this” moment is not apparent with The Honey Pie, even though it very easily could have been given its ingredients. But as you swallow the wine you get a wonderful earthiness that is missing in the first two steps. When I say earthiness I mean a hint of mineral and soil that allows The Honey Pie to go down so smoothly and settle so wonderfully.  The Honey Pie is one of those wines that pairs wonderfully with fish such as salmon and halibut.  But it can also be used as a treat on a nice sunny afternoon, when all you have is a baguette and some cheese.  On the whole I completely recommend giving this wine a try.  You won’t be sorry.

If you would like to purchase a bottle of The Honey Pie for delivery you can find it here.

But if you have a free Saturday or Sunday afternoon in the near future and live in the Los Angeles area, consider popping into the Sip Wine Bar.

It was wonderful sharing my thoughts on this well crafted wine with you and I hope you will join me again next week for another review.  In the meantime keep on drinking – and I am always excited to try any recommendations a reader might have, so if you have one, or any other comments, please feel free to comment below!

Good Spirits Folks!


[addtoany]

Recently, I had the ladies over for book club, and Becca and Mary came over early for dinner. It was unseasonably cold, so I decided that I wanted soup. Luckily, the Barefoot Contessa has a lovely recipe for pea soup, which happens to be my favorite soup – and with a quick ingredient swap, it was vegetarian!

Here’s the recipe.

2 tablespoons unsalted butter
2 cups chopped leeks, white and light green parts (2 leeks)
1 cup chopped yellow onion
4 cups chicken stock, preferably homemade (or vegetable stock!)
5 cups freshly shelled peas or 2 (10-ounce) packages frozen peas
2/3 cup chopped fresh mint leaves, loosely packed
2 teaspoons kosher salt
1/2 teaspoon freshly ground black pepper
1/2 cup creme fraiche (I used heavy cream)
1/2 cup freshly chopped chives
Garlic croutons, for serving

Start by chopping your onions and leeks, and putting them in the butter to simmer in your dutch oven or pan. Simmer until soft.

Then add your broth.

Delicious! Now, add peas.

I used frozen peas, as the idea was last minute and as it wasn’t really pea season. Shhh! Don’t tell.

Weighing my peas…need 10 oz.

In they go!

Let it simmer a few minutes, and take off the heat adding mint, salt, and pepper…

Now, here is where things go interesting. And hopefully this interesting story line will satisfy your needs as there are no more pictures.

After we arrived here, Mary and I were chattering away, and Rebecca may or may not have added the salt…and a little too much. Luckily, it was the time of year that I had tons of things in my fridge for desalting…sour cream, heavy cream, etc. So we added all of that. Still too salty. We added some more peas. And some water. What I didn’t know, but I know now, is that if this happens, you can put a potato in the soup, and it will absorb most of the salt. Then you just take the tater out, and you’re good to go.

I’m glad I have friends like Liz to teach me such things! Anyways, in the end, we fixed the soup by adding some ingredients, and it was just a tad salty towards the end. We ate it anyways, even though I also didn’t do a great job blending (immersion blender definitely in the works, folks!)

Despite the mishap, I’d love to make this recipe again – and this time, with chicken broth! It was so easy, I think it’ll be added to the wheelhouse for rainy days to come – the mint adds a nice freshness to it (although it prevented Ana from eating it, sorry friend) and makes it a little different than your average pea soup.

How do you solve kitchen disasters? Throw it out and start over? Or attempt to save your recipe? Tips and tricks always welcome!!


[addtoany]