Recently we had Mary and George over for a cooking double date. We had been throwing around the idea of making homemade pasta for a few months, and finally figured out a weekend that worked for all parties.

Four hours of hard work turned out dozens and dozens of ravioli, not to mention meatballs and fettuccine, and homemade sauce. I don’t think Mary and George quite knew how long it would take, but Jeff and I knew what we were in for, as we’d made ravioli ourselves before several times. The recipe for ravioli, out of “The North End Italian Cookbook,” even says that the recipe is tedious, and that you should invite a friend over to help since it takes awhile.

Here are some shots from our cooking night!

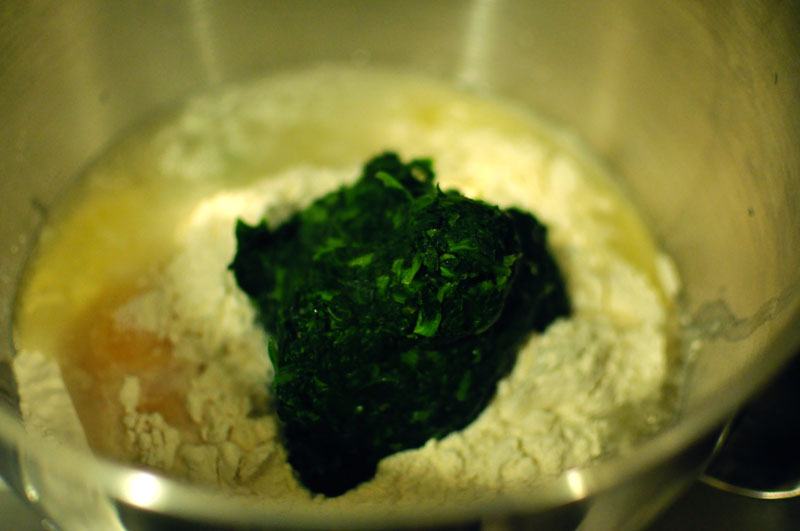
Here’s the start – spinach dough.
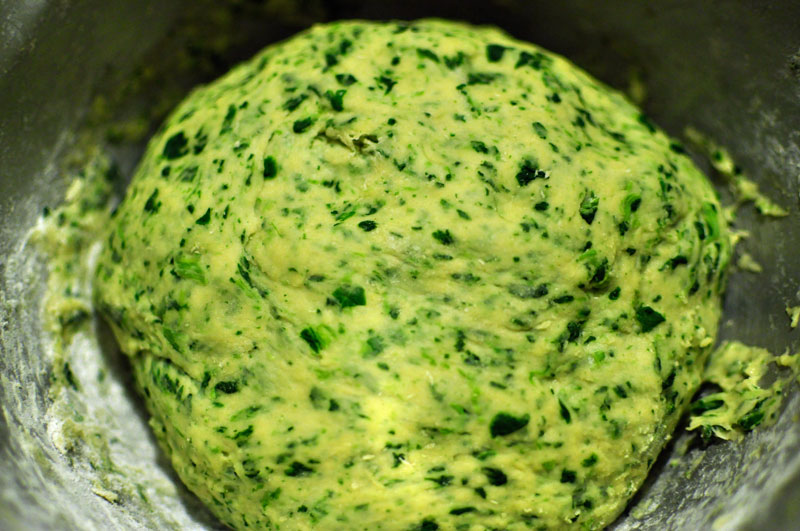
Look at that – delicious dough, ready to be pressed into ravioli.
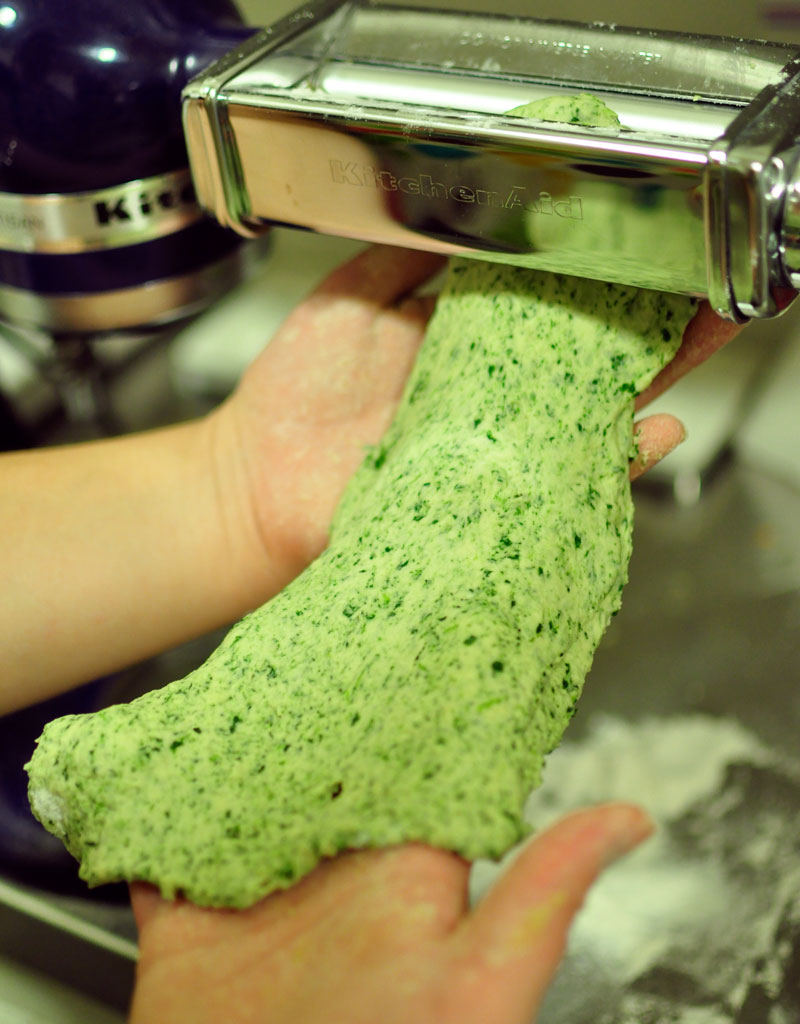
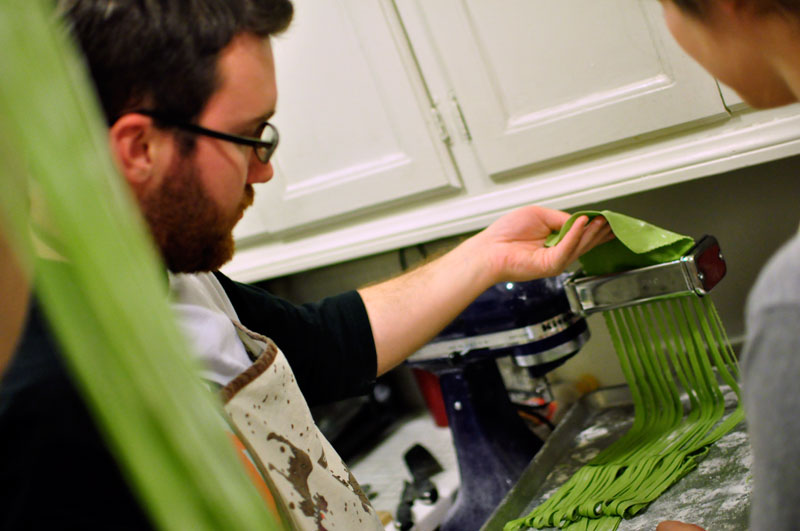
We had to run this through quite a few times to get it to brilliant green…
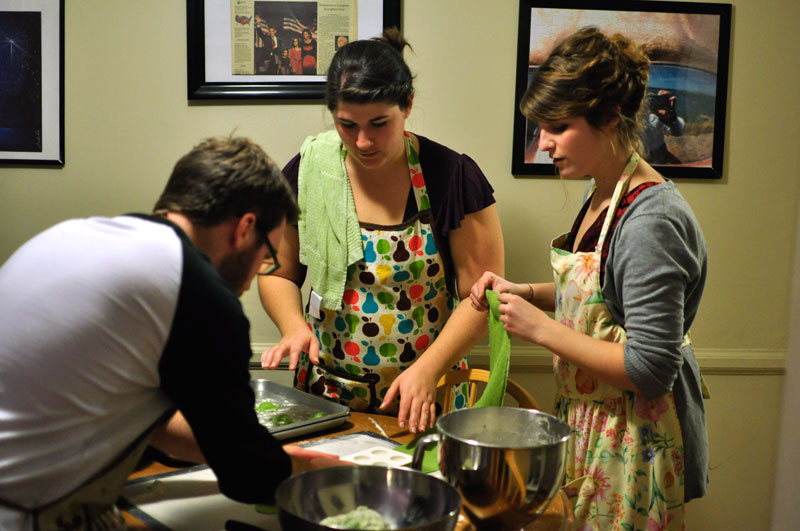
Look at the pasta in Mary’s hand…that is the color we got it to! Here, George is pressing the ravioli so it has pockets to add cheese to!
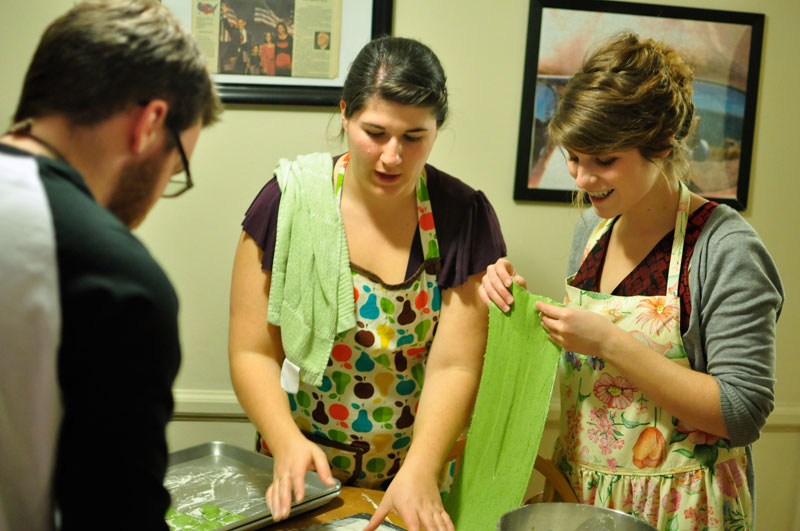
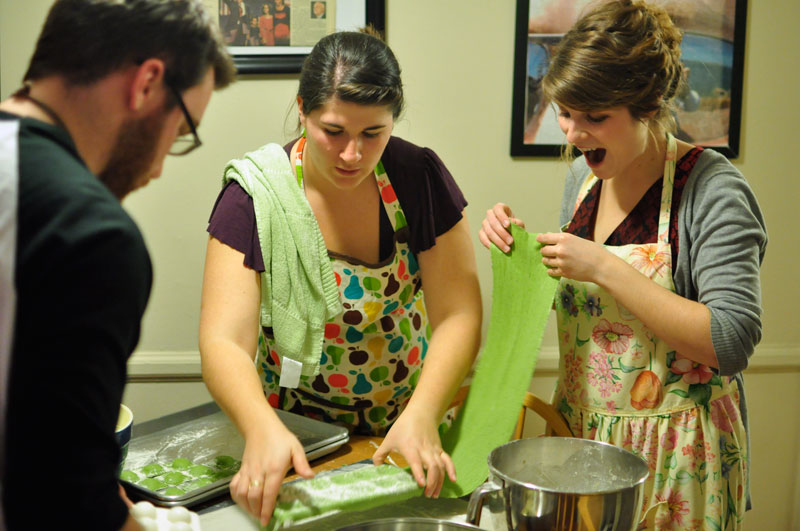
Please everyone look at how excited Mary was. This made my night, because it’s fun to see other people as interested in cooking as you are (as opposed to thinking you’re kind of crazy for making your own pasta.)
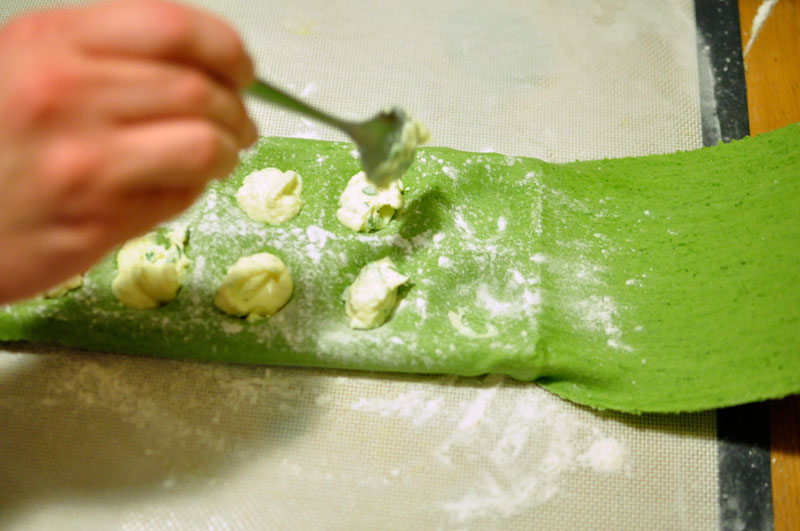
Look at the delicious filling…I just love cheese.

We also made meatballs…

George is mixing up the ingredients so we can get them on the stove!
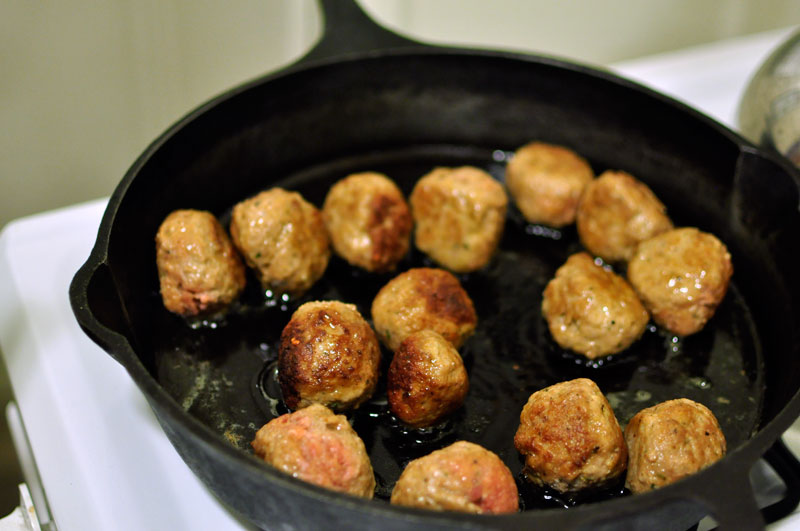
This is Jeff’s mom’s recipe, and I must say they are some of the best meatballs I’ve ever had.
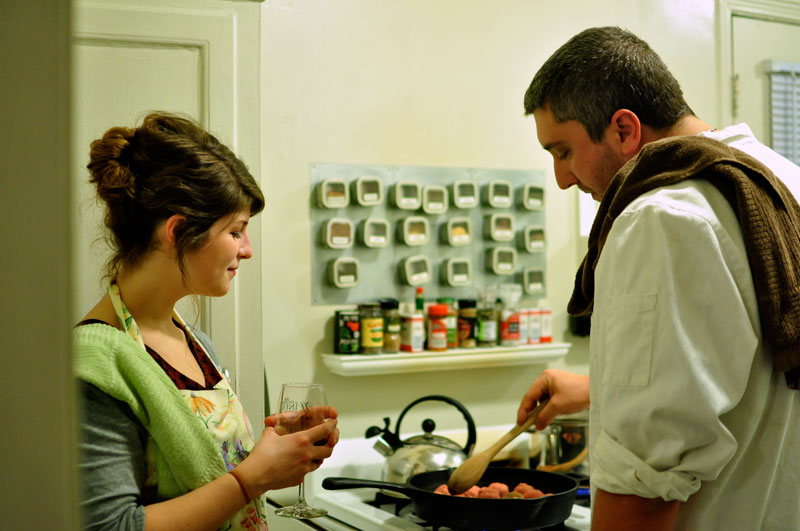
Mary looks on as Jeff tends to the meatballs (and the sauce!)
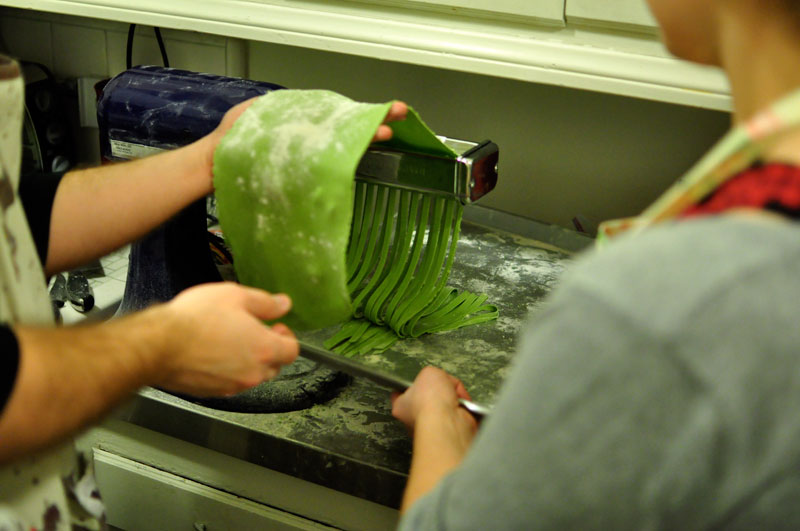
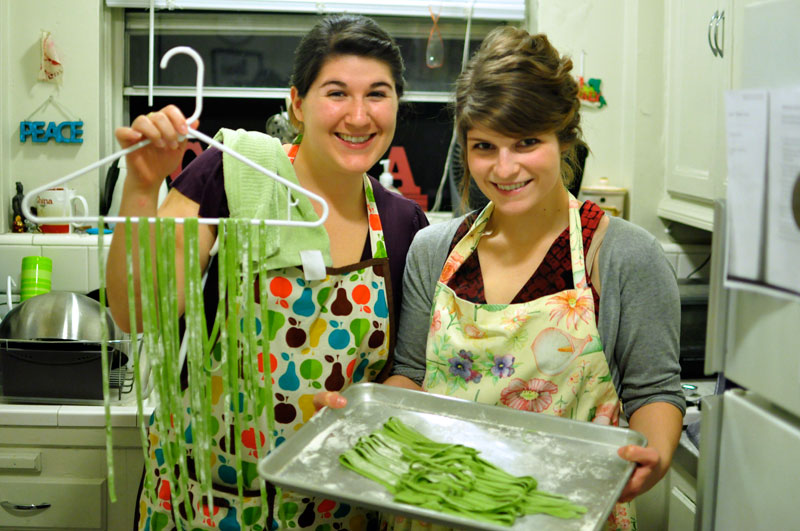
Because we ran out of filling, we used the rest of the dough to make fettuccine.
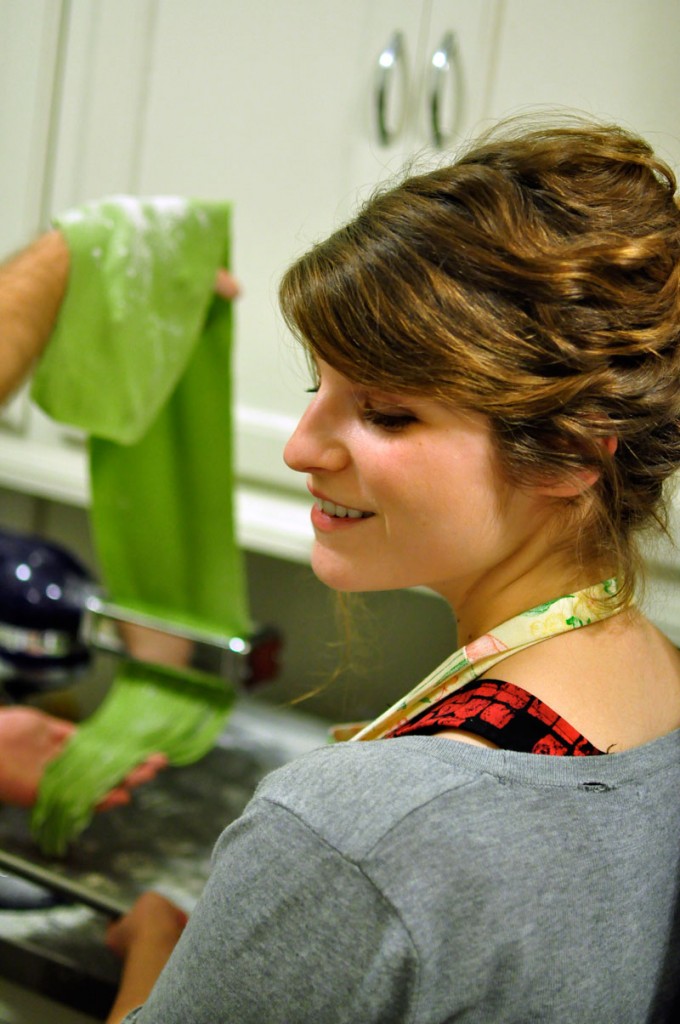
I love having the pasta attachment for my Kitchenaid. It makes pasta night move much faster (and having four people instead of two didn’t hurt either.)
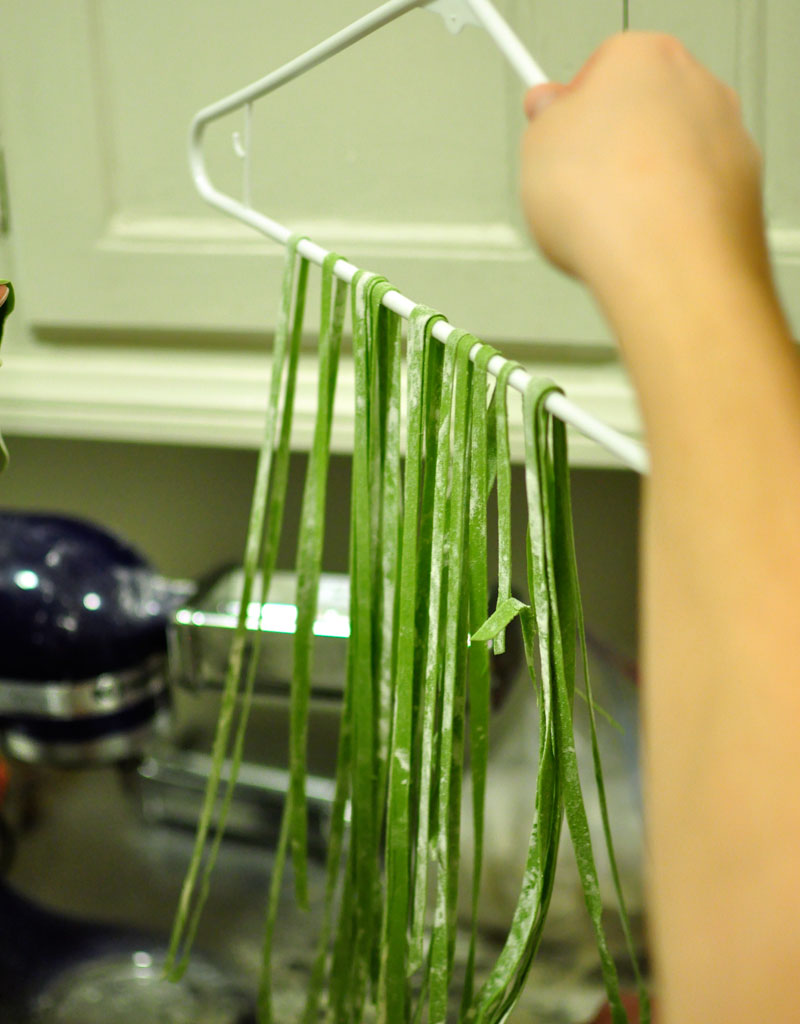
I decided that we should put the pasta on a clothes hanger, which ended with some pasta on the floor in the morning, but I must say that it was definitely dry, so I counted that as a success.

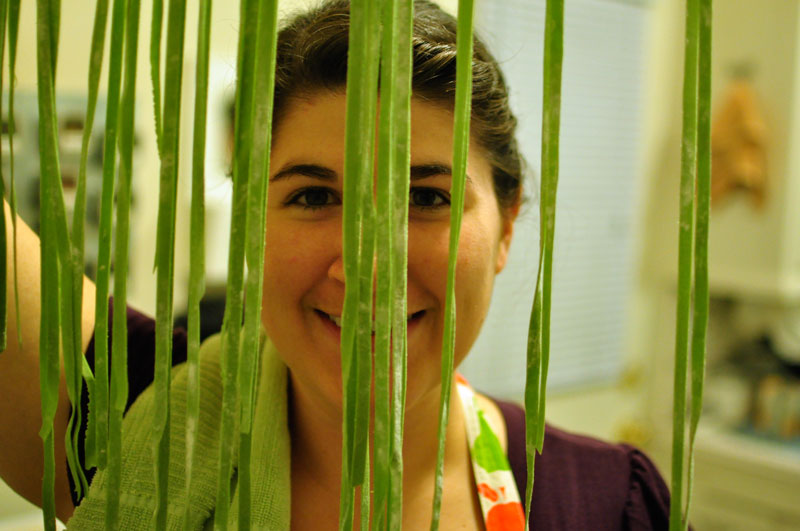
Where the pasta hung out (I know I’m so funny!) for the night.

Have you ever made pasta from scratch? What is your favorite kind of pasta – penne, ziti, spaghetti?



[addtoany]

For Christmas, my boss got me this Breville mini-pie maker.

This past weekend I finally got to use it to make mini apple pies. I’d never made an apple pie from scratch (or any dessert pie, for that matter!) and Sierra challenged me to make a lattice-topped pie. I decided a first pie, first lattice top, and first mini-pie Breville use all in one could only go well!

Luckily, I also got a cookbook for Christmas (thanks M!) so I knew what I was doing, mini-pie style.

Recipe (from “Mini Pies” by Abigail Johnson Dodge):

1/4 cup brown sugar
1 1/2 teaspoon cornstarch
1/2 teaspoon cinnamon
1/8 teaspoon ground cloves
1/8 teaspoon grated nutmeg
salt
2 apples
4 tablespoons butter
1 teaspoon vanilla (it calls for 3/4 but c’mon, really?)
2 pie doughs

Finally I got to whip out my own fresh nutmeg.

The ingredients: cinnamon, cloves, nutmeg, corn starch, and brown sugar.

Taking the mixture I just made, I added it to my already-softened apples (which had been simmering in butter for 10 minutes.)

Delicious, delectable pie filling.

After you’ve made your pie filling, you’ve got to lay out your dough. I made my dough, but you can also use store-bought dough, if you’re so inclined.

Pie dough recipe (from “Mini Pies”):

1 1/4 cup flour
1 tablespoon sugar
1/4 teaspoon salt (I use kosher)
1/4 cup cold butter
3 tablespoons cold trans fat-free vegetable shortening
3 tablespoons very cold water

Now, the key is that you make your dough in advance, as it needs to be refrigerator about two hours. You mix together your flour, sugar, and salt, then add in your cubed cold butter. I used all butter, and no shortening, because I don’t generally like shortening. It was risky as I knew that the dough might not roll as nicely, but it ended up being fine. I had to add about an extra tablespoon of water.

The mini pie maker came with a top and bottom cutter. This is for the bottom.

I used my pastry cutter to cut lattice strips.

Then I weaved them…

And used the top cutter to make sure they were the right size.

The perfect size of the top.

Here are the cooled apples.

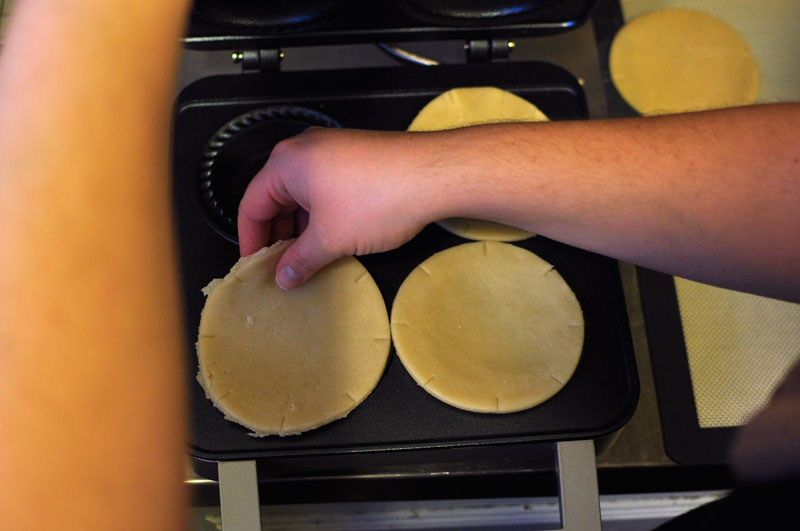
So you take the bottom ones, and you press ’em into the pie maker.

Then you use the top-cutter to press the bottoms in – they thought of everything with those tools!
Then you fill your pies…the book scared me into thinking I needed to put in less filling, but I ended up having so much leftover I questioned my filling tactics. I couldn’t even blame it on too much apple, because I weighed the apple to the specifications in the book.

Then put the tops on. And close the top for about 10 minutes, not worrying about what is going on inside.

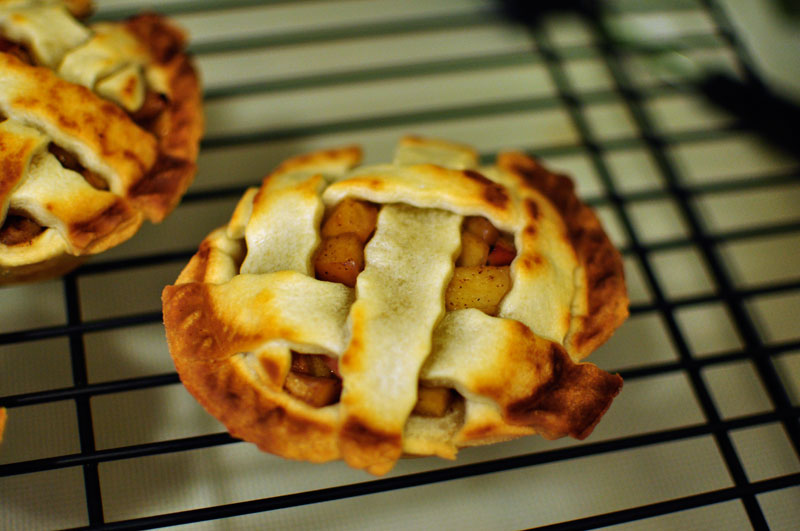
In 10 minutes, you’ll pull them out, and they’ll look like this! Delicious, simple, easy, and the perfect size for one.

Overall, I recommend this pie maker, and can’t wait to use it to make savory pies. What about you – any favorite pie recipes? Send them my way, so I can try them in mini-size!


[addtoany]

For my [Ingredient], my Soul: Leeks recipe, I decided on this one from Jamie Oliver. It seemed easy, didn’t include many ingredients, or dishes, or time, or…you get the idea.

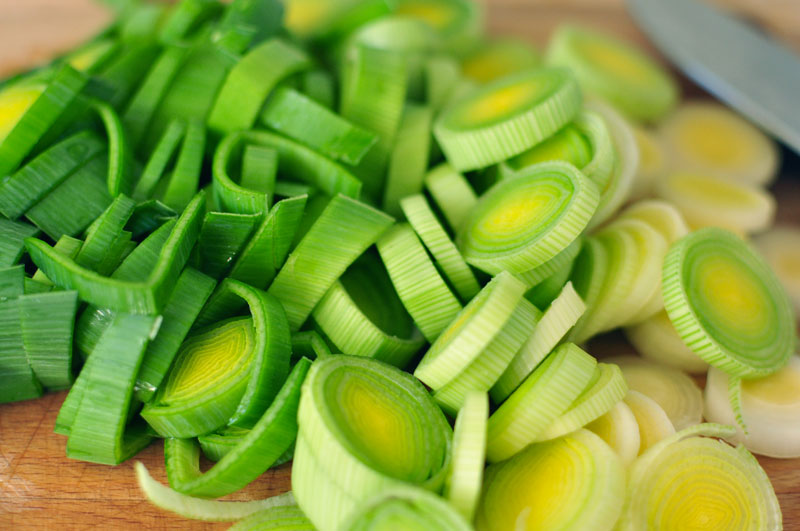
Here are my beautiful leeks. They are soaking, because they are very, very dirty.

This is after they were good and soaked. I gave them like twenty minutes in the sink.

Aren’t they beautiful?

Aren’t they lovely? I had some fun with this…

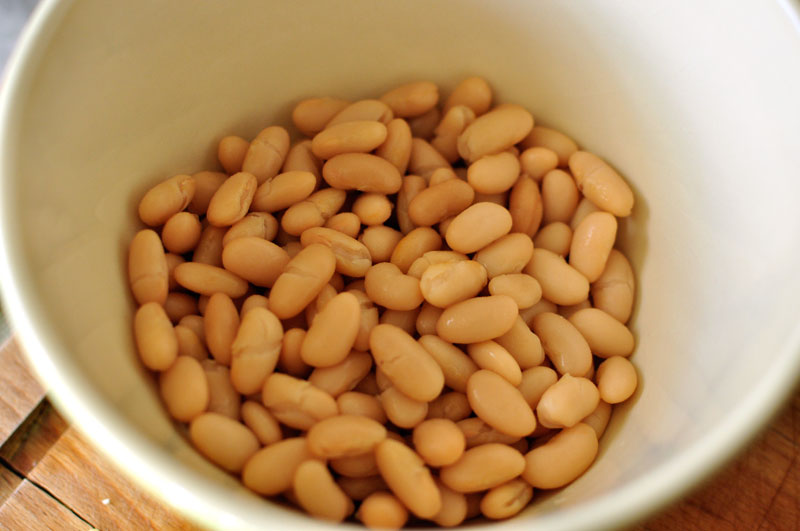
So here are the ingredients. In the order that I put them in my bowl. Beans.

Garlic.

Heavy cream.

White wine.

Steamed leeks.

Fresh oregano, salt, and pepper.

Mix it all together. Jamie told me to mush some of the beans, but I didn’t because it grossed me out, so left them all whole. I couldn’t tell if I was supposed to put the fish in the bowl, so I didn’t do that, either.

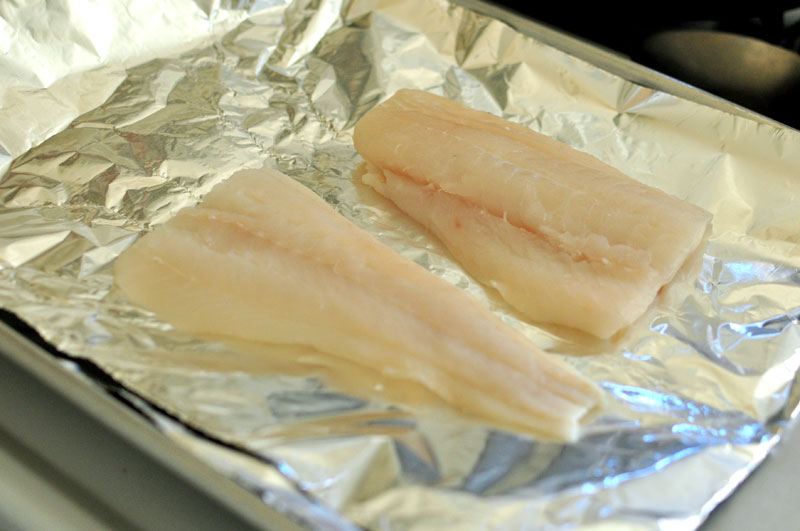
Here’s the fish. I couldn’t find sea bass, but I read on the Internet that you could substitute cod, so I did. I don’t know if that is true, but it was delicious.

So you take your fish, and you dump all that goodness on top. Make sure you put the fish on lots of tin foil, because you’re going to fold it into a pouch.

I didn’t do a great job: I dripped everywhere. But I re-tightened after I took this photo, I promise.

So you’re going to get the party (aka fire aka fishy) started by putting the fish on the stove for about a minute, and then put them in your preheated oven for about 25 minutes.

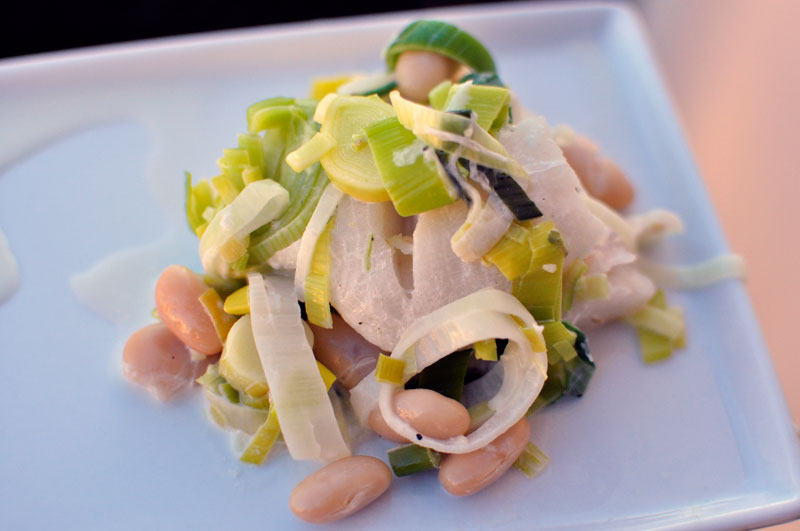
This is the fish, all done!

I gobbled this up quickly, and had leftovers to spare, and it was absolutely enough for four people! It definitely is a strong smell though (fish?? leeks?? Yes! So I would suggest you maybe don’t bring it to lunch…)


[addtoany]

I’ve been dying to try to make bread for Jeff for years (years!) but I never seemed to get around to it. For a while it scared me, because it involved yeast, but once we started making pizza dough all the time and actually having yeast in the house, I realized that it couldn’t be that hard. Especially with my KitchenAid, which could cut time kneading.

And so, last weekend I opened by Ina Garten cookbook, and made honey white bread.

Start, of course, with flour. I’ve said it before, and I’ll say it again: I love my kitchen scale. I have taken to weighing all of my flour, because it is just so much easier than getting out the measuring cups, something to level the flour, not to mention the fact that I’d have to make sure to sift my flour…nope, I just throw it on the scale and weigh it – much more accurate!

You also need some yeast. Active dry worked great. I always have yeast on hand for the odd pizza, and you should too, so you can just whip up bread whenever (or pizza dough.)

You’ll also need some warm water, which would be 110 degrees. I used my thermometer because I didn’t want to kill the yeast. You know yeast is alive, right? Anyways, if you use too hot water, it’ll kill the yeast.

Here’s my yeast and my hot water. And my sugar. I’m letting it dissolve.

There is actual honey in this honey white bread! This is local honey that I got at the farmer’s market. It is delicious.

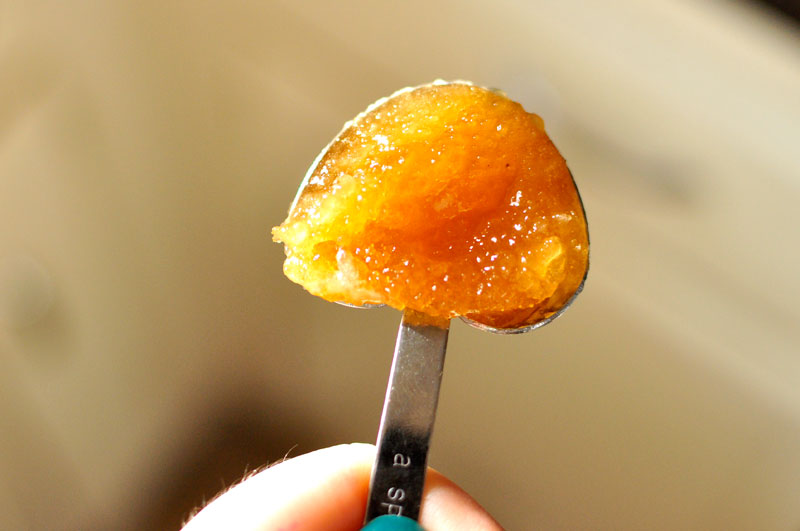
Look at that delicious, sweet, sticky honey.

This is my melted butter and my honey. At this point, I realized I needed hot milk, but I didn’t want to put it in the microwave (as I secretly hate the microwave.)

Luckily, I have this mini cast iron! I bought it for Jeff in Charleston, so he could melt butter for popcorn, and it was the perfect size for the milk I needed!

For this recipe, I needed egg yolk and egg white, though separately. Luckily I halved the recipe, so no egg whites were harmed in the making of this egg yolk, as I used my lone egg white on top.

After adding your milk/honey/butter, and mixing, add a smidge more than half of your flour, and salt, and egg yolk.

Then you let the dough knead in the stand mixer for around eight minutes, until it looks like this, adding flour as you go (until it’s not sticky anymore.)

Now you need to let your dough rise. Put it into a bowl with a smidge of oil, then flip it so it’s coated. Cover it and let it rise for an hour.

My dough didn’t rise beautifully, and it also turned out a too-dense bread. I think this has to do with the milk (which I believe was too hot, and maybe killed the yeast.) Regardless, though, it was delicious. My point is that your dough should rise more than this!

After it rises in the bowl, you’re going to let it rise in the loaf pan! Give it another hour. Now you’re ready for action – preheat the oven, and use your egg white to brush the top.

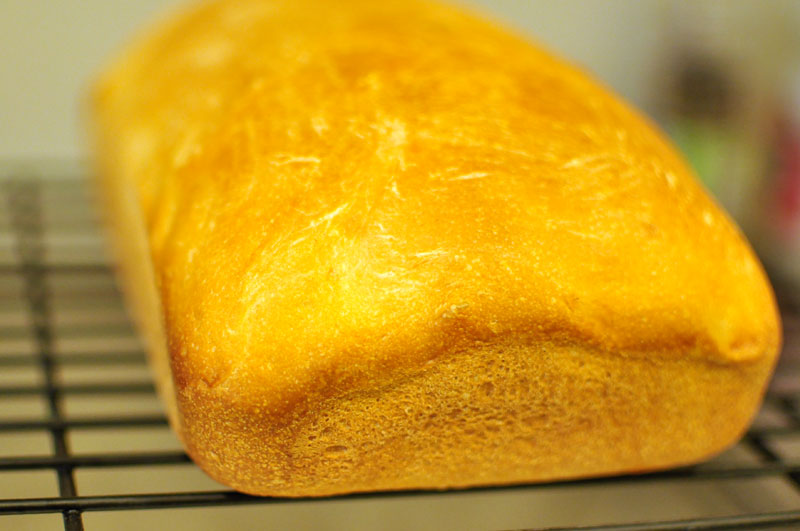
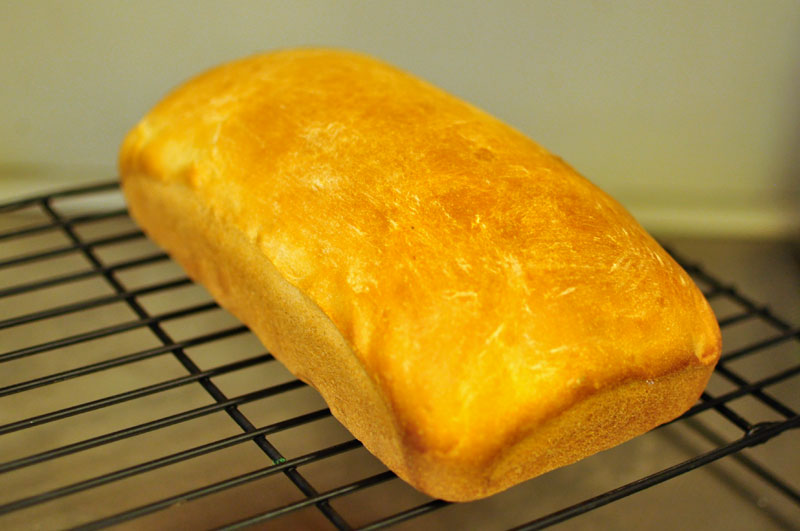
Then after about forty minutes, take it out and take out of the loaf pan, and let cool.

There you have it – homemade bread. This recipe is so easy, and although requires some rising is really worth the effort – nothing better than homemade bread!


[addtoany]

I don’t know if a heat wave in January counts as an Indian Summer, but I don’t know what else to call this 85 degree weather we’re having in Los Angeles. Just as many people across the country are settling into their full-fledged winter, we’re heating up on this coast. And though many would find it a nice reprieve, I must say it’s tiring to always have it be 85 degrees, especially when winter squash abound and everyone else in the world is posting chili and stew and soup on their blogs.

Cut to MattBites, who did this awesome post about citrus. Thank you, Matt, for finding some common ground for me.

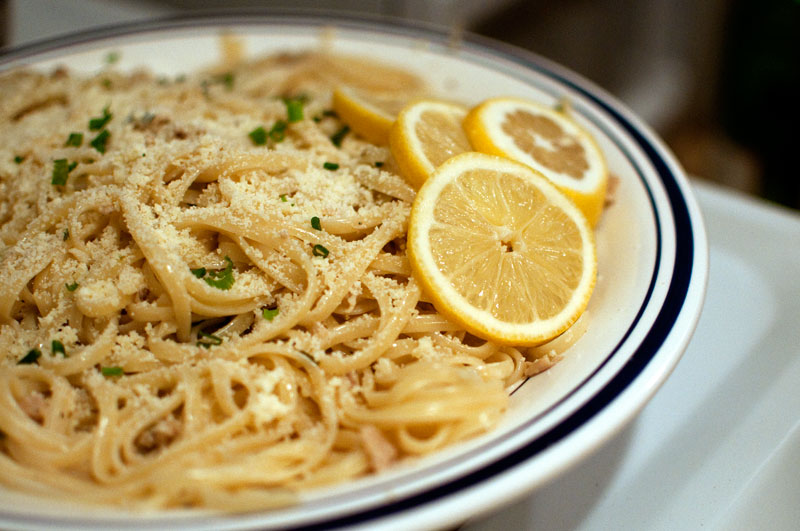
This made me crave lemon, orange, lime, and everything citrus! Citrus fruits have been the only fruits I’ve felt OK buying lately (I haven’t made it to the farmer’s market, and when that happens I try to only buy US grown produce from TJs.) The photograph above is from this number back in 2010. I can’t believe we haven’t made that recipe in over a year. Mary, let’s make this again, stat.

The lemon post from Matt got me thinking other people might have citrus on the brain, and sure enough a quick look around my usual food blogs came up with the following:

A delicious recipe for Citrus Salt. Can life get better than that?

A story about grapefruit season in Los Angeles. Which I don’t know if I can embrace yet. My taste buds have some growing up to do.

Marmalade to go along with…

…a olive oil cake to die for (with clementines, for good measure.)

This organization, that picks local abundant citrus to donate to food banks.

This got me wondering what kinds of citrus fruits there are, and also made me wonder what the difference between a tangerine and a clementine is…which of course, lead me to the health benefits of clementines.

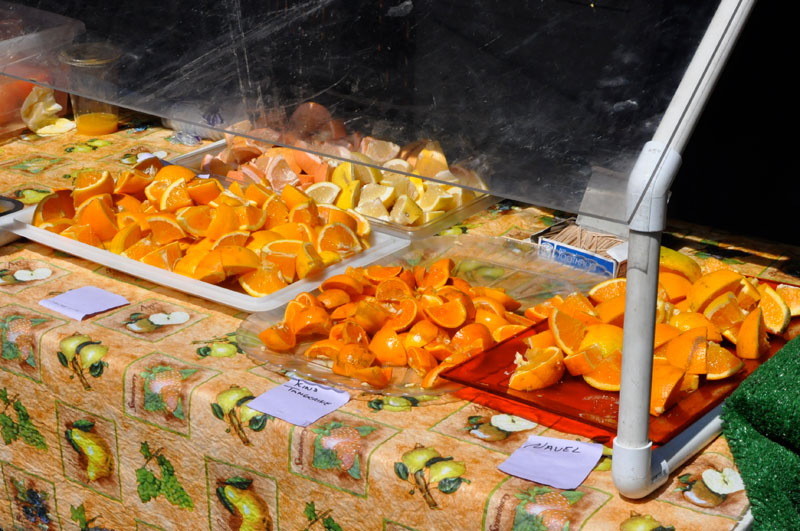
This is the scene I have looking me in the face this weekend: piles upon piles of citrus. 85 in January might not be ideal, but I think I’ll use this as an opportunity to try out some refreshing citrus recipes that will get me through this “Indian Summer.”


[addtoany]