Smoked Salmon Bagels | Garlic, My Soul

For my next JDV post, I wanted to give you a recipe for another awesome location – the Pacific Edge Hotel. This hotel, located in Laguna Beach, California, is a family fun zone located right on the beach. The rooms here are bright and colorful, breezy and comfortable.

Smoked Salmon Bagels | Garlic, My Soul Smoked Salmon Bagels | Garlic, My Soul Smoked Salmon Bagels | Garlic, My Soul

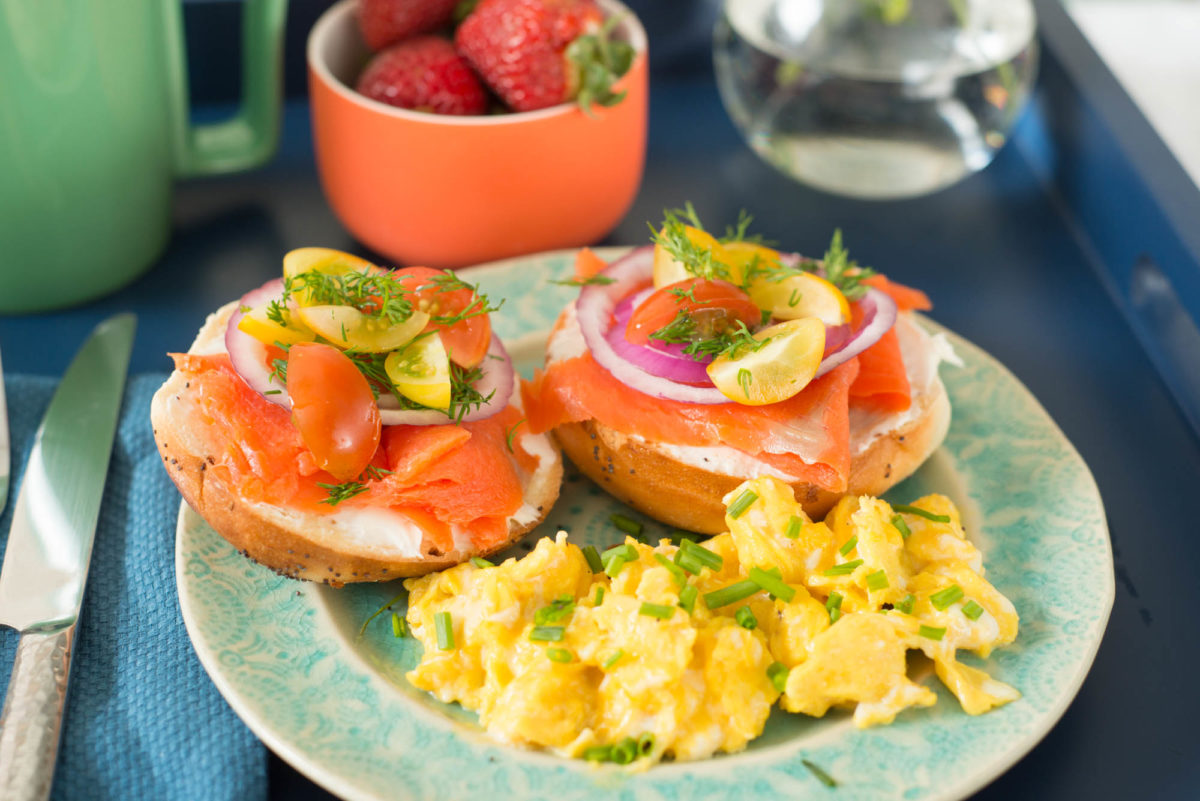
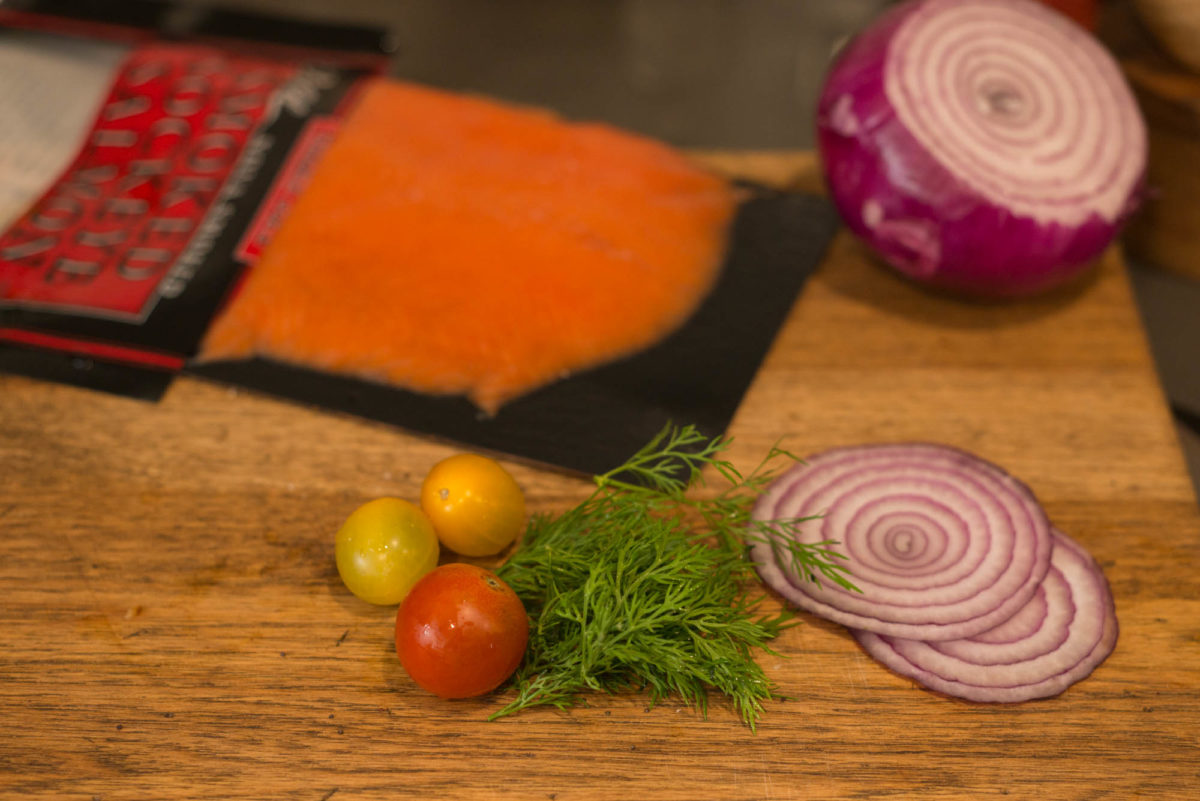
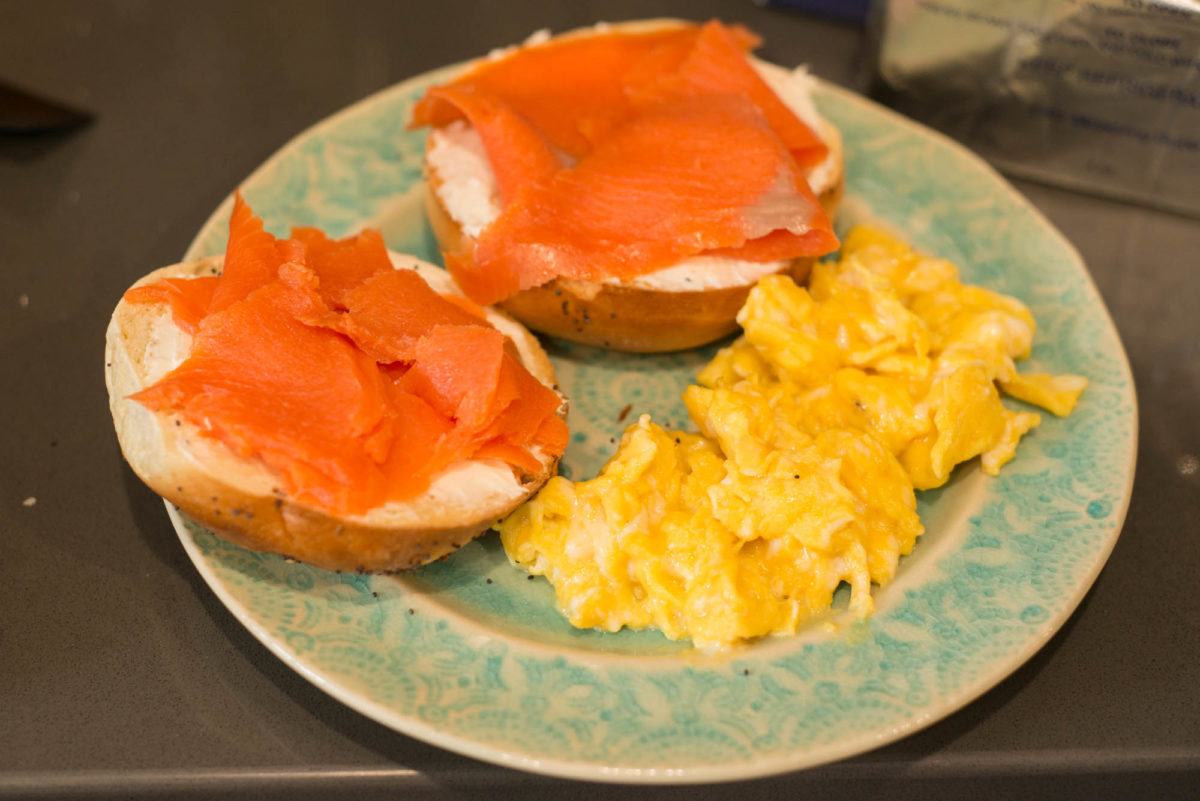
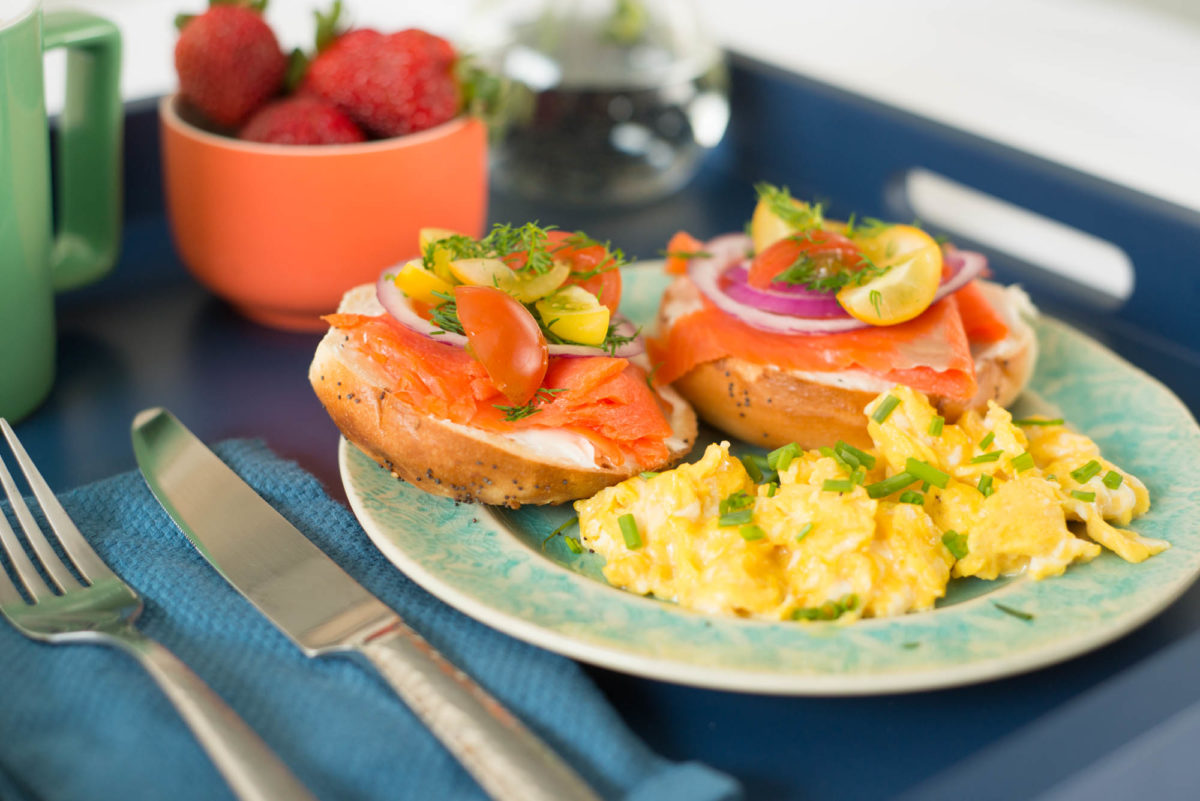
This is a colorful, bright, kid-friendly breakfast that doesn’t make parents cringe but also didn’t require utensils (isn’t eating with your hands so much fun?!) I included seafood since you’re by the ocean for a reason, and of course some eggs with fresh chives to balance out your meal.These smoked salmon bagels are easy to eat and will start your day off right – everything you need for a full day by the seaside. I served with fresh strawberries and some mango juice – the perfect package for your beach vacation!

Smoked Salmon Bagels | Garlic, My Soul

For the full recipe, head over to the JDV blog, here!


[addtoany]

This post was originally posted last summer after the Supreme Court ruled for marriage equality. My birthday was last week, and I wanted to give you guys a cake to celebrate, but since Orlando, my heart has been heavy and I’ve been trying to come to terms with the events in our country. Luckily, I remembered this cake. Love is love is love, you guys, and we believe that this small token of solidarity will show that Garlic, My Soul, is mourning Orlando along with this country, and that we are not standing for inaction anymore. We hope you have a cake and remember that each day is a gift, and hope that you, too, will fight for action as we change this great nation. Thanks, y’all, and enjoy this cake!

*****
Pride Cake | Garlic, My Soul

#TBT to last week, folks. Because #lovewins and we’re still excited.

We saw friends and loved ones afforded the constitutional right to marry and we wanted to take another moment to celebrate with them.
Pride Cake | Garlic, My Soul

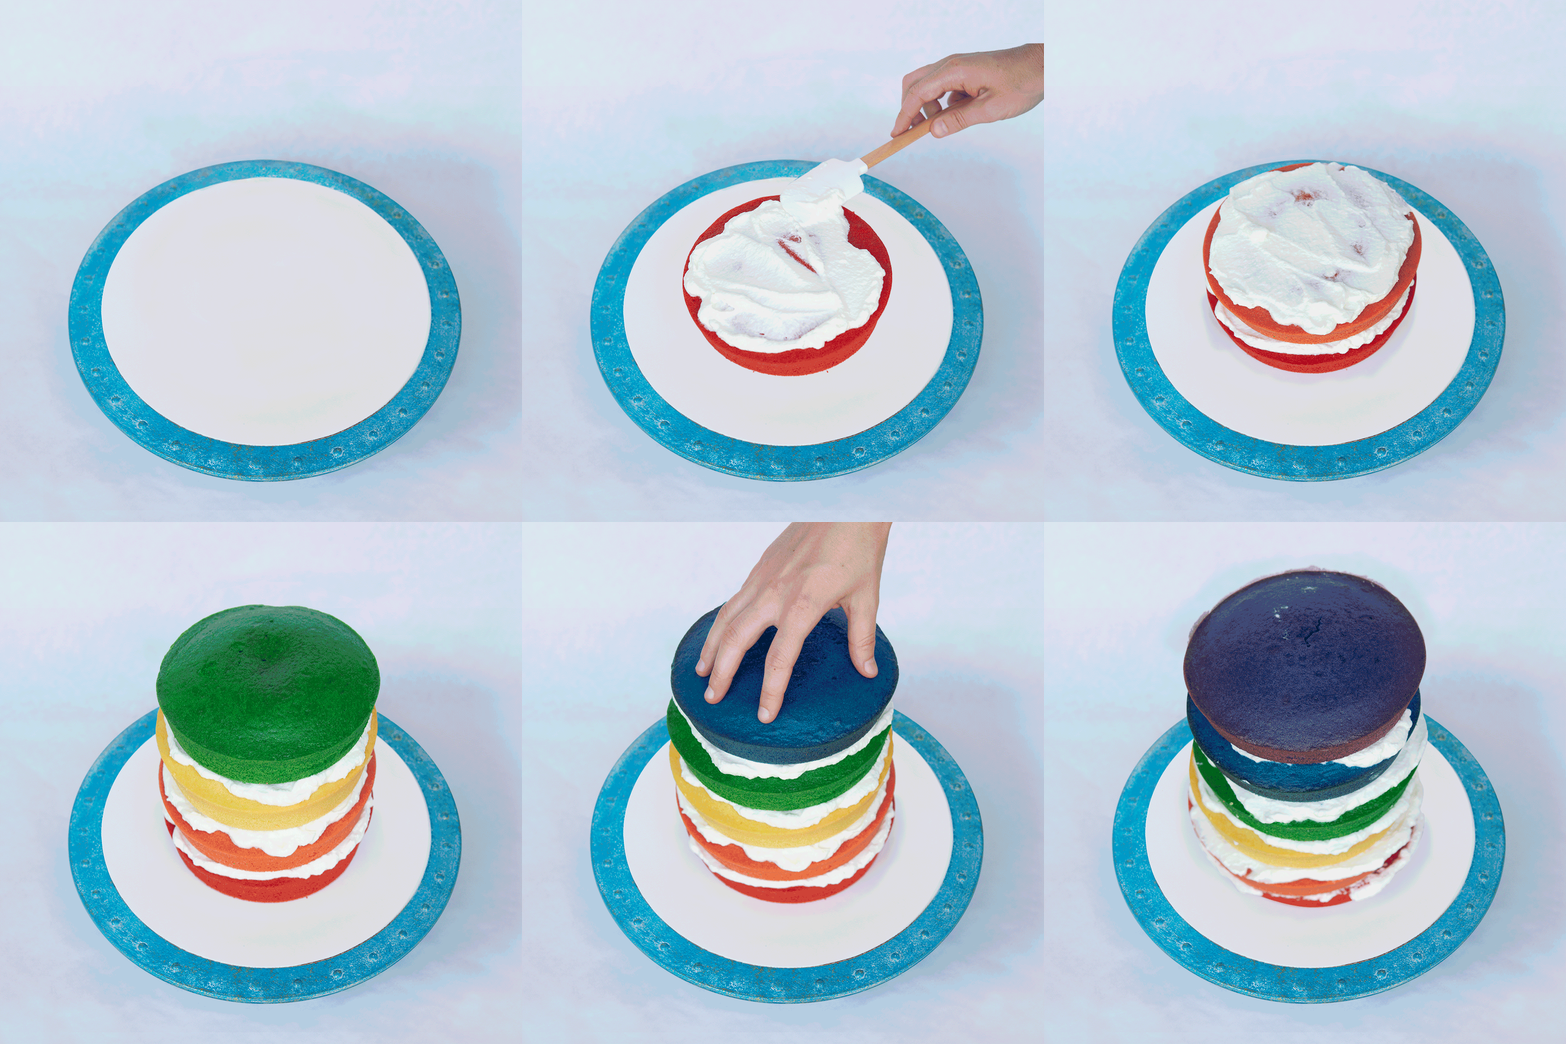
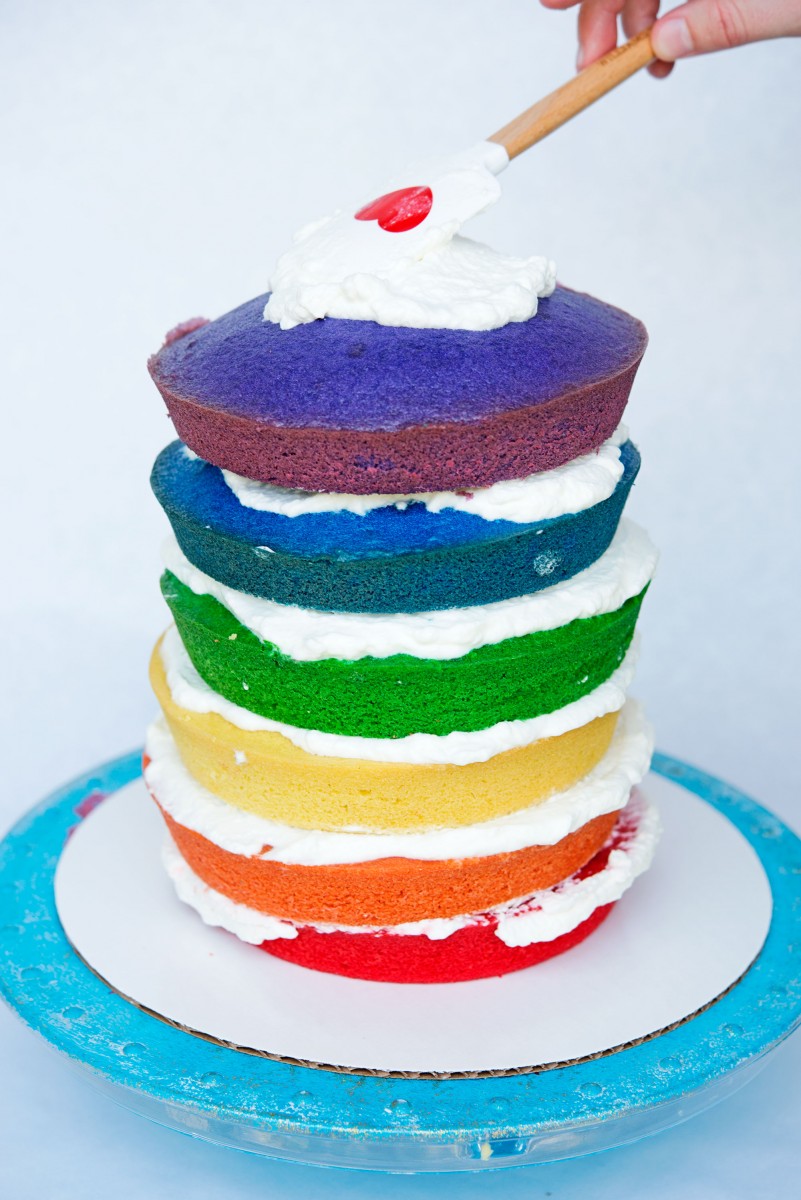
So in true, Garlic, My Soul fashion, we baked for the occasion. And created an almost foot tall, multi-colored token of our affections, inspired by the couples who headed straight to the court houses in their hometowns to tie the knot. If you didn’t get a wedding cake this weekend, let us offer you this.
Pride Cake | Garlic, My Soul

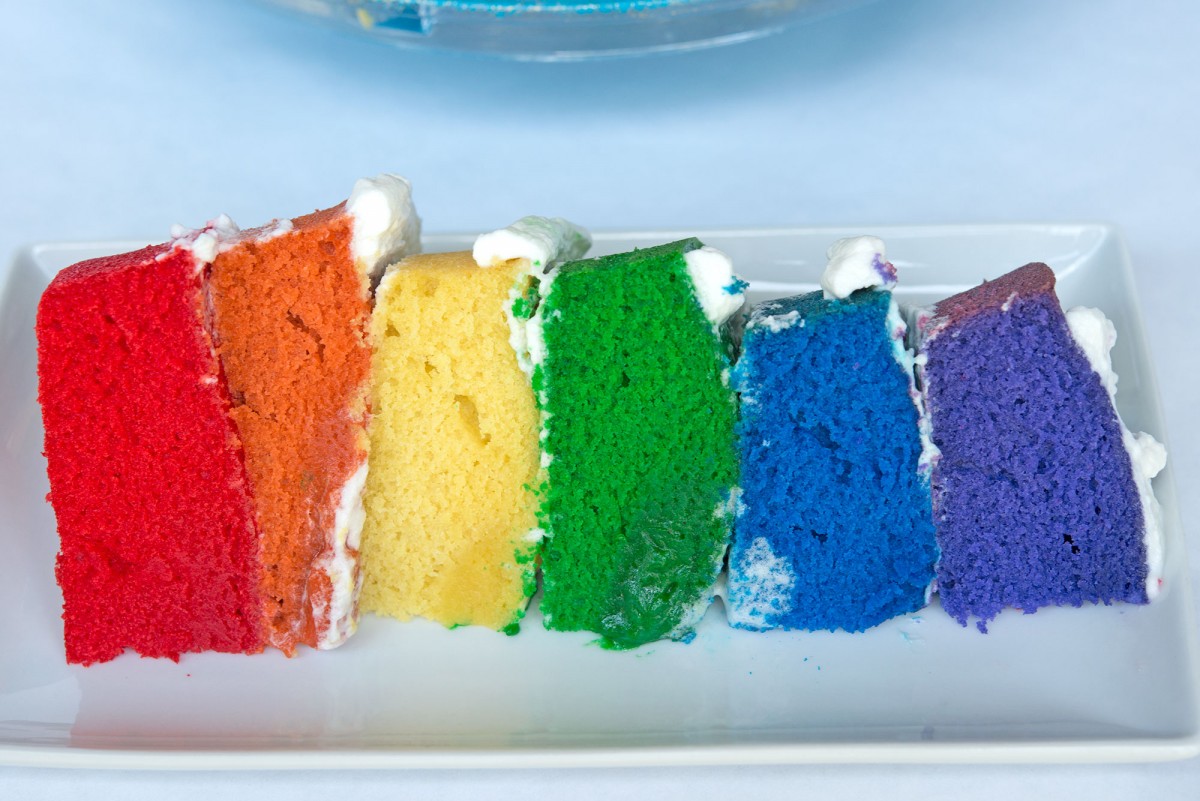
We know there’s a long way to go before our country is truly free from inequality, a lot of healing needed that cake won’t fix. But we hope each step, large and small, brings us closer to people treating people with humanity, compassion and love.

As a small kitchen note, how great are these colors, right? The GMS kitchen has some brilliant food color gels that we can highly recommend. Being gel, they won’t change the consistency of whatever treat you’re dying. And look at those colors. Bright and proud! Just like our feelings for the Supreme Court.

#LoveWins, y’all. That’s something to celebrate.
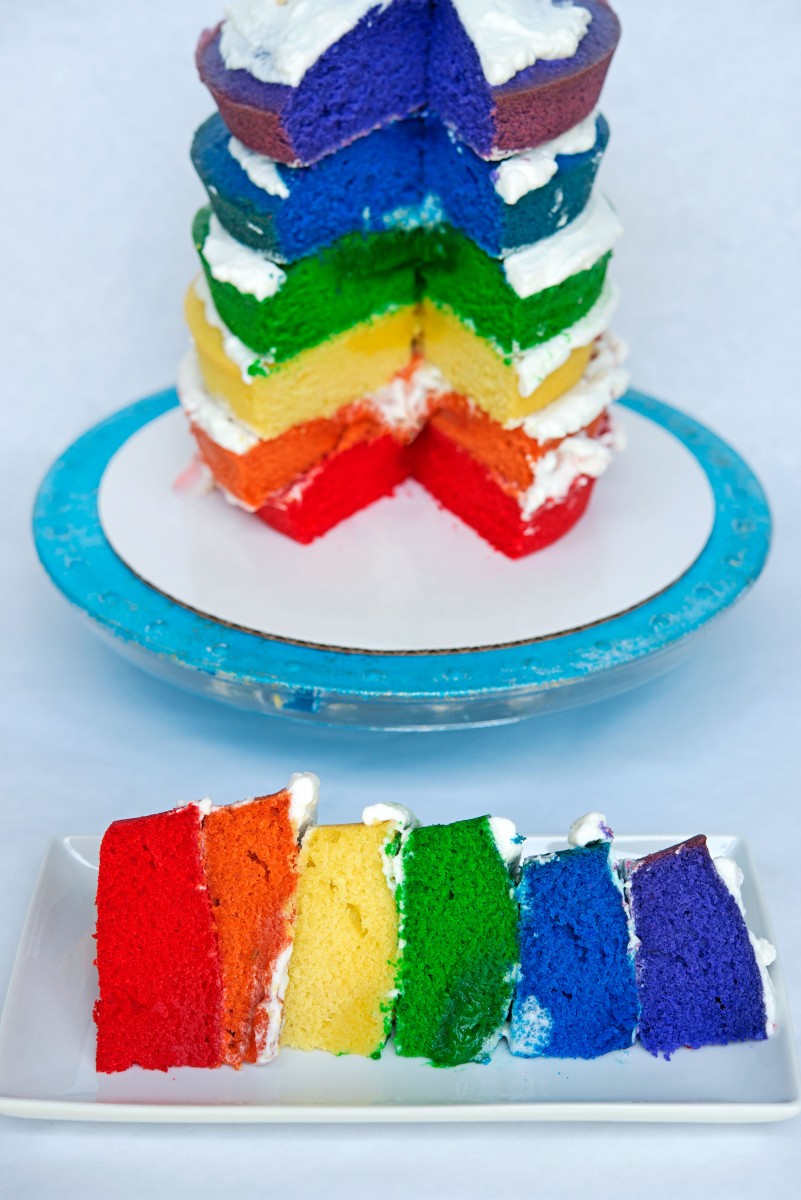
Pride Cake | Garlic, My Soul


[addtoany]

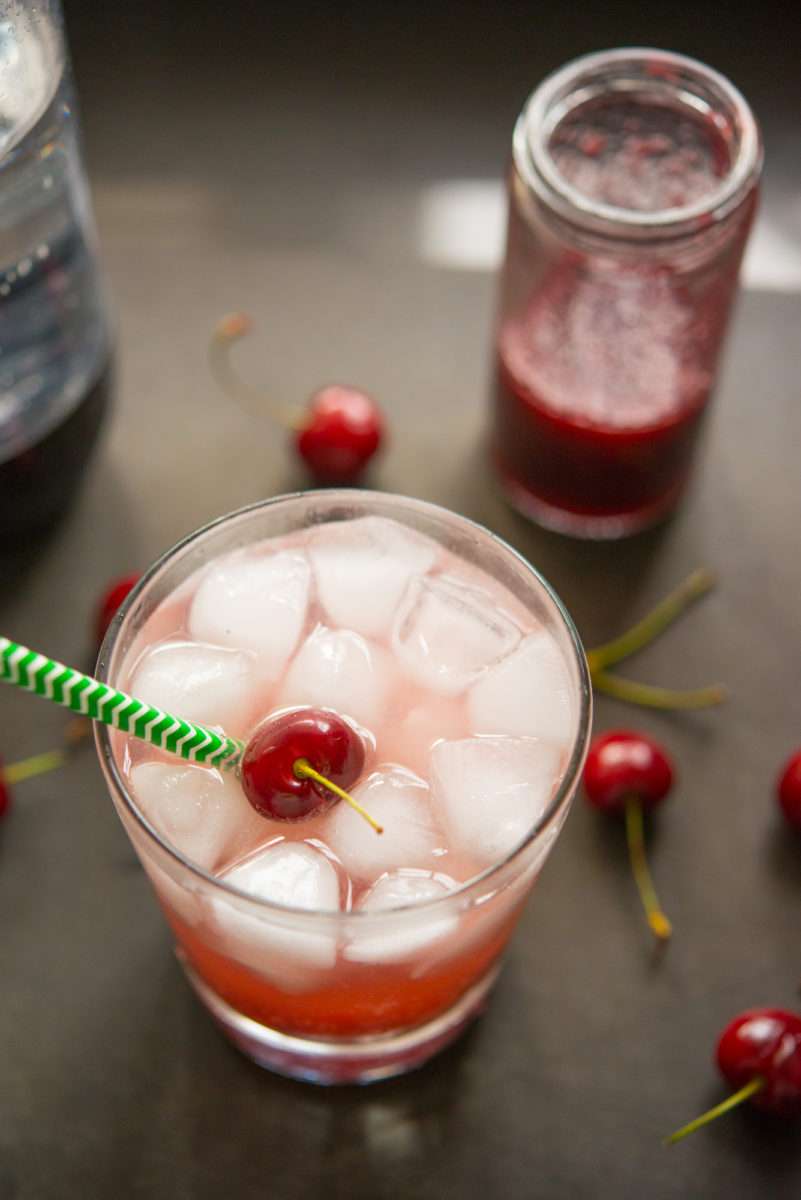
Cherry Soda | Garlic, My Soul

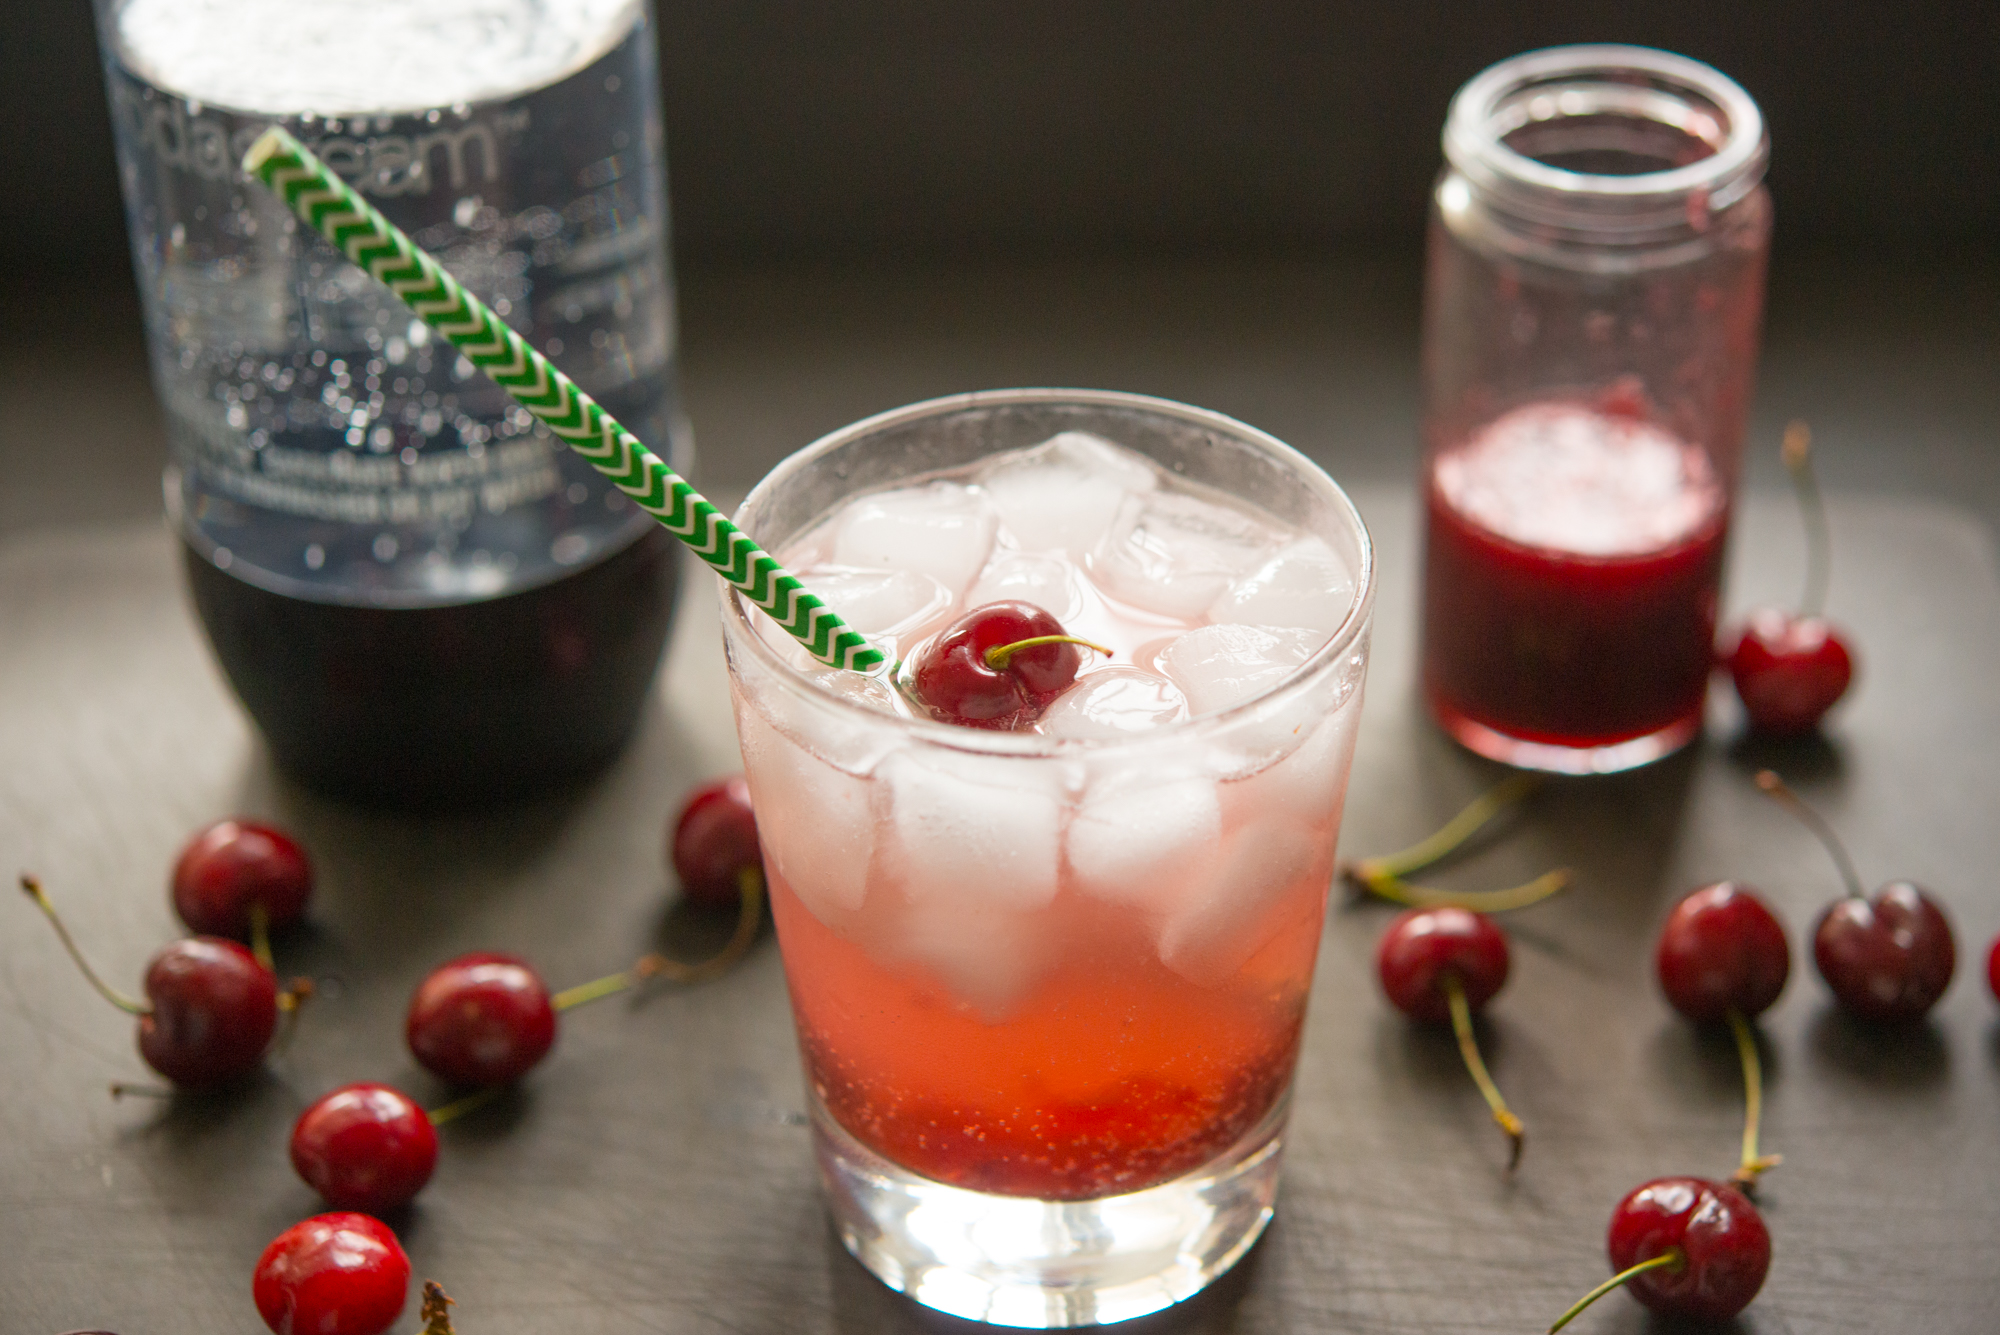
Folks, I can’t stop/won’t stop making cherry flavored everything. I got a Soda Stream for my wedding but wasn’t able to set it up until we moved into our house. But ever since then I’ve had soda water on hand at all times, and it’s afforded me lots of delicious drinks. This is one of the best ones, yet, though. Cherry soda is one of my favorites, but I hate drinking sugary drinks (or worse, HFCS!) so I decided to make my own.

Cherry Soda | Garlic, My Soul Cherry Soda | Garlic, My Soul

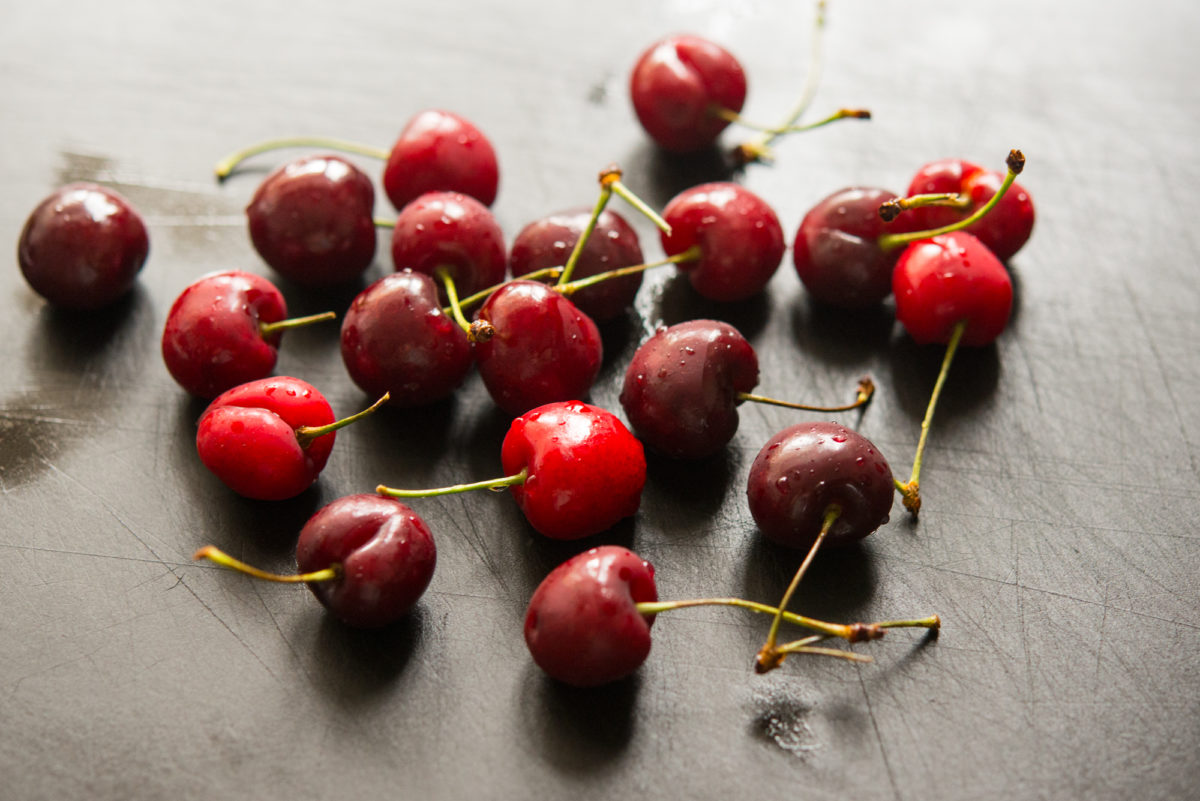
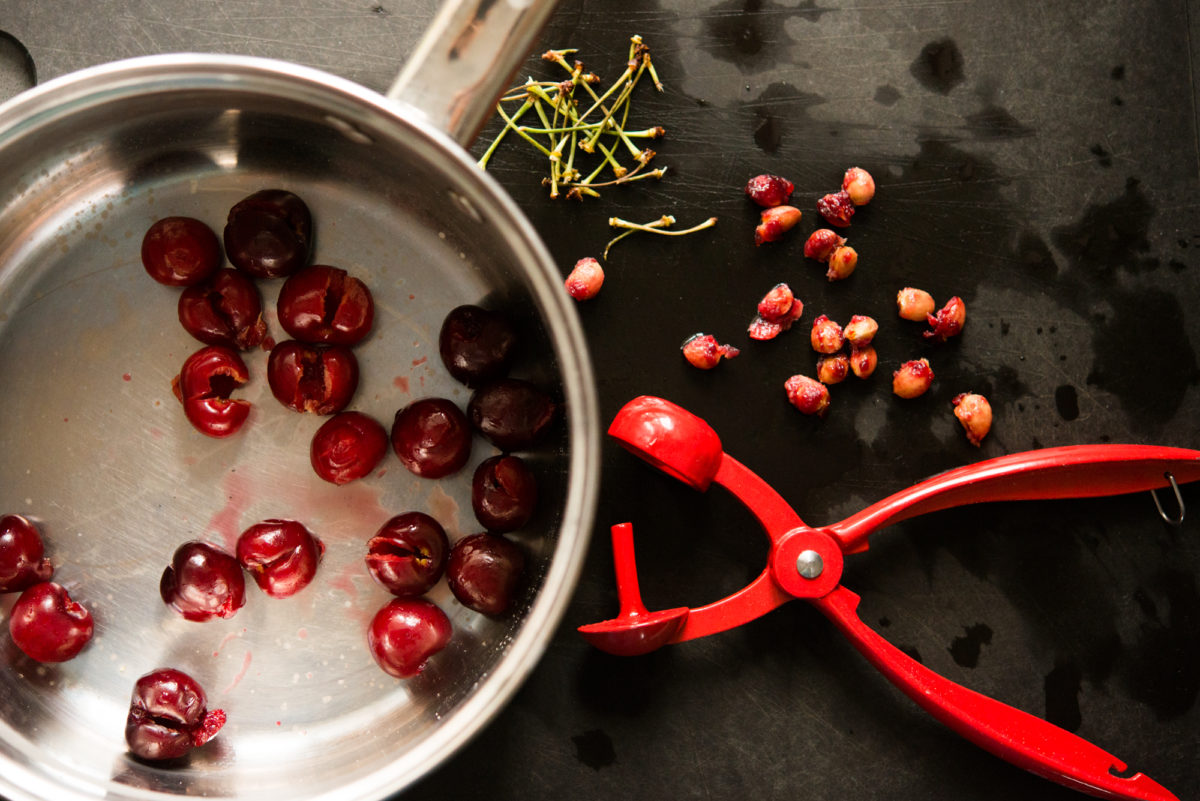
I have a cherry pitter now, but before I did, I used to use a chopstick. Basically, put your cherry over a beer or wine bottle, then use the chopstick to push the pit out. For a tutorial, go here. It really works, I promise. Or invest in a cherry pitter if you like cherries. I don’t love a tool that does one thing, and I’ve yet to find another reason to use the cherry pitter, but it does make pitting them faster. Warning: you will still get cherry juice everywhere in your kitchen, so be prepared.

Cherry Soda | Garlic, My Soul

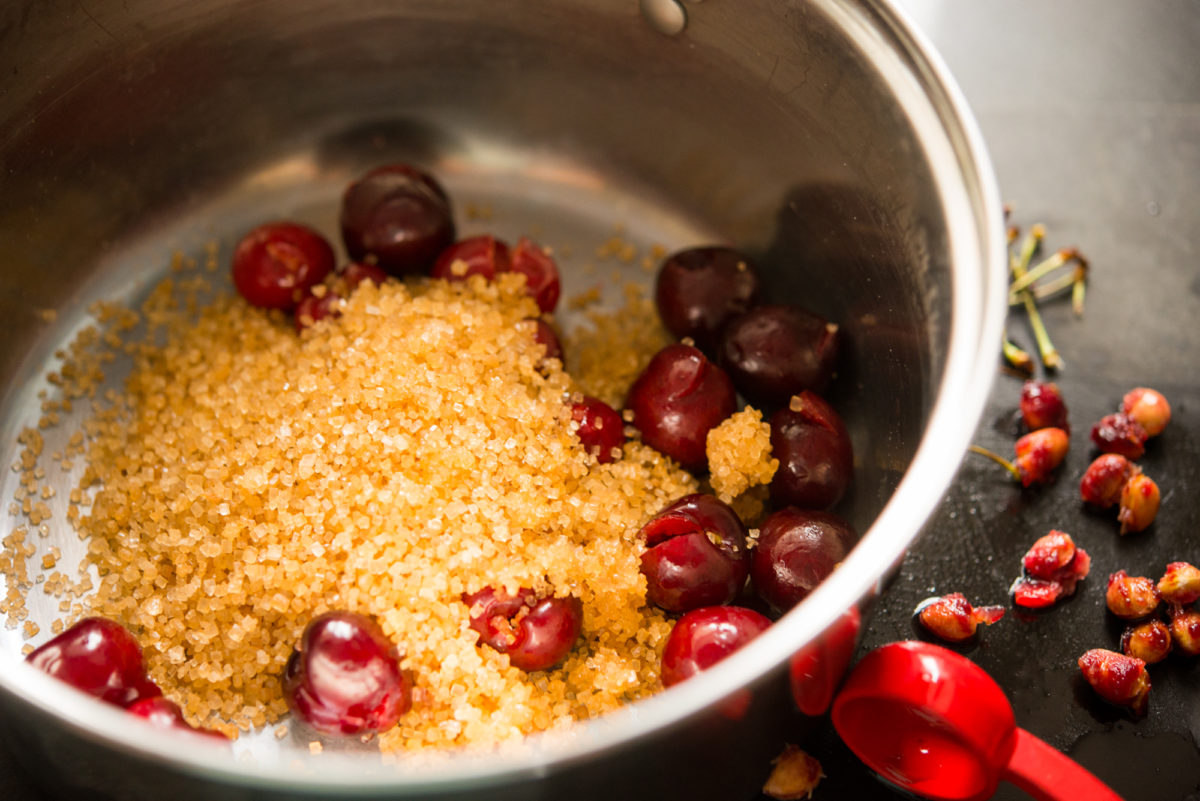
This recipe still involves sugar, you can control how much syrup you put in your soda, and I used turbinado sugar (less refined.) Basically, you’re going to make your own syrup and use it to flavor your water. That’s how they make soda (only without all the chemicals and crap) and it’s a great way to stay hydrated through the summer – reward yourself with a glass of homemade soda!

Think about all the possibilities: blueberry soda, strawberry soda, orange soda, a combo of all of the above…the delicious summer drinks are ENDLESS. Recipe is below, and look for more to come this summer!

Type: Sipping Slowly
Author: Jennie
Difficulty: Intermediate

Prep Time: 15 minutes
Cook Time: 10 minutes
Inactive Time: 20 minutes
Servings: 6-8 Servings

Ingredients

  • 1/2 cup sugar
  • 1 cup water
  • 1 cup cherries, pitted and chopped
  • soda water

Directions

  1. Pit and chop your cherries.

  2. Bring water and sugar to a boil over medium heat.

  3. Once all the sugar is dissolved, add your cherries and mash into the water. Simmer over heat about ten minutes, until mixture gradually thickens.

  4. Remove from heat and allow to cool to room temperature. If desired, strain, but I like the chunks of cherry!

  5. To make soda, pour soda water over ice, then add about one tablespoon syrup and mix well. Serve ice cold!

[addtoany]

Cherry Ice Cream | Garlic, My Soul

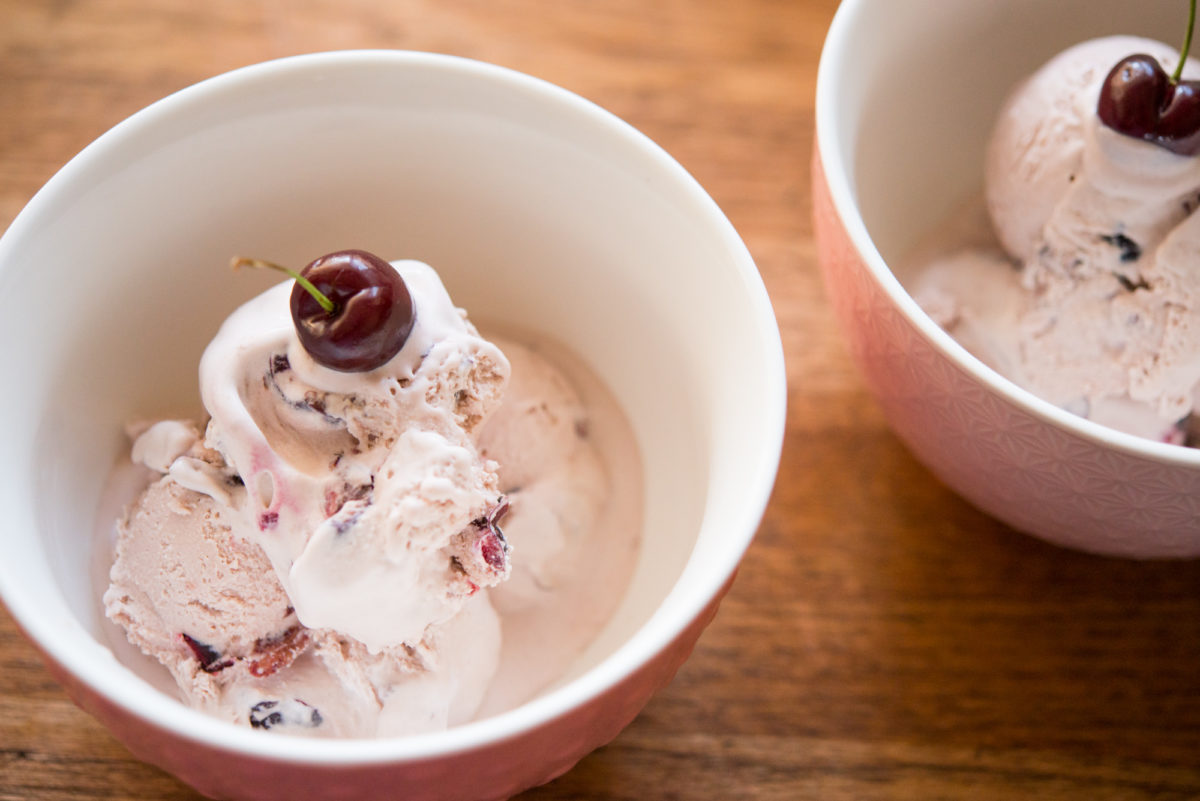
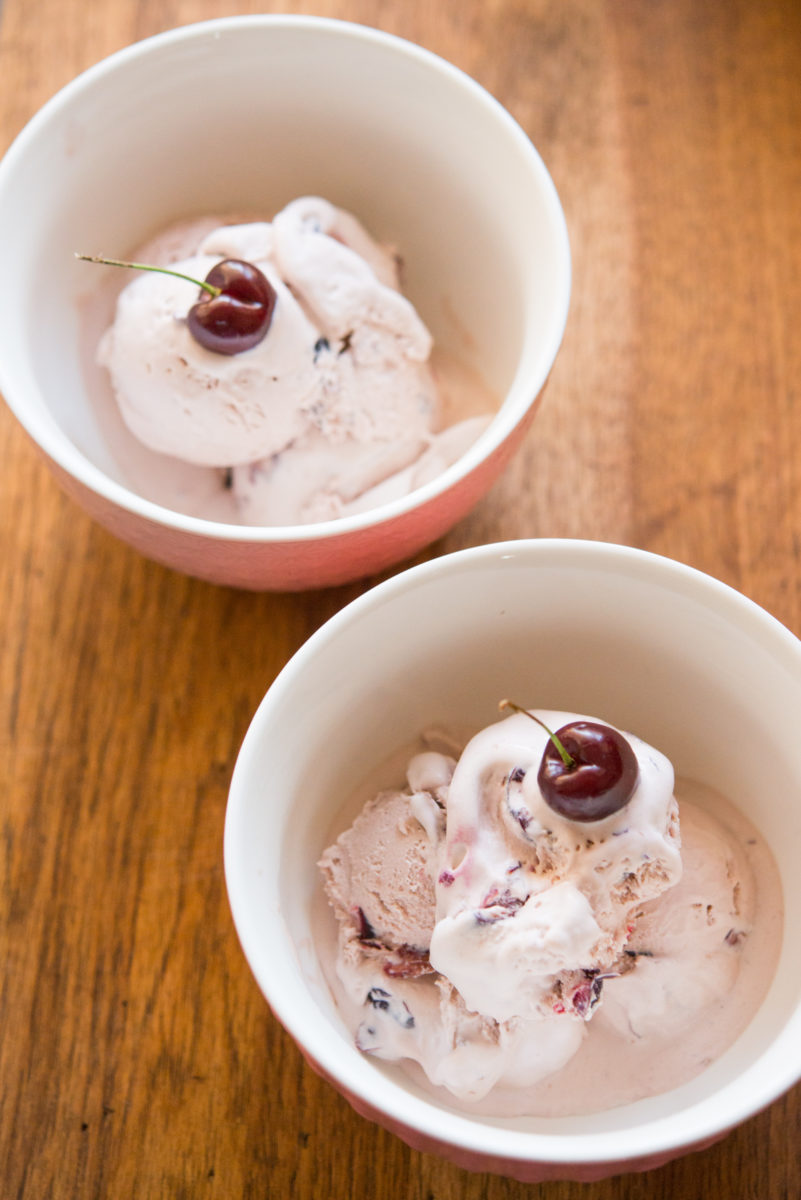
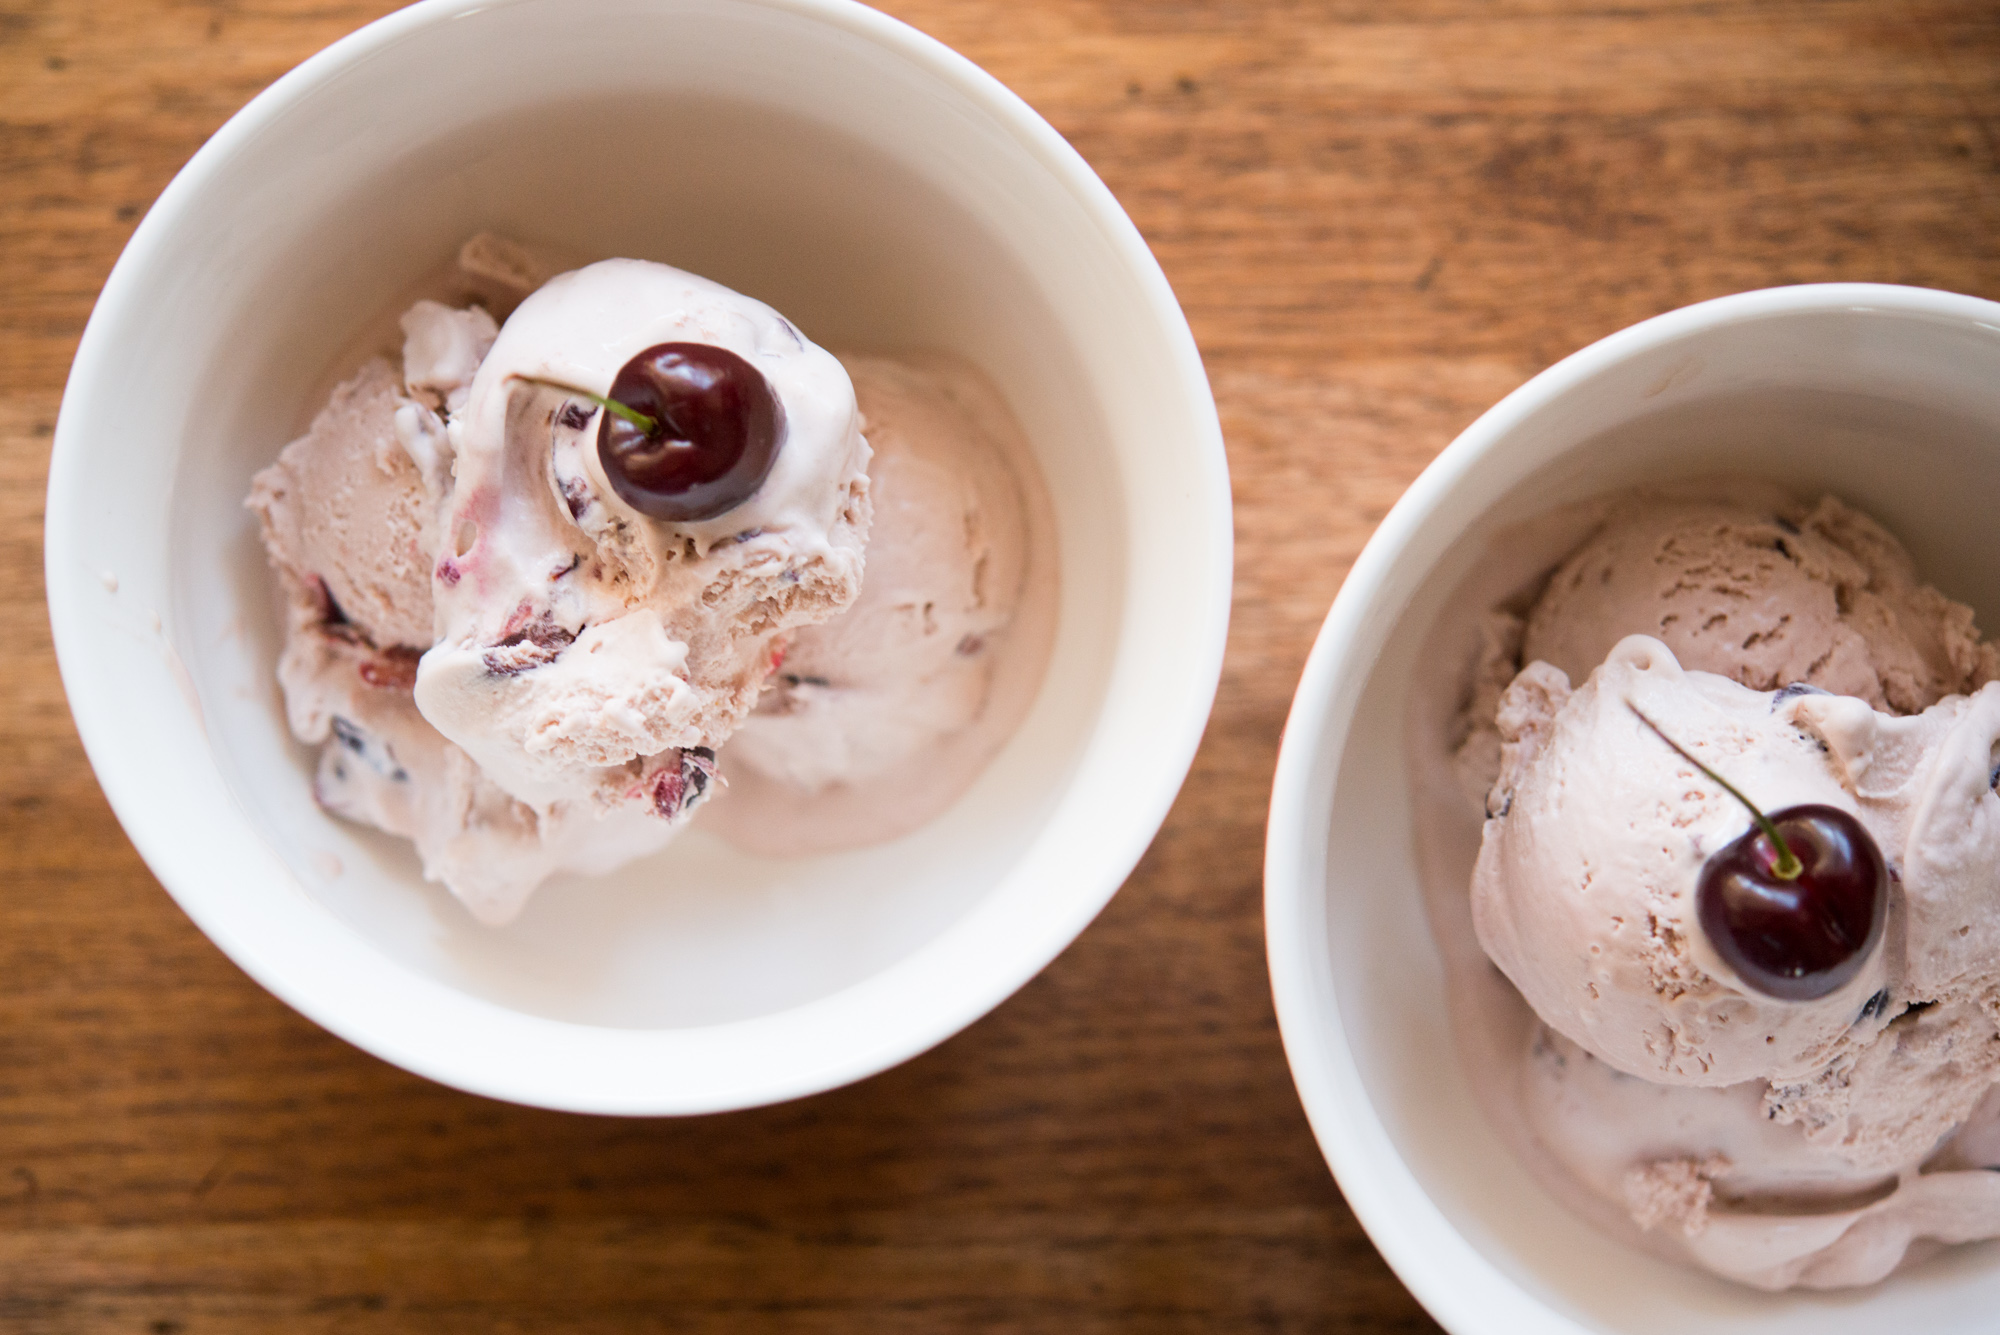
I am cherry obsessed and I don’t care who knows it. I can’t stop, won’t stop. And, that’s a good thing probably because I also love sweets and I’ve been trying to cut excessive sugar and this, it turns out, is a way to do that. I mean, let’s be real, I’m going to eat ice cream, so if I am why don’t I cut the added sugar and go straight to the source?

Cherry Ice Cream | Garlic, My Soul Cherry Ice Cream | Garlic, My Soul

Ice cream is only a few ingredients, and it’s relatively easy to make – if you have an ice cream maker, or if you don’t. It’s especially fun if you want to try a flavor that you can’t quite find in the grocery store (I plan on making some Rocky Road soon). I also use making ice cream as a way to “earn” my treat. Call me crazy, but putting work into making ice cream makes me appreciate the product, and it tastes that much better – plus, I end up trying to make it last a little longer because damn, I made that!

I’d like to think this is like how early man felt upon felling an animal and cooking it – it was a lot of work to get to that point. If we remind ourselves that food is work, maybe we’d appreciate it more and pay more attention to it. Or, at the very least, maybe we’d eat less treats if we made ourselves cook them ourselves every time (and that can’t necessarily be a bad thing, right?)

ANYWAYS this is crazy talk that’s me just trying to justify eating ice cream. But the point is, this ice cream is delicious. You can make it with whatever fruit you want, but I think cherries are just beyond amazing this time of year. I might try blueberry next, though, because those seem to be EVERYWHERE.

The recipe is below – there is also peach ice cream on the blog if you’re into that.

Type: Dessert, Treats
Author: Jennie
Difficulty: Intermediate

Prep Time: 20 minutes
Cook Time: 10 minutes
Inactive Time: 30 minutes + Overnight
Servings: 1 Quart

Ingredients

  • 1 1/2 cup heavy cream
  • 1 tablespoon sugar
  • 4 egg yolks
  • 2 cup pitted fresh cherries

Directions

  1. IMPORTANT FIRST STEP: IF YOU HAVE AN ICE CREAM MAKER: Put your freezer bowl in the freezer AT LEAST 12 hours before you start (or according to the package directions.) If you don't, realize you'll have to let this bad boy freeze overnight y'all.

  2. Beat the egg yolks in a bowl.

  3. Simmer cream and sugar over medium heat, dissolving the sugar.

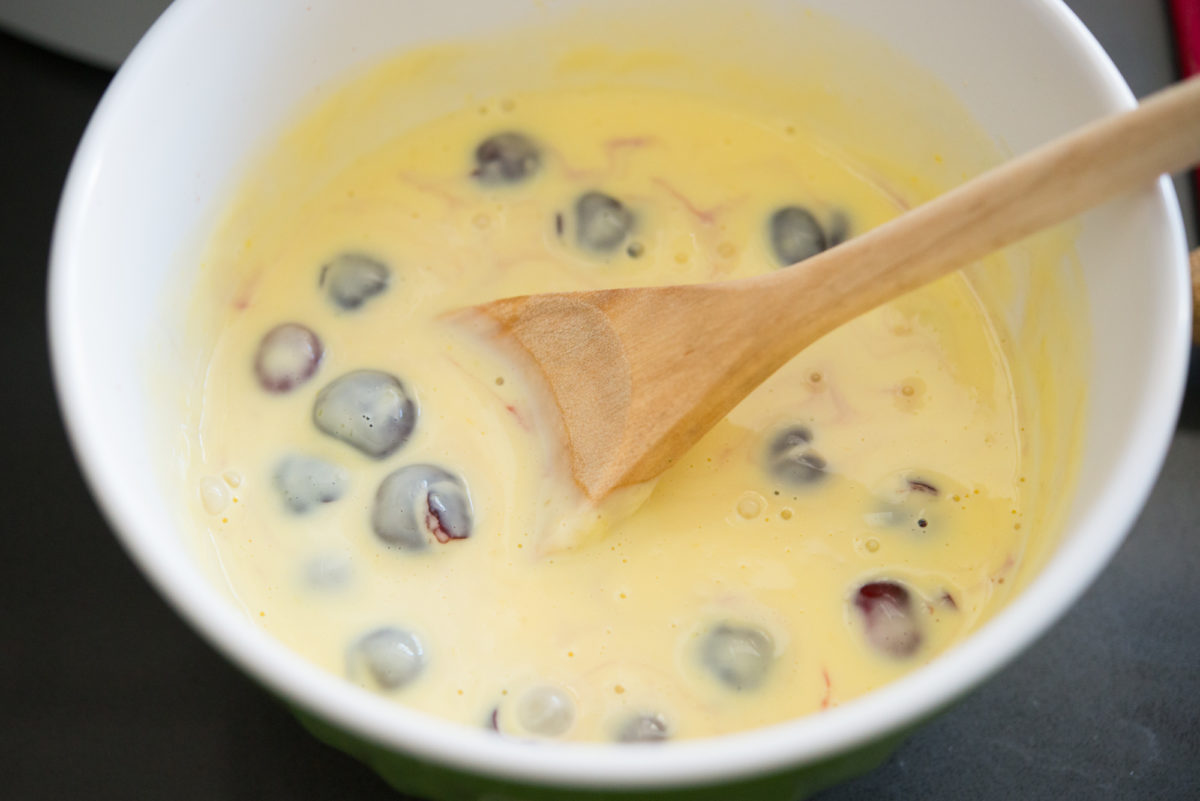
  4. Stir a spoonful or two of the cream into the egg yolks, to warm them up, then add yolk mixture to pan with cream. Turn heat to low and cook for about five minutes, stirring constantly. Strain into a bowl and allow to cool.

  5. While cooling, pit your cherries, since ya got the time.

  6. Once cool, add your cherries and immersion blend (or throw into the blender) until smooth. We left in some chunks of cherries, but they were too hard on the teeth - I recommend blending all your cherries.

  7. Place in ice cream freezer bowl and churn until the ice cream is quite thick. This took us about 10 minutes, but it might be different depending on your ice cream maker.

  8. Once it's quite thick, serve cold or stick in the freezer (in an air tight container) to serve later.

[addtoany]

Mascarpone Lemon Hazelnut Pasta | Garlic, My Soul

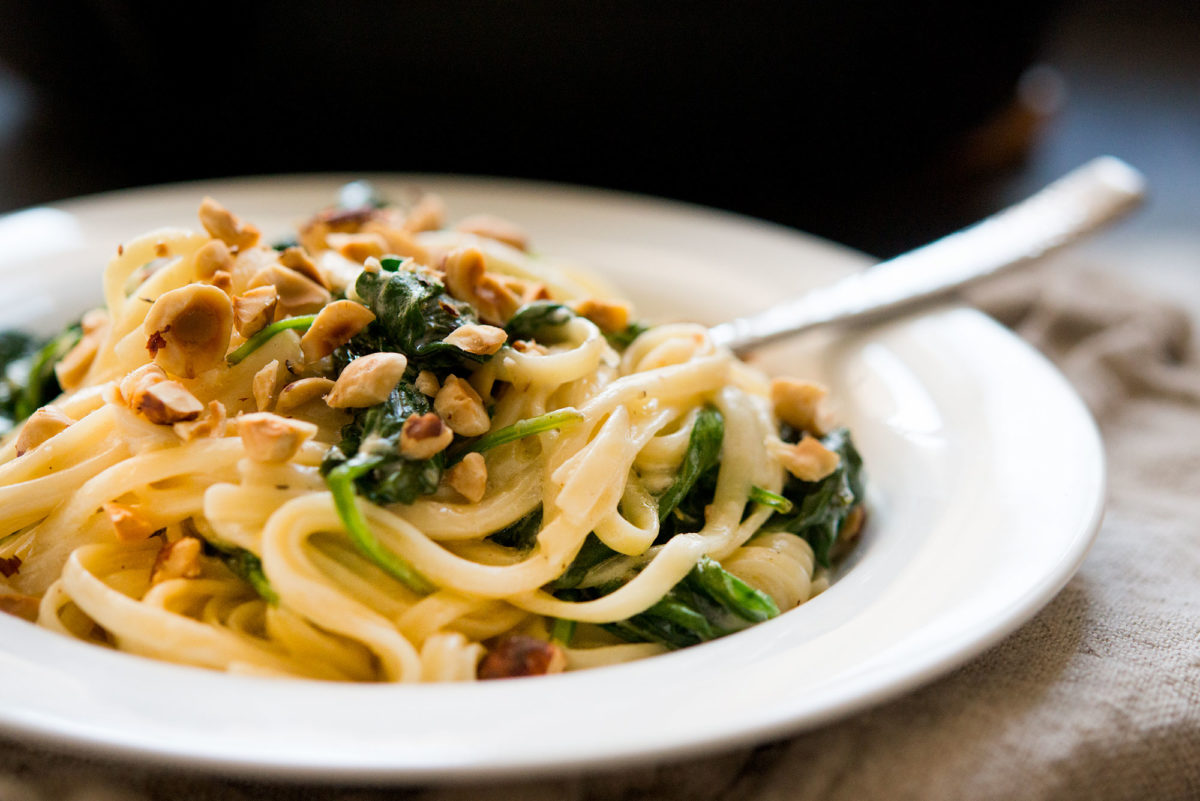
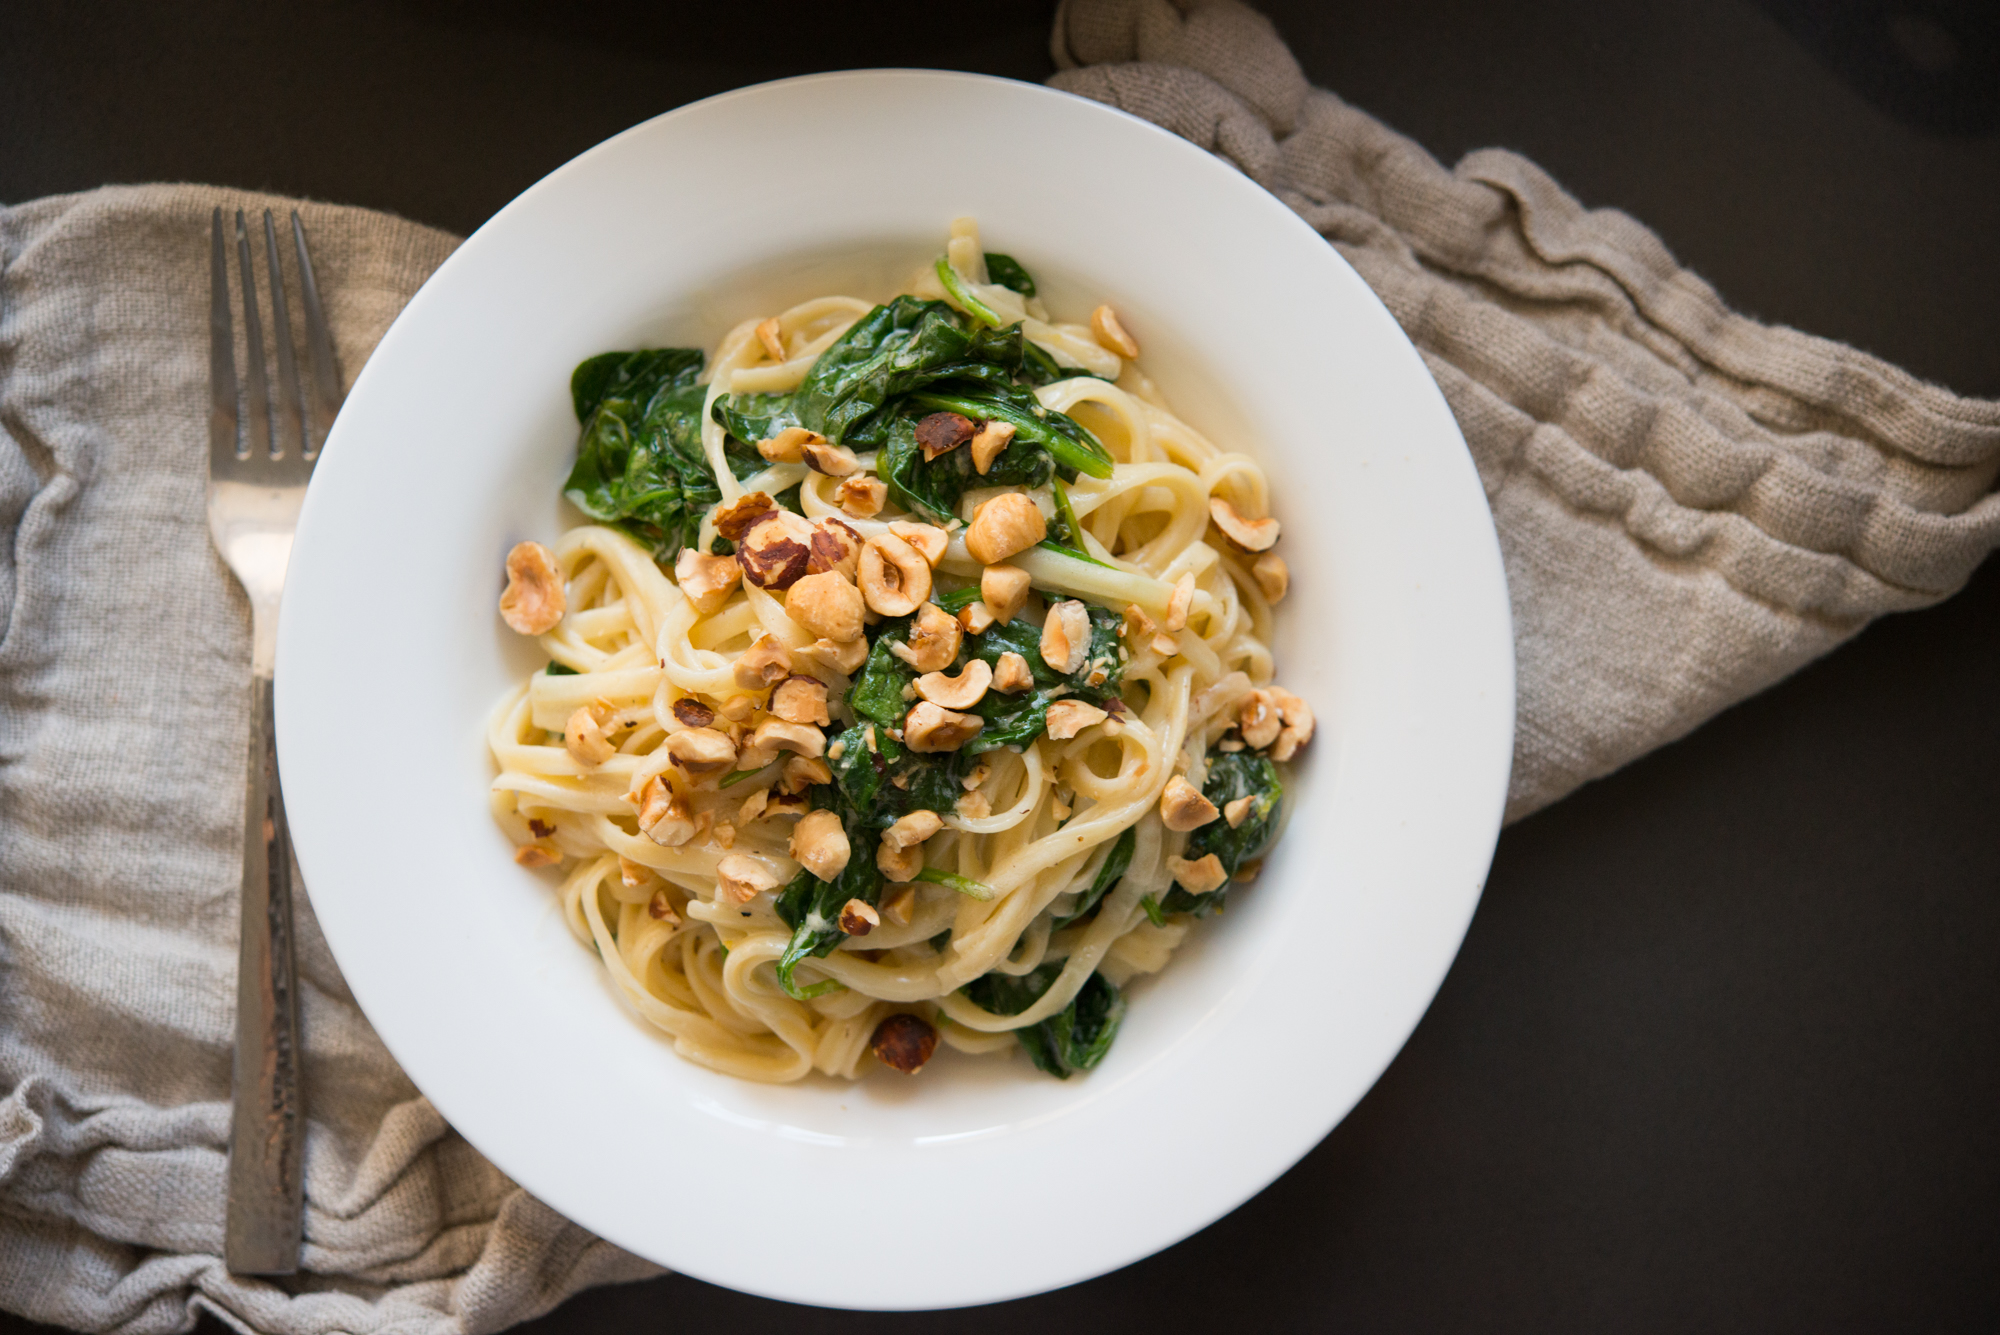
Around these parts, we’re always looking for more recipes to make that are meat-free. I’m trying to eat less meat for the environment’s sake, and also to get creative in the kitchen. When I saw this recipe on the Kitchn’s website, I knew it was a perfect new recipe for our house.

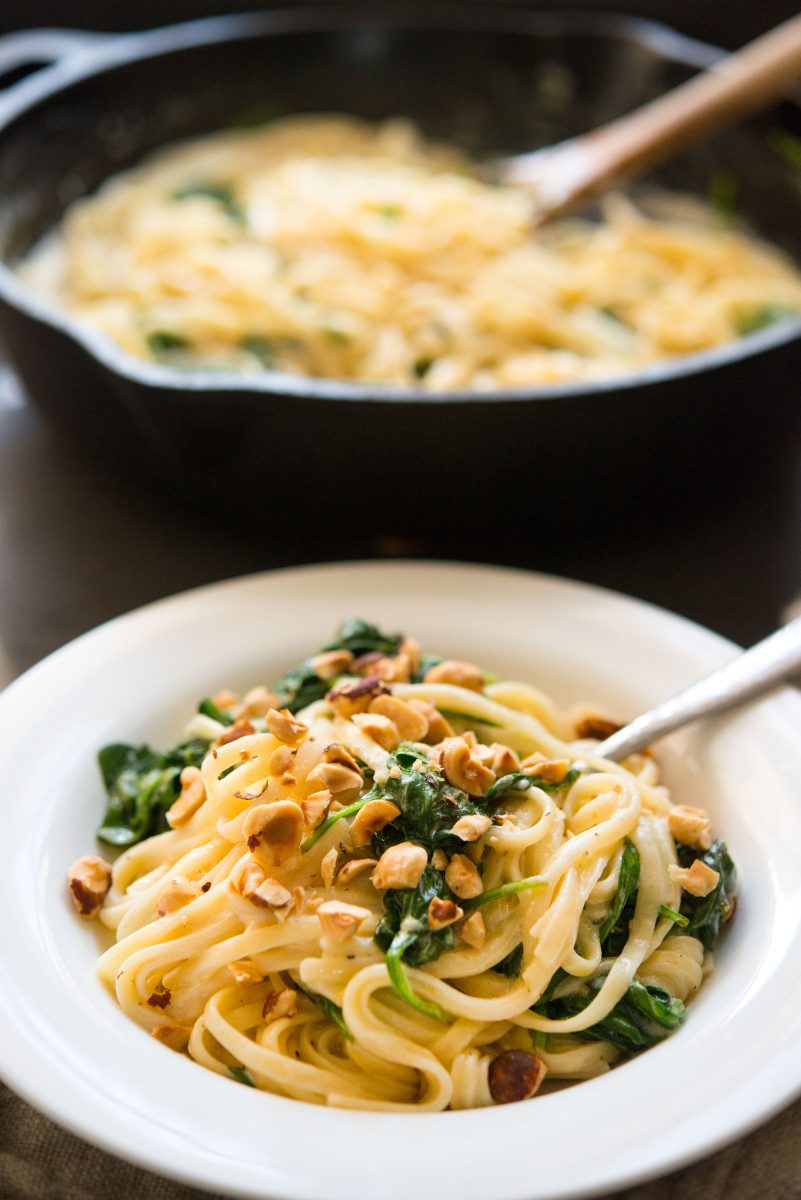
We make a similar pasta from the Pioneer Woman, but this addition of nuts and tons of spinach really makes me feel better about eating cheesy pasta for dinner on the regular. Plus, the hazelnuts make it hearty enough not to feel like I’m hungry a half hour later. I added wayyyyy more spinach to this recipe because I feel like there should be spinach in all the bites, and I used a regular lemon because I have lemons in my backyard. I’ve made this a handful of times now and I think it’s making its way into our normal rotation.

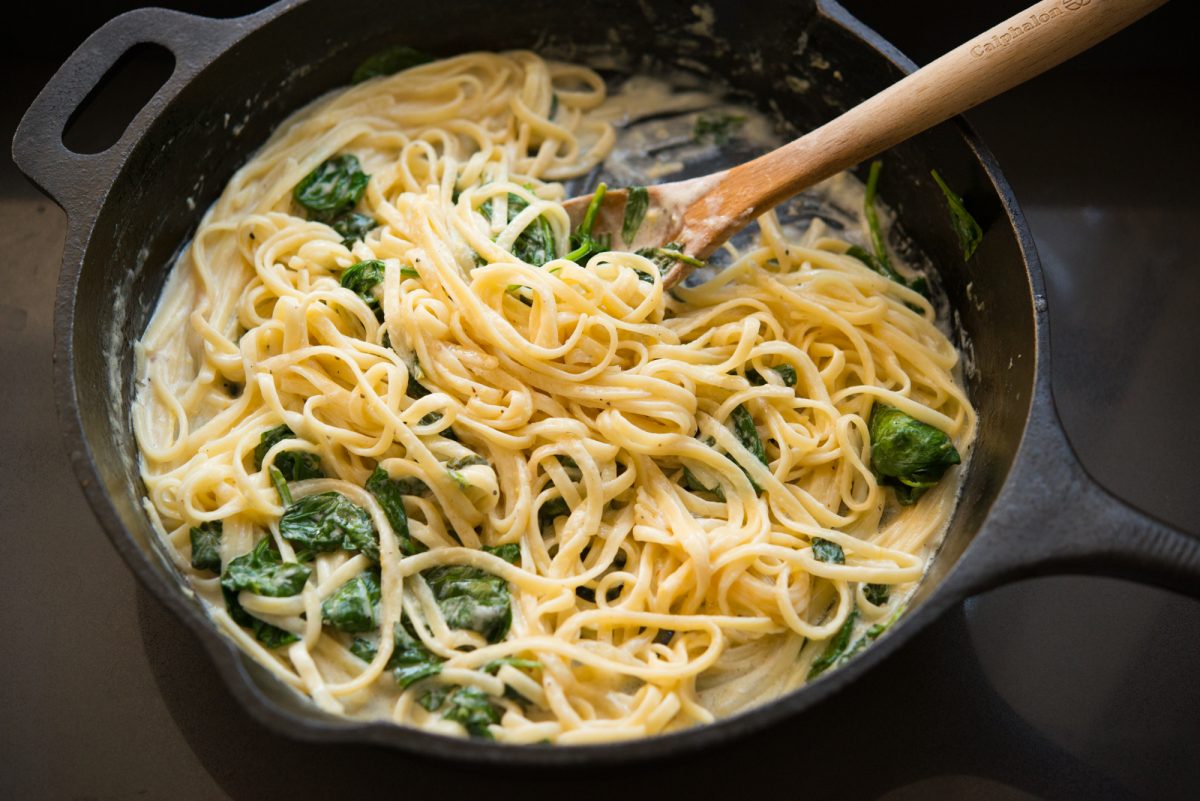
Mascarpone Lemon Hazelnut Pasta | Garlic, My Soul Mascarpone Lemon Hazelnut Pasta | Garlic, My Soul

I love that this is only two pots, and it makes excellent leftovers. If you really wanted to, you could add chicken or a handful of other nuts to make it your own – and I’ve also eaten this with some avocado and sun dried tomatoes.

The recipe is below, but feel free to modify as you see fit – whatever green you like would most likely be great in this! Happy cooking, kiddos!

Type: Main Course, Quick Meals, Vegetarian
Author: Jennie
Difficulty: Intermediate

Prep Time: 15 minutes
Cook Time: 20 minutes
Inactive Time: 15 minutes
Servings: 4-6 Servings

Ingredients

  • 1 lemon, zested and juiced
  • 8 ounce mascarpone cheese
  • 16 ounce spaghetti
  • 6 ounce fresh spinach, roughly chopped
  • 8 ounce hazelnuts, roughly chopped
  • s/p
  • 1/4 teaspoon nutmeg

Directions

  1. Zest and juice your lemon. Combine the zest, lemon juice, mascarpone, salt, pepper, and nutmeg in a bowl and stir.

  2. Bring a pot of water to a boil (don't forget to salt!) and cook your spaghetti just a few minutes less than you normally would, aka al dente. Reserve like half a cup of water from the pasta for your sauce but drain the rest.

  3. Now put your cheesy sauce into a pan, and add all the spinach. Let it wilt, then add half your pasta water, and your pasta, and stir well. The idea is a sauce - not too watery, not too thick, so as you cook you MAY add more water, and you may not. Once the spinach wilts, you can either add your hazelnuts directly to pasta, or just serve them on top (if you, for example, live with someone who's not nuts about nuts.) Serve hot!

[addtoany]