Hello Everybody,

Today we are going to delve into the world of chicken! Specifically we are going to talk about Beer Can Chicken. Now for many this isn’t a new thing. But in case you have never heard of this technique or you simply want a refresher course, this article is for you. I discovered Beer Can Chicken a few years ago and have tried to harness my style of cooking it since then. Now the fun thing about this dish is you can cook it in the oven or on the grill. I prefer the oven due to the fact that you have more temperature control. The other wonderful thing about this dish is that it produces great flavor and the most moist chicken you will ever taste.

Oven Temperature: 350
Servings: 2
Ingredients:

1 4 – 5 lb. whole chicken
1 tbsp. salt
1 tsp. ground black pepper
1 tbsp. cilantro
1 tbsp. bay leaves
1 tbsp. dill weed
1 tbsp. thyme
1 tbsp. oregano
1 tsp. marjoram
1 tsp. celery salt
1 can of beer
1 bottle of higher quality beer
olive oil

Directions:

Go ahead and pre-heat your oven at 350 degrees.  The temperature will remain constant throughout the whole process.

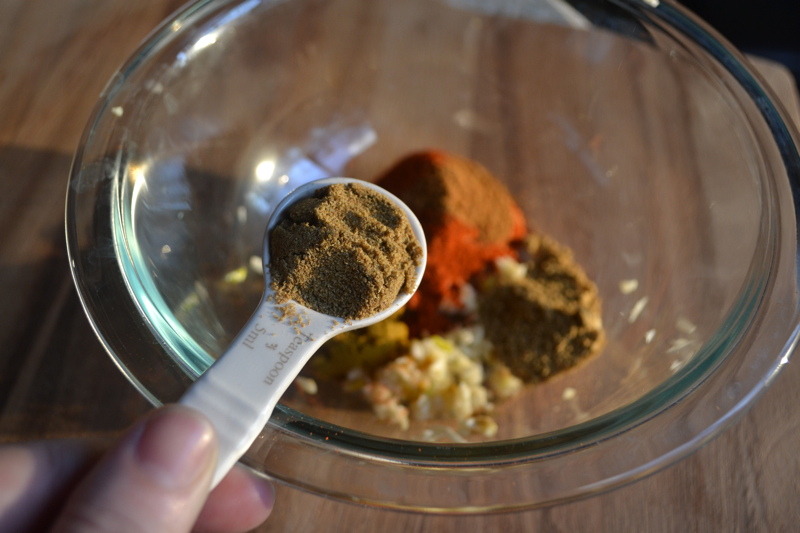
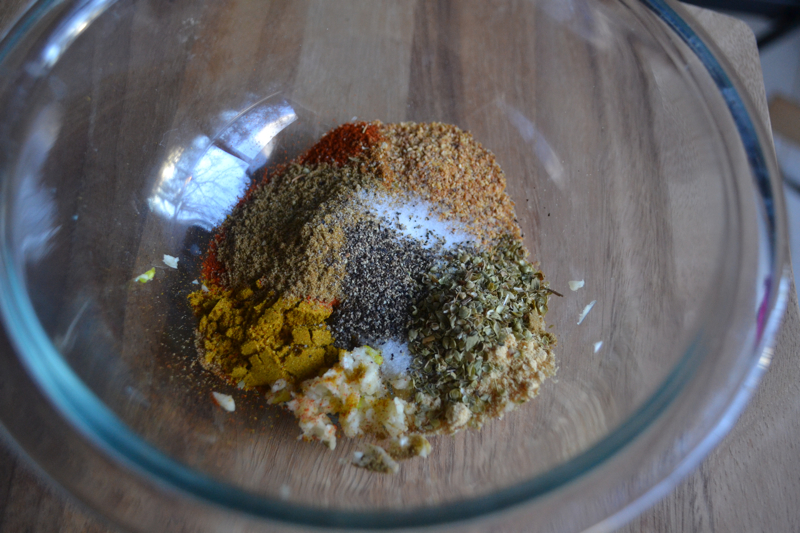
Next get a large plate and spread out the spices, salt, and pepper so that once your chicken is prepped you can roll the meat around in the spices.

The next steps involve the beer that will be used in this recipe.

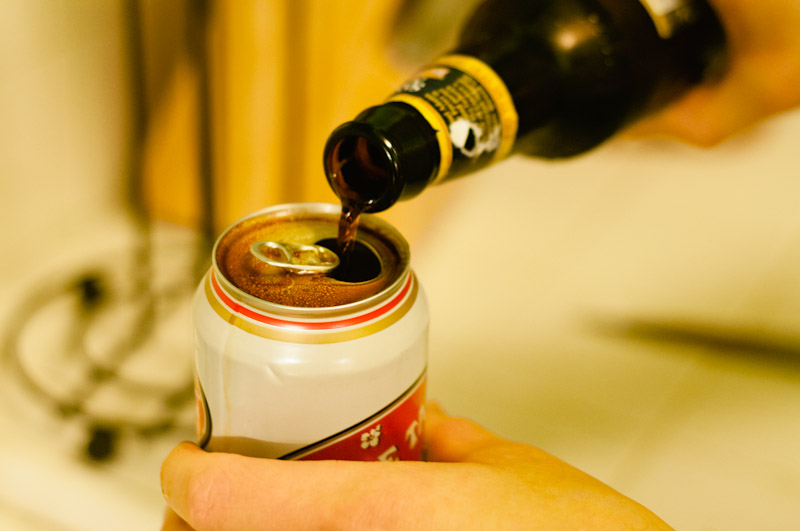
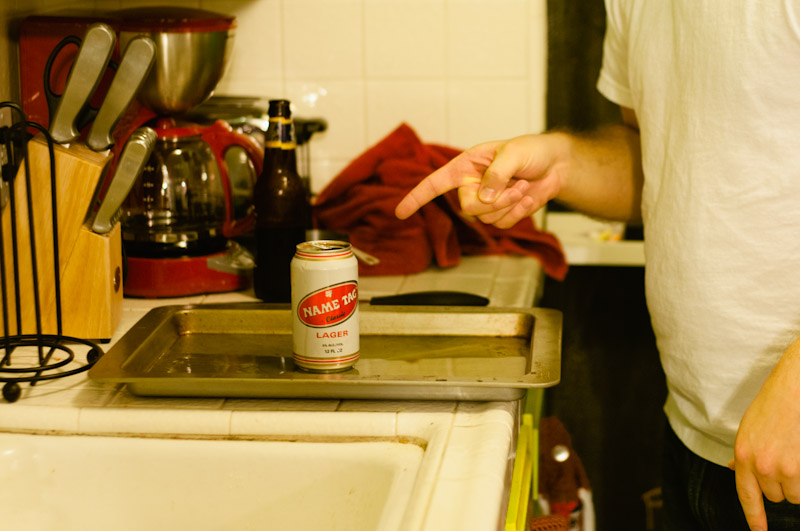
For this particular round I chose to use Samuel Adams Holiday Porter as the beer used in the cooking process. You may be noticing there is a can of Name Tag lager from Trader Joes also included. This beer will not be going anywhere near the chicken. I just need the can. So step one is to completely empty out the beer can. Once complete open up your preferred beer and pour enough beer into can to fill half of it.

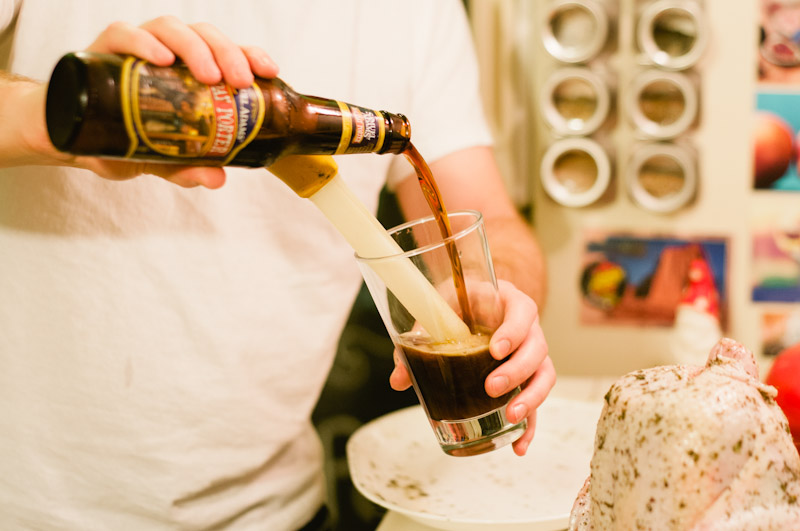
Be sure not to discard the remaining beer of choice. You will need it for later in the cooking process. So go ahead and grab a glass and pour the remainder of your chosen beer into it. You can also get your baster ready, because you guessed it, while the chicken is cooking you will be basting it with your beer.

The next steps are all about prepping the chicken:

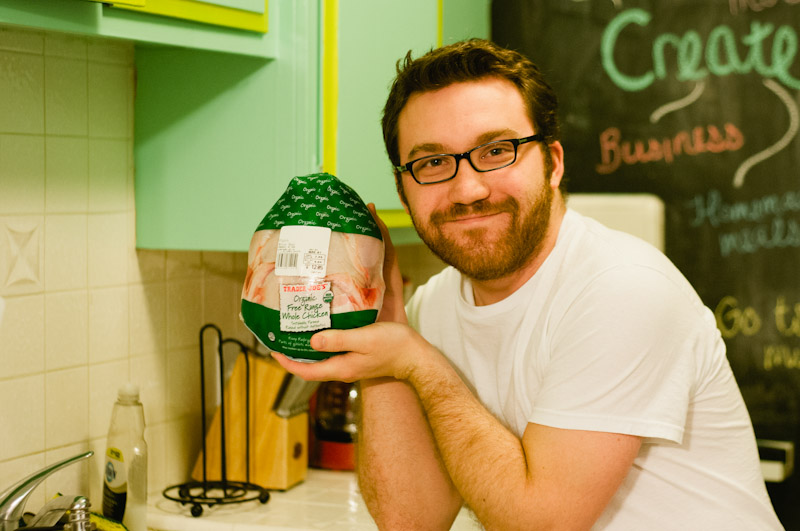
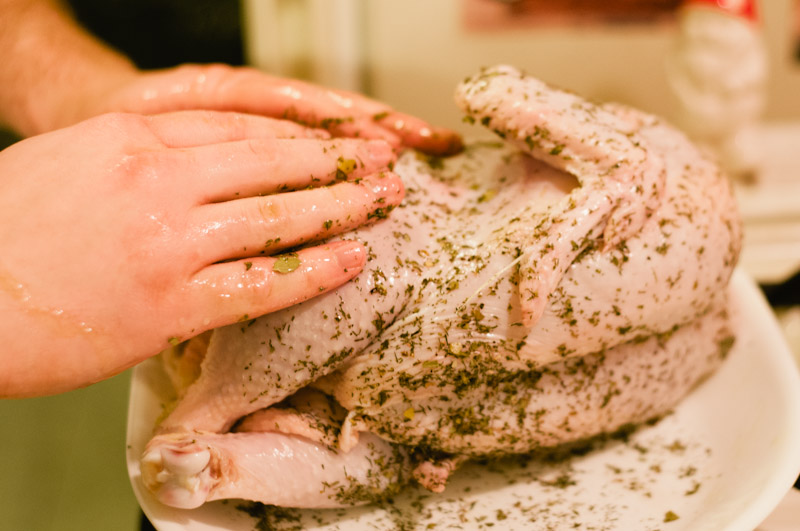
First the chicken needs to be cleaned. So go ahead and pull it out the wrapper and make sure to remove any internal organs in the body cavity.  You won’t want them in when you are trying to get a beer can in there. Then you should go ahead and make sure you give the chicken a good rub down to get any unsavory substances on the skin off.

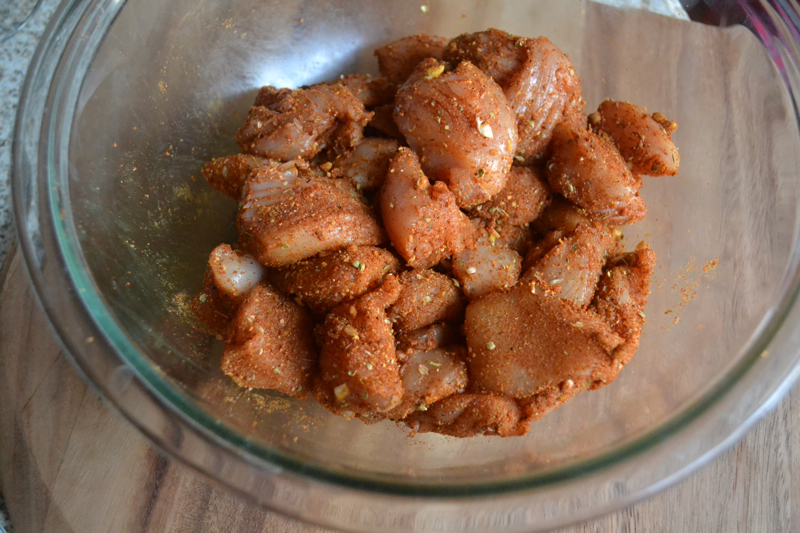
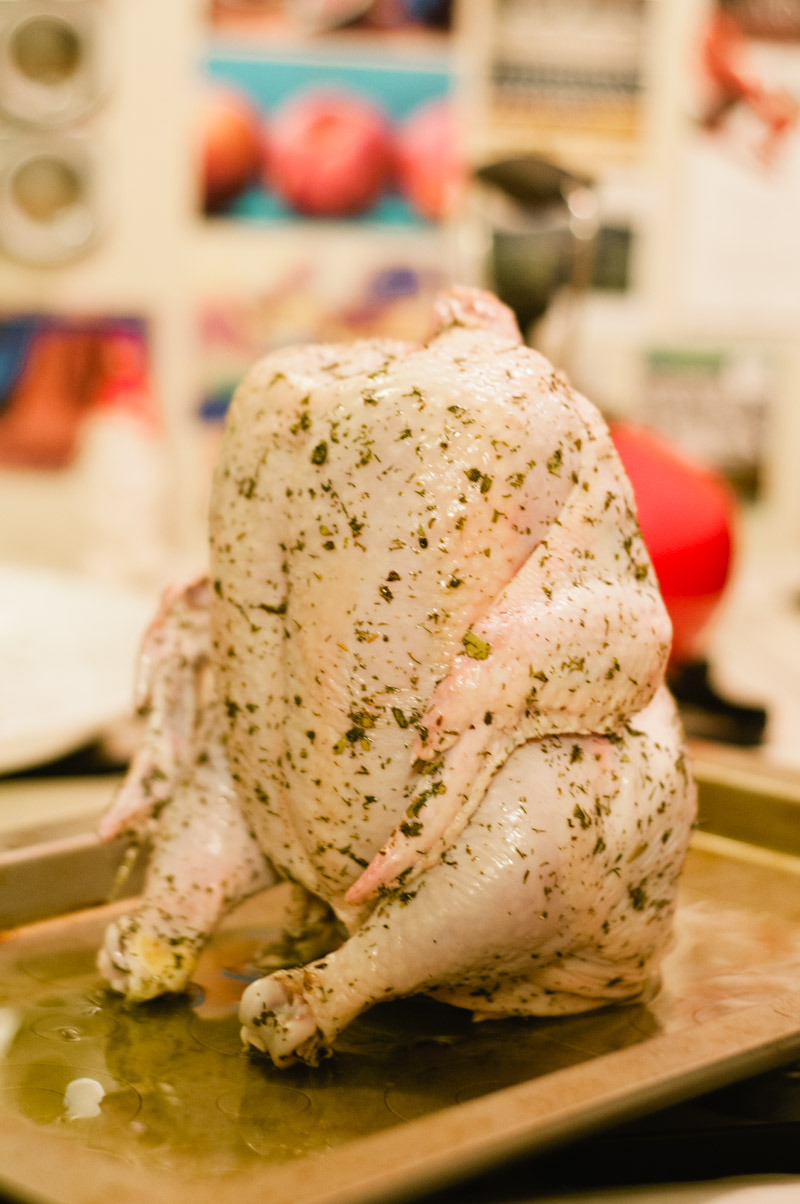
After you are all done cleaning the chicken it is time to get the rub onto the skin. So make sure you get out the olive oil to give your bird a surface for spices to sit on and also to make sure it doesn’t burn up while in the oven. Once you have a good layer of olive oil on the bird go ahead and roll the meat around on the prepped plate of spices.  After you get a first coat on it take a moment to make sure the spices are spread around and evenly distributed.

So now your chicken is prepped and your oven should be ready, so the final preparatory step is to get the chicken on the pan, sitting on the can, and into the oven.

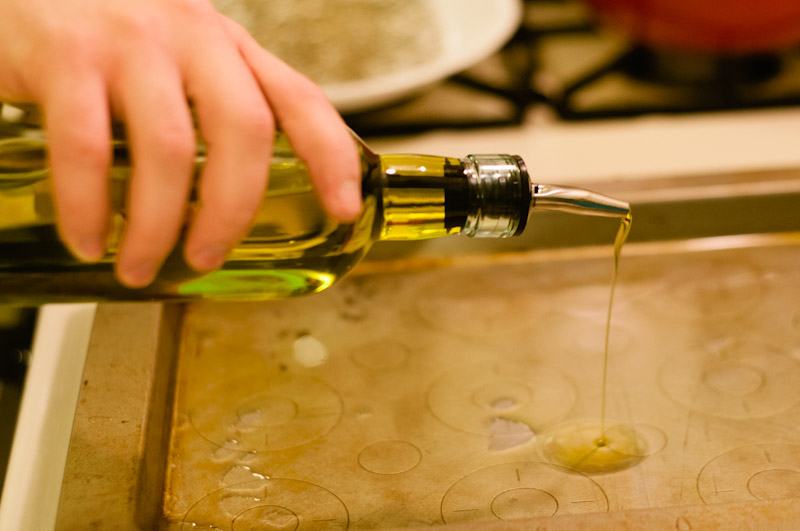
I like to use a baking sheet with a small lip. I find it allows for the bird to cook more evenly during the process. Go ahead and grab the olive oil again and give the pan a good spread.

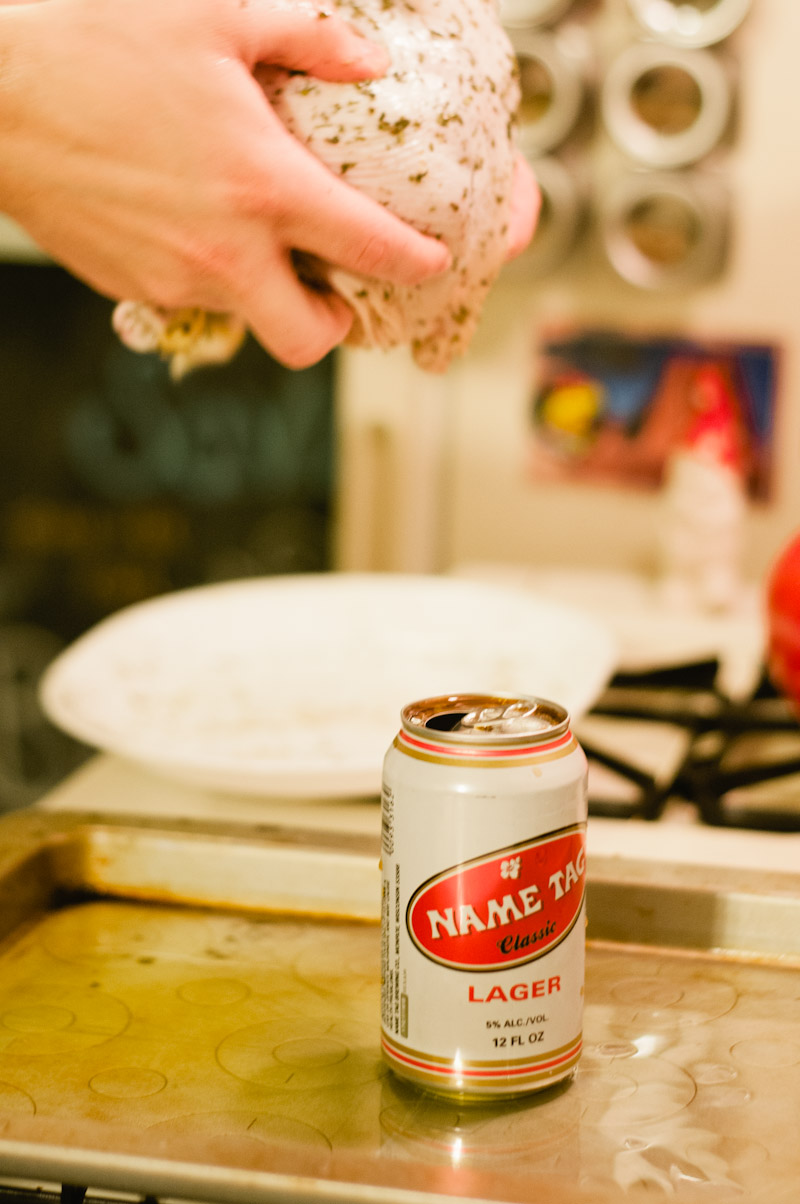
Then you need to get your half filled can of beer and place it on the baking sheet.

Now the big moment, getting the chicken on the can.  Basically go ahead and pick up the chicken placing the lower cavity over the beer can.  Make sure you push the chicken as far down as it will go and make sure it is steady and able to stand without holding it.

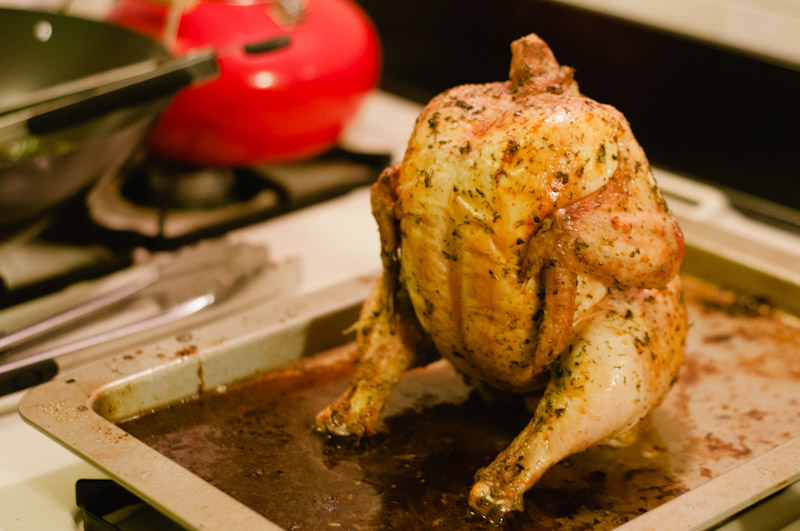
Put the chicken in the oven for roughly an hour and a half. Turning the baking sheet and bast every 15 – 20 minutes.

After 90 minutes go ahead and do the old Chicken test. Take a sharp knife and poke the side of the leg. If clear liquid comes out you are all set.

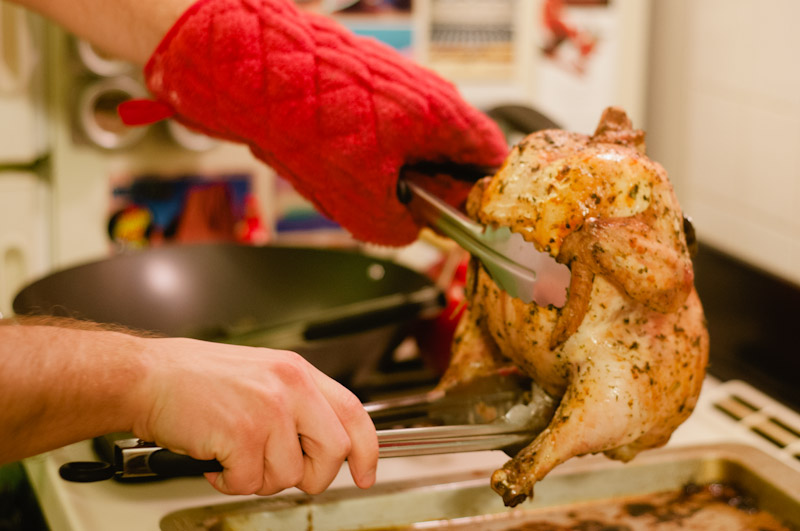
The last step before cutting into this wonderful dish is to take the beer can out of the cavity. VERY IMPORTANT – THERE IS HOT LIQUID IN THE CAN – SO DON’T TIP THE CHICKEN.  Use a pair of tongs to pick up the chicken and a secondary pair to pull out the can.

Now you can cut it up and enjoy what I hope is a dish that you really enjoy!

Good Spirits Folks!


[addtoany]

I searched far and wide for a kabob recipe that sounded more delicious than the one we made for Cucina Fresca last year, but in the end nothing sounded more delicious than our own special blend of spices. So for the month of Cumin (also known as February), I adapted our Indian Spiced Steak Kabob recipe for chicken kabobs.

It was very difficult. Step one. Substitute chicken. Step two. Do everything else exactly the same. Step three. You’re done!

Cumin!

Also: garlic, curry powder, paprika, salt and pepper, ground mustard, oregano, and orange peel. So pretty and colorful.

Cut your chicken into chunks and coat in the spice mixture.

Put the chicken on skewers.

Take a minute to convince your lovely roommate to toss some veggies with cumin and coriander for roasting. Above: sweet potatoes, parsnips, rutabaga, red pepper.

Sear the kabobs for about a minute per side. This will seal in some of the juices so the chicken doesn’t dry out. Then broil for 8 – 10 minutes.

Easy as pie! Easier, actually.

This is what my actual dinner plate looked like. Please note the homemade hummus, and yes, I did put cumin in the hummus too. Duh.


[addtoany]

For January, the month of leeks, we wanted to make at least one traditional leek recipe. The first thing that came to mind was, of course, potato leek soup. But which recipe to make? My mother solved the problem by offering to send me her Memere’s (my Grand-memere’s) potato leek soup recipe. She told me, “I can still remember how she loved it!” I said “Yes please!”

There is something elegant about how simple this recipe is. Its ingredients are leeks, potatoes, split peas, carrots, butter, salt and pepper, and water. That’s all. (Although, I did end up using regular frozen peas because they were already in the house)

Per my Grand-memere’s instructions, I used every part of the leek, even the dark green slightly tougher and more bitter sections. I never met my Grand-memere, but I think we’d have gotten along just fine in the kitchen.

Like most delicious foods, you start with butter. Now might be a good time to point out that I finally bought my own dutch oven. EXCELLENT decision. Let me tell you. Look how happy and red it is!

Add your leeks…

…Cook until soft.

Add potatoes, carrots, and peas.

Add water, salt and pepper, and let it simmer for an hour. The directions didn’t really say how much water to add, so I guessed. Turns out I guessed too little and ended up needing to add a little chicken broth at the very end.

It was tough letting this simmer for a whole hour. It smelled delicious and my roommates kept begging me to let them try some, but I stood firm. The final step was to puree until smooth. My new favorite kitchen tool – my immersion blender – handled the puree business like a champ. Seriously, you need an immersion blender. It’s the best thing you never thought you wouldn’t be able to live without. Get one.

There was one mishap. My new dutch oven apparently heats so evenly, and retains heat SO WELL, that the pureed soup mixture had a tendency to explode when uncovered. That is how I ended up with green soup on the ceiling. See my bewilderment in the photo above.

This was flavorful, filling, and full of (mostly) good for you ingredients. I topped with a little greek yogurt and paprika just for fun.


[addtoany]

Sunday mornings are my favorite for a breakfast that’s out of this world. Saturday mornings are owned by soccer, but on Sundays the pace is slower, and time seems to stretch further. Usually, I end up with an egg sandwich with avocado, before heading to, or when I get back from, the farmer’s market. But every now and then when I don’t make it to the farmer’s market, or when I get ambitious and get up early, I get to make some baked good that can last me the boring week during which I normally have Cheerios and yogurt.

Enter muffins. A few weeks back, I woke up early and decided I wanted muffins. And I happened to have everything I needed for the Barefoot Contessa’s tri-berry muffins. They’re from the “At Home” cookbook, in case you have it at home, and are easy peasy.

First, take three cups of flour, a tablespoon of baking powder, a half teaspoon of baking soda, a half teaspoon of kosher salt, and a tablespoon and a half of cinnamon, and sift ’em all together.

In another bowl, combine a cup and a fourth of milk, a couple of lightly beaten eggs, and two sticks of melted unsalted butter.

Then, add your wet ingredients to your dry. Stir until just combined (see above) but don’t over stir.

Then add your berries. I added frozen berries because I didn’t have fresh ones, but it still worked out, don’t worry.

You’re also going to add your sugar at this point. Which I know, it’s weird. Ina says it was a providential mistake that has since changed the fate of these muffins. Trust her.

I would like at this point to show you a secret weapon I now have in the kitchen. Previously, I had a lot of my stuff in the cabinet, which would always spill out whenever I opened the door…enter Jeff, an old tackle box, and a brilliant idea. Now all of my baking supplies are found in once place: muffin tins, food coloring, candles, maple extract…and so, I had to pull it out to line my tins!

Fill your muffin tins, and pop them into the oven for about 23 minutes.

Beautiful, wonderful muffins. All mine! Well…Jeff could have one, too. I guess.

Just look at this!

All mine…until Jeff wakes up!


[addtoany]

One of my east coast reasonable ladies sent me some GF King Arthur Cookie Mix to celebrate my one year anniversary of moving to LA and I’m sure glad that she did. The cookies were so simple to make (a big plus with me) and they were so good.

The mix is for a simple brown sugar cookie base and they’ve worked out all the proportions for you. The mix is also soy and nut free processed as it was processed in a separate gluten free, allergen free manufacturing facility. Go King Arthur! You are swell.

First you soften some butter and then fold it in to half of the cookie mix.

Then you add the wet ingredients and stir.

Once the first half of the mix is blended, add the second half of the mix and continue to stir.

Add in your extras. I didn’t have chocolate chips on hand, but I did have a plethora of dried cranberries.

Using a tablespoon put the batter on a baking sheet (don’t grease it!) 2 inches apart.

Squish the batter down so it is about ½ inch thick.

Stick in the oven for 10-12 minutes or until golden brown.

Give the cookies at least a full five minutes to cool on the pan. If you try to move them beforehand they are fragile, being GF and all. So let them thoroughly cool before you do anything with them, which is hard, but worth it!

Then share with your friends so you don’t eat an entire plate of cookies!

The cookies were soft and yummy, sweet and sort of salty with a bit of a tang because of the cranberries. The batter was a good consistency, (not to dry not to wet, just the right amount of sticky) without us having to add more water or fiddle with it. This is a huge plus for me because I’m not great at baking problem solving. If you bake them for longer they might get a bit harder and perhaps less crumbly, but that theory has yet to be seen.

In any case, King Arthur GF cookie mix certainly has my seal of approval. I can’t wait to try all their other GF mixes! And thanks to my reasonable lady for an excellent and scrumptious gift! I would ship some across country if I thought they’d survive the cross country trip!


[addtoany]