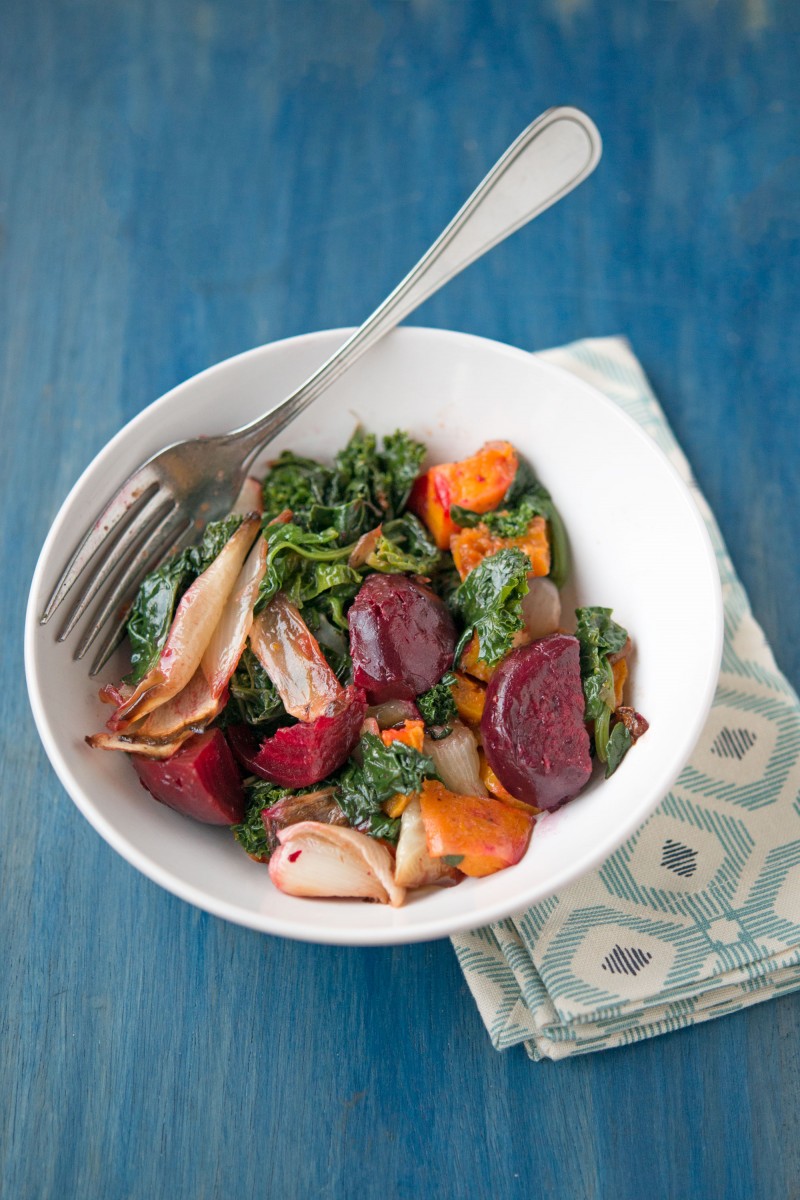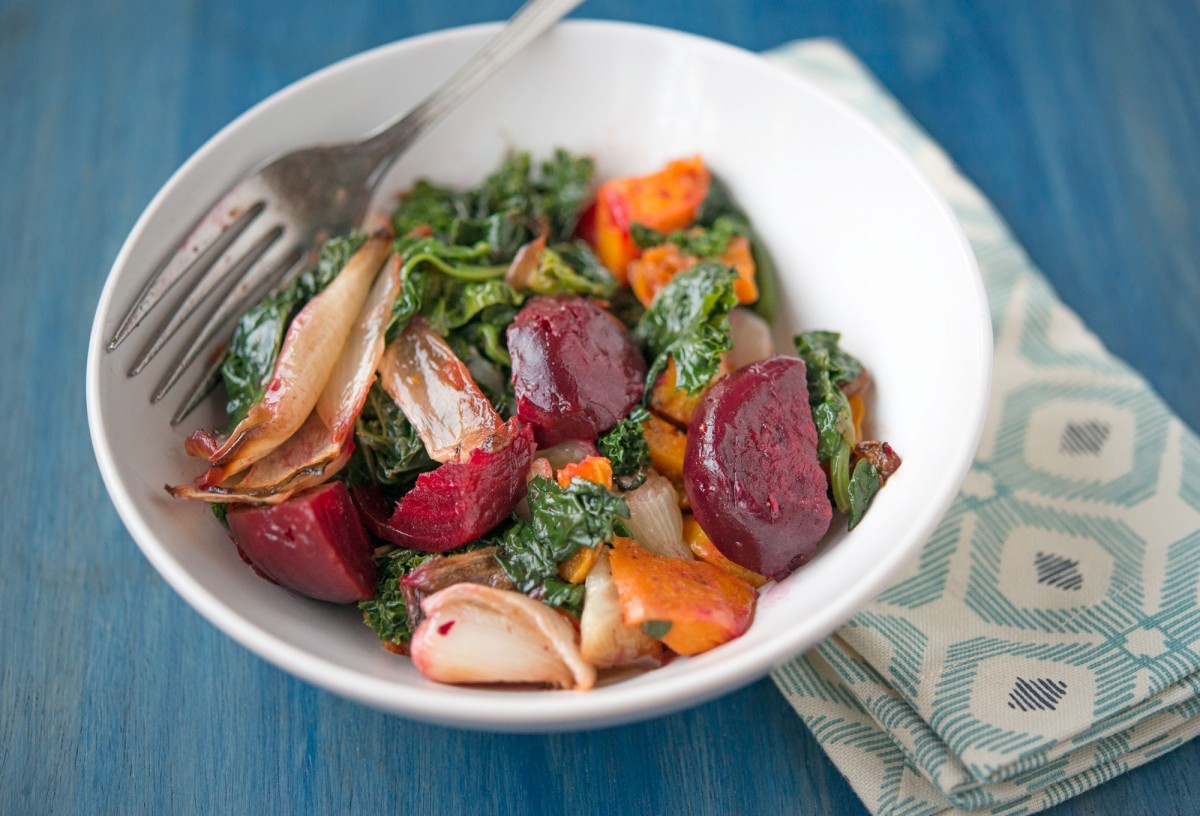
Roasted Winter Veggies | Garlic, My SoulIt’s the start of 2014 and I, like many others, have tried to recommit myself to healthier habits for the new year.  One of these healthier habits is that I am trying to incorporate is to be mindful of what I am consuming.  I recently read Michael Pollan’s Food Rules and the main idea throughout the book is, “Eat food.  Not too much.  Mostly plants.”  In pursuit of this last bit, I threw together some roasted winter vegetables that I could eat throughout my busy work week to be sure that I was eating real nourishing food.

First, I cut up a butternut squash, by cutting at the neck, then peeling the bulb and neck.  After I scooped out the seeds from the halved bulb I cubed the squash.  I cut a golden onion into wedges and tossed both the squash and onion with olive oil, salt, and pepper.

Then I prepped the beets for baking in order to easily remove their skin.  I cut off the greens and wrapped them in tin foil.  Then I baked everything for 35 minutes at 400 degrees.

While everything else was in the oven I wilted some kale and arugula in a wok on the stove.

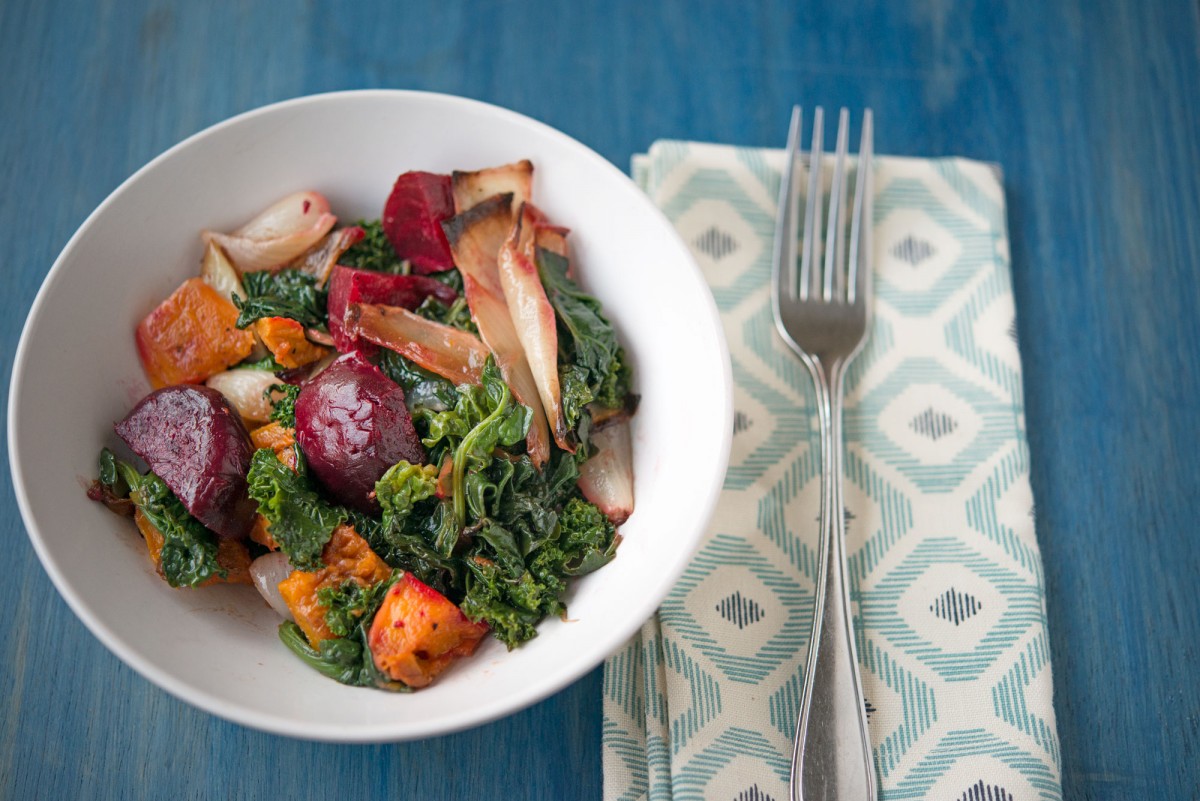
When you take the cooked beets out of the oven you can remove the skin by simply pressing it off.  I used a paper towel to buffer the heat and to pull off the skin for easy clean up.  I then cubed the beets and put them in a large bowl with the squash, onions, kale, and arugula.

Roasted Winter Veggies | Garlic, My Soul

I ate the roasted winter veggies throughout the week with a variety of toppings including cajun seasoning.  Overall, these roasted veggies are versatile and can be eaten both heated as well as cold.

Roasted Winter Veggies | Garlic, My Soul

What is your favorite winter vegetable combination?


[addtoany]

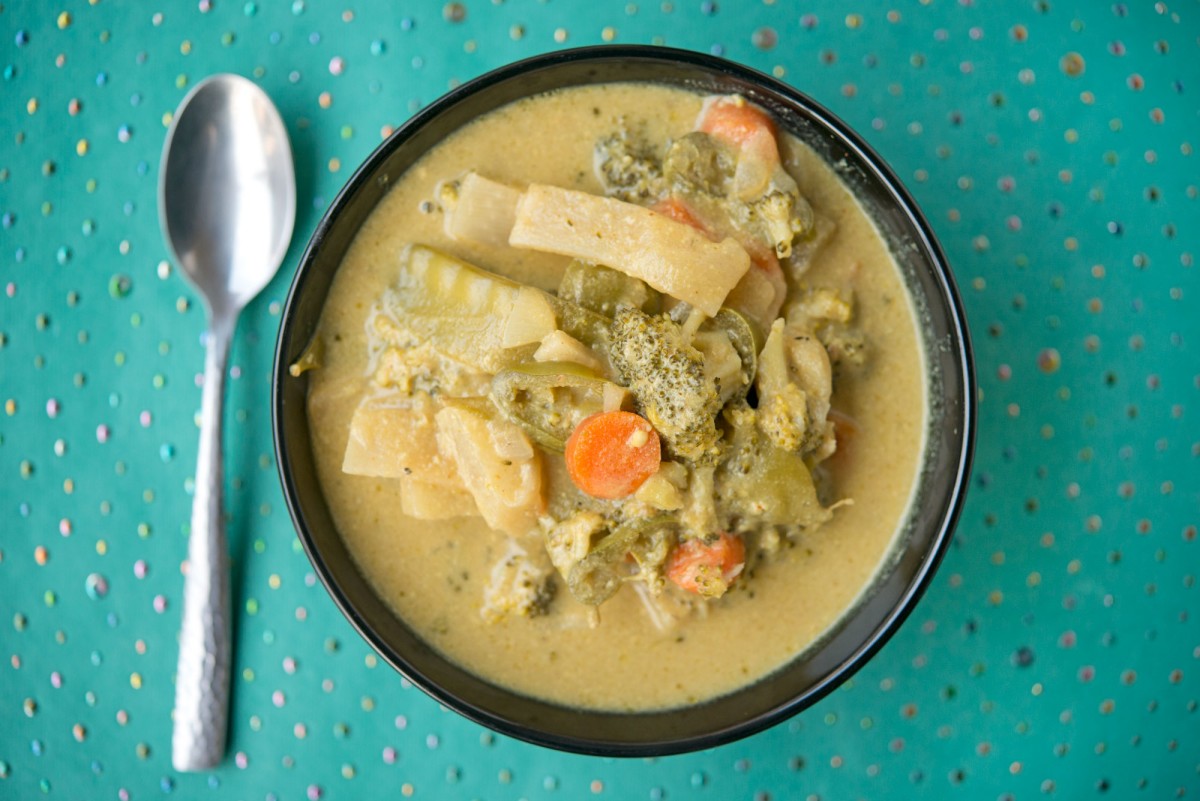
Paleo Curry | Garlic, My Soul

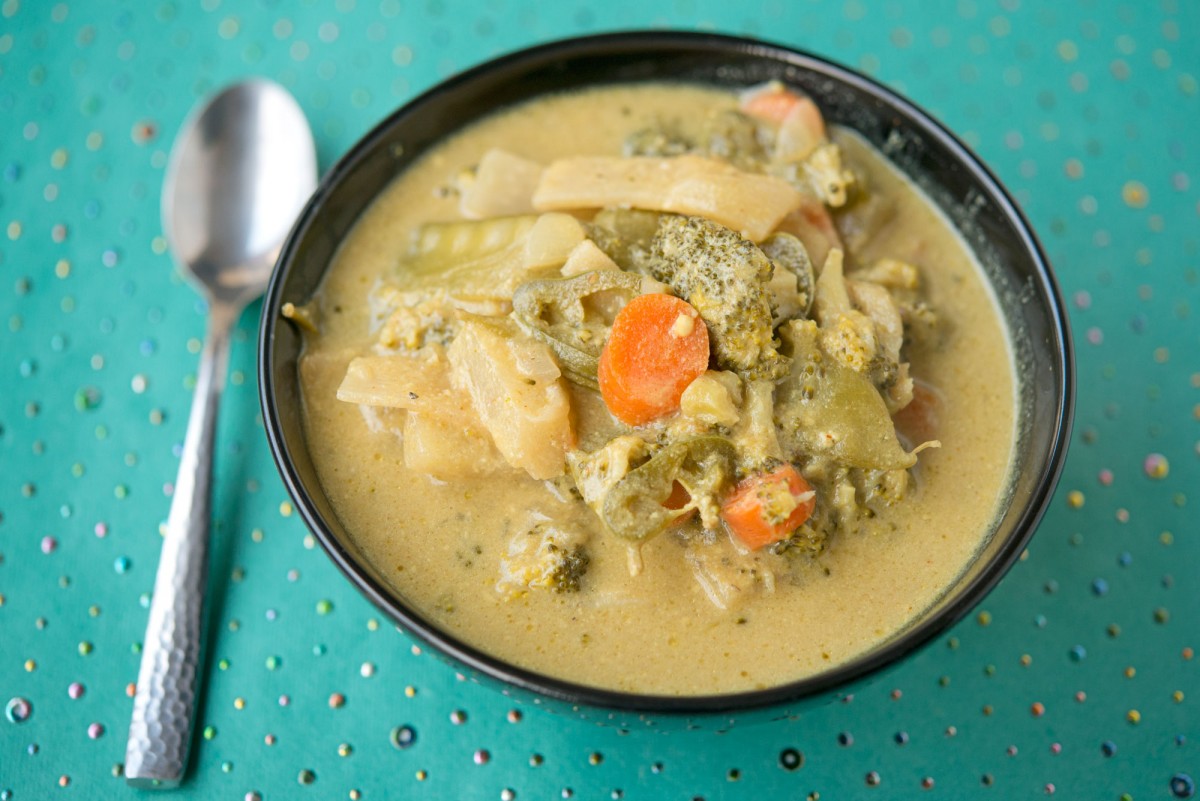
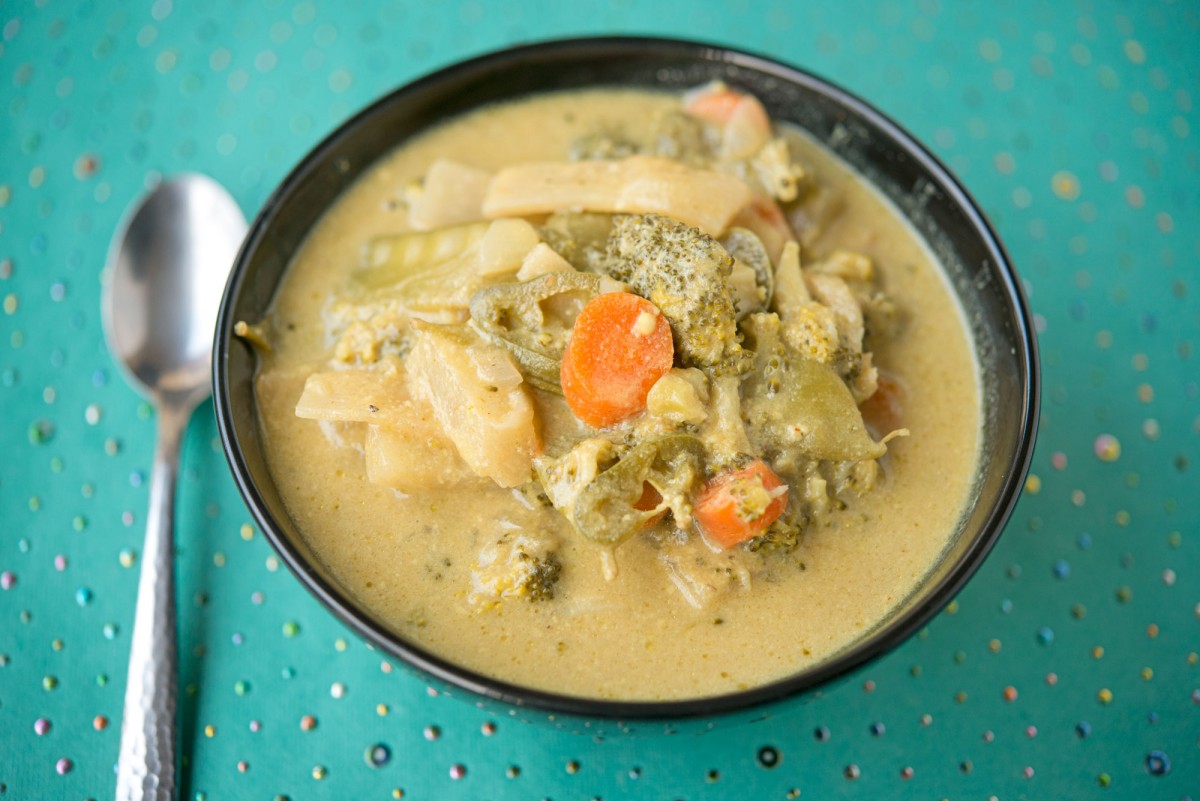
After craving a warm, nutritious meal on short notice, Aaron and I decided to buy a myriad of ingredients and try our hand at homemade curry. We enjoyed our recipe so much we’ve made it multiple times now. This recipe is great for leftovers and makes about 6-8 servings.

Through this process, we also discovered our love for jicama. It tastes a bit like a crunchy pear and once cooked, has a great taste and consistency for curry (sort of like a water chestnut).

Paleo Curry | Garlic, My Soul

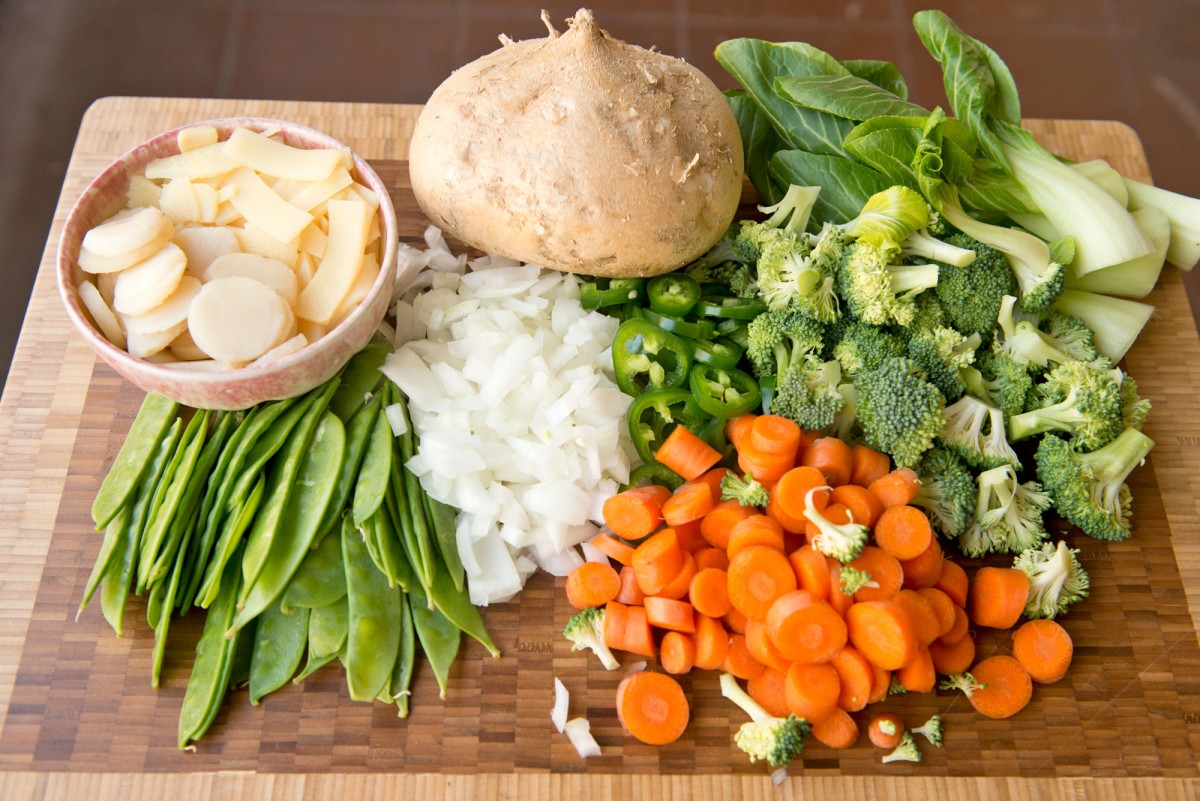
Ingredients

2 cans coconut milk
2 cans water
1/2 jicama, sliced or cubed
3 cups snow peas
4-5 medium-sized carrots, chopped
2 heads broccoli, chopped
2 jalapeños, sliced (seeds mostly removed)
2-3 stalks baby bok choy
1 can bamboo shoots
1 can water chestnuts
Olive oil to coat wok

Seasoning

1-2 jars of green curry paste (there’s about 3-4 tablespoons per jar)
1-2 tablespoon paprika
1-2 tablespoon curry powder
1-2 tablespoon garlic powder
Cayenne pepper to taste
Salt (sea salt recommended) and pepper to taste

Paleo Curry | Garlic, My SoulDirections

1. Chop/prep all vegetables.
2. Coat wok with olive oil.
3. Add vegetables, coconut milk, water and half of your spices and curry paste.
4. Stir, cover and simmer for 10 minutes on high heat.
5. Taste testing time! Add more spice and curry paste based on your preference for heat and robust flavor.
6. Cover and simmer on high heat for 30 minutes.

And that’s it! You can pour your curry over cauliflower rice or simply enjoy as is.

*You can also add any meat to this recipe. We once tried adding grilled steak strips. Aaron lightly grilled the steak and then we tossed it in after the first ten minutes to continue cooking.

Paleo Curry | Garlic, My Soul


[addtoany]

This is the first post for Eva Gross. Eva comes to GMS after years of being Corelyn and Jennie’s partner-in-crime for most things cooking and baking, as she has worked in a kitchen and usually is interested in long conversations about flour or meat. We hope you enjoy her monthly gluten free contributions as much as we do already!

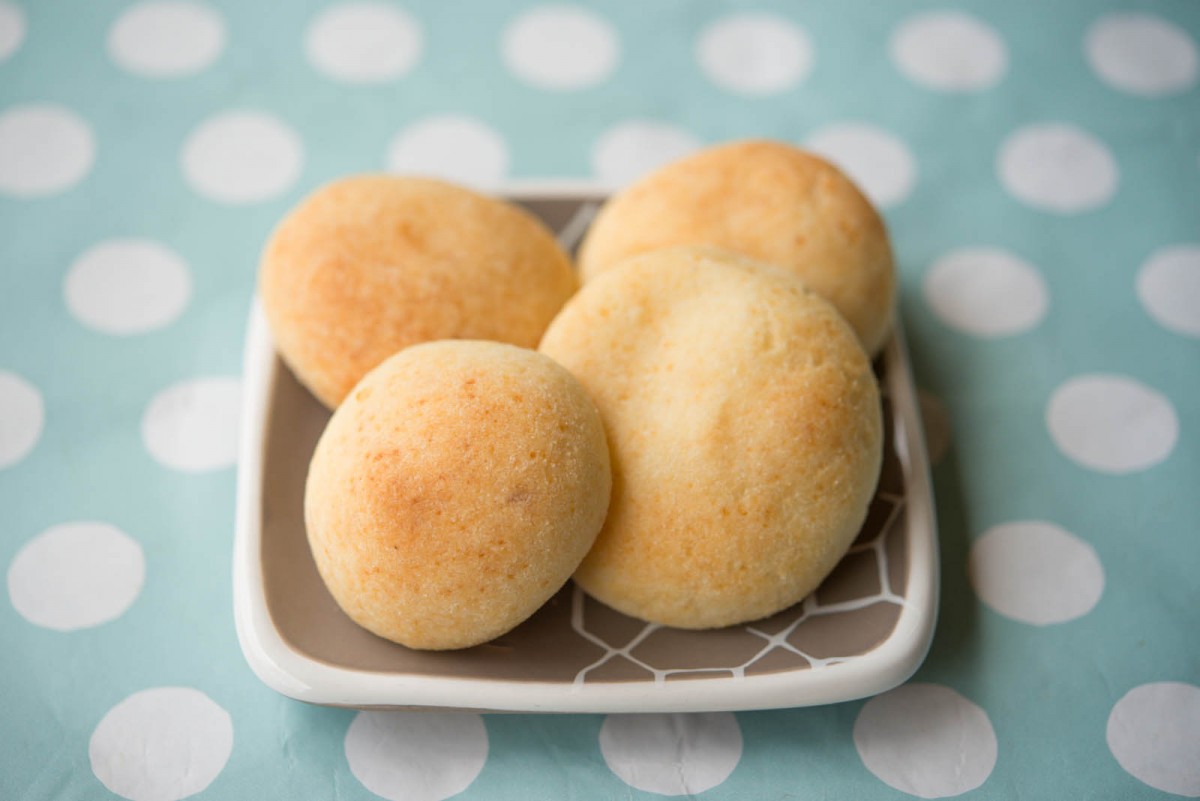
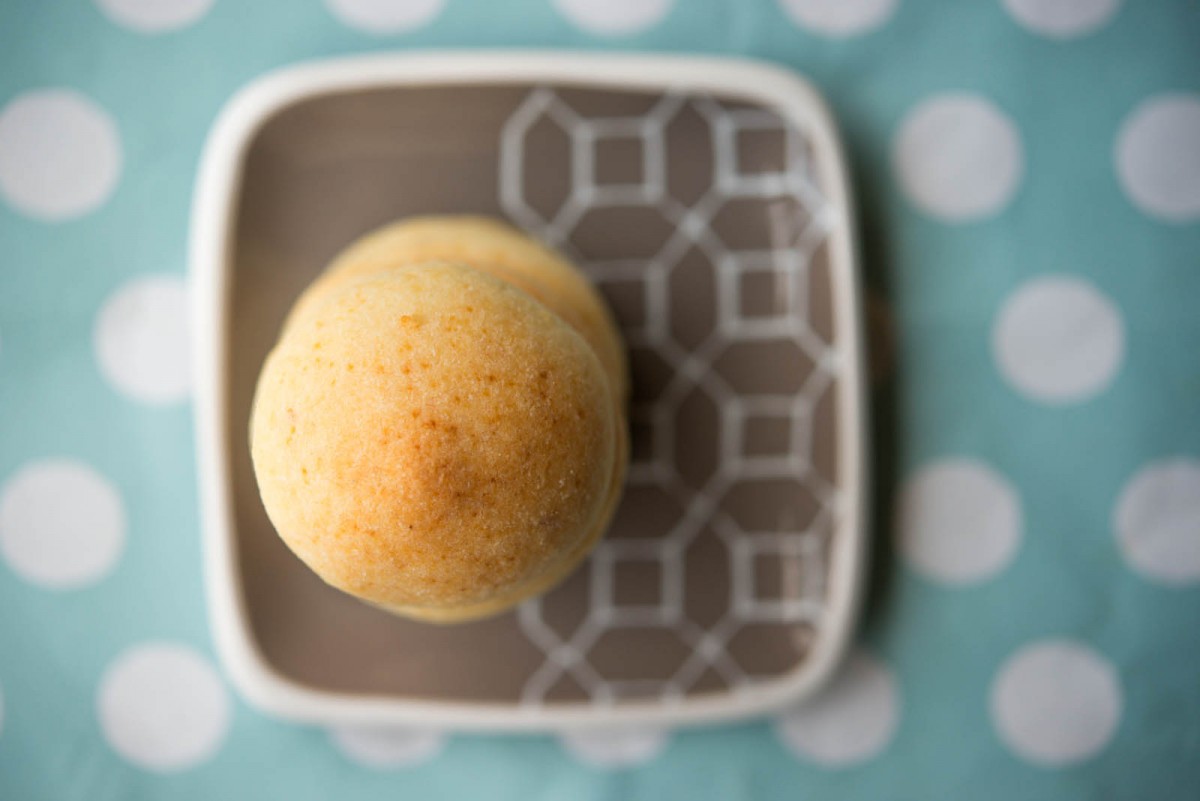
Pandebonos | Garlic, My Soul

I first fell in love with Colombian Pandebonos at GMS Thanksgiving 2013.

I walked in the door and Ana said, hello-there-are-gluten-free-rolls, all in one word, dispensing with the important information before the pleasantries. Or maybe that’s just how I remember it. Living gluten free, I have been known to elaborate my introductions to life-altering GF discoveries. And these Colombian cheese buns were just that – beautiful, light and chewy. I truly don’t remember how many I ate.

So instead of simply asking for the recipe, I made her teach me our to make them in person. We had a fantastic day of international cooking, complete with a trip to the Hispanic supermarket. And when the rolls were done, even Ana’s cat Phoebe happily indulged in these GF Columbian treats.

(Ana used this recipe as a reference and deftly translated and elaborated for our eating pleasure.)

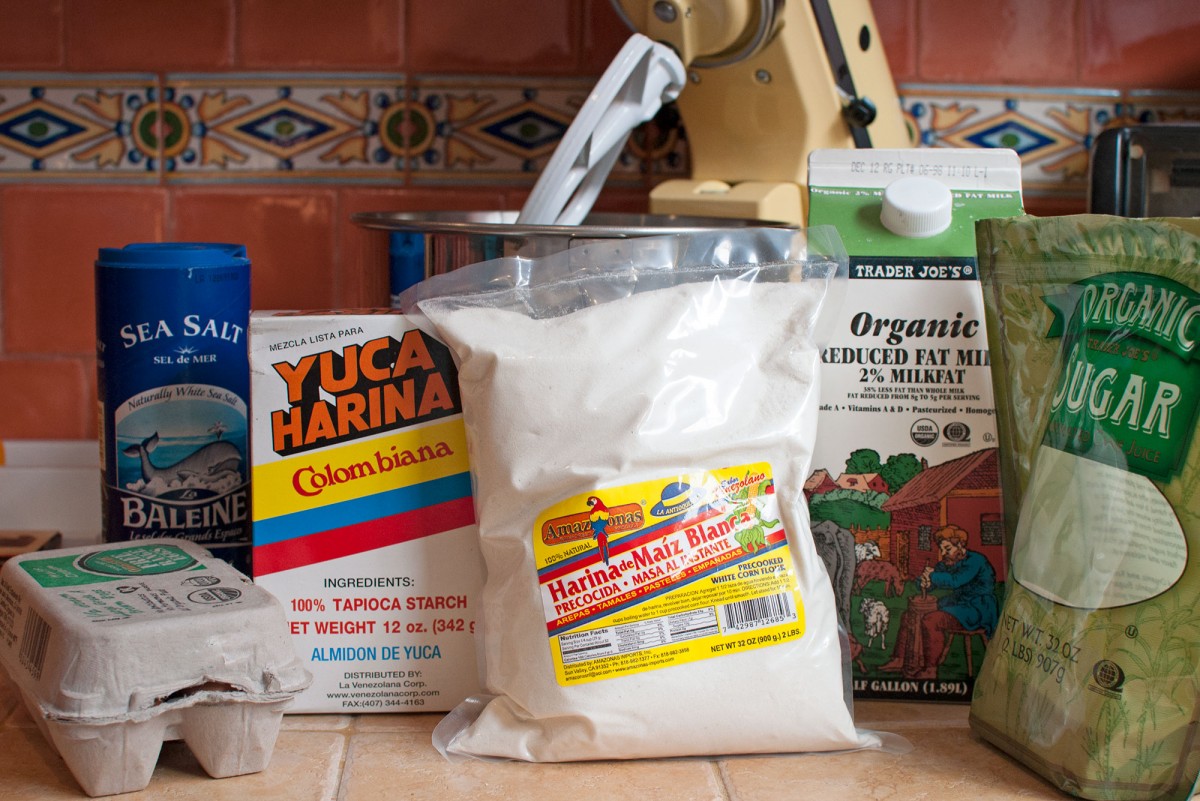
120813_018

Ingredients:

1 heaping cup yucca flour (which you can find as tapioca flour/starch in most grocery stores or yucca flour in Hispanic supermarkets)
1 heaping cup pre-cooked white corn flour (harina de maíz blanco precocido)
1 big spoon sugar (Colombians measure in big spoons and small spoons)
1 big spoon salt
1 egg
2 cups queso fresco (Ana asked for the freshest)
Heaping ½ cup melted butter
2 cups milk

Pandebonos | Garlic, My Soul

Directions:

Pretty simple as far as breads go.

1. Preheat the oven to 450 degrees.
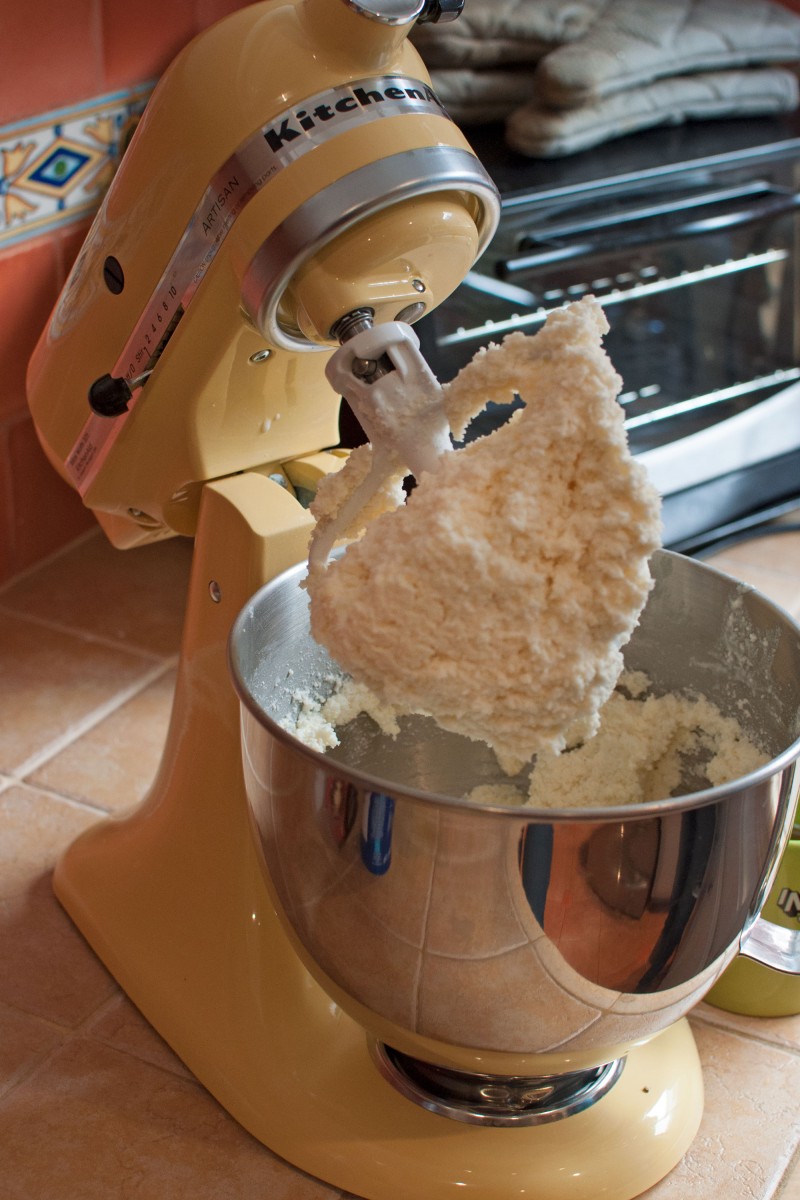
2. Mix the flours, sugar and salt together. A mixer with a dough hook is best but you can do it by hand if you fancy a small workout.
3. Add the egg.
4. In a separate bowl, pull the queso fresco apart until it is a fine consistency. Ana suggests a blender but you can also use two forks and a little extra time.
5. Mix in the queso.
6. Incorporate the melted butter (not too hot, so as not to cook the egg). Then, gradually add the milk while mixing, until a spongey dough is formed.

Pandebonos | Garlic, My Soul

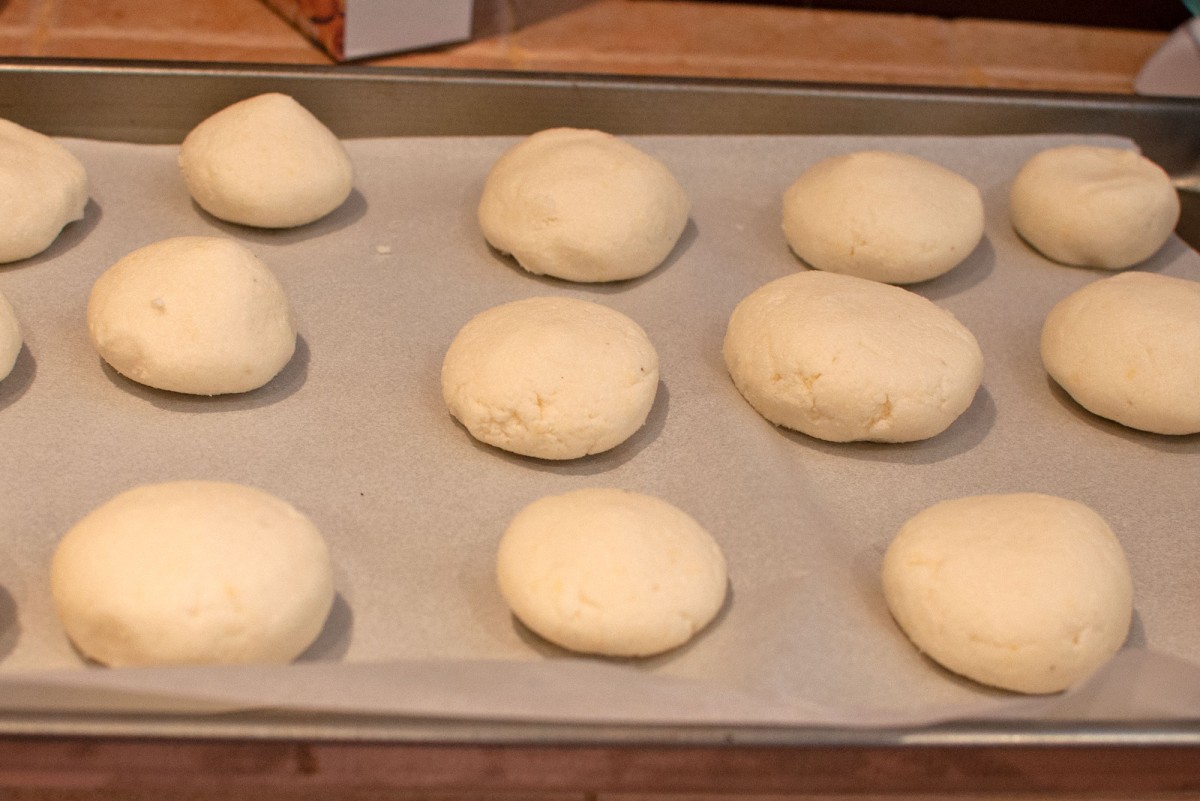
7. Roll into your desired size and shape (they won’t rise much). We rolled heaping spoonfuls into bun shapes but traditionally the middle is punched out like a doughnut. A cheesy, gluten-free, Colombian doughnut of the Gods, that is.
8. Bake for 20-25 minutes or until the tops are golden yellow, orange and brown and smell of pure divinity.
9. Enjoy with friends of any nationality. They are particularly appreciated by your gluten free buddies.

120813_026 Pandebonos | Garlic, My Soul


[addtoany]

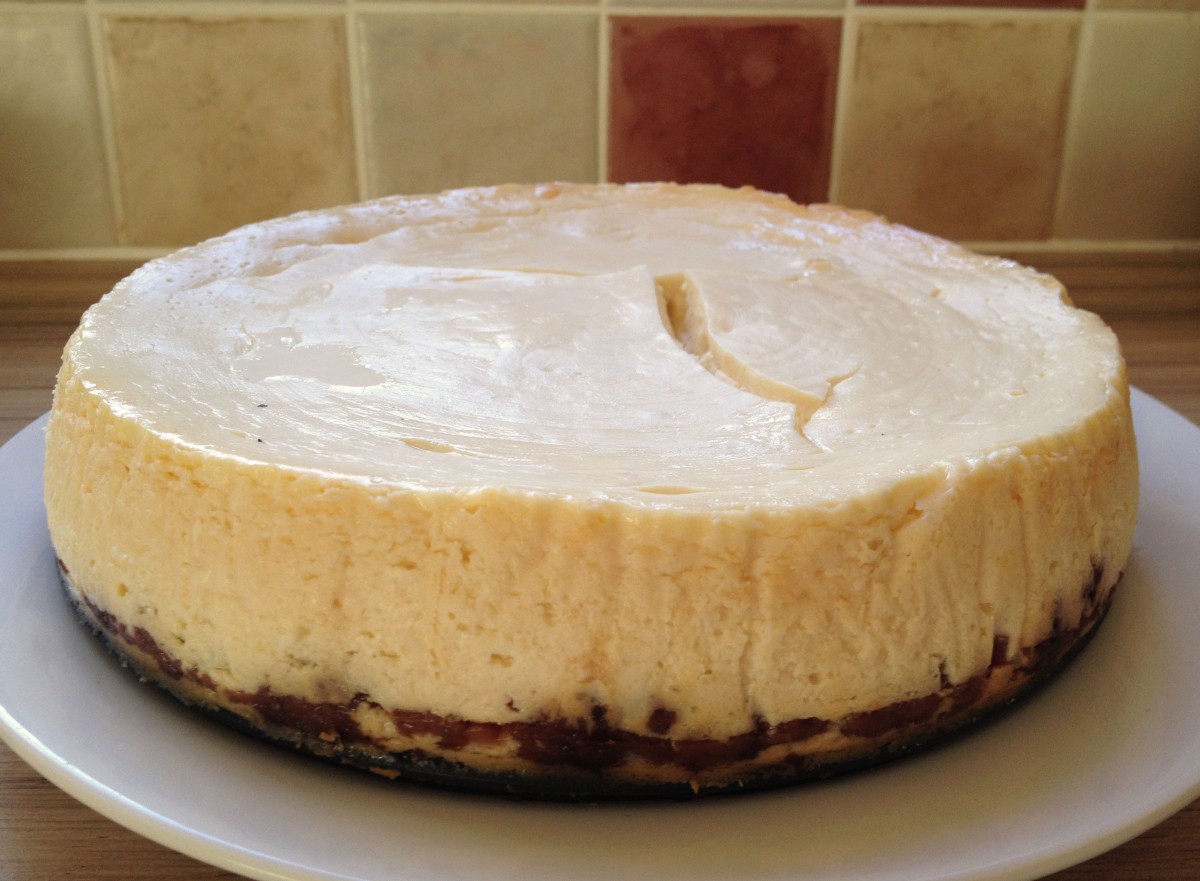
I have a confession to make. I’ve been baking for almost as long as I can remember, but I’ve never made a cheesecake. I LOVE cheesecake. It’s cheesy, it can be lemon flavored, chocolate flavored, Oreo flavored, anything your heart desires. In my case it was lime flavored. What is not to love? The reason I’ve never made a cheesecake is I’ve always had Mary, the cheesecake specialist, to make cheesecake for me. So this time, when the craving struck, I had to turn to Nigella. The woman may be crazy, but she knows her way around baked goods!

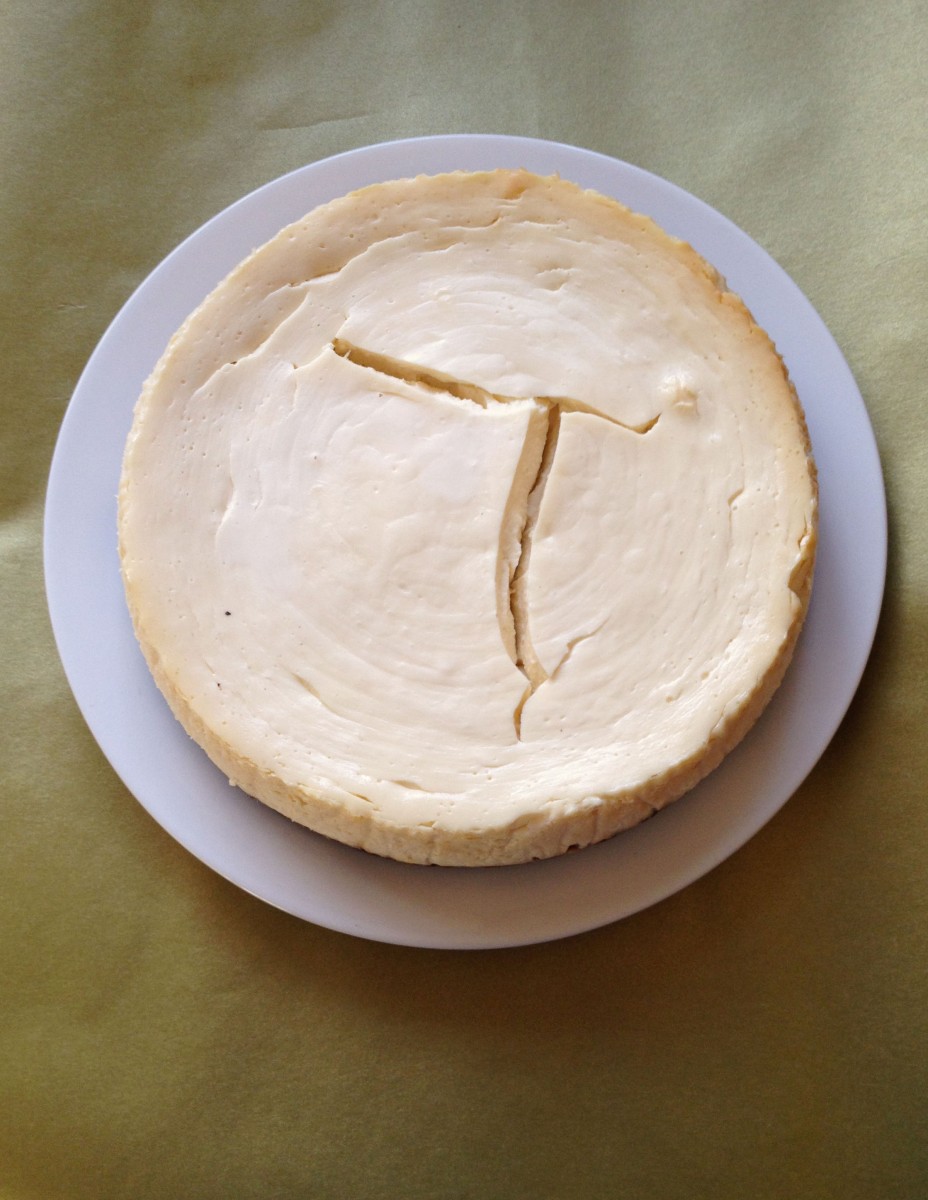
Now, if I have learned anything from Mary’s cheesecake making it is to take every precaution to avoid cracks. Mary and Nigella may have perfected this, but you will have to excuse the massive crack in my cheesecake as I’m a novice!

cheesecakefromaboveOven temperature: 325 F
Prep time: 15 – 20 minutes
Cook time: 1 hour and 30 minutes

1 package of double chocolate chip cookies
5 tablespoons unsalted butter
3 cups light cream cheese
1 cup sugar
4 eggs
2 egg yolks
Juice of 4 limes

Directions

1. Butter an 8 inch springform pan, then cut strips of parchment paper to fit around the sides. Butter the parchment paper as well.

2. If you have a food processor, process the cookies until they are crumbly. If not, repeatedly hitting them with the bottom of a spoon works too! Just don’t be in a hurry, it may take awhile that way…

3. Add the butter to the cookie crumbs and mix until combined. Press into the bottom of the springform pan and refrigerate for 10 minutes.

4. Mix together the cream cheese and sugar, then add the eggs and egg yolks. Finally, add the lime juice and stir until everything is combined.

5. Pour the cream cheese mixture into the springform pan and place on the rack in the middle of the oven. I put a cookie sheet with some water right below to try to keep the cheesecake from cracking, but it didn’t help me much this time around!

6. Keep an eye on your cheesecake, checking every 30 minutes or so. Mine was in for about an hour and half when all was said and done. The cheesecake should be slightly giggly, but not completely set.

7. Allow the cheesecake to cool completely and refrigerate until you are ready to serve.

cheesecake sideWhat flavor crust and cheesecake combinations would you use?


[addtoany]

Hi guys!

Today, we have a special treat for you – a DIY to make burner covers to make your tiny kitchen more functional – talk about double the counter space!

Burner Covers | Garlic, My SoulFor the full tutorial, head over to the Kitchn. There are step-by-step instructions on exactly how to make one for your kitchen – get started today!

Let us know – do you have other ideas for making your tiny kitchen more functional?


[addtoany]