A few months ago, The Pioneer Woman, a true inspiration for myself and the other bloggers here at Garlic, My Soul, posted a stocking up grocery list. I was very intrigued. I don’t have a whole ranch to feed so I didn’t need most of the items, however, I did end up buying some surprising things off of her list. Arborio rice, otherwise known as risotto rice, was one of these items. I had been told risotto requires lots of patience, which luckily I have when it comes to cooking. I may hate sifting (it is just so dumb) and yoking eggs (so annoying), but when it comes to stirring diligently, I have no problem being patient!

Prep time: 10 minutes
Cook time: 35 minutes
Servings: 3-4

This recipe was modified from the recipe on the back of the Arborio rice.
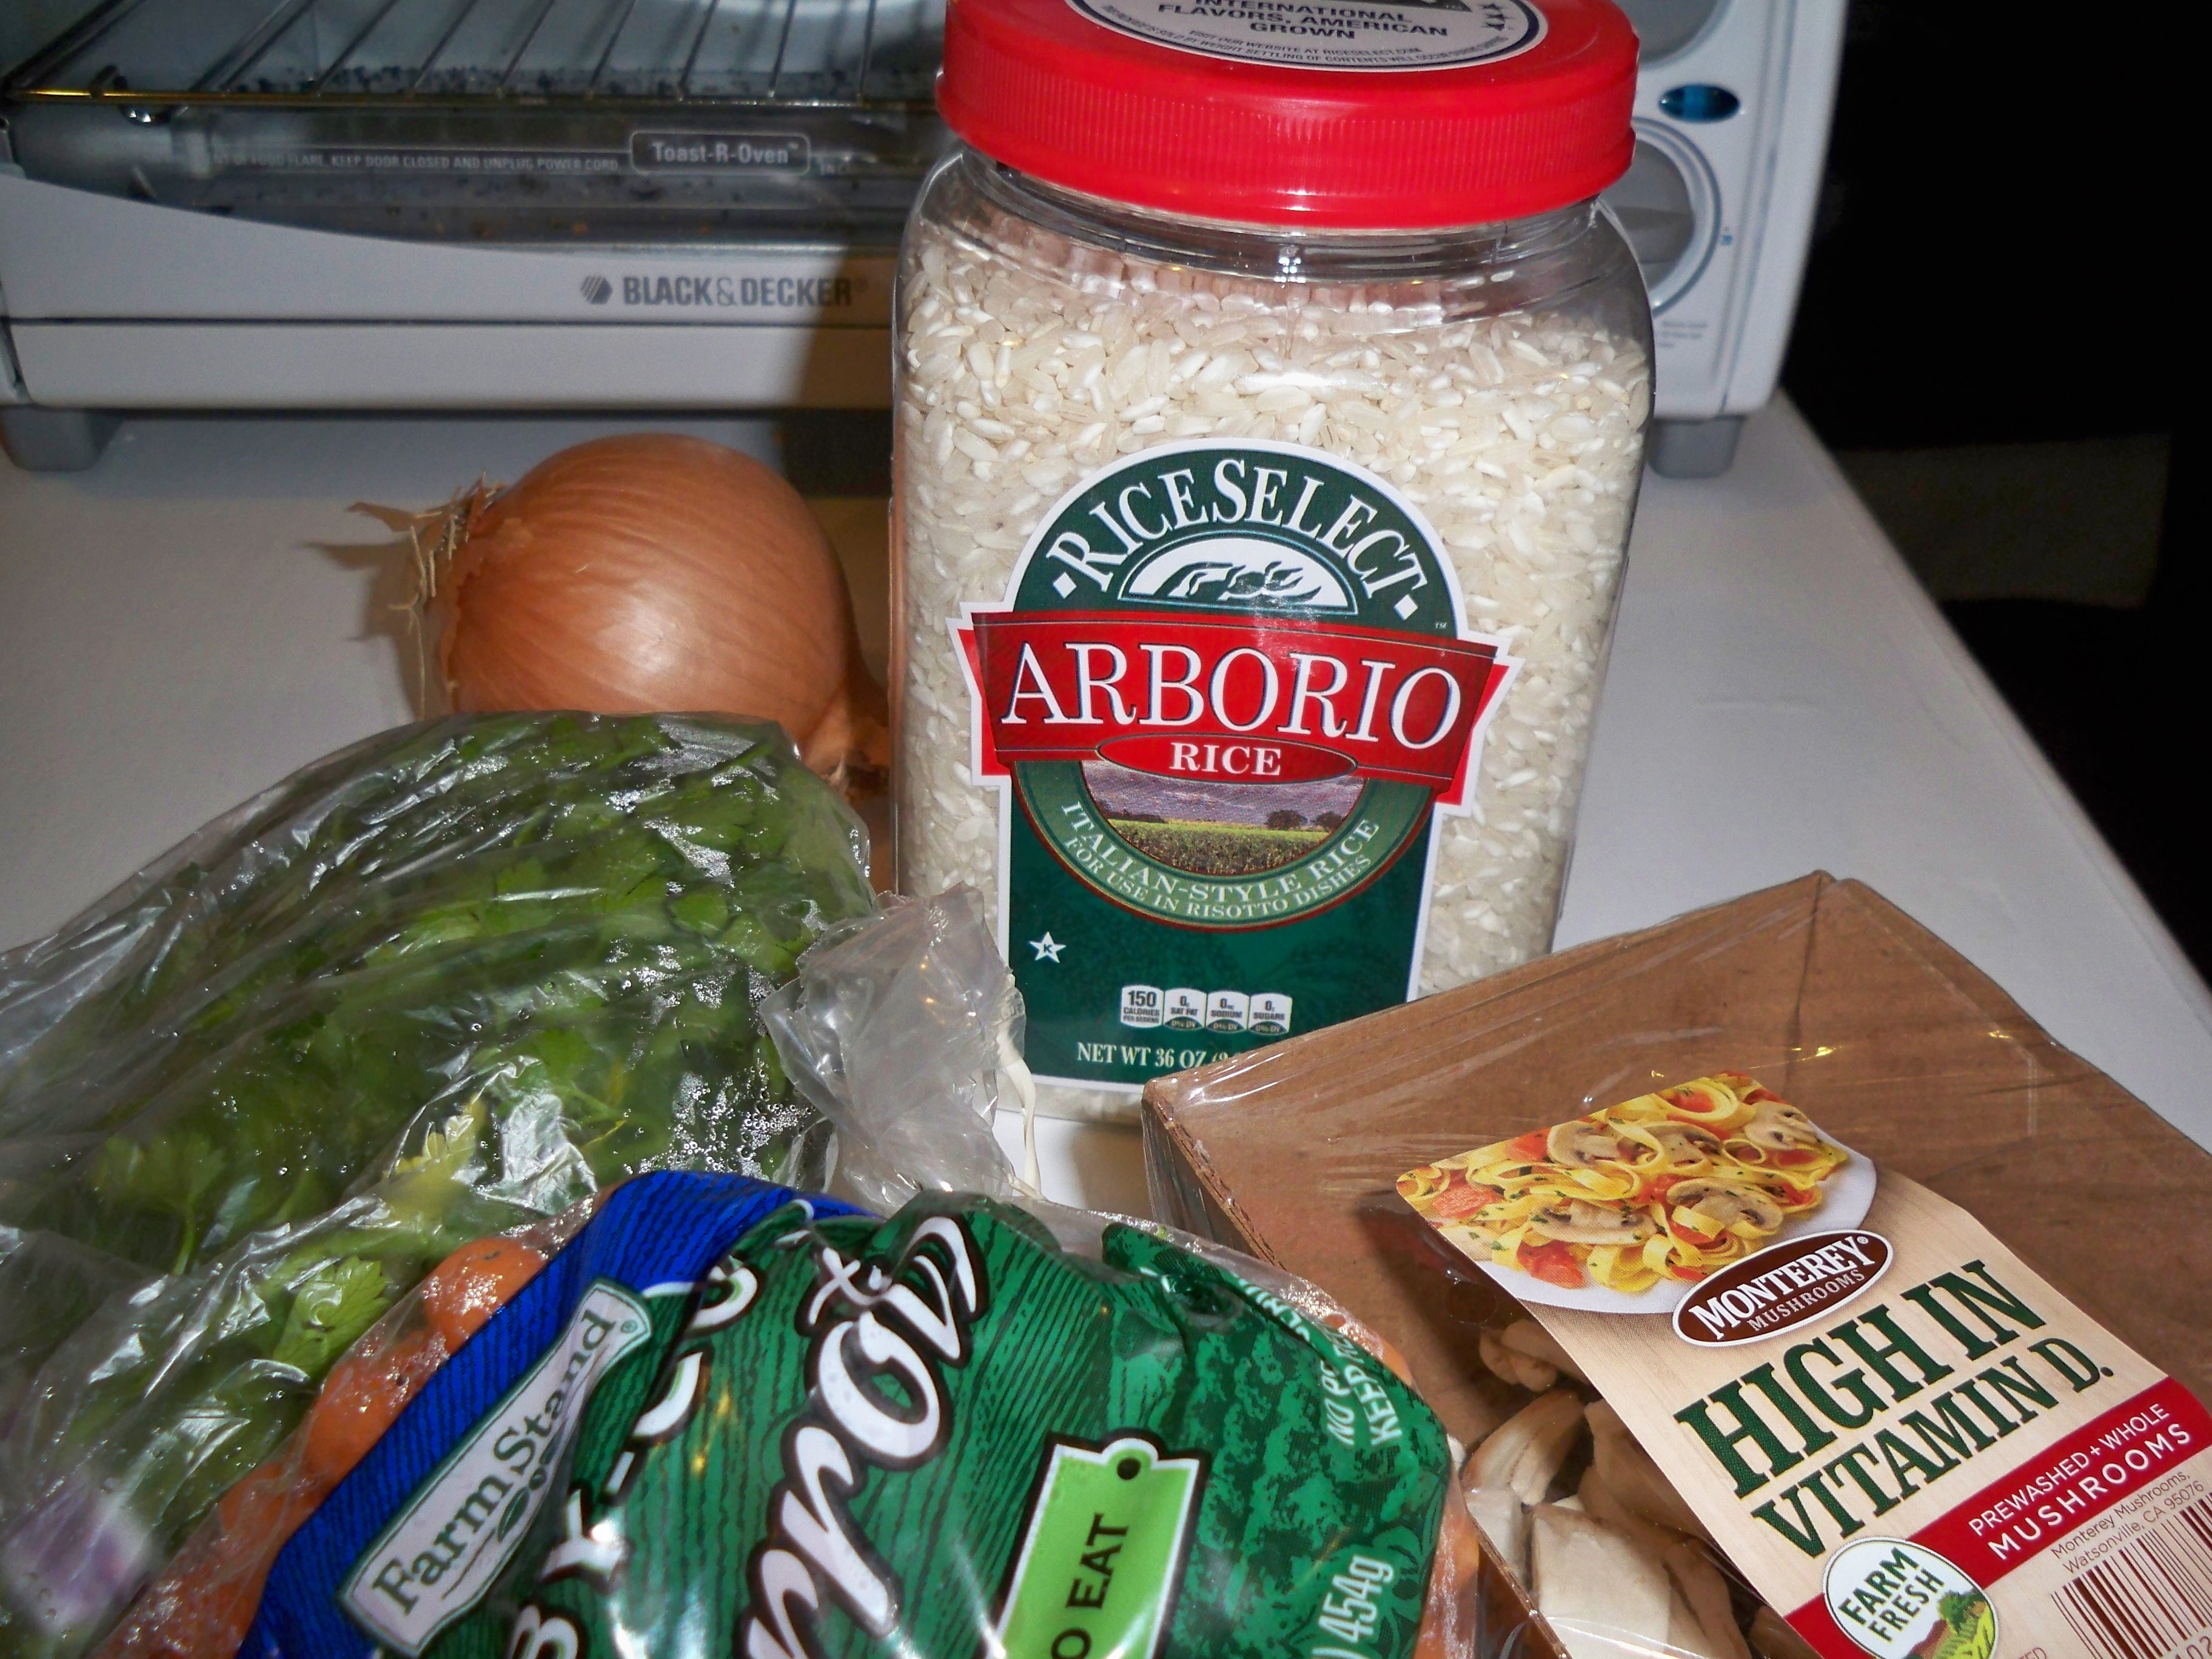
Ingredients:
1 cup uncooked Arborio rice
2 tablespoons olive oil
2 tablespoons butter
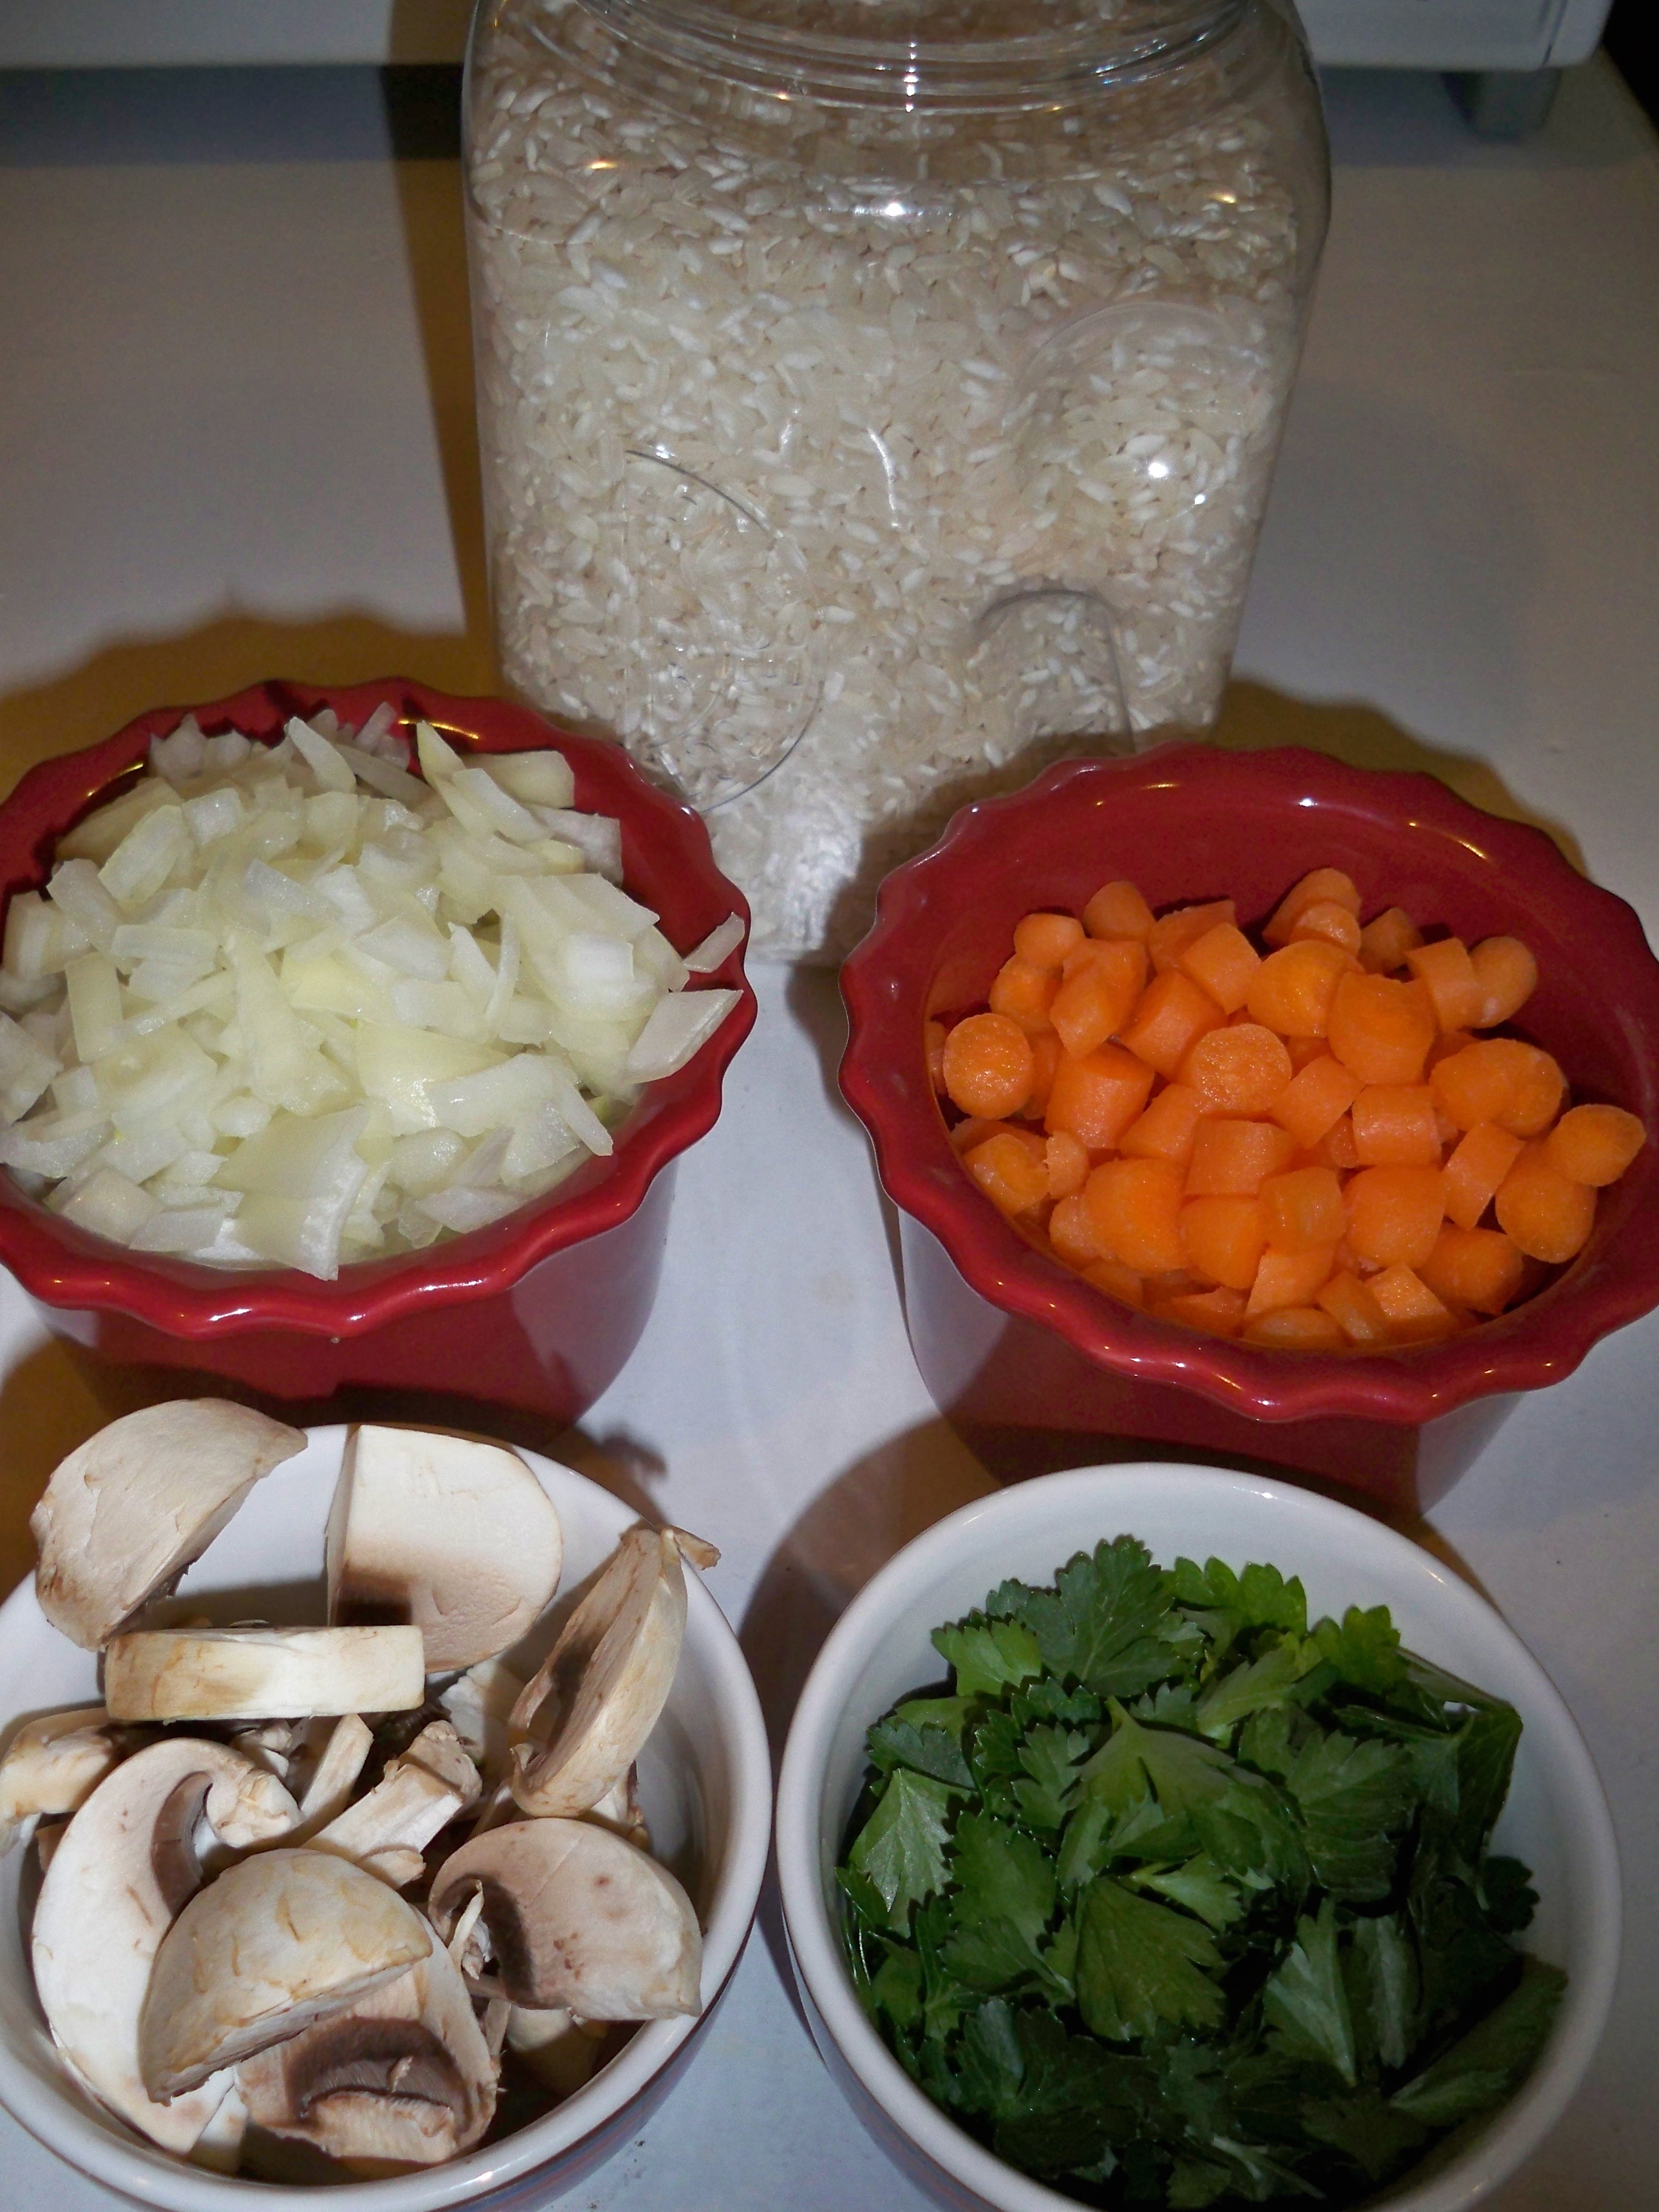
½ cup chopped onion
½ cup chopped carrot
¼ cup chopped parsley
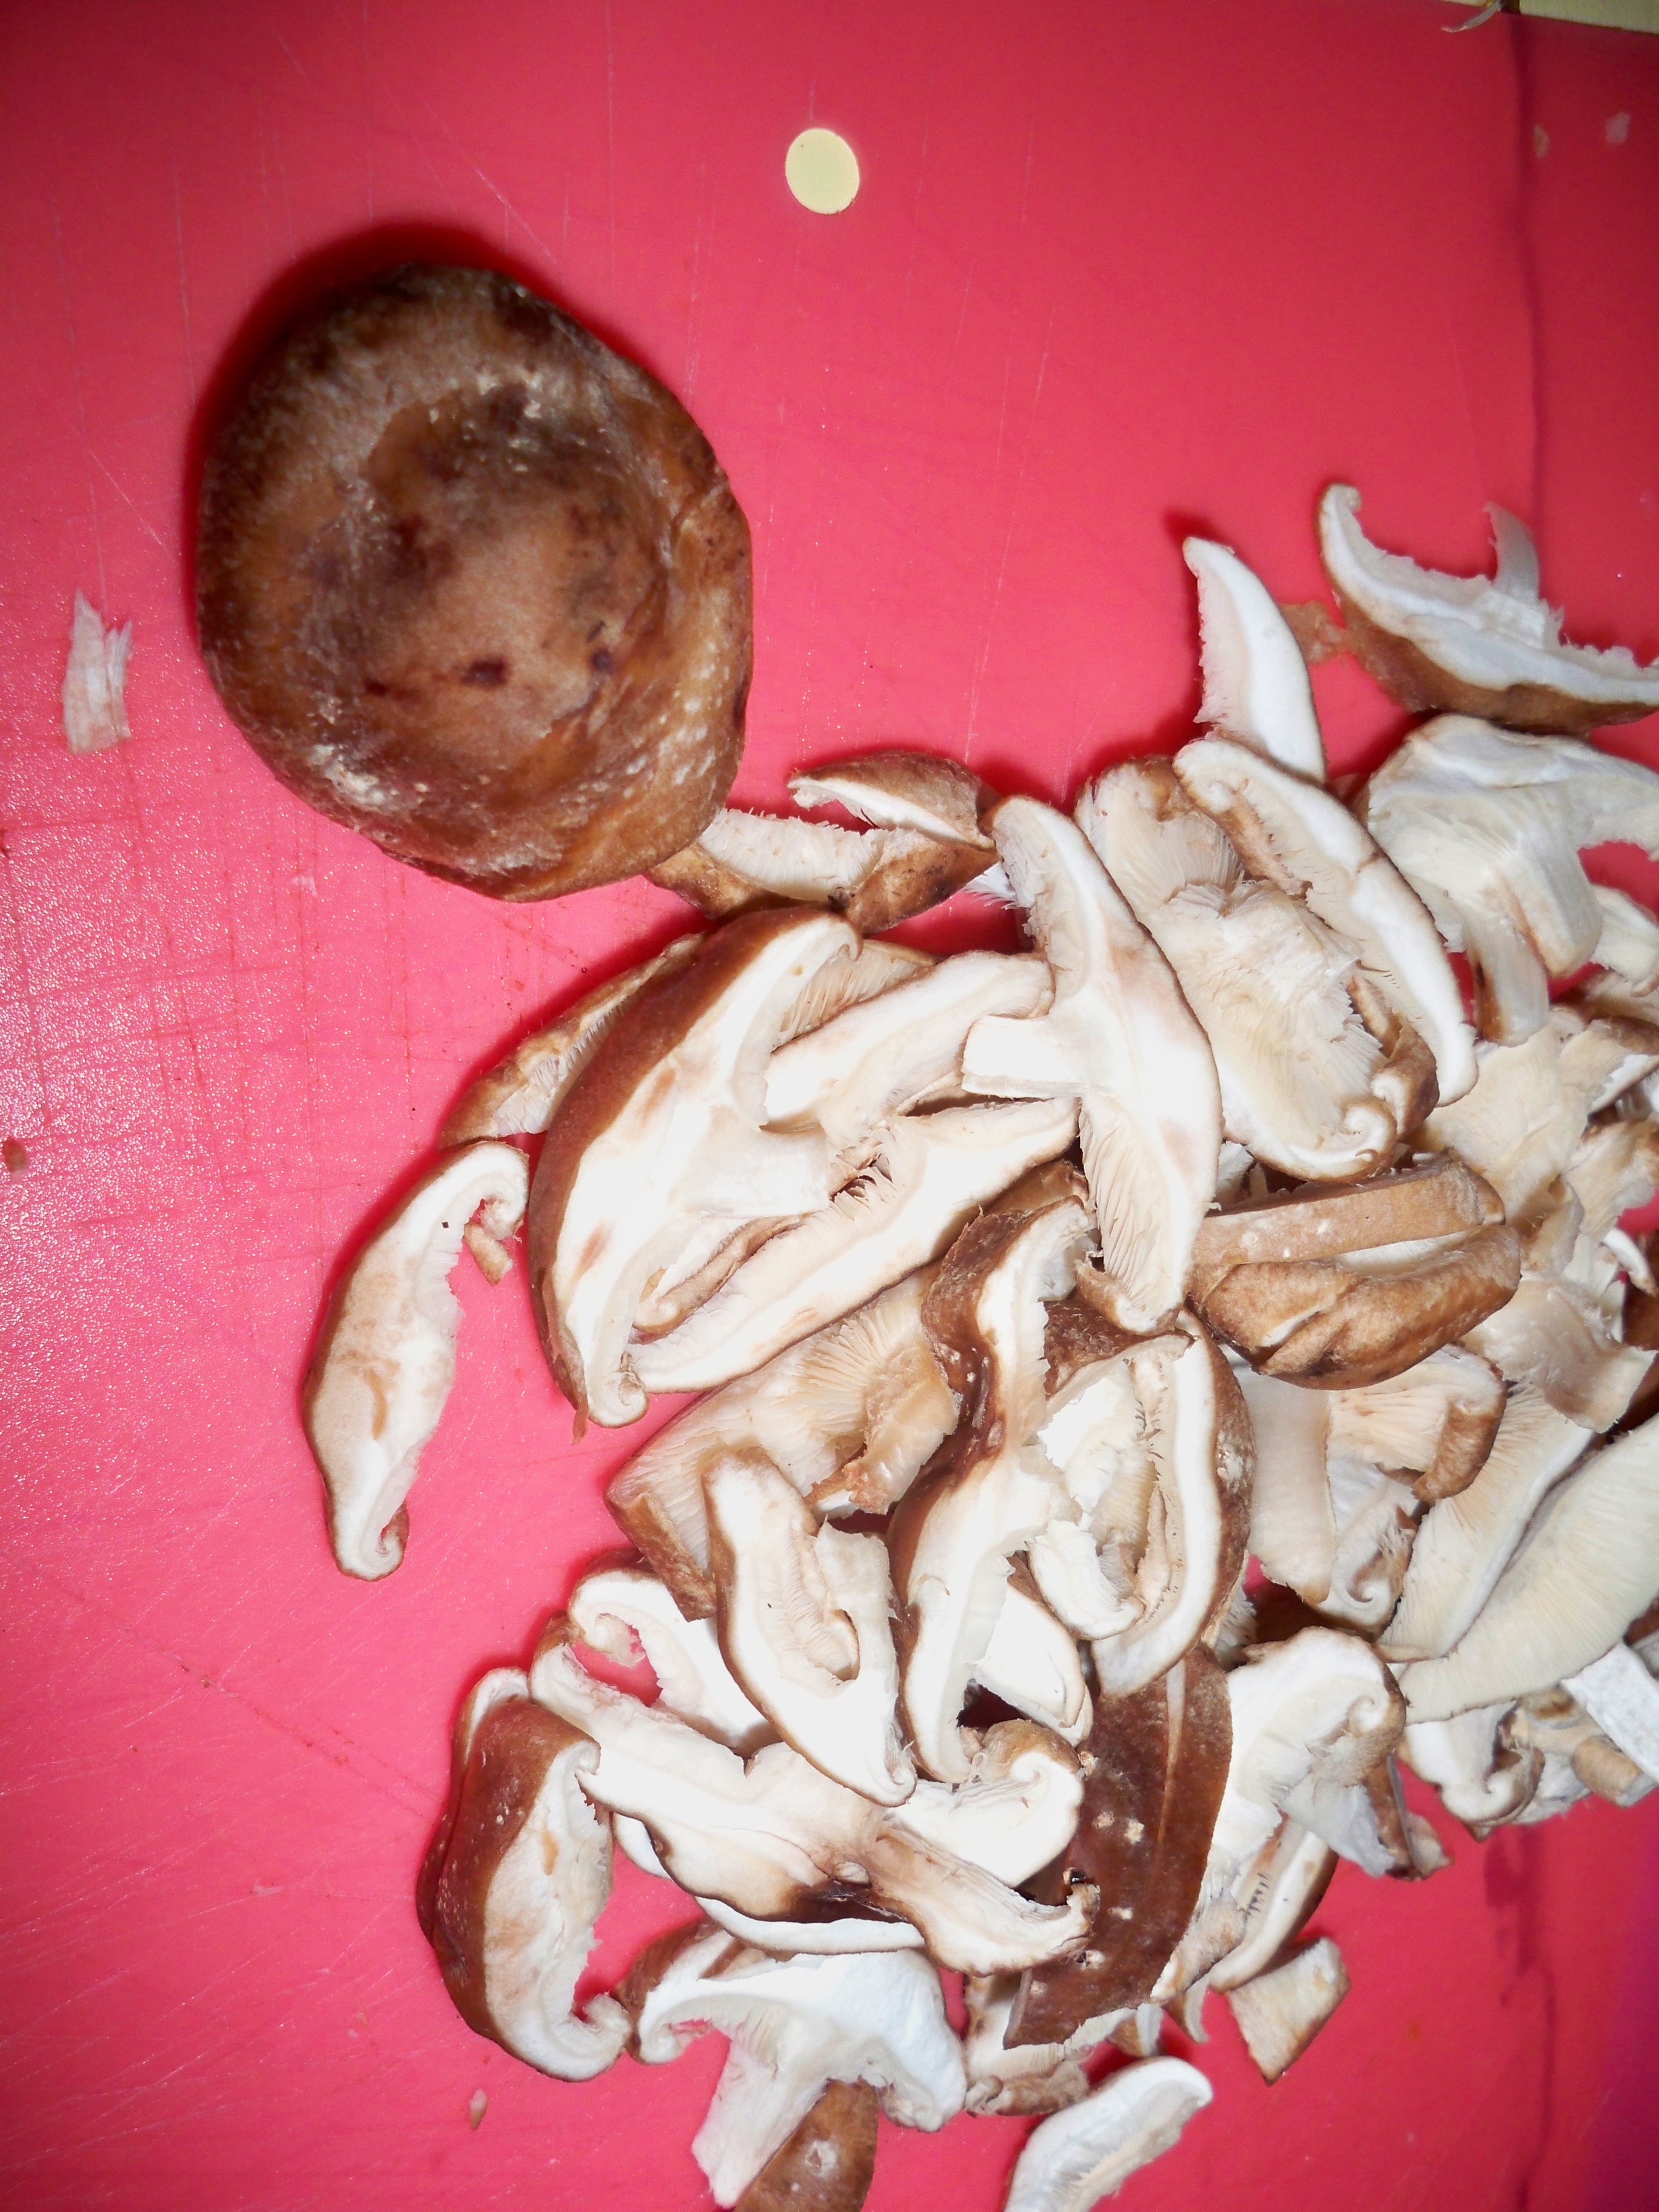
½ cup chopped mushroom
3 cups vegetable broth
Salt and pepper

Directions:
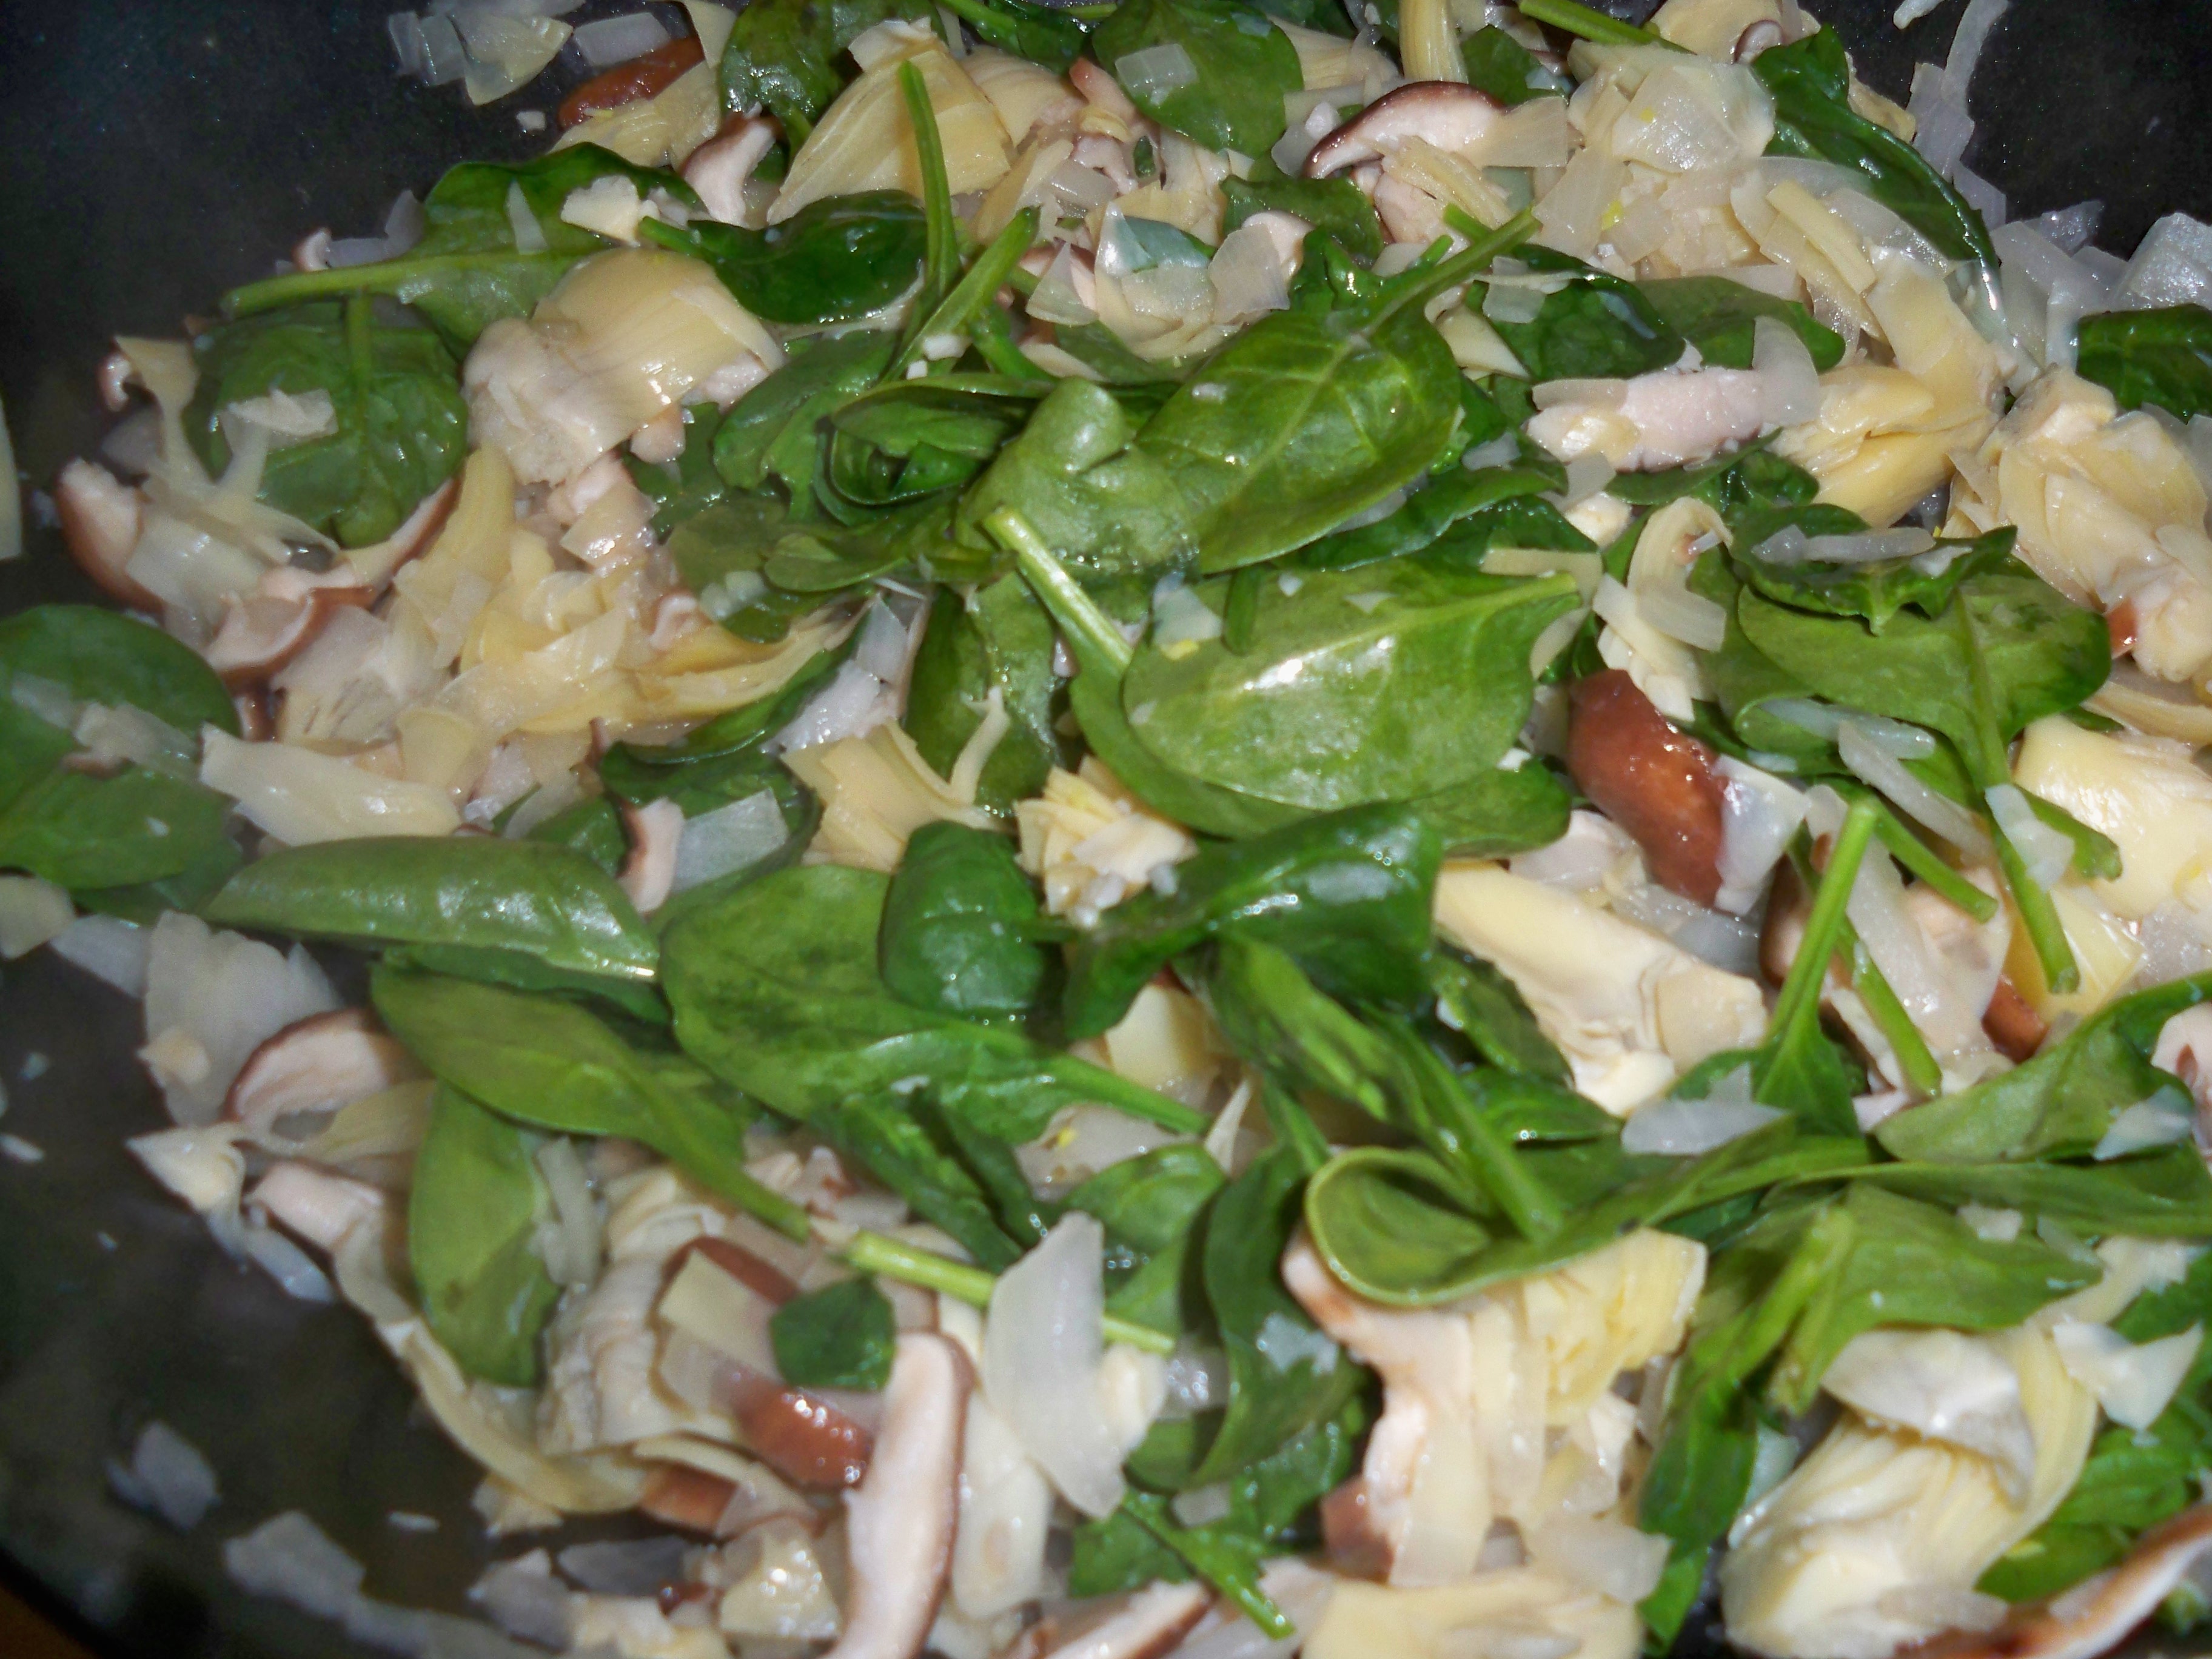
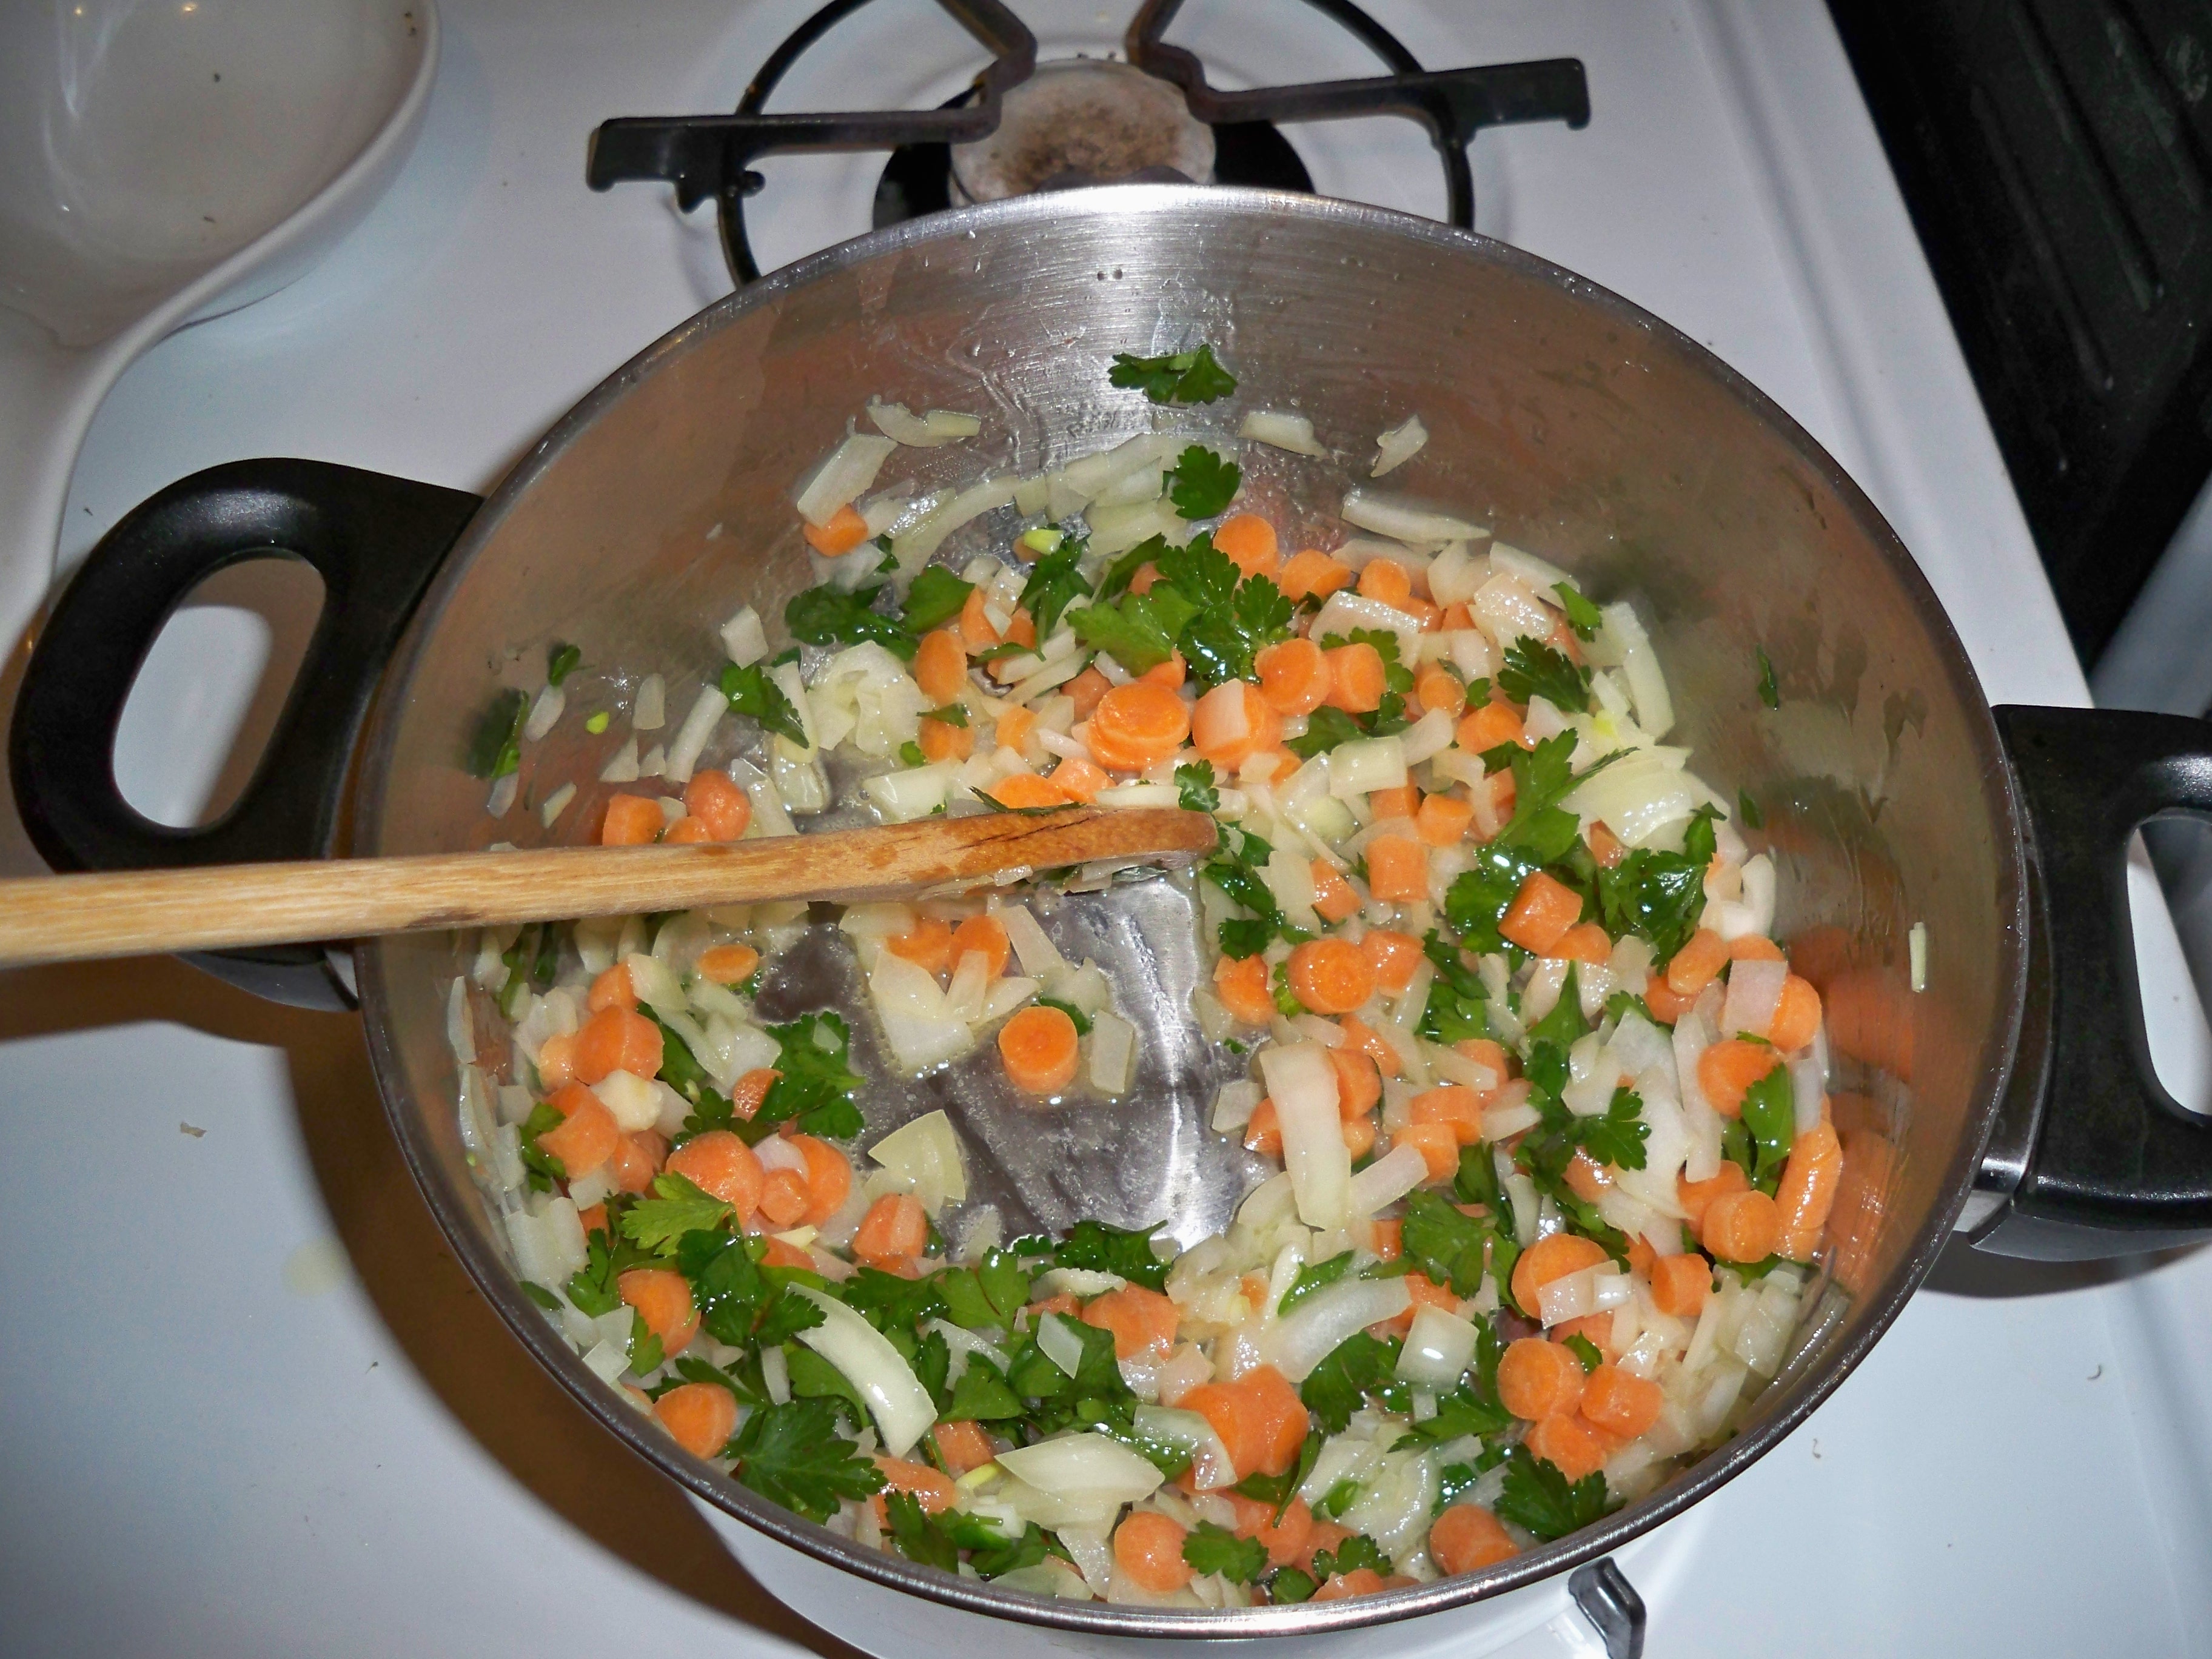
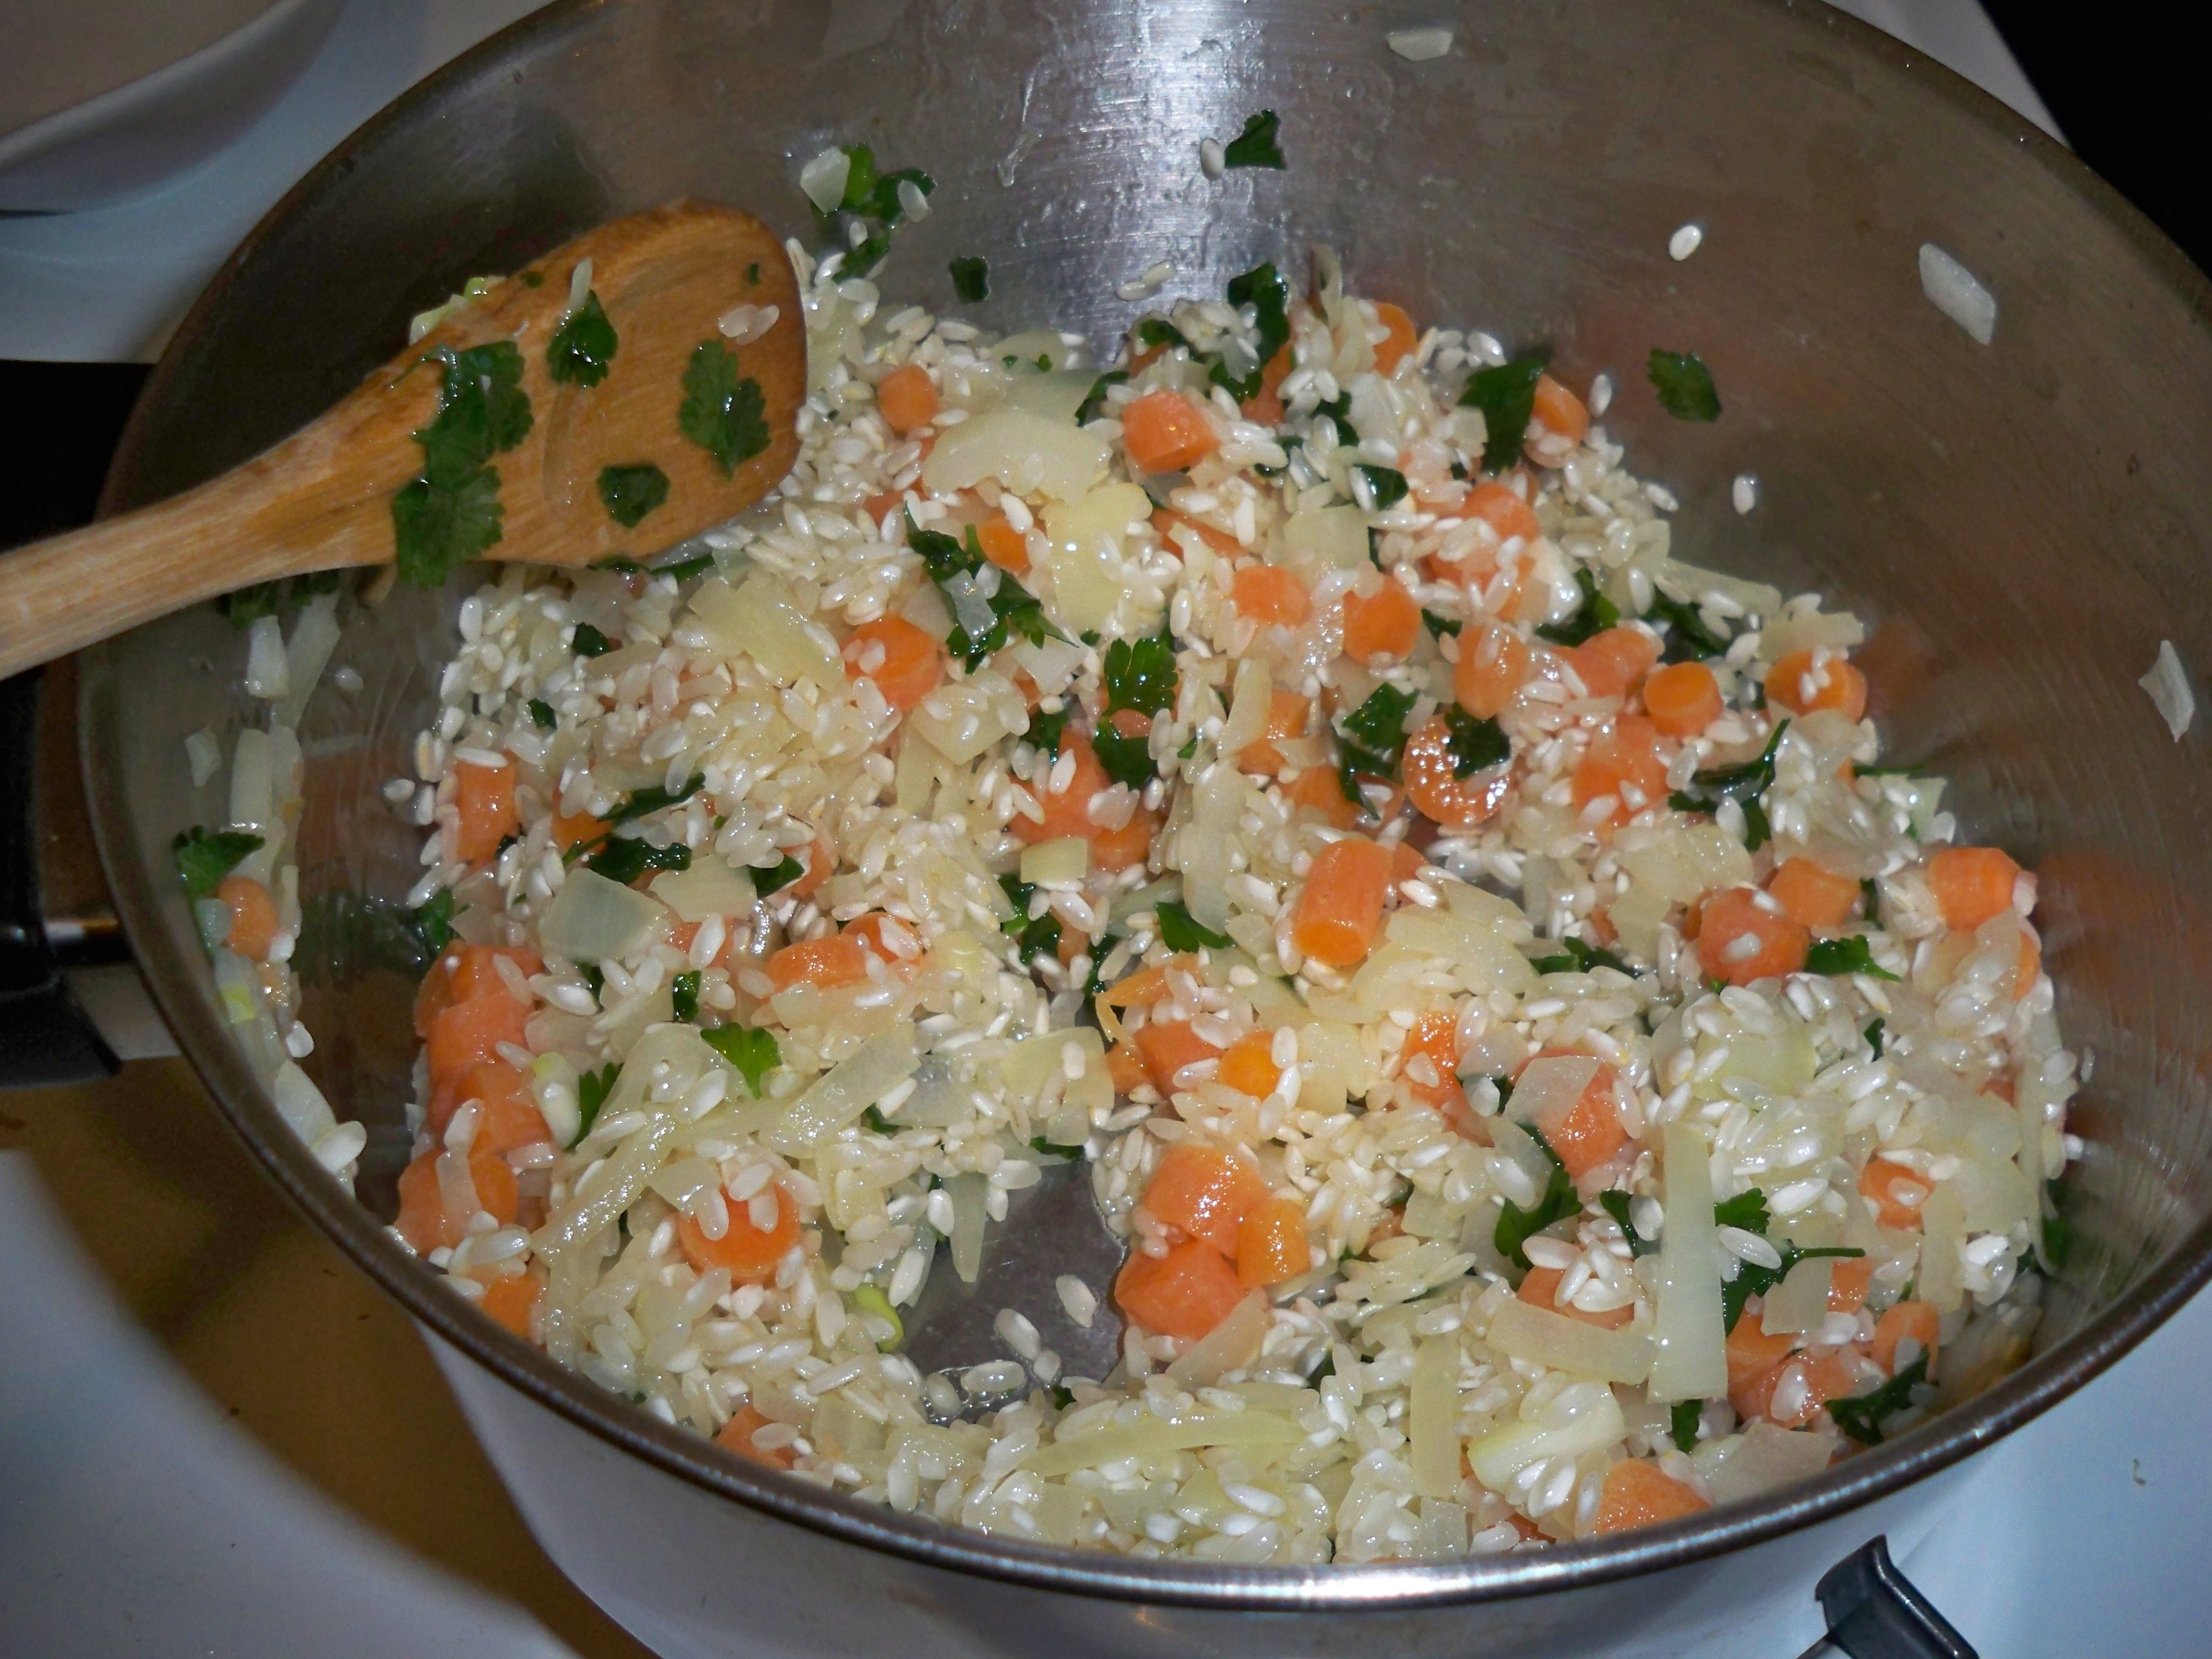
Start by sautéing the chopped onion, carrot, and parsley in oil and butter for 3-5 minutes.

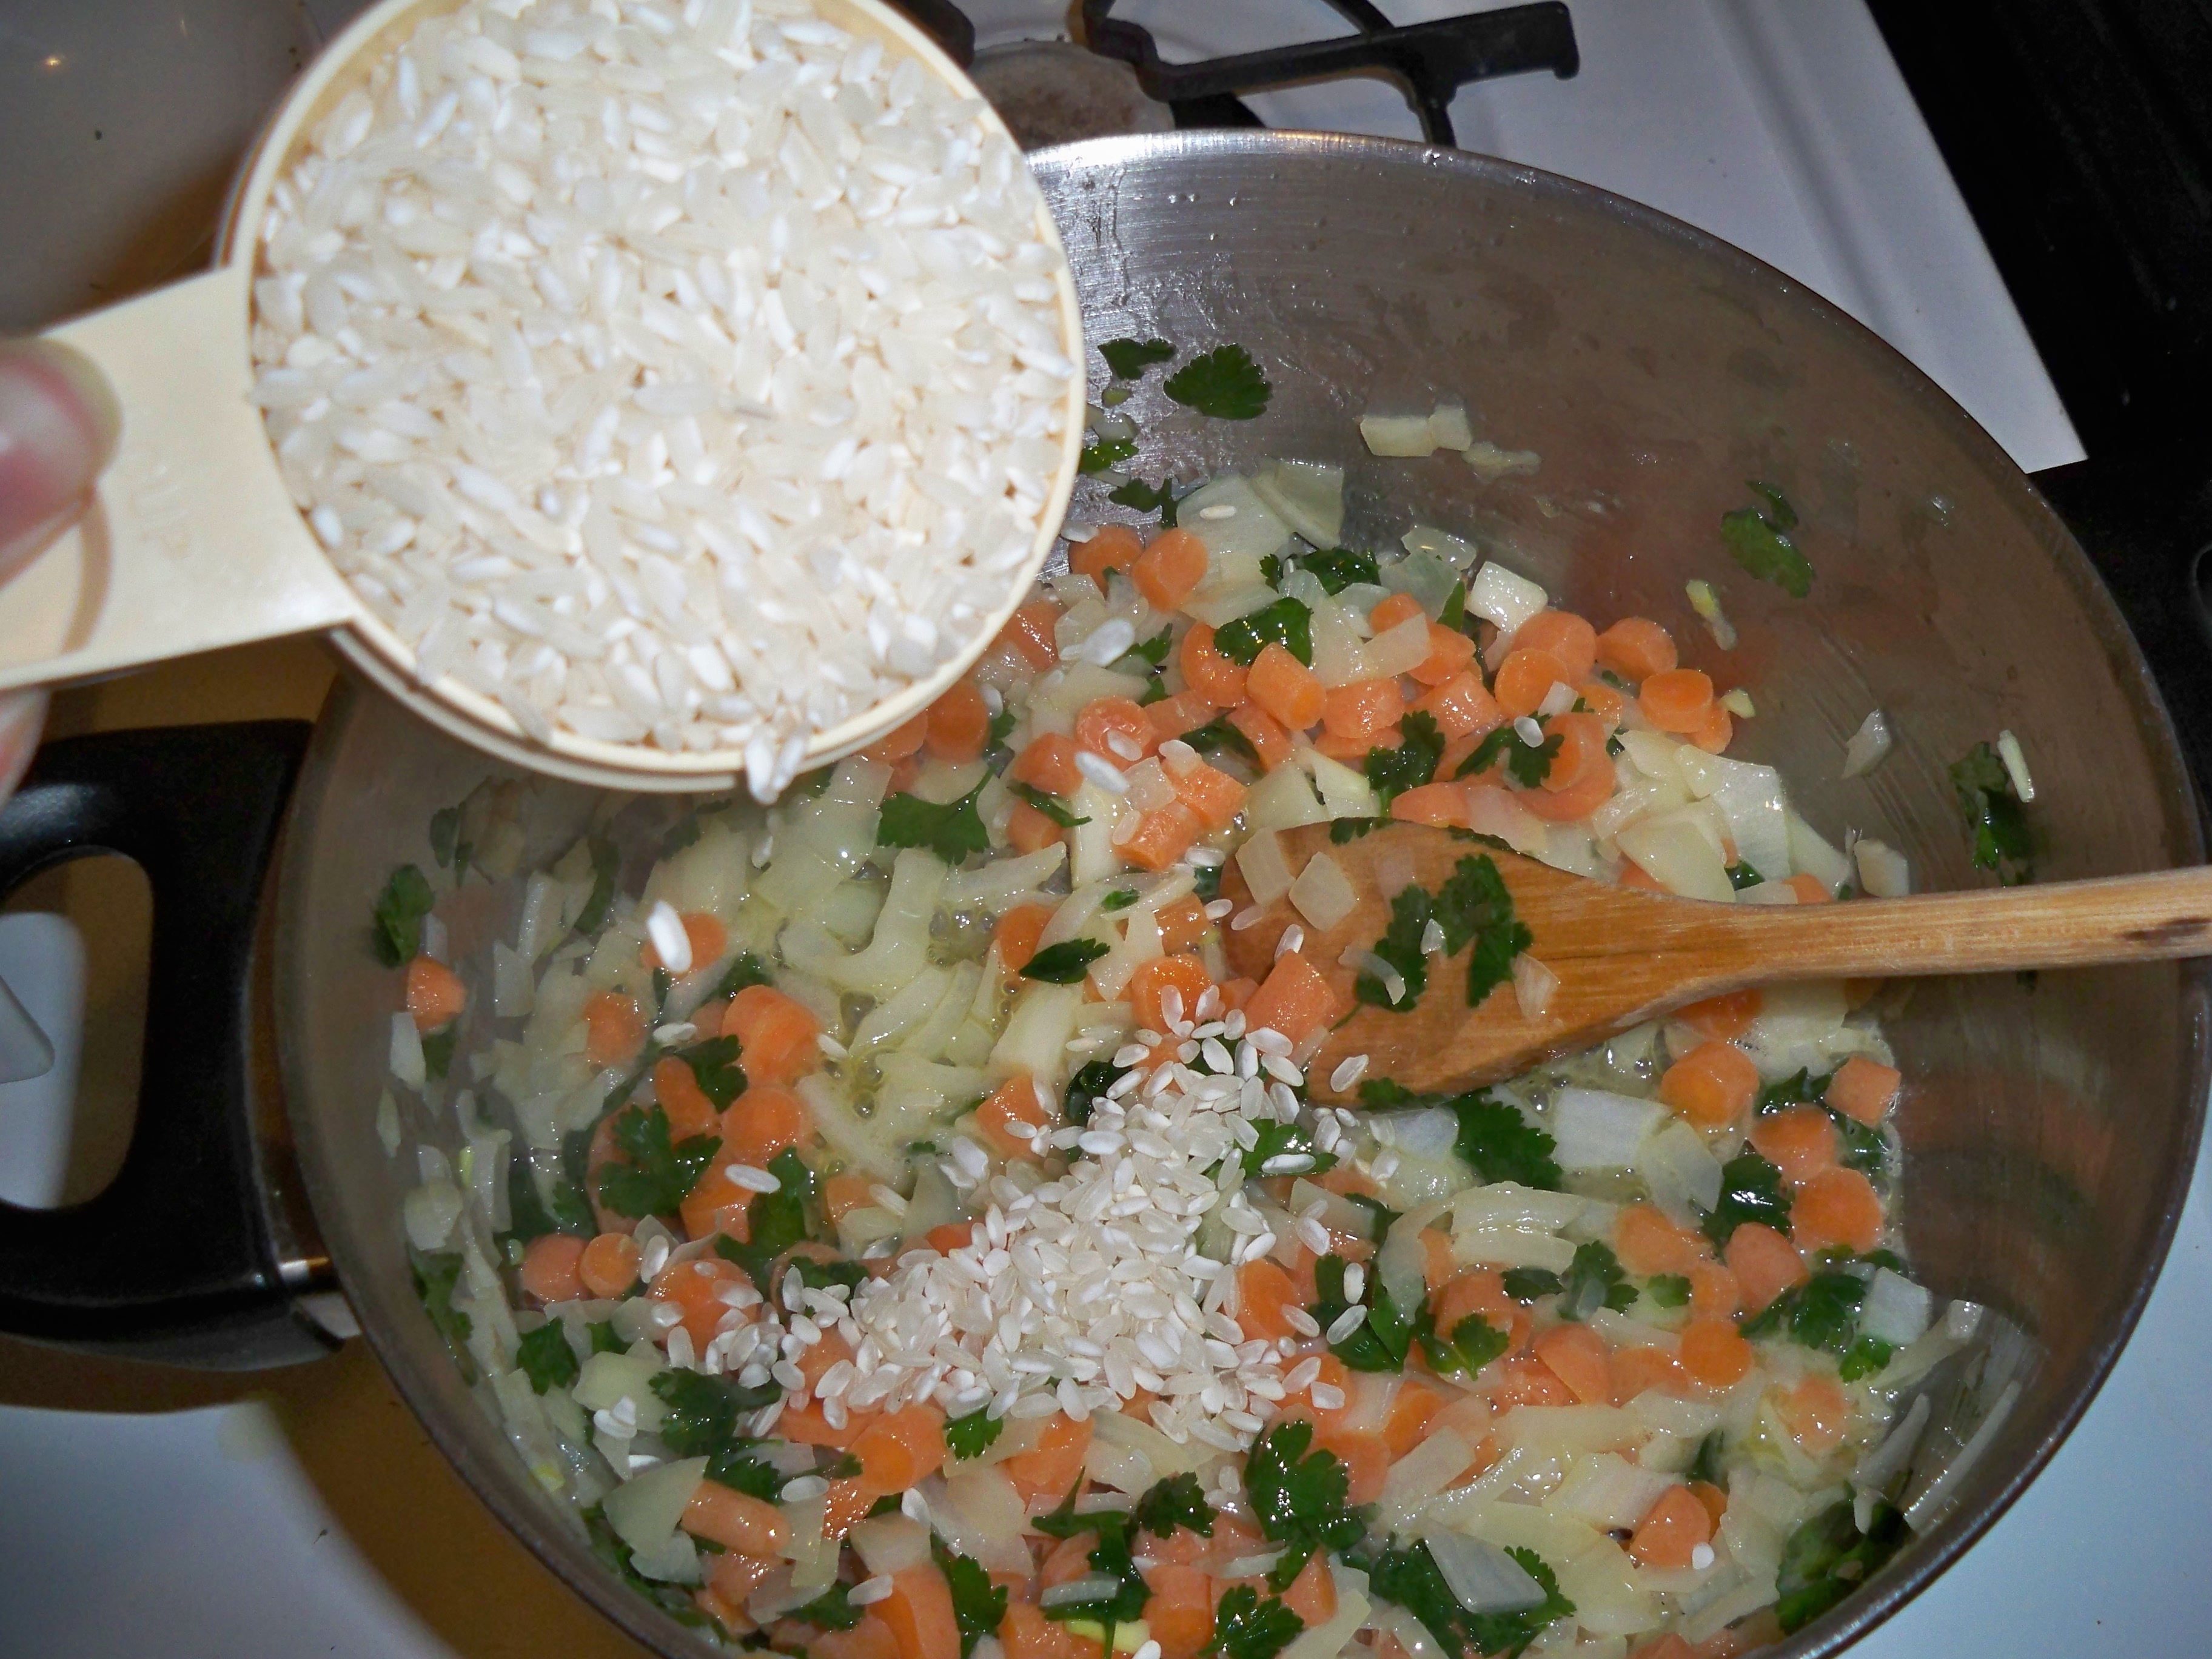
Add 1 cup of rice, stirring for 2 minutes until just coated.

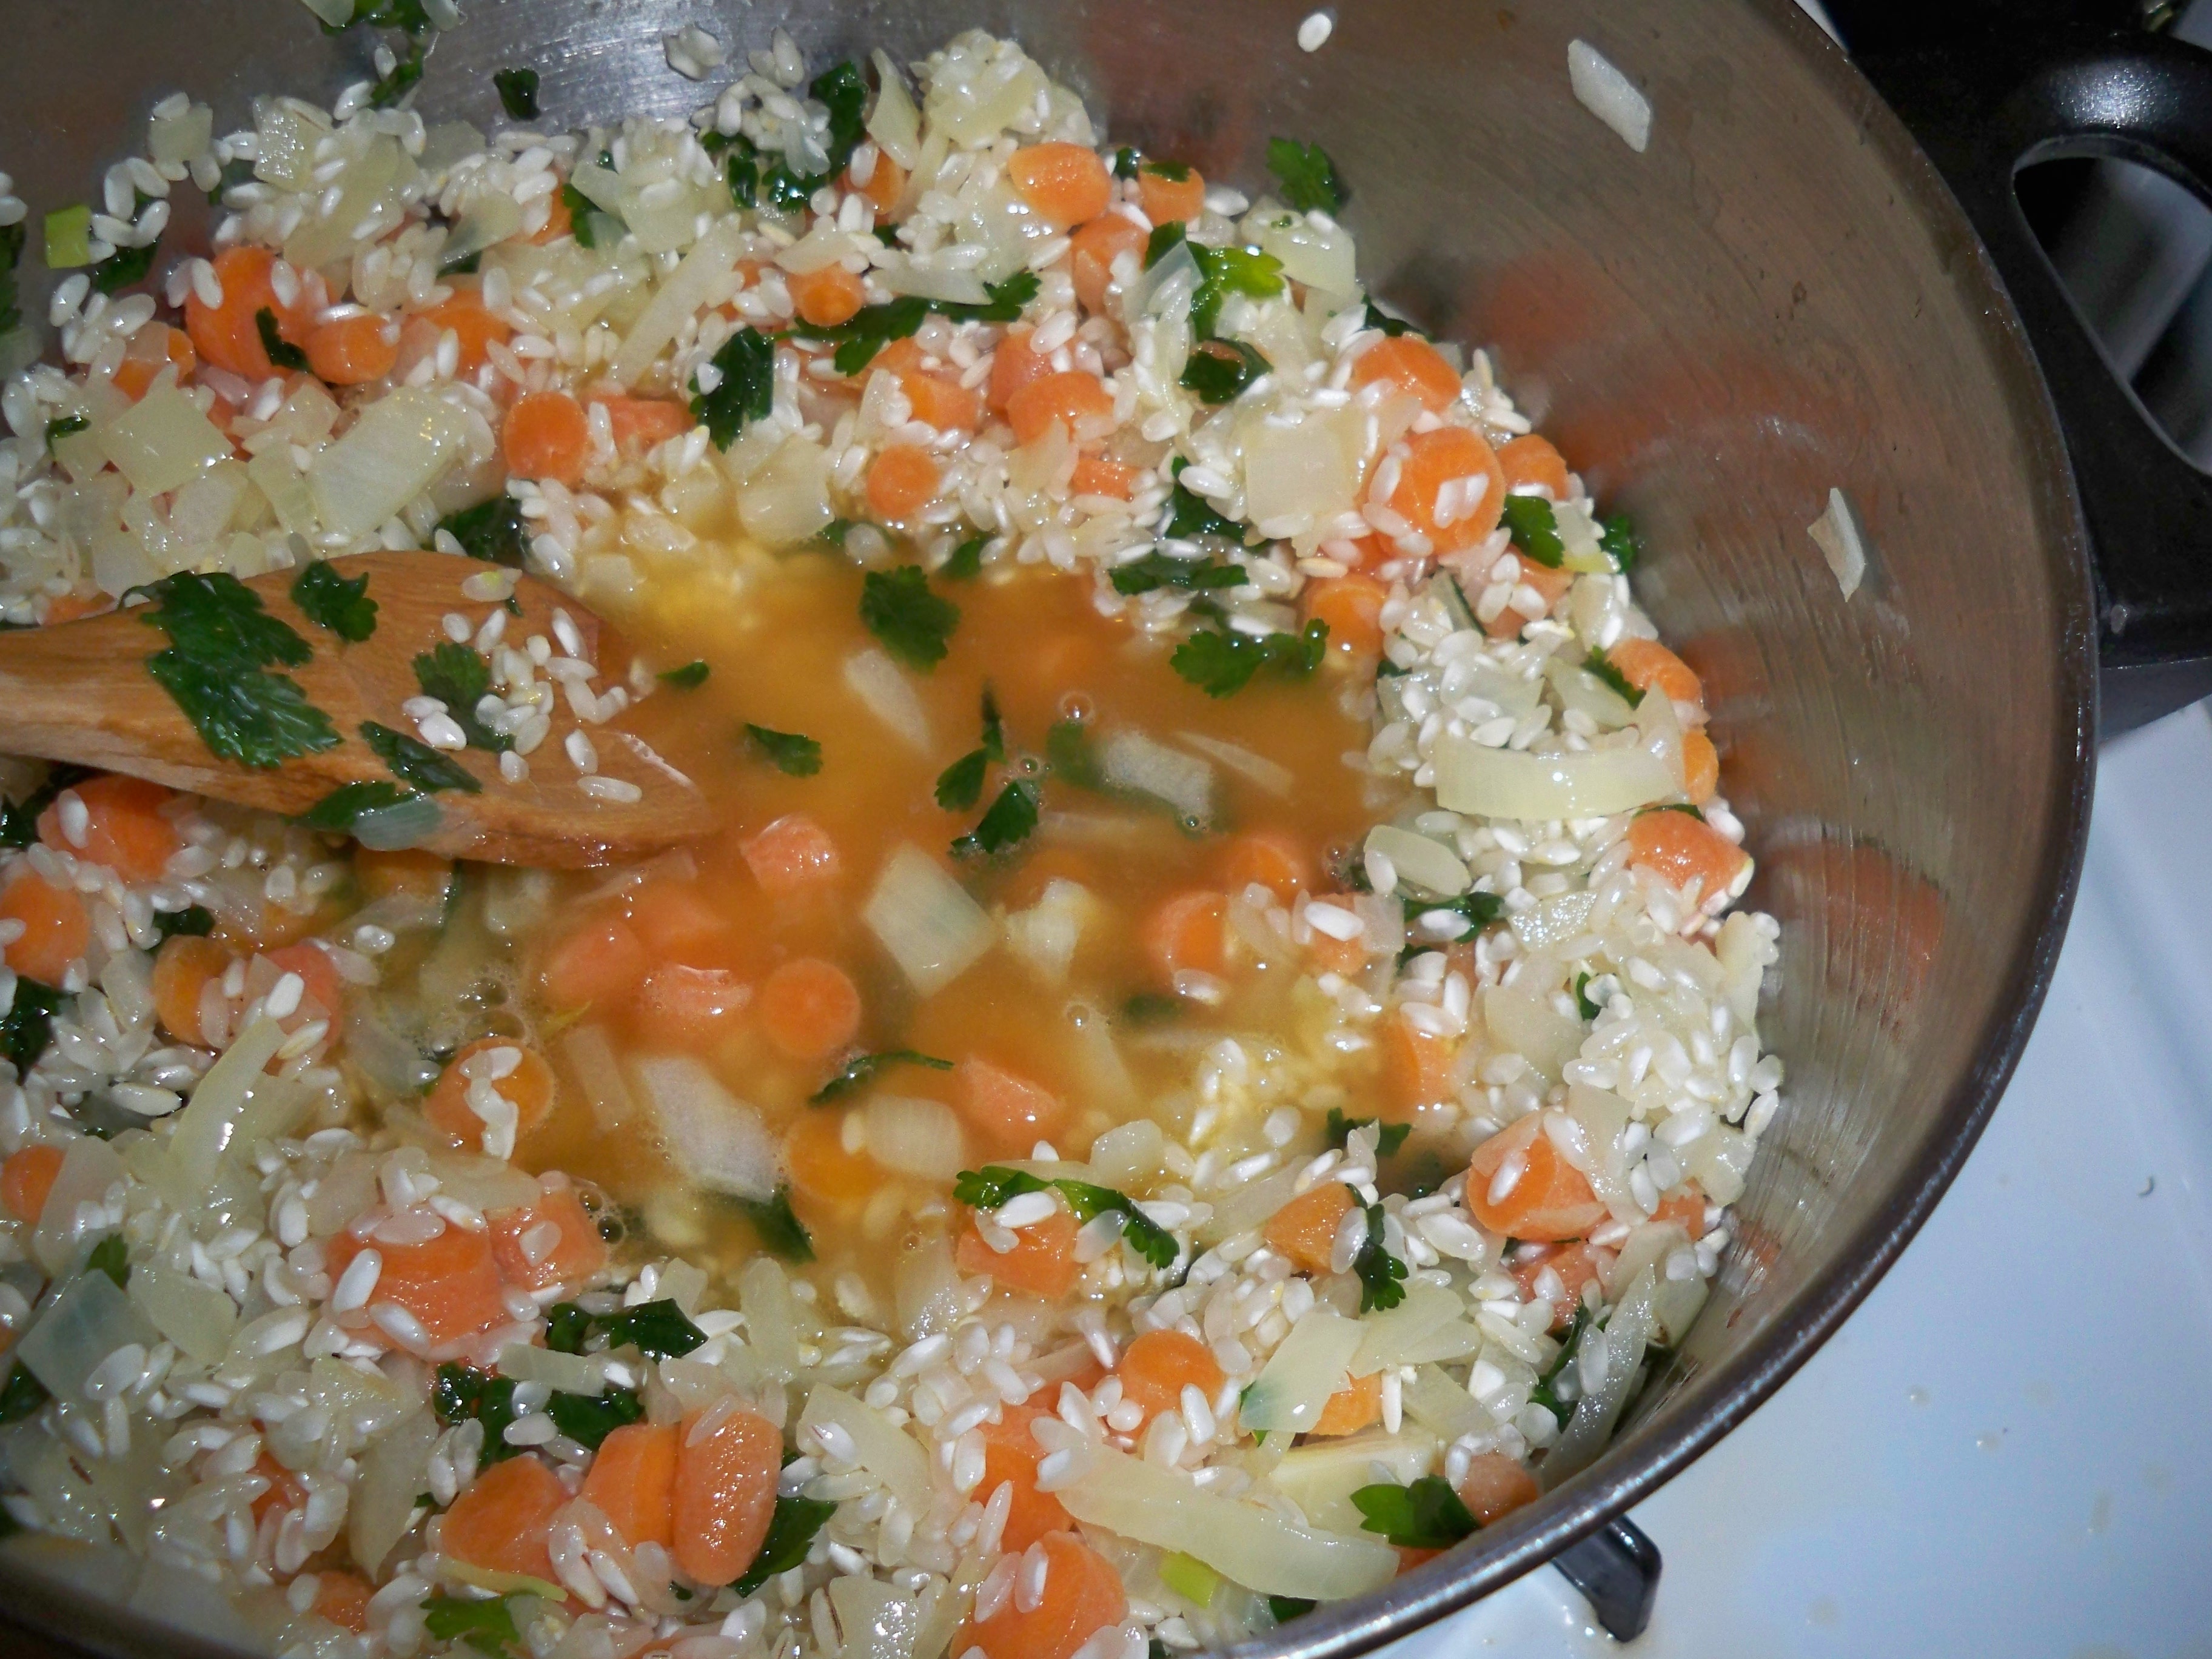
Stir in your first cup of vegetable broth. The first cup will be absorbed relatively quickly. Your patience will come into play later. Continue cooking and stirring until liquid is fully absorbed.

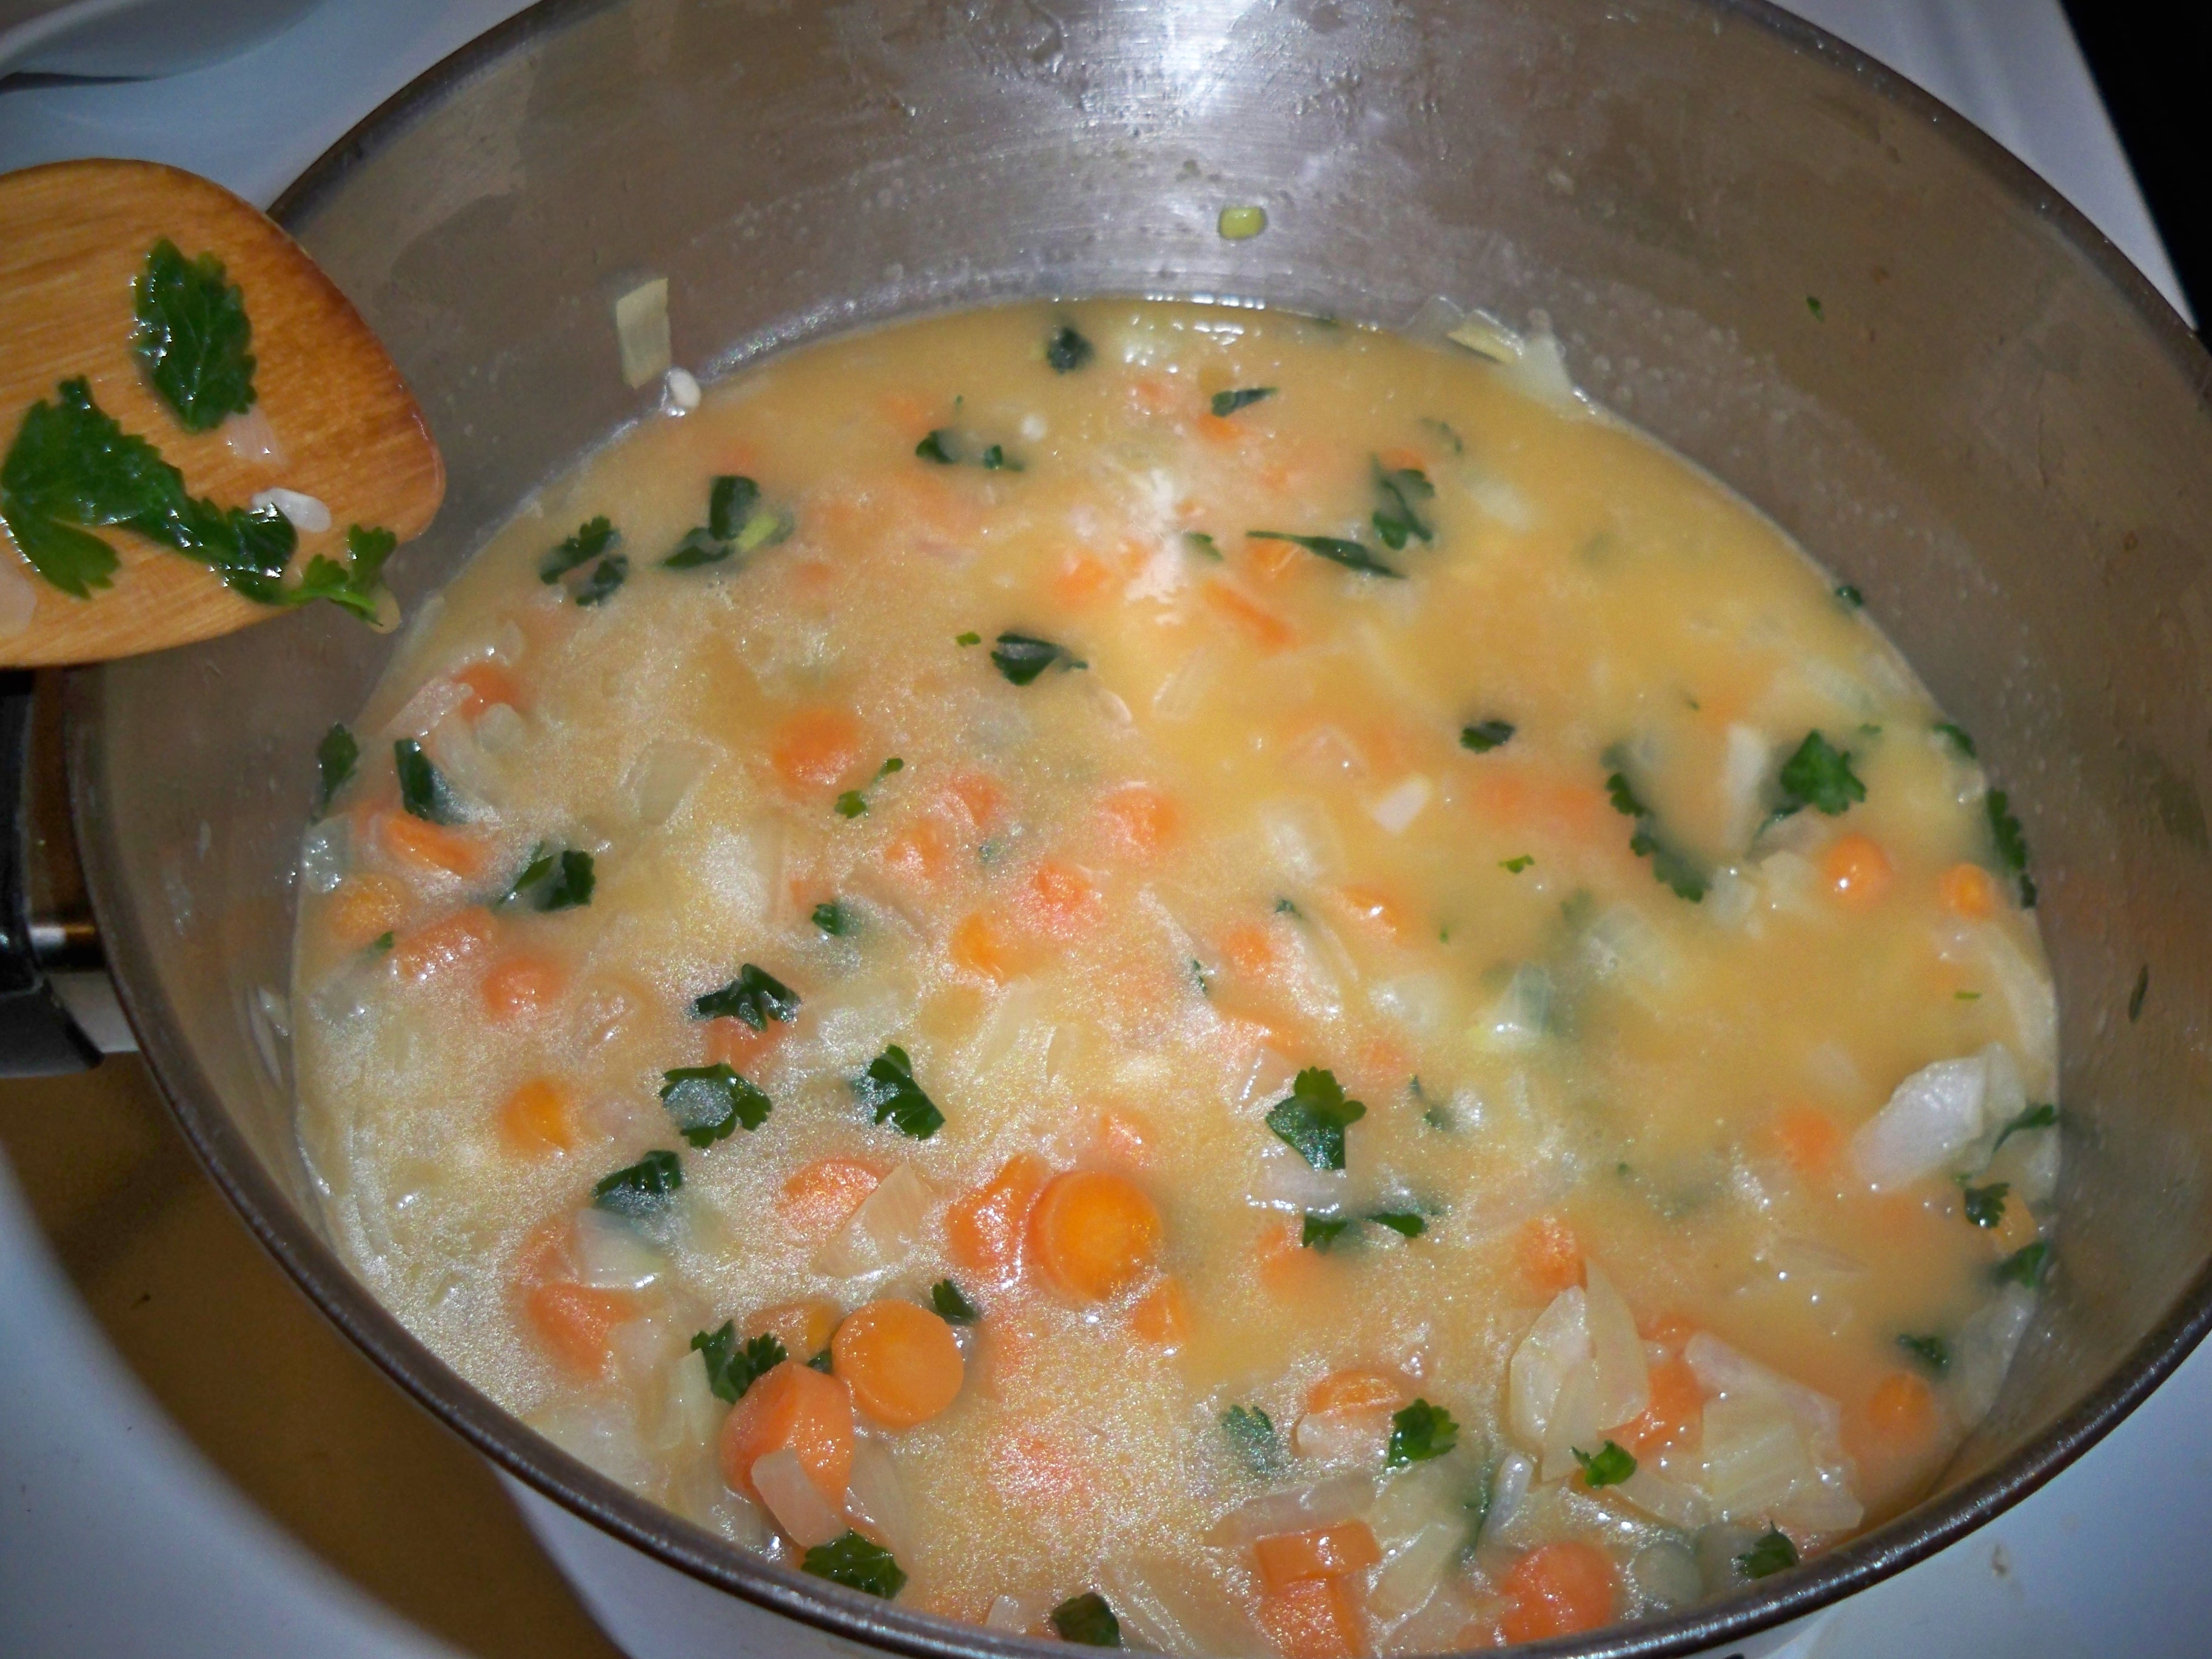
Add your second cup of broth, stirring in gradually. Keep stirring. Trust me.

Add your third cup of broth and the chopped mushroom. Keep stirring. Stir some more. Have a little faith. Stir again. It will be absorbed, I promise.

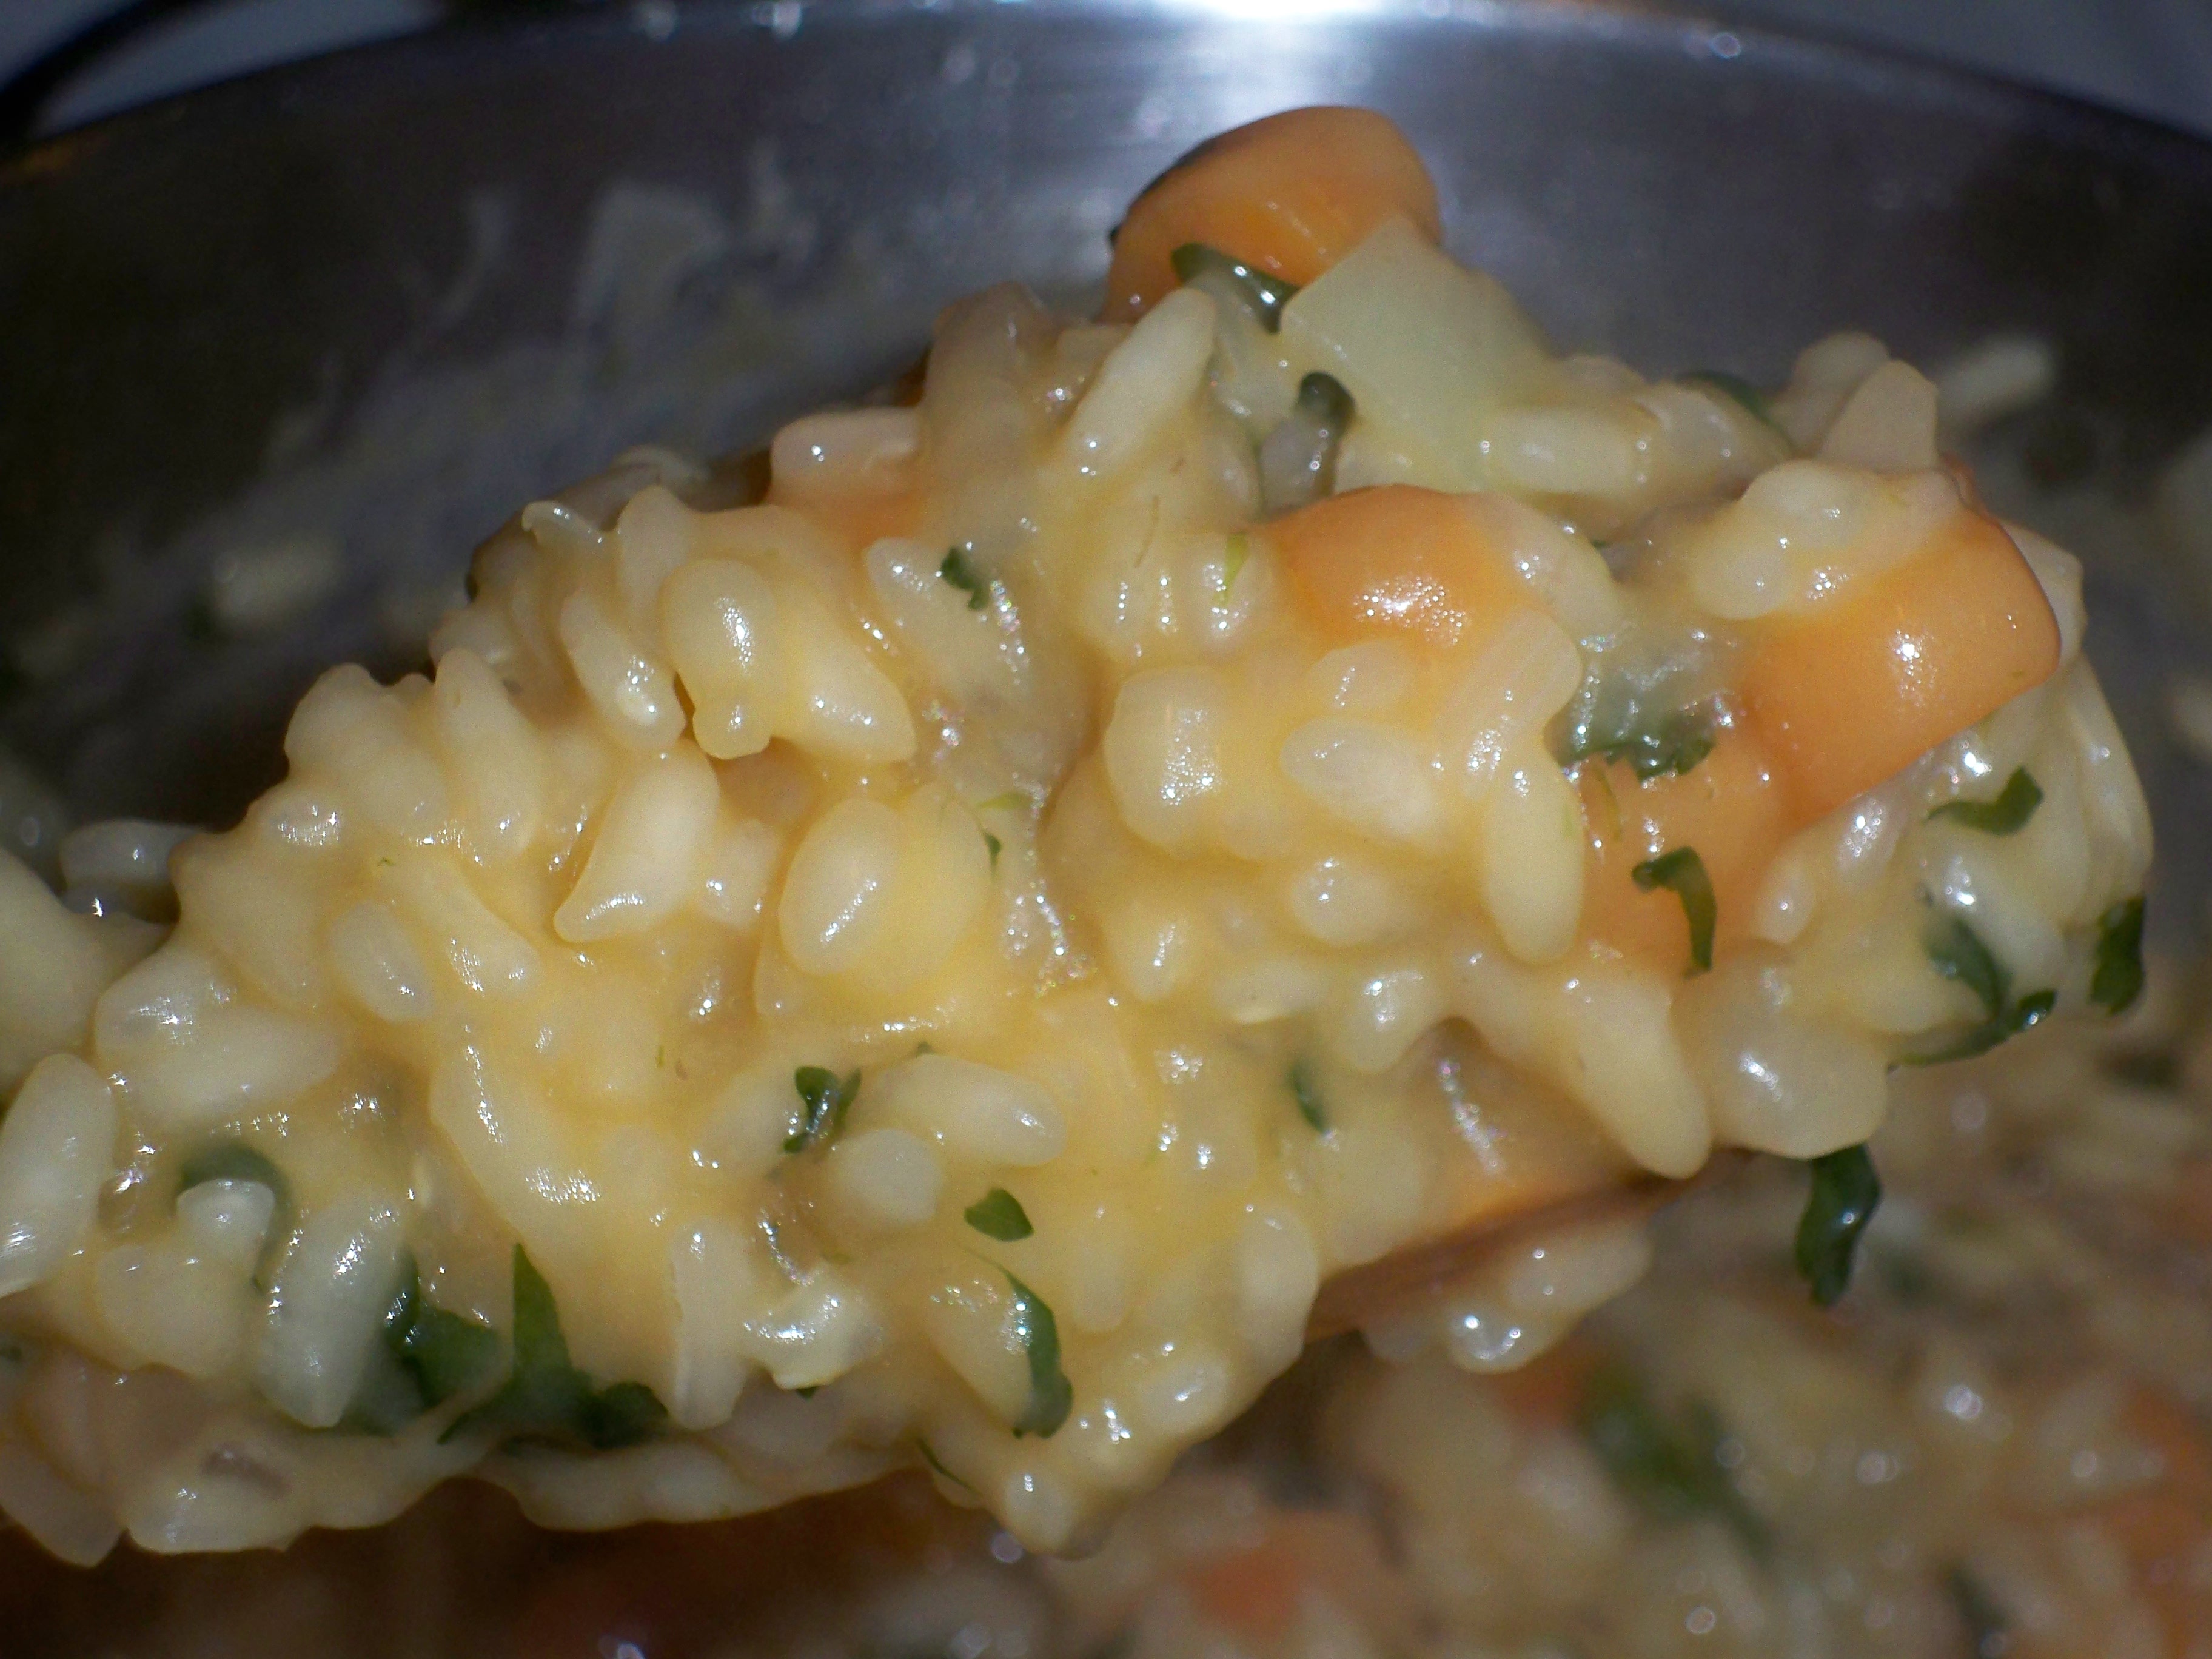
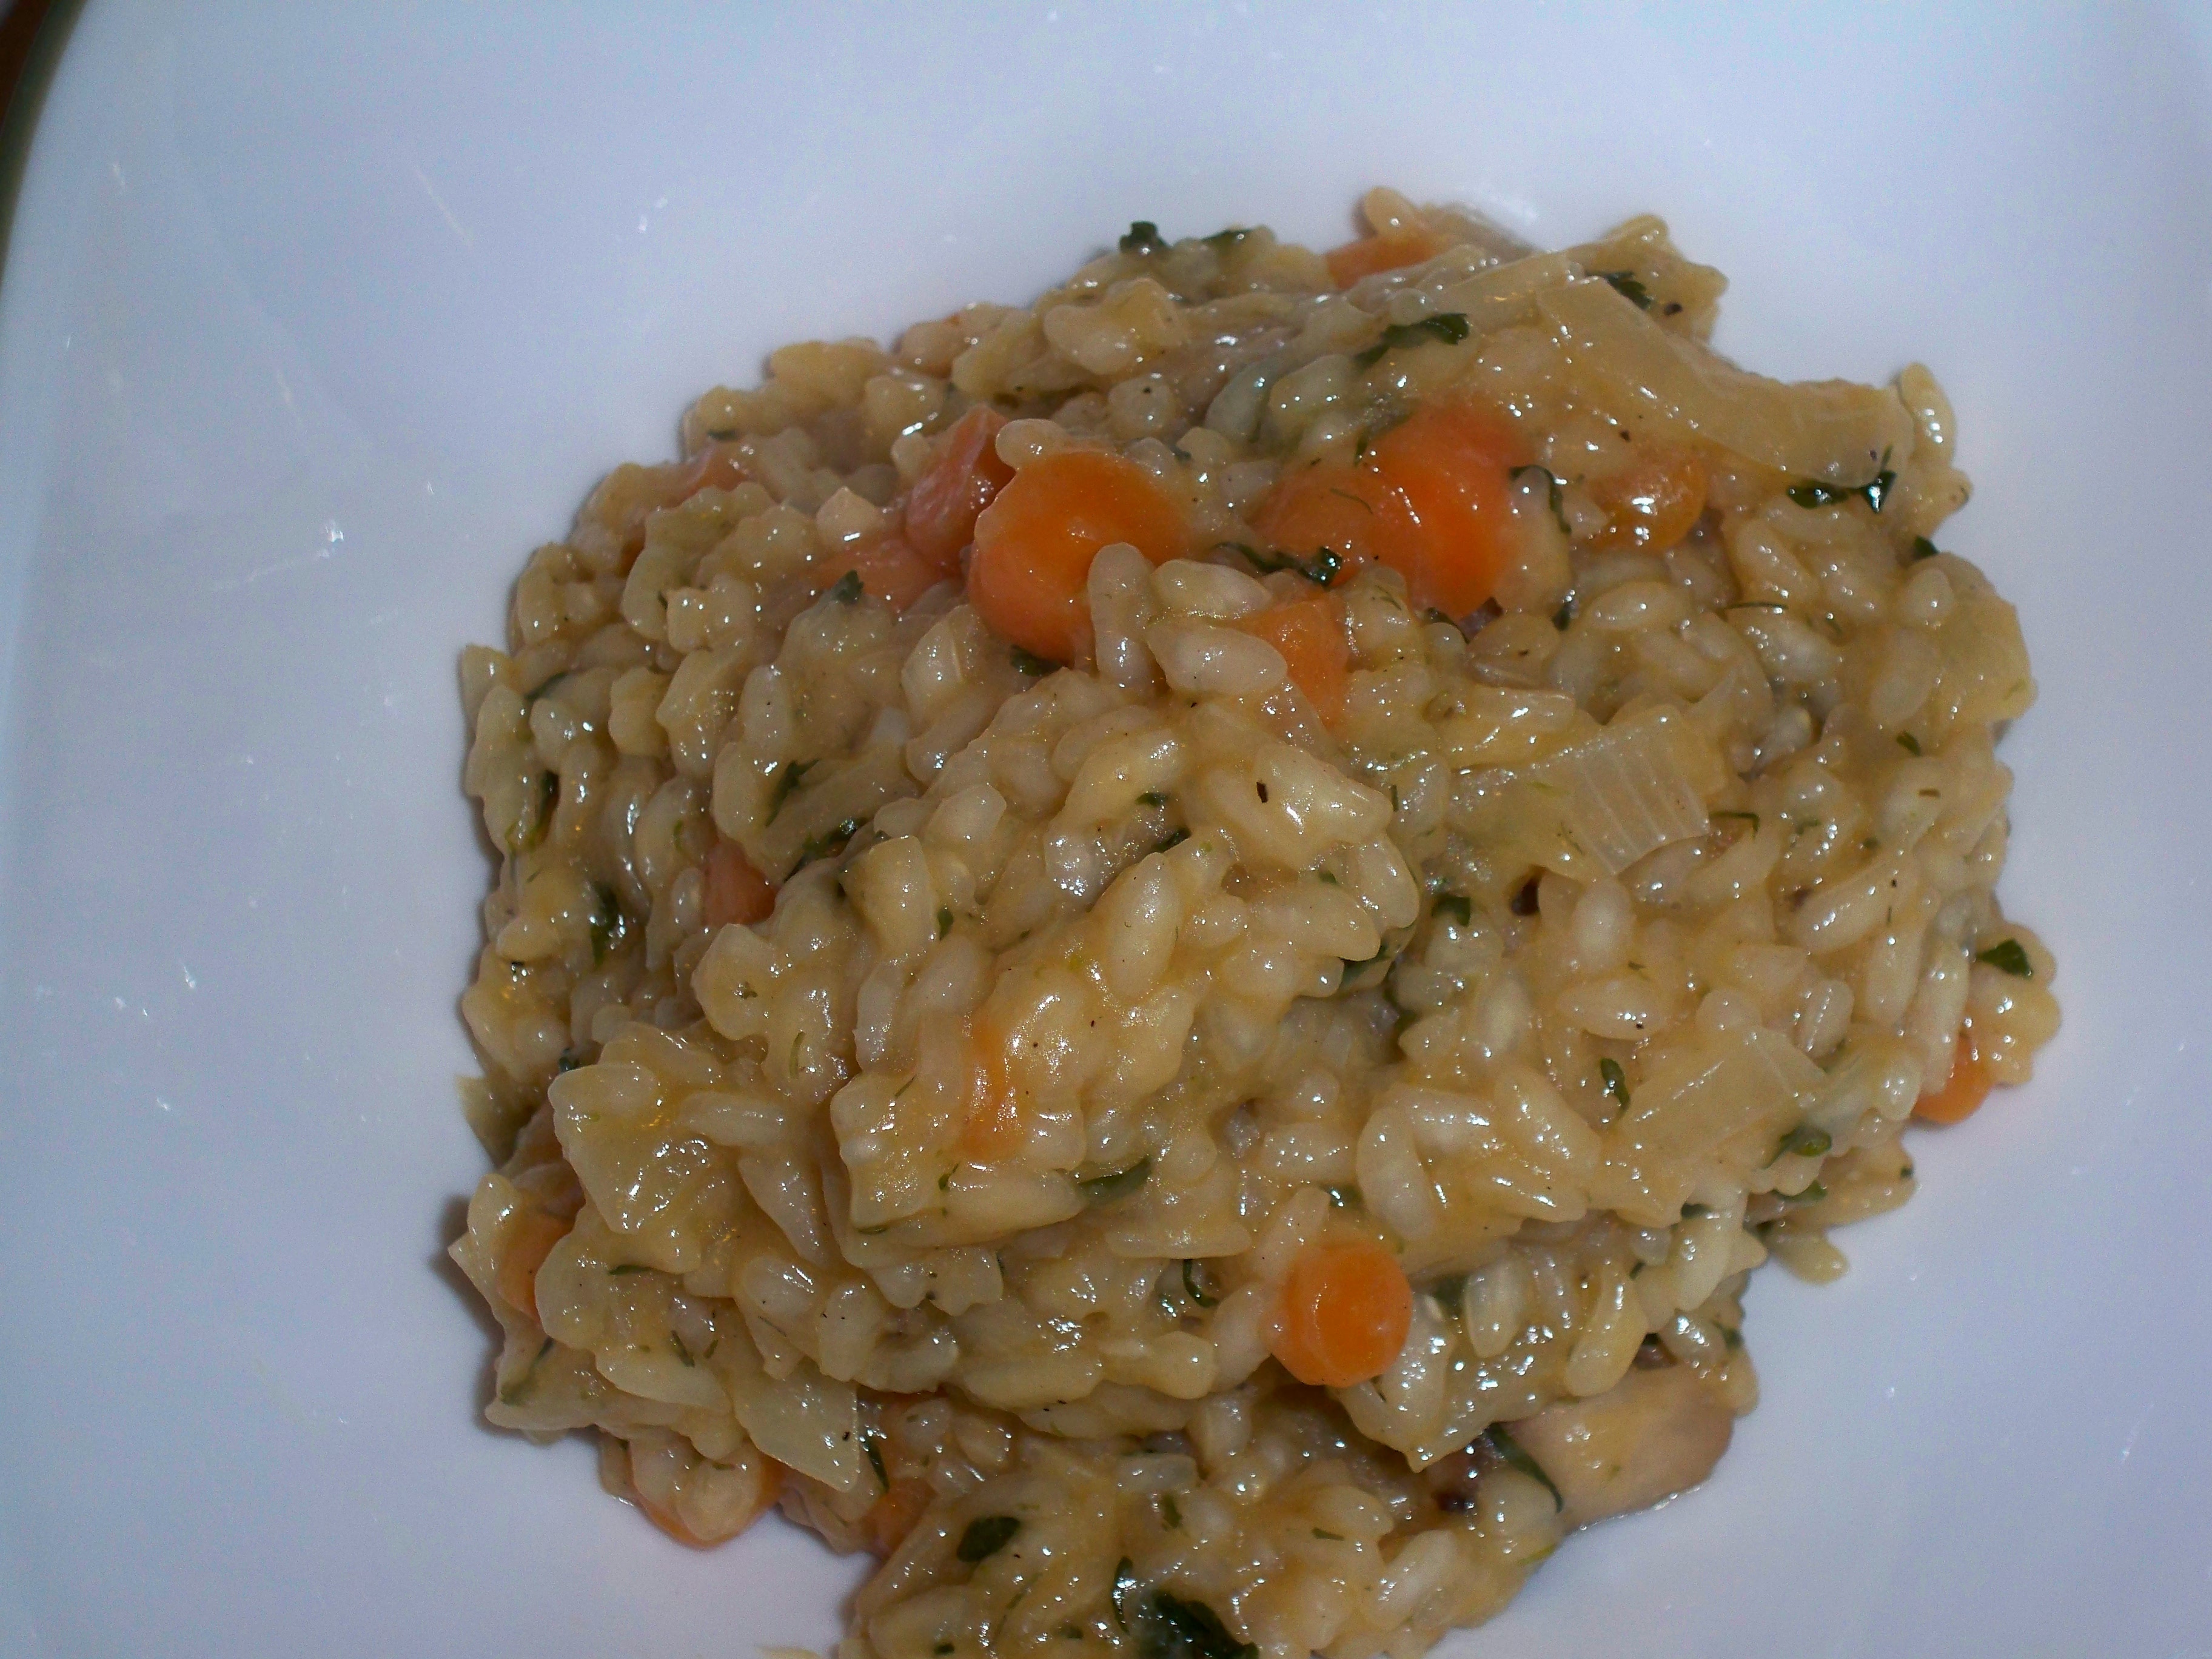
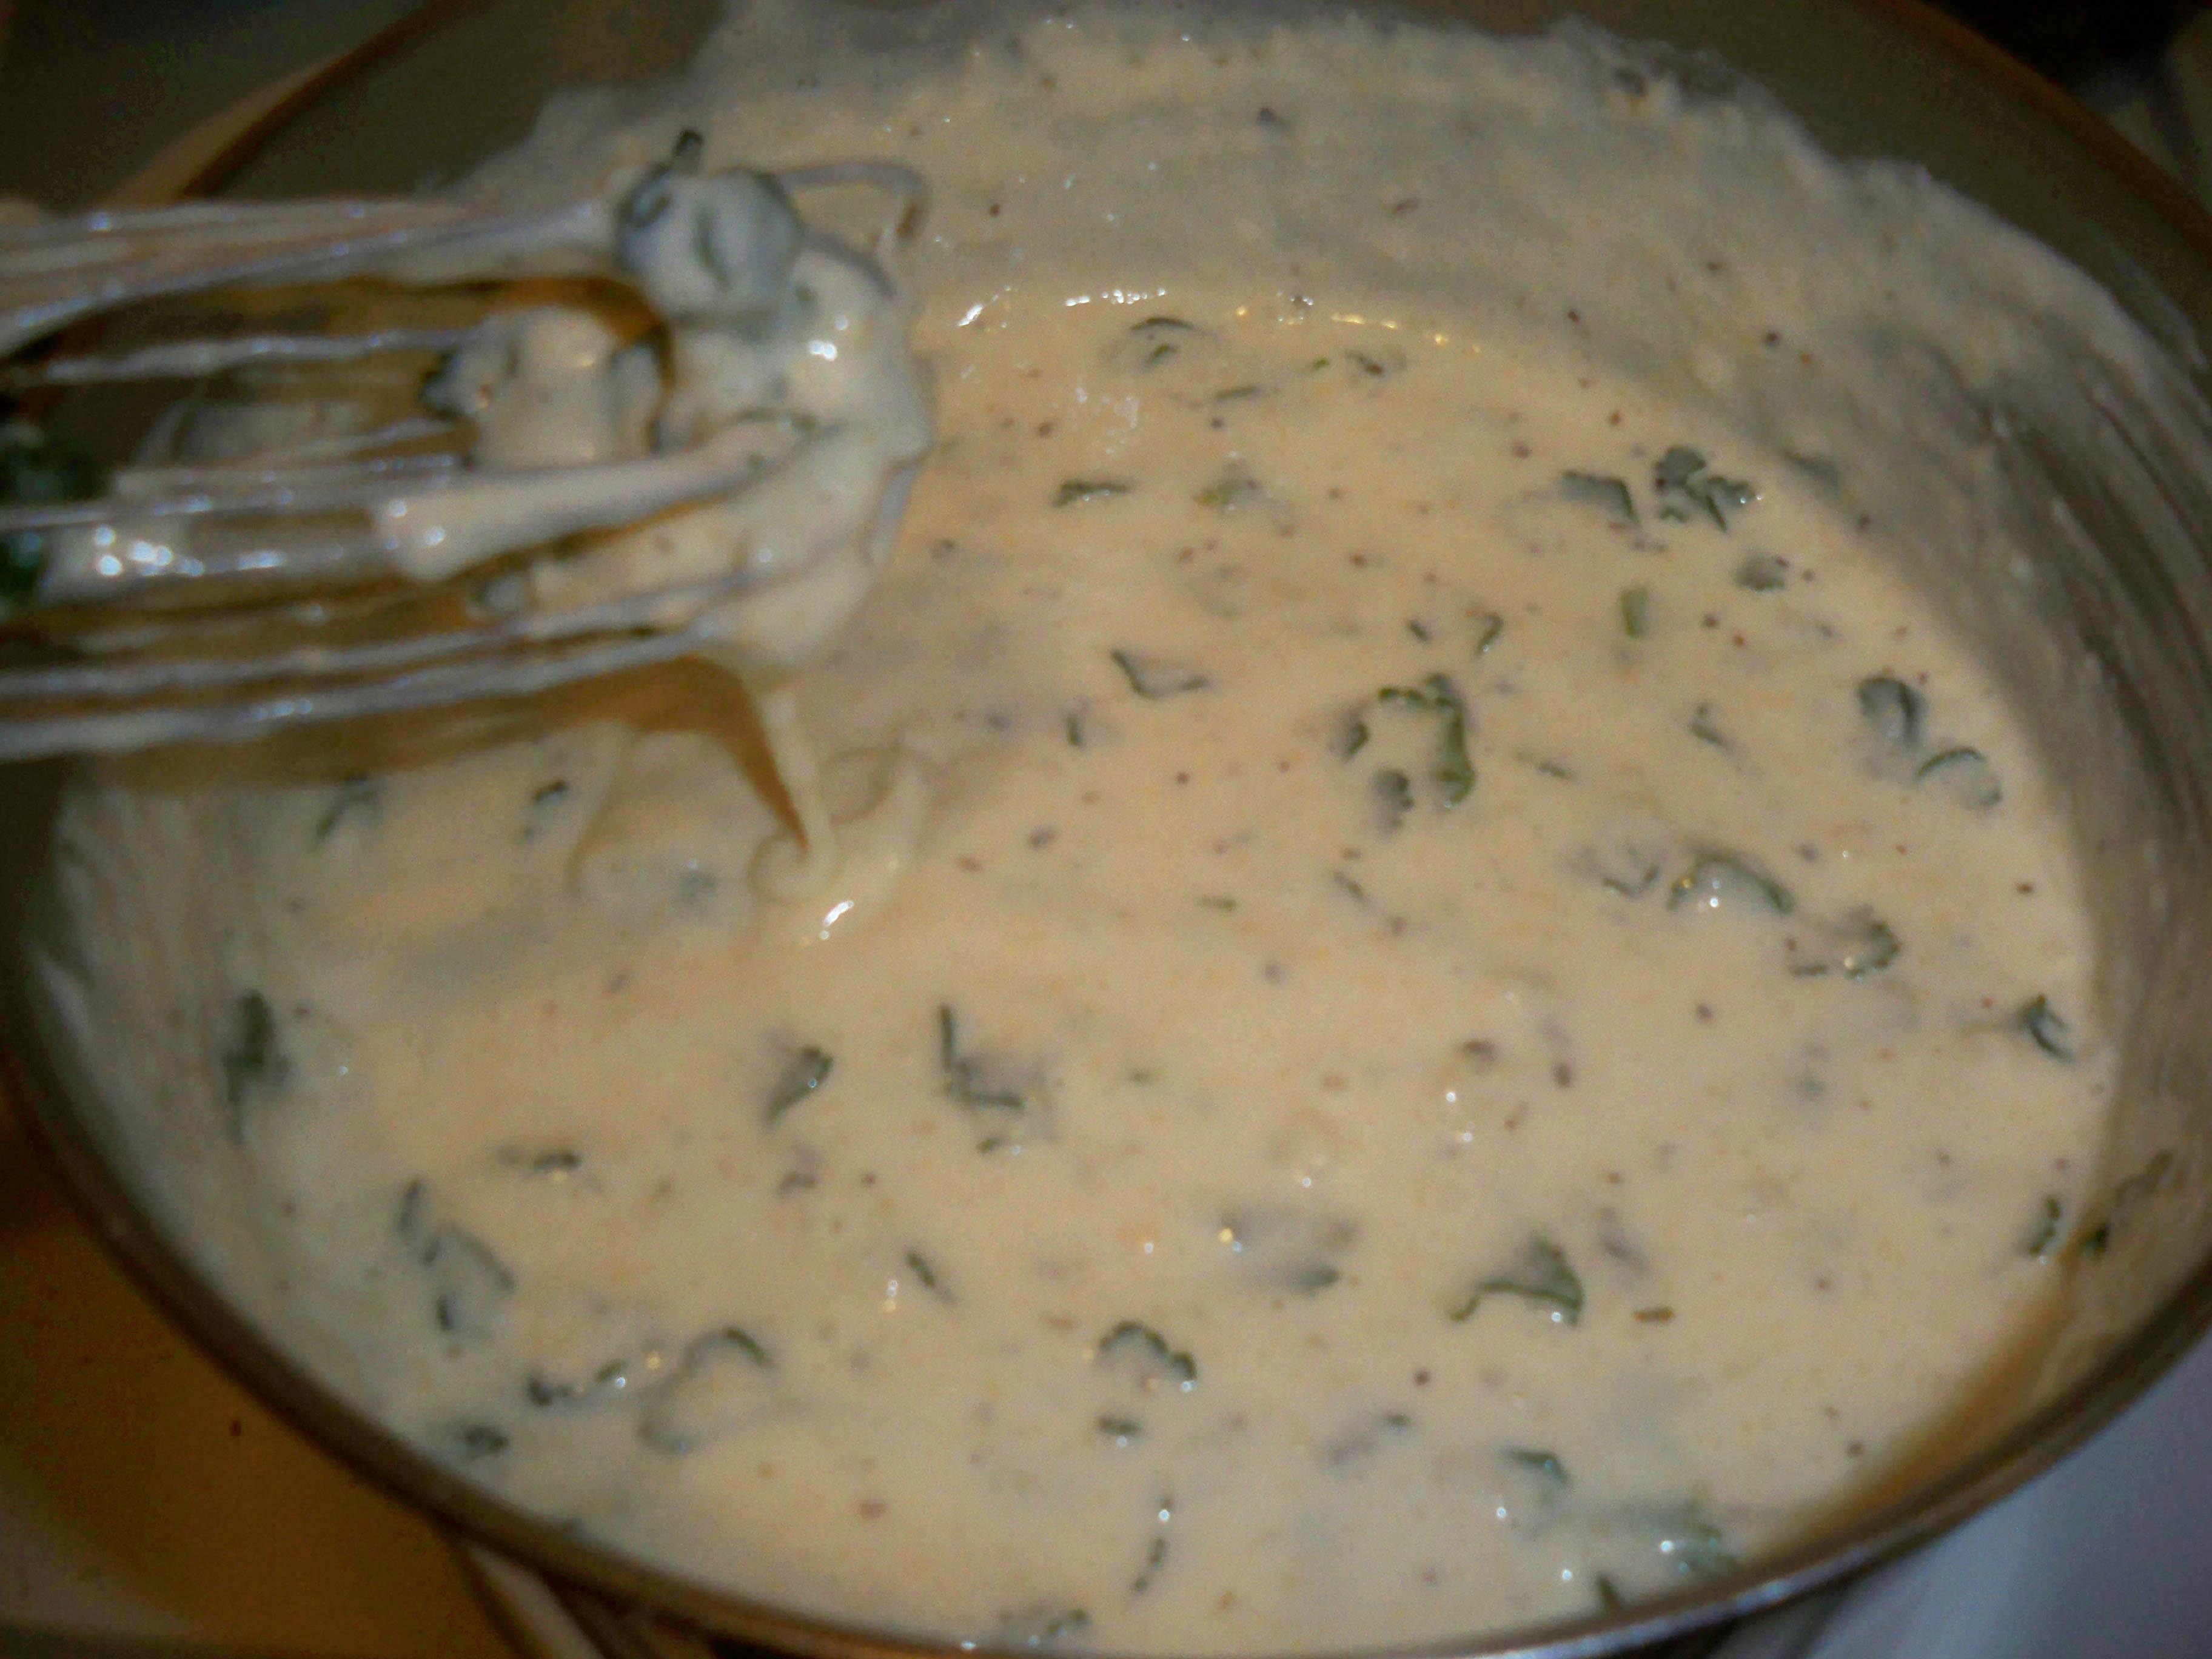
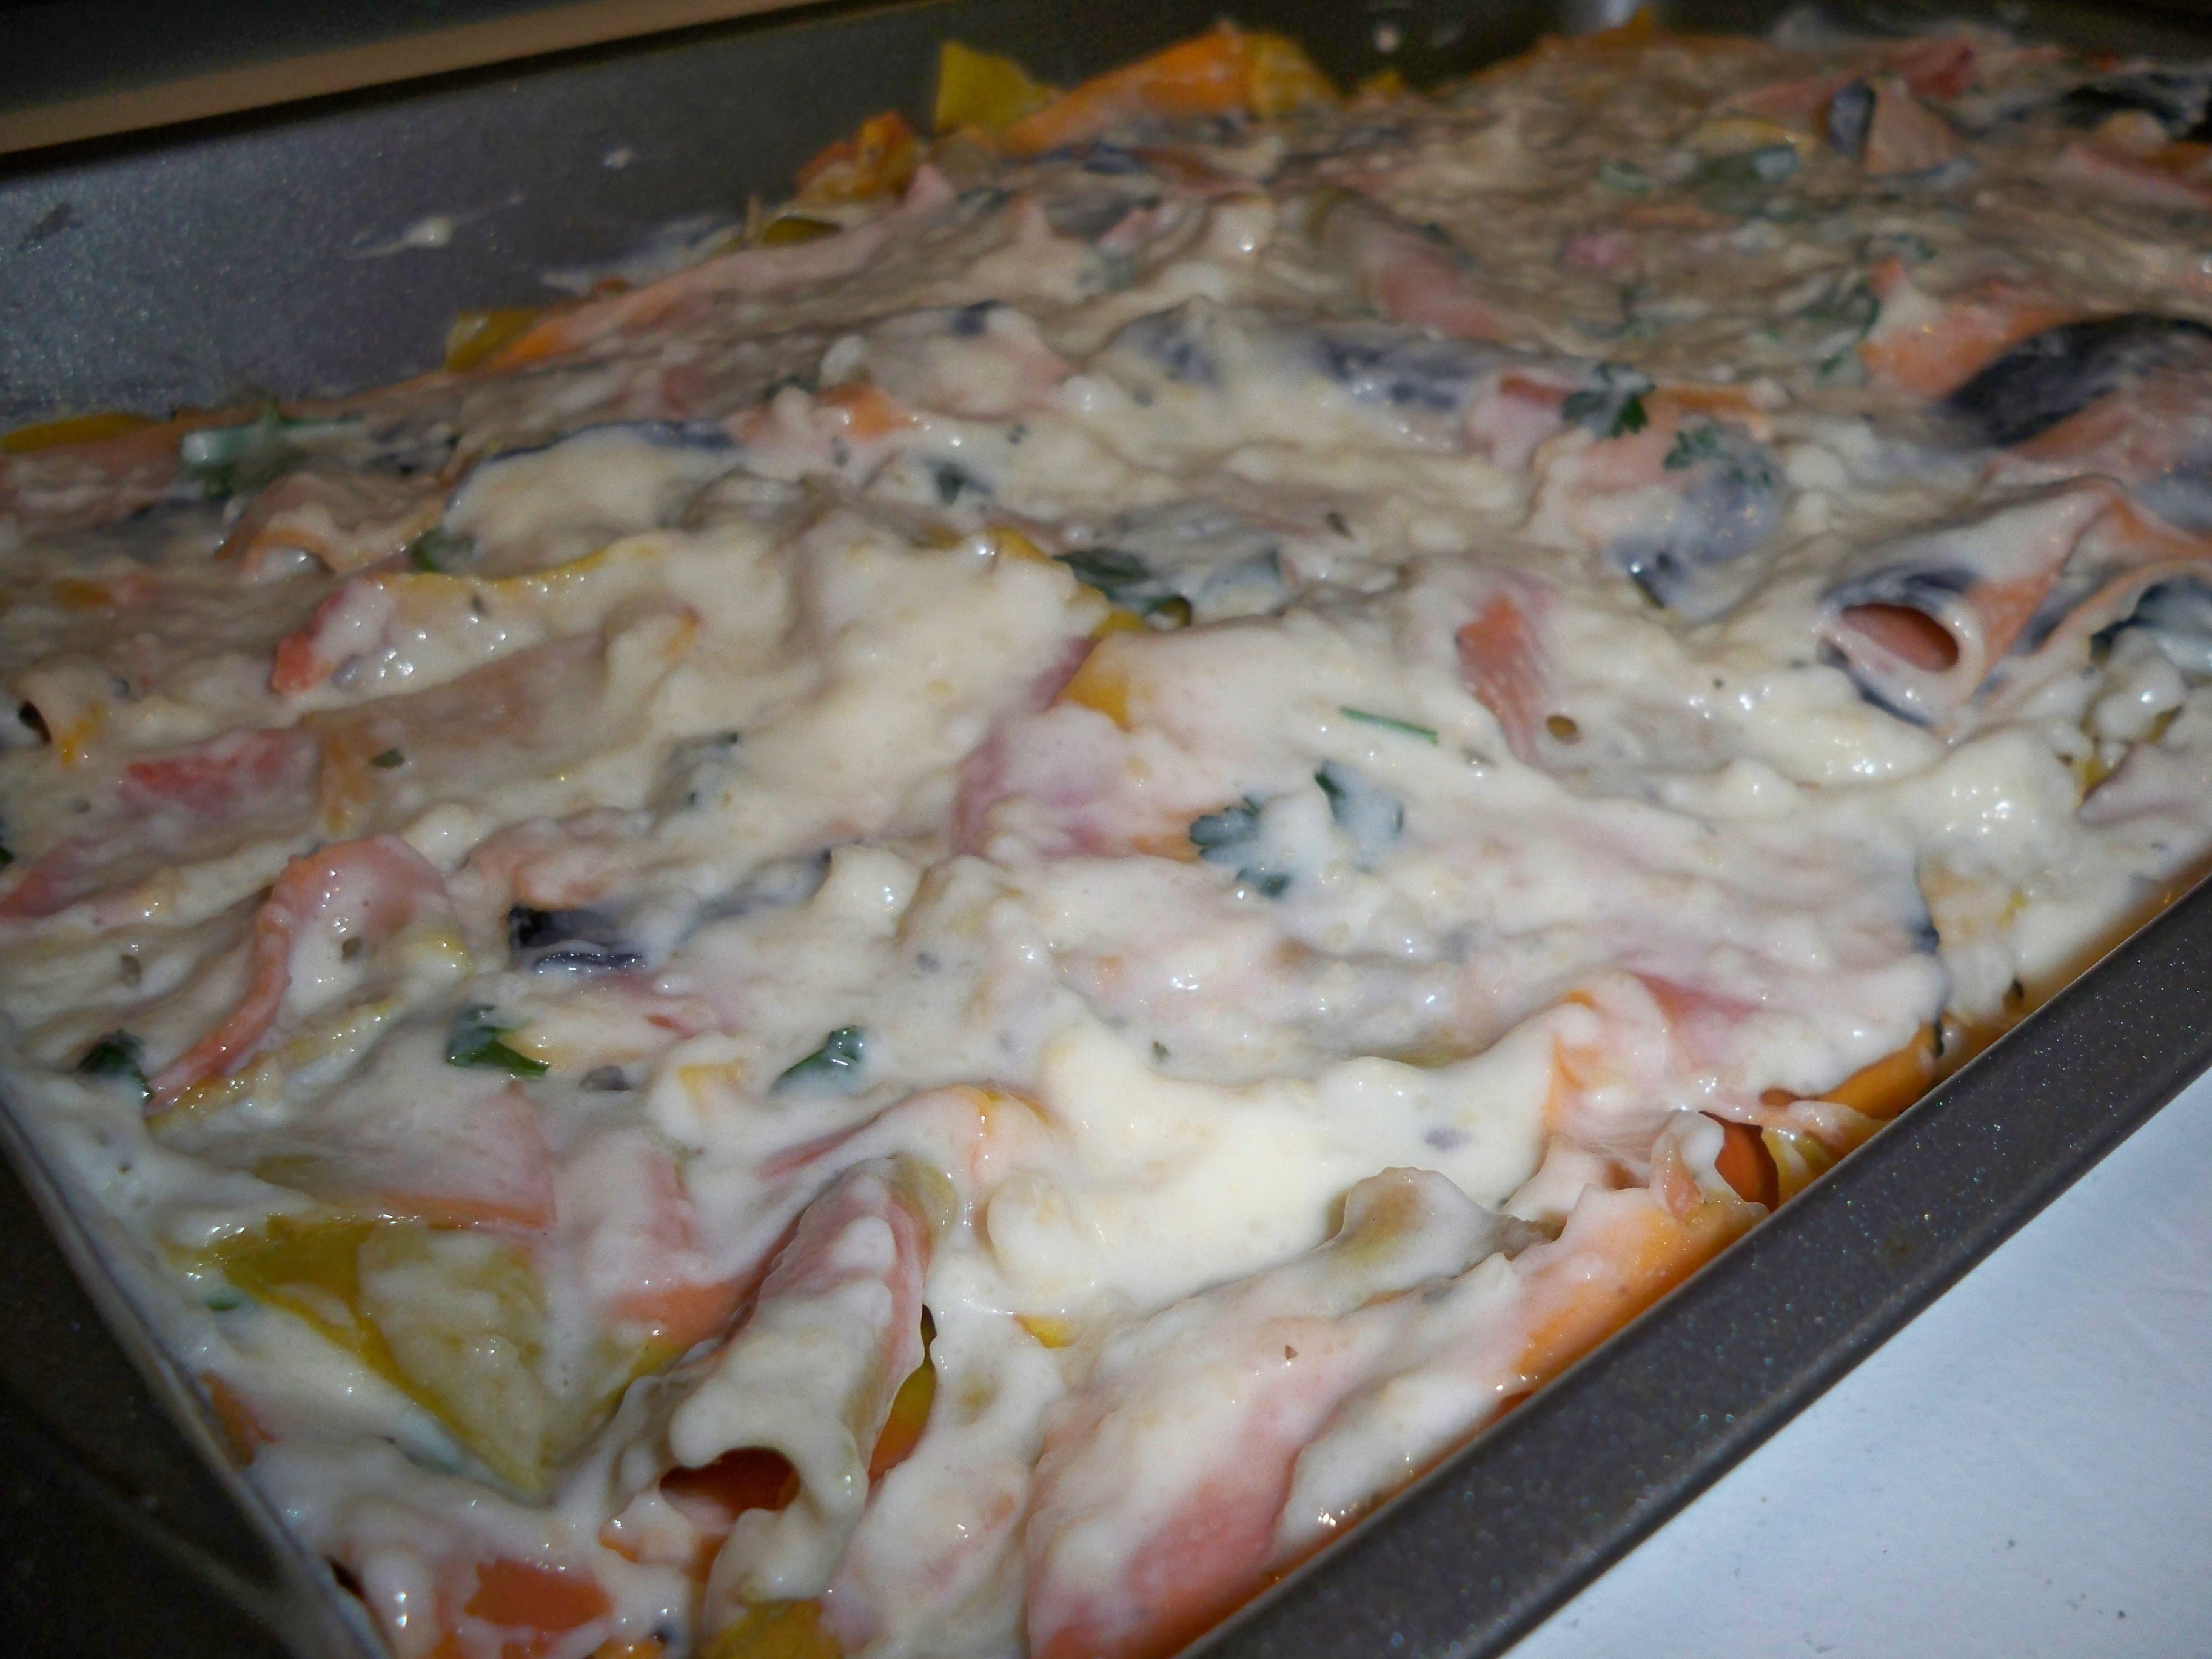
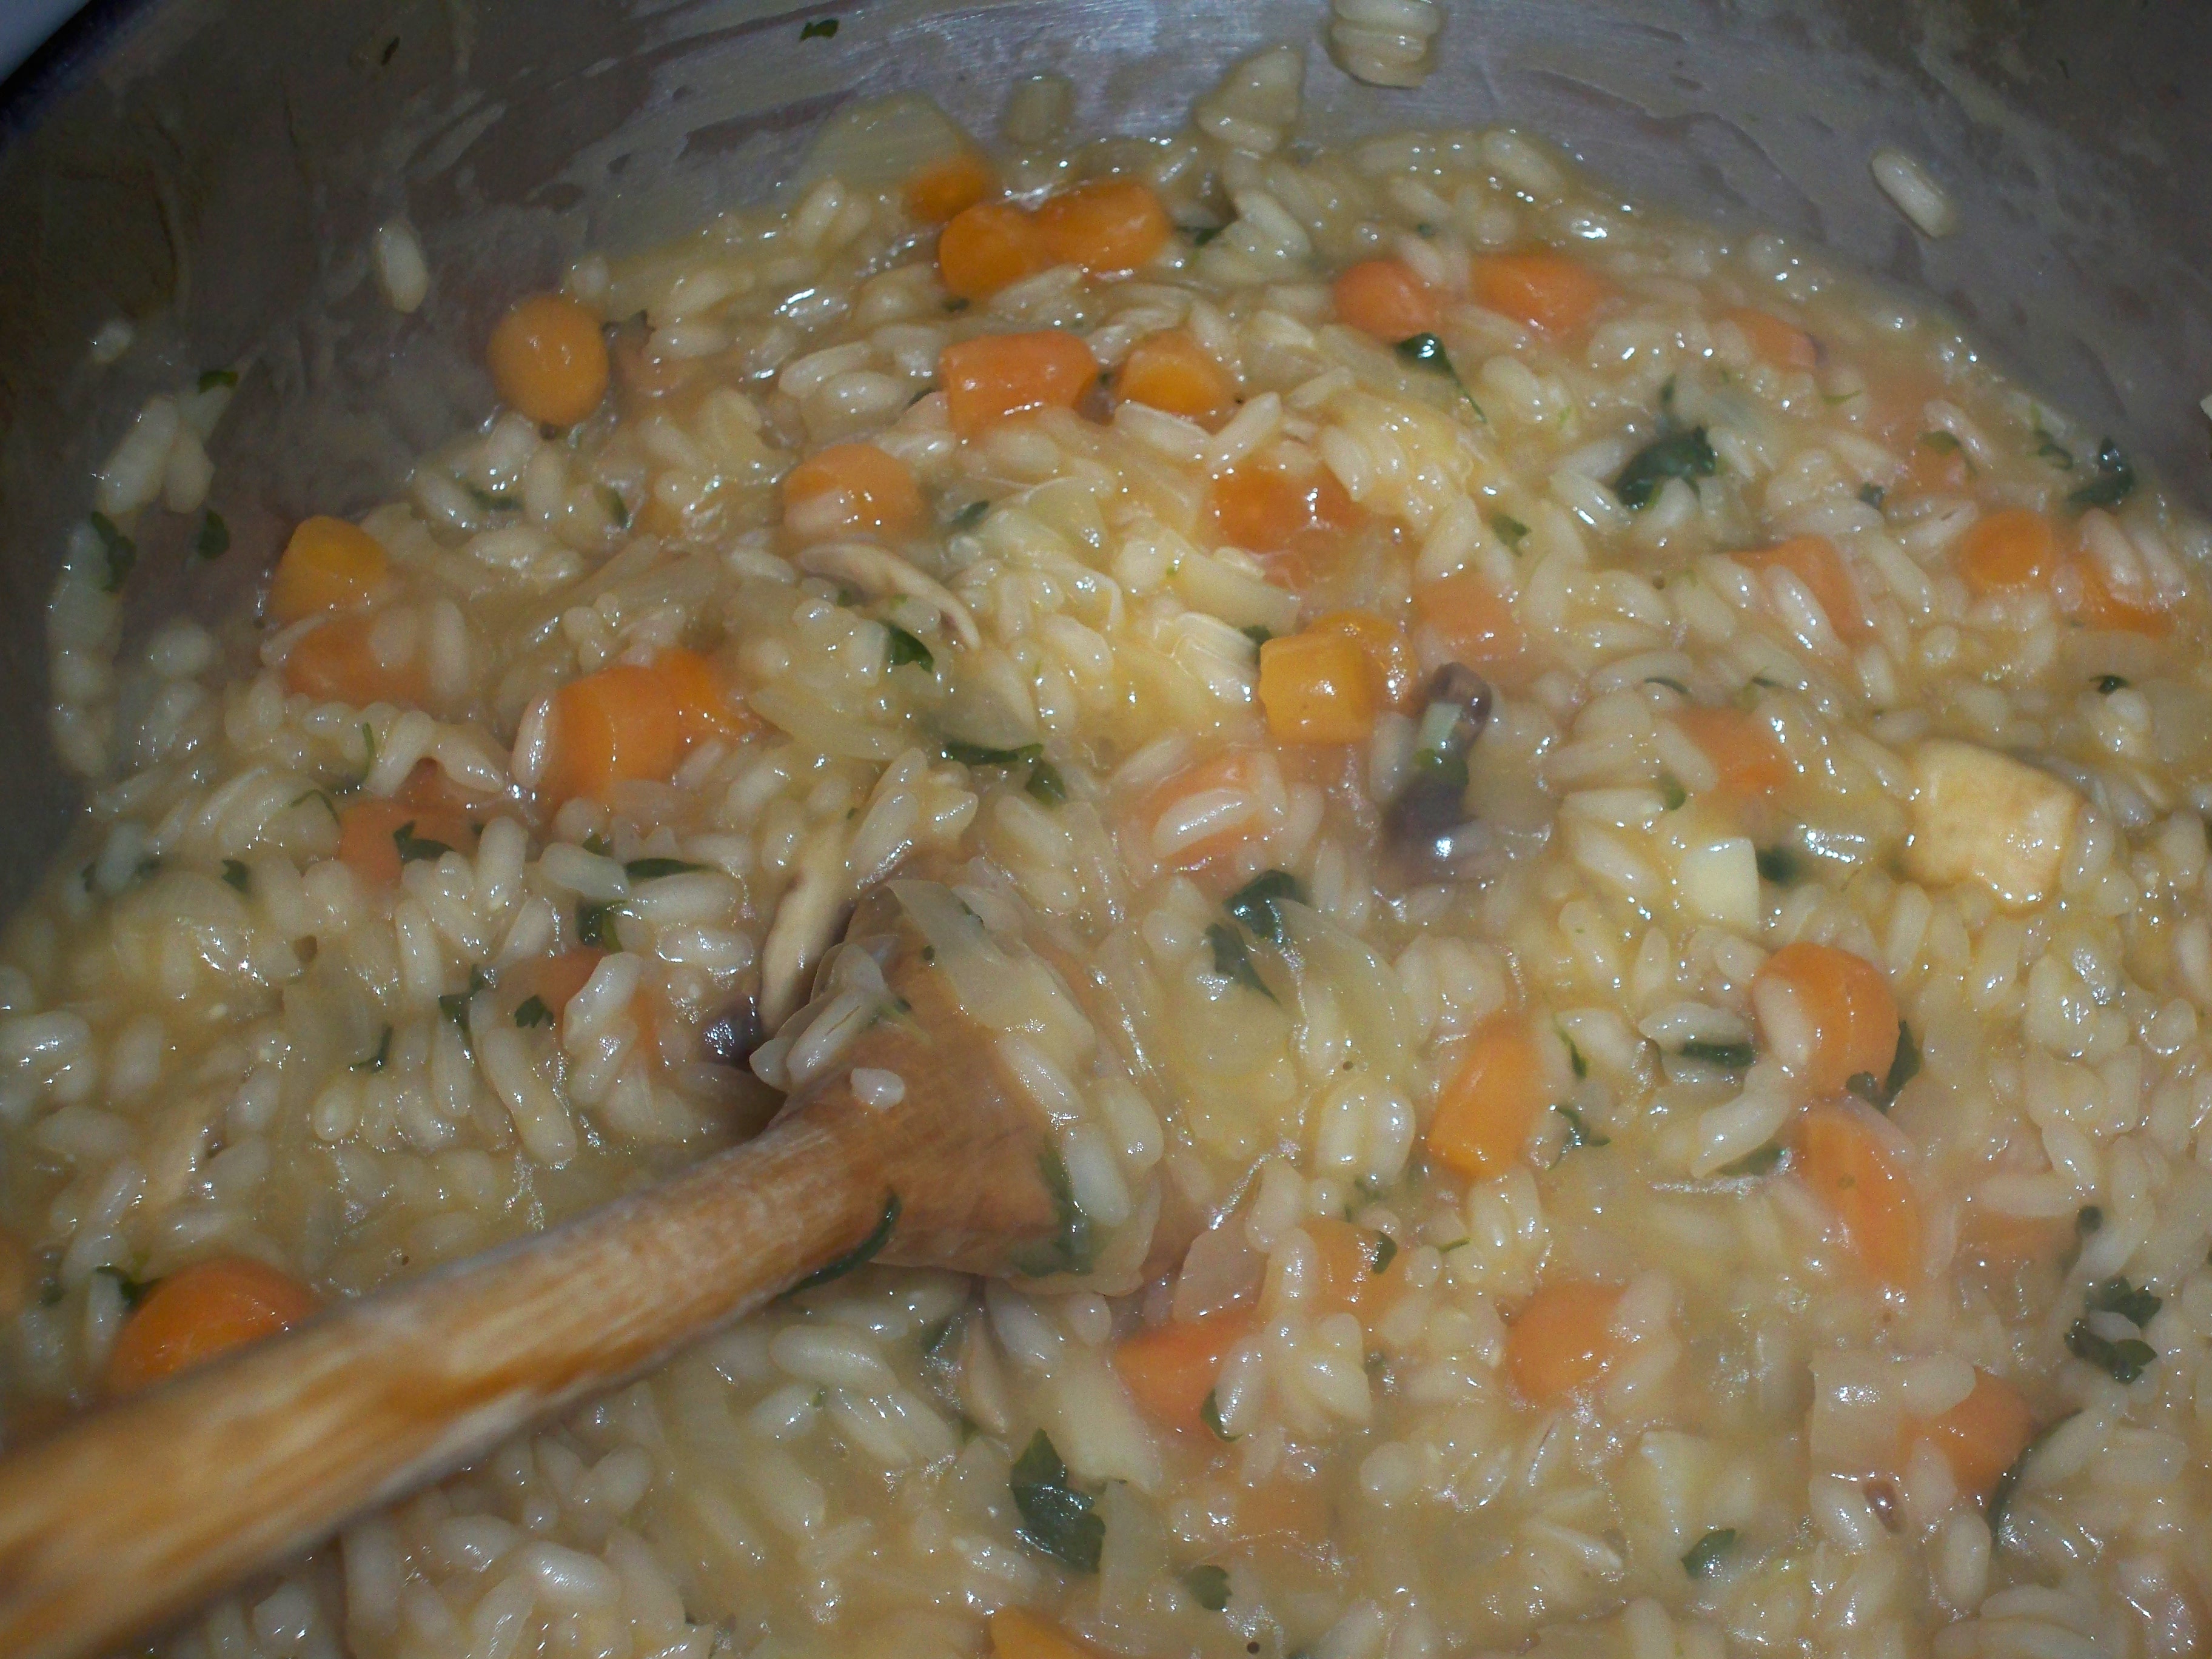
Finally, when your risotto is no longer liquid and runny, add salt and pepper to taste. Pat yourself on the back, you did it! This yummy risotto is filling, so after all that work, when you are starving from cooking for the past 45 minutes, don’t let your eyes get bigger than your stomach!


[addtoany]

When I visited Mary’s hometown in New Hampshire last year, she took me to an adorable family owned grocery store as part of my tour. Mary used to go apple picking in their orchards as a kid. I bought this funky multi-colored lasagna there, and hand carried it back to California with me. It was only moderately successful as you can see by all the cracked noodles.

No matter, the noodles still tasted delicious. Here is my modified recipe for artichoke lasagna. It originates from my 1,001 Low Fat Vegetarian Recipes cookbook. Yes I still use cookbooks sometimes!

Prep time: 30 minutes
Cook time: 35-45 minutes
Servings: SO MANY. I lost track, seriously.

Ingredients:
Olive Oil cooking spray
1 ½ cups shiitake mushrooms
1 ½ cups chopped onion
2 teaspoons minced garlic
8 cups loosely packed spinach
1 can (14 oz) artichoke hearts
salt and pepper to taste
3 cups fat-free milk, divided
¼ cups plus 2 tablespoons flour
1 cup (4 ounces) grated parmesan cheese
½ package (8oz size) fat-free cream cheese
? cup finely chopped parsley
1 teaspoon lemon juice
12 lasagna noodles, cooked
1 cup (4 ounces) shredded reduced-fat mozzarella cheese

Directions:
I prepared everything and then refrigerated the lasagna overnight before baking. It worked out perfectly for a weeknight dinner.

Boil lasagna noodles in a large pot. I would recommend adding some olive oil so the noodles don’t stick together too much. It was definitely a problem for me. Case and point.

In a large pan over medium heat, saute mushrooms, onions and garlic.

Add spinach and artichoke hearts. Cook until spinach is just slightly wilted, around 5 minutes. Add salt and pepper to your liking, and cook for about 5 more minutes.

In a medium saucepan, bring 2 cups of milk to a boil. Add additional 1 cup of milk and flour. Whisk, and keep whisking (a lot) until everything has thickened. Remove the pan from the stove and add parmesan, cream cheese, parsley, and lemon juice. Stir until the cream cheese is melted. Add salt and pepper to taste.

In a 13×9 inch baking pan, start with a layer of noodles on the bottom. Don’t mind my super sticky noodles. It just made it slightly more difficult to layout the lasagna.

Add a layer of sauce, followed by a layer of the artichoke and veggie mixture. Repeat layers by adding noodles, sauce, and the rest of the veggies, ending with a layer of sauce.

Sprinkle mozzarella on the top and either refrigerate overnight or loosely cover with aluminum foil and bake for 35-45 minutes at 350 degrees. Let stand to cool for a bit, then dive in and enjoy!

Now, to go along with your delicious lasagna, here’s a veggie!

Asparagus with Mustard Vinagrette from Jamie Oliver’s Food Revolution:

This recipe is really more of a sauce than a recipe, it is SO easy. Use this as a side dish to compliment any meal! I’m even thinking about making this into a salad dressing it is so tasty.

Prep time: 10 minutes
Cook time: 2-5 minutes
Servings: 4

Ingredients:
1 pound asparagus
3 tablespoons olive oil
1 tablespoon red wine vinegar
1 teaspoon spicy mustard
a pinch of chopped parsley
salt and pepper to taste

Directions:
In a medium pot, bring water to boil. Chop off the bottoms of the asparagus and boil for about 3-5 minutes, depending on how soft or crunchy you want your veggies to be.

In a small bowl, mix the olive oil, vinegar, mustard and parsley. Season with salt and pepper to your liking and drizzle over the drained asparagus.

Together, the lasagna and the asparagus were a highly successful meal! I have made the asparagus twice already prior to this post. Feel free to play around with the veggies in both recipes. I definitely want to experiment more with these.


[addtoany]

Hello all! Yesterday I was lucky enough to join the folks at Fanboy Comics to be their guest on their weekly podcast. It was so fun to talk to them about how they run their podcast/website/blog, and we had a blast chatting about the week in review and what is going on in and out of the Fanboy world! Here’s a link to the podcast.

Check me out on their site, and be sure to browse around — they sure have a lot to offer. Our own Rebecca Lear helps them to produce the Katniss Chronicles, an unofficial and unauthorized audio drama based on the bestselling book series The Hunger Games, which I have been faithfully following each week! At the end of the podcast you even get a sneak peek of next week’s episode!

We’re back tomorrow with food from Ms. Becca, but for now, enjoy over at FBC!


[addtoany]

To finish up the month of February, Jennie and I chose a non-traditional recipe to round out our cumin exploration. We found this recipe for Pan-Fried Tilapia with Cilantro Orange Cumin Vinaigrette at the Rouxbe online cooking school website. The combination of cumin with orange intrigued us, as did the idea of trying out a new flavor profile. So we both tackled the recipe and were super pleased with the results.

Corelyn’s Tilapia

I was genuinely skeptical about the combination of cumin, orange, and cilantro. Those are all things I love to eat, but I was a little worried that combining three super strong delicious flavors would result in something unbalanced and less than delicious. As it turns out, my fears were completely unfounded. The result was 100% delicious. So, I’m here to tell you. Don’t be scared.

After juicing the oranges and setting the juice over heat to reduce, there was a lot of time to wait around for it to reduce and then cool. I did my best to be patient and fill that time with other productive things. So, I toasted my cumin seeds and ground them with a mortar and pestle, I fried some capers, I picked the individual leaves off a cup’s worth of cilantro. I salted and pepper both sides of my tilapia fillets. Then I got impatient and hungry. As a result, my orange juice did not reduce sufficiently, nor did I allow it to cool completely before adding it to the rest of the mixture. Oops!

Pan-frying the tilapia took about 5 minutes. Tops.

As previously mentioned, I was impatient and did not allow my orange juice to reduce enough. So, my vinaigrette was pretty liquid-y, but still completely delicious. Scroll down to Jennie’s pictures to see what this sauce should actually look like.

My fish stuck to the pan a little bit. (I passed this knowledge along to Jennie who was cooking her fish a couple hours after me and cautioned her to use the cast iron skillet.)

The end result was completely delicious. I ate this at 7 pm, watched Jennie cook her own tilapia over video chat, ate another helping as a midnight snack, then used the leftover sauce to marinate tuna steaks the following day. I call that a success.

Jennie’s Tilapia

So as Cor mentioned, I made my fish whilst video chatting with her, thank God because otherwise I, too, would have been too impatient to wait for the orange to reduce the proper amount. Luckily I was distracted and nearly over-reduced.

Please note the above oranges: the one on the left is a Cara Cara, and the one on the right is an orange from the tree in our front yard. Oh, how I love California!

Per Corelyn’s mention of the orange taking a while to cool, I stuck it in the freezer while I put all the other ingredients in the blender.

I used parsley instead of cilantro, because as you know, I do not like the green devil.

I also didn’t have cumin seeds, so I used regular cumin.

The tilapia I used didn’t really stick, because I used the cast iron. I appreciated the grapeseed oil, as it has a higher smoke point, and even cooked the fish.

I ate mine with rice pilaf and arugula, and it was amazingly delicious, even without cilantro, I can assure you. Either way though, this recipe was awesome, and I halved mine, so I can say it is easy to make even just for two instead of four! How would you change it up?


[addtoany]

Ciao, chickens.

Not so long ago, I picked up this edition of Bon Appetit:

source

I believe you know that the only logical thing to do after feasting your eyes on a cover like that is to commit to making that recipe.

I will admit, I had my doubts.

Mostly around starting a grease fire in my kitchen.

I put together a test crew of my closest friends (who I knew would forgive me should things go awry) and heated up a skillet of peanut oil.

The result was actually quite delicious.

You can find the particulars here, which I closely followed, due to having no actual idea how to fry chickens.

This recipe yields a bit of a spicy bird, but if you can stand the heat, I’d say don’t skimp on the cayenne. It really kicked things up a notch.

Things I learned: it takes oil awhile to heat up, so be patient.

Do not just turn it all the way up and hope for the best.

Also, fried chicken is the most delicious thing ever. Far more delicious than you even think- especially because it’s homemade.

You can feel the love.

Instead of photos, I documented this in a grainy, sort-of-funny and mostly informative video.

And now, I share with you, the deliciousness that is a fried chicken.

Go forth and purchase peanut oil, chickadees. You will not regret it.


[addtoany]