Gluten Free Mozzarella Sticks | Garlic, My Soul

We’re on a small fried food kick here in the GMS community. Fried foods make my southern soul indescribably happy – harkening back to grandma’s kitchen, county fairs and a stint in which a part of my job involved deep frying homemade tortilla chips for upwards of 600 people per meal. But those are all stories for another day.

Gluten Free Mozzarella Sticks | Garlic, My Soul

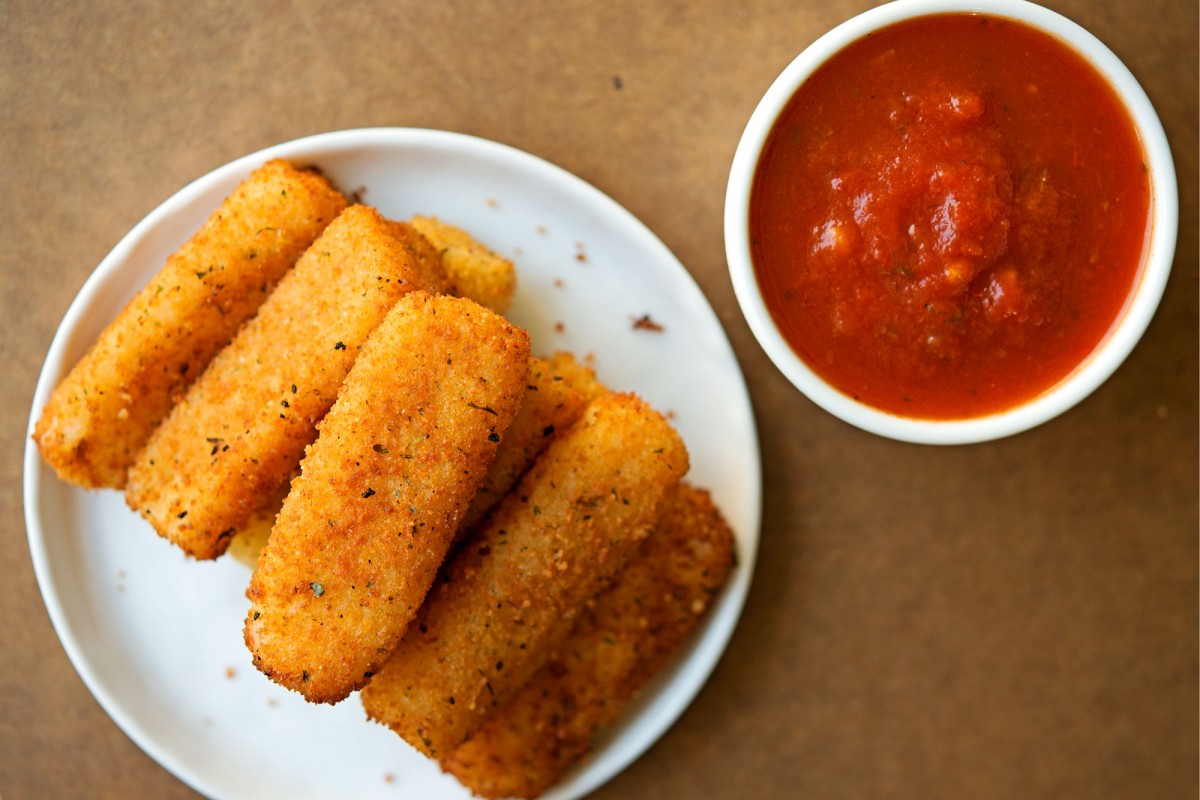
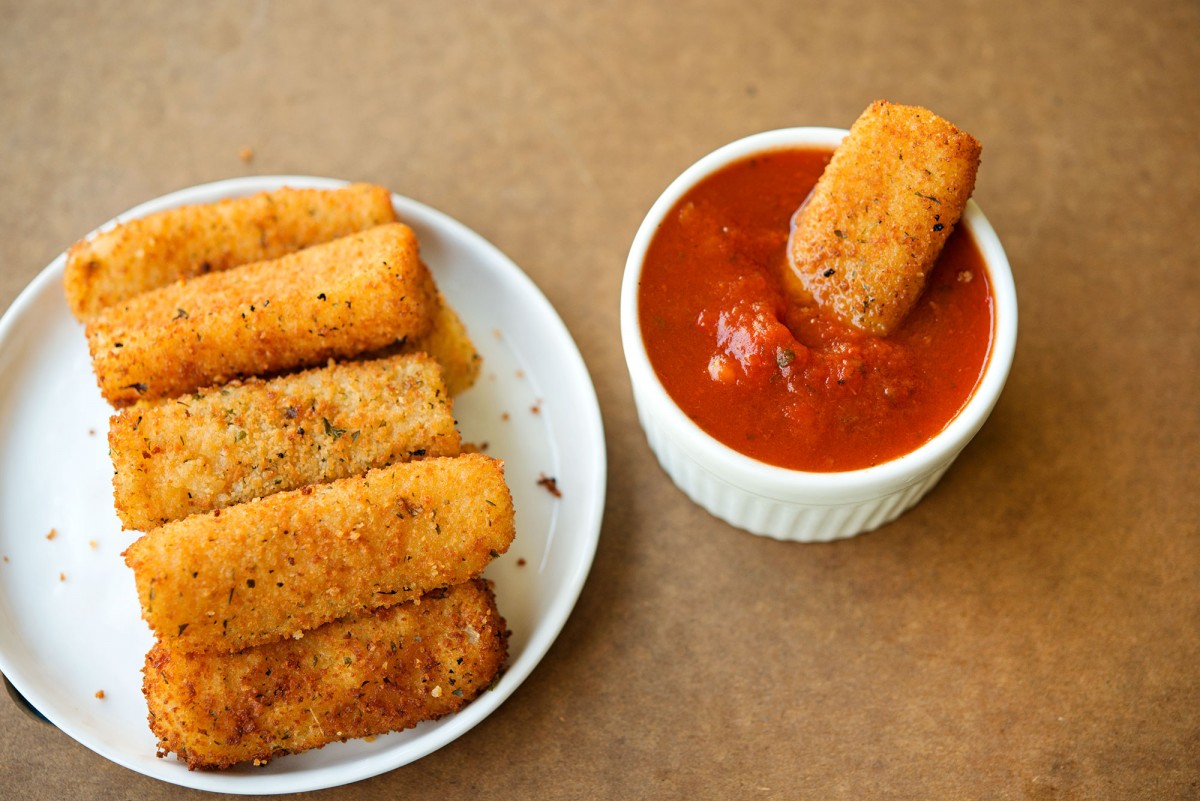
Today we’re funneling all our good fried foods mojo towards those gluten free-ers among us. Like with most gluten free recipes we make, this one was born out of a desire to bring our gluten free friends (aka, selfishly, me) those things they don’t often get (outside of the Whole Foods frozen section or hippie Boulder, Colorado).

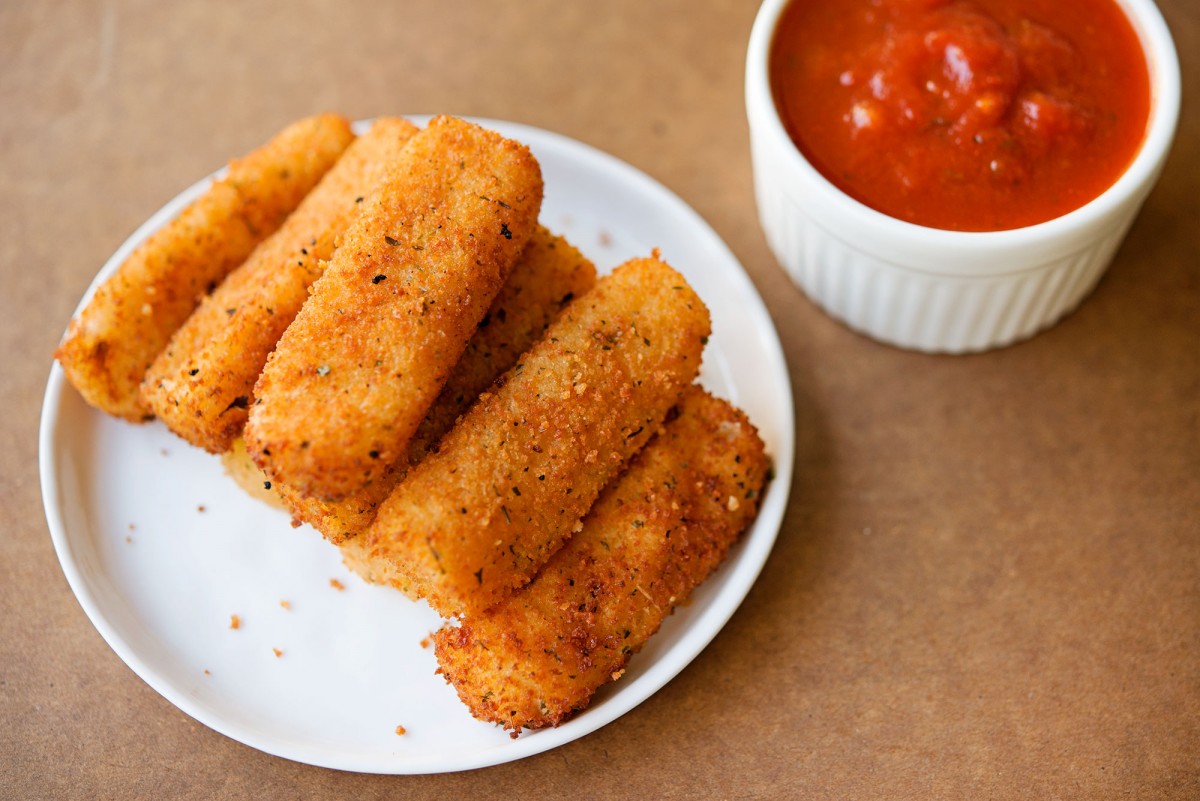
This recipe may seem complicated, what with all those spices and the frying, but I honestly can’t think of a recipe more “pinterest fail” proof than this one. I haphazardously started this recipe without a deep fryer, the proper amount of oil or even a truly reliable stovetop for that matter and my mozzarella sticks turned out better and more Virginia-county fair beautiful than I could have hope for.

Gluten Free Mozzarella Sticks | Garlic, My Soul

You can even save some of the batter when you’re done and make a small foray into other fried foods. Because there are okra, oreos and, let’s face it, butter out there just waiting for a good deep fry.

Gluten Free Mozzarella Sticks | Garlic, My Soul

Ingredients

1 cup white rice flour
½ teaspoon chili powder
½ teaspoon cumin
½ teaspoon cayenne pepper
½ teaspoon salt
¼ cup parmesan cheese
2 egg yolks
1 cup fizzy water
gluten free bread crumbs
frying oil
20 mozzarella sticks (I halved mine)

Directions
1. Whisk together all dry ingredients, leaving out the bread crumbs for rolling later.
2. Add in the fizzy water and egg yolks.
3. Set aside for 5-10 minutes. The rice flour needs a minute to absorb the liquid and settle.
4. Preheat oil (deep enough to fully cover the mozzarella sticks) in a deep fryer or skillet to near 375 degrees.
5. Spread GF bread crumbs evenly across a plate.
6. Coat your first mozzarella stick fully in batter.
7. Roll in bread crumbs.
8. With metal tongs, lower the coated mozzarella stick into the heated oil. Allow 30 seconds to 1 minute – depending on your stove. I kept an eye on mine. The cook time varied as the oil temperature fluctuated.
9. Remove from oil just before it turns fully golden brown (it will continue to cook even after removed) and place on a plate with a paper towel to drain the excess oil.
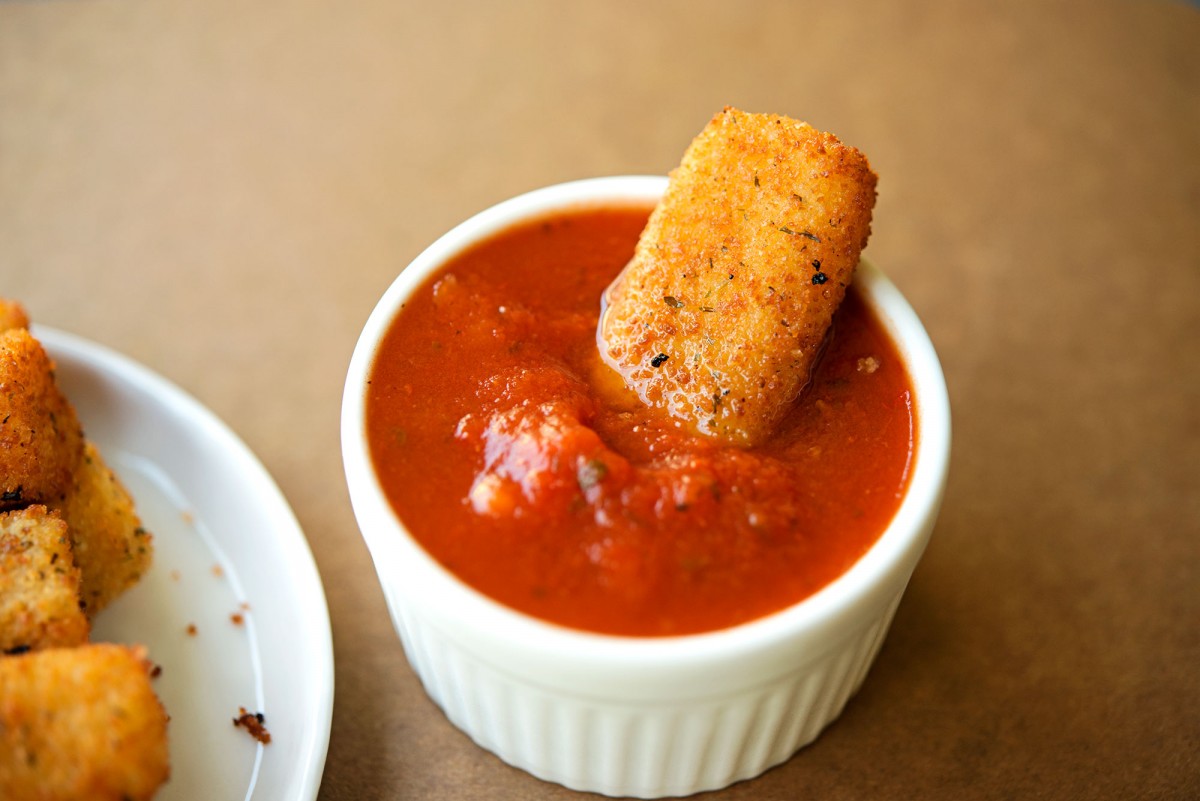
10. Allow to cool from the scorching temperature it will be straight from the fryer but best served hot and melty with marinara sauce. Dig in, gluten free or not.



[addtoany]
Categories: Gluten Free, Snacks | 1 Comment

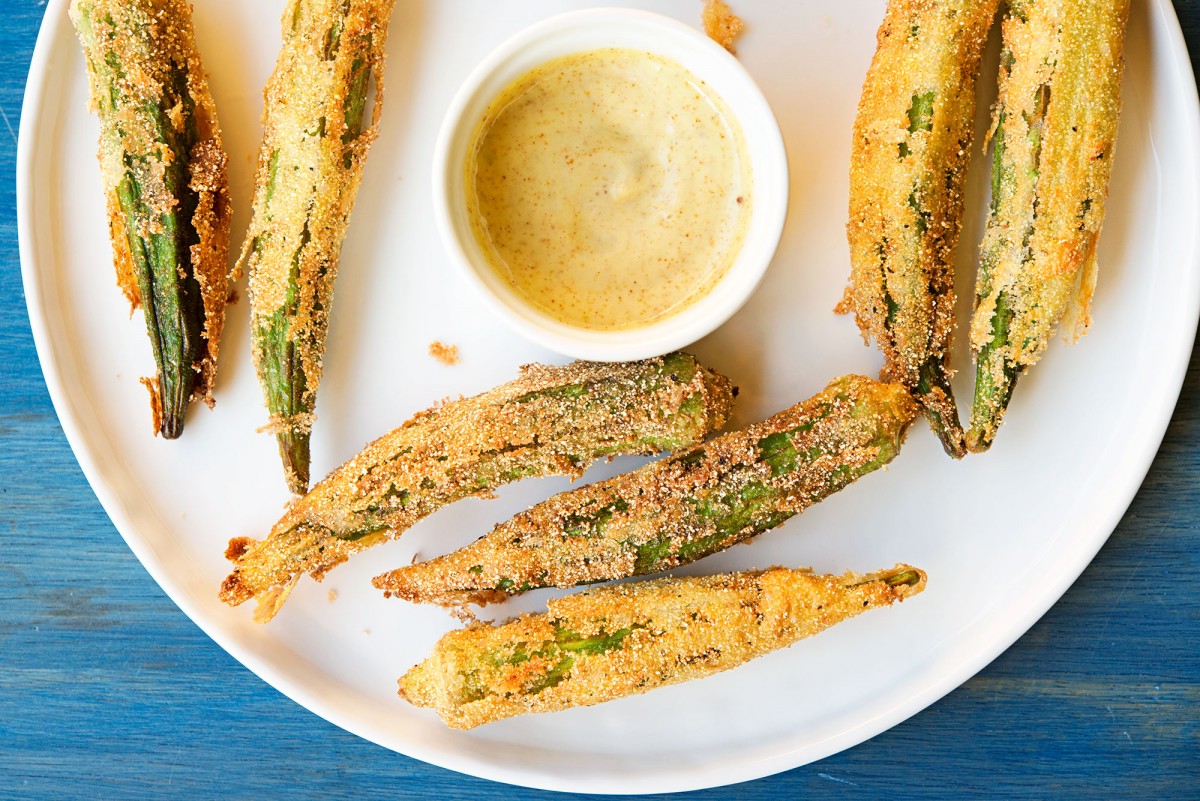
Last week, Jennie and I found ourselves at the Hollywood Farmer’s Market searching for inspiration among the piles of summer vegetables. When we found a stash of gorgeous okra, the memory of an exceptional batch of fried okra that I enjoyed at an Atlanta restaurant in 2011 came rushing back to me.

Whole Fried Okra | Garlic, My Soul

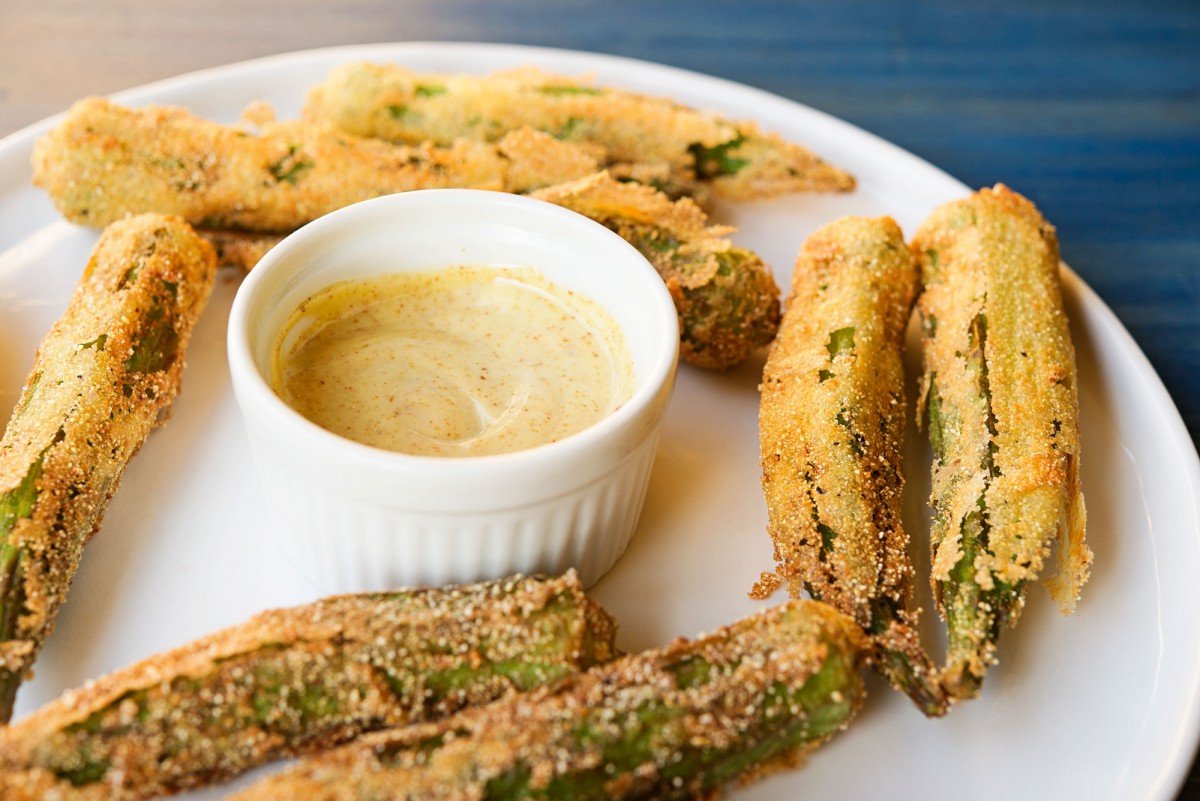
I remembered that this restaurant cut their okra in halves, lengthwise and fried them in long skinny strips rather than tiny rounds. The result was more okra and less breading, allowing for that indulgent fried taste while actually being able to taste the vegetable underneath. We thought, why not take it a step further and just fry them whole?

Whole Fried Okra | Garlic, My Soul

This may have been the best decision of our lives. The result was even better than we could have imagined, thanks to the flavorful, fresh okra we used. Using some of our freshly made from scratch mayonnaise, we whipped up a quick remoulade to serve with these and promptly devoured every last one.

I truly don’t know how we will stop ourselves from making this every weekend. Will you be giving it a try?


[addtoany]

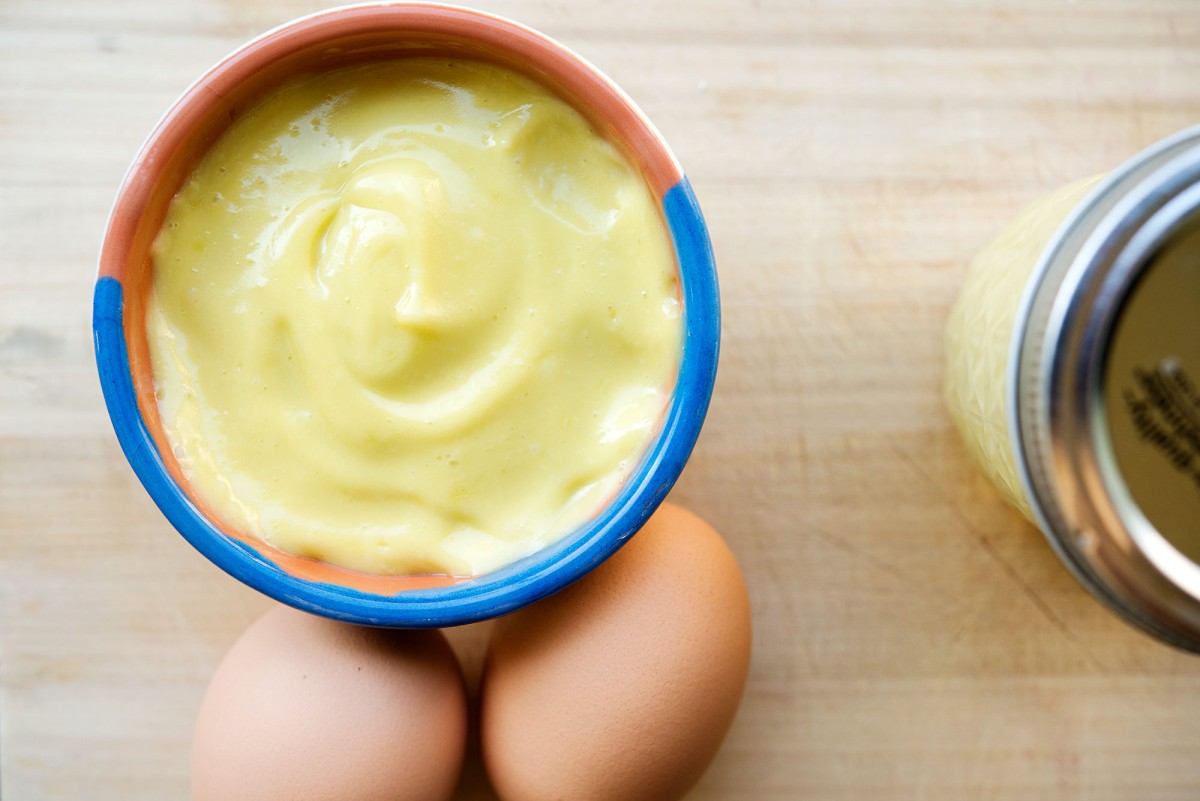
“After 1/3 to 1/3 cup of oil has been incorporated, the sauce will thicken into a very heavy cream and the crisis is over. The beating arm may rest a moment.”

Julia Child's Mayonnaise | Garlic, My Soul

These are actual directions from the mayonnaise recipe from Julia Child, Louisette Bertholle, and Simone Beck’s first book, “Mastering the Art of French Cooking.” These very directions are what make me love Julia Child. Today is her birthday, and in honor of her, we wanted to make something from her first cookbook.

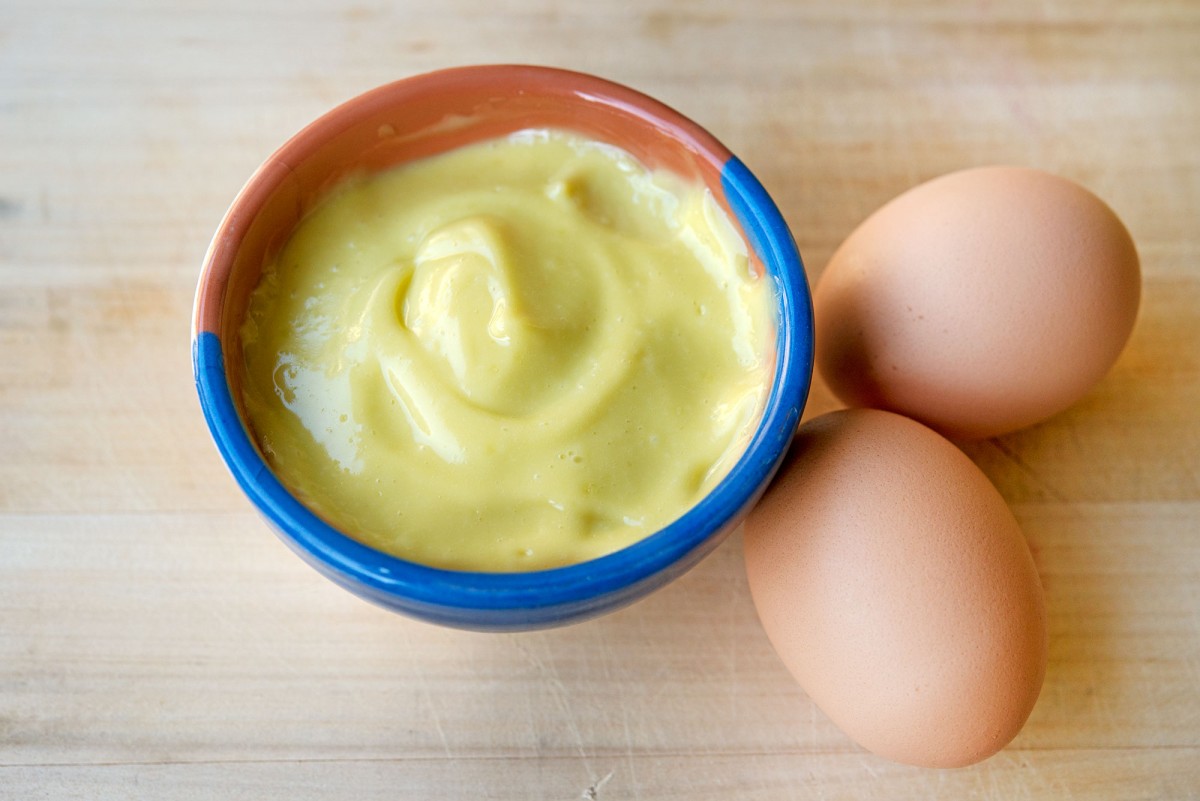
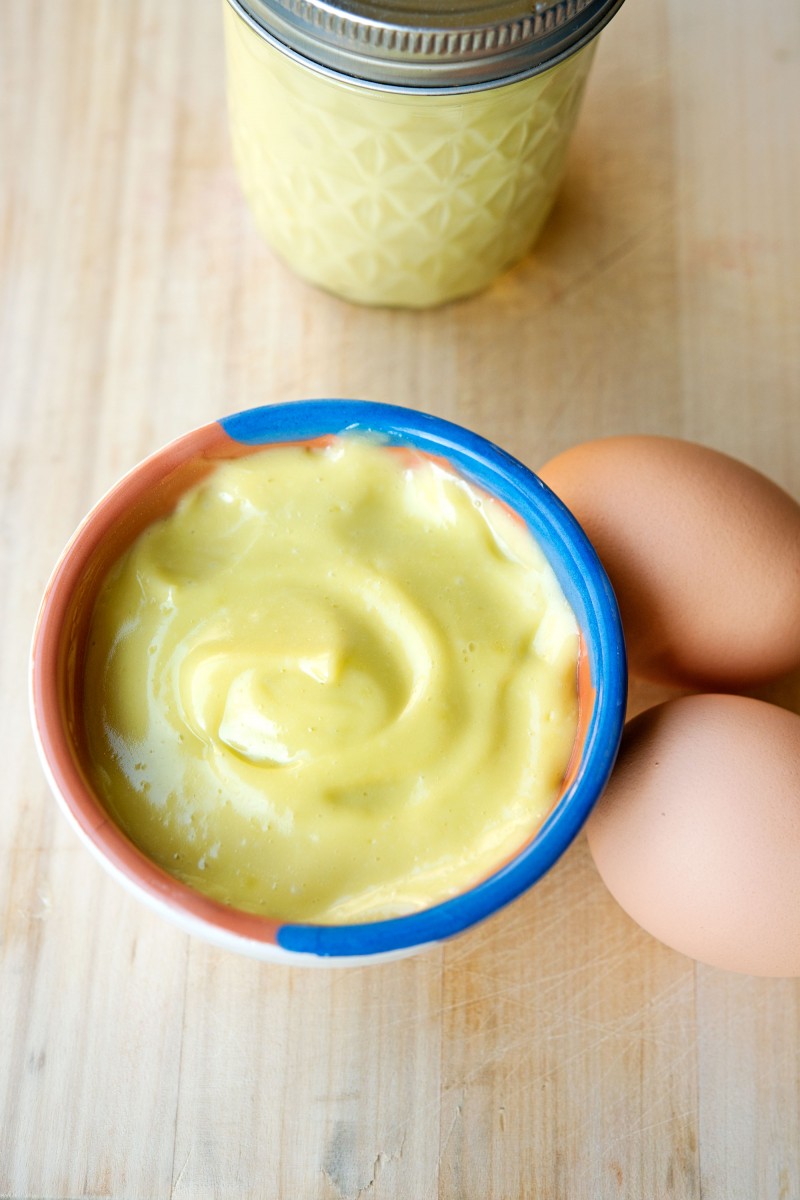
We settled on mayonnaise because in her book, “My Life in France” she talks about developing the recipe a few times, and it really stuck out to me how she took something that seems overwhelming hard but is actually quite simple, and she explains it in GREAT detail that is all necessary but shows you the way to a mayo so delicious that you will never want to make store bought again!

Julia Child's Mayonnaise | Garlic, My Soul

Now, we’d be remiss if we told you that this went great the first time we tried it. I followed all of Julia’s instructions, the first being to read through the entire recipe before starting. Corelyn and I attempted to use the mixer, because Julia said we could, and it turned out to be a disaster. There was simply not enough egg yolk in the bowl to mix! If we were making a large quantity I could see doing it in the mixer, but we had more success by hand. Just a note – ours is a little green because we used olive oil, but you can use another type of oil to achieve a whiter finish.

Now, I encourage you to find someone with the book, or borrow it from the library (that’s what we did – I can’t believe we don’t own it!) and read it word for word how Julia wrote it. But here’s the recipe on the Internet, too.

Here’s to Julia Child, to the joy of cooking (French or not), and to enjoying sharing the love of cooking across the world far and wide!

Julia Child's Mayonnaise | Garlic, My Soul


[addtoany]

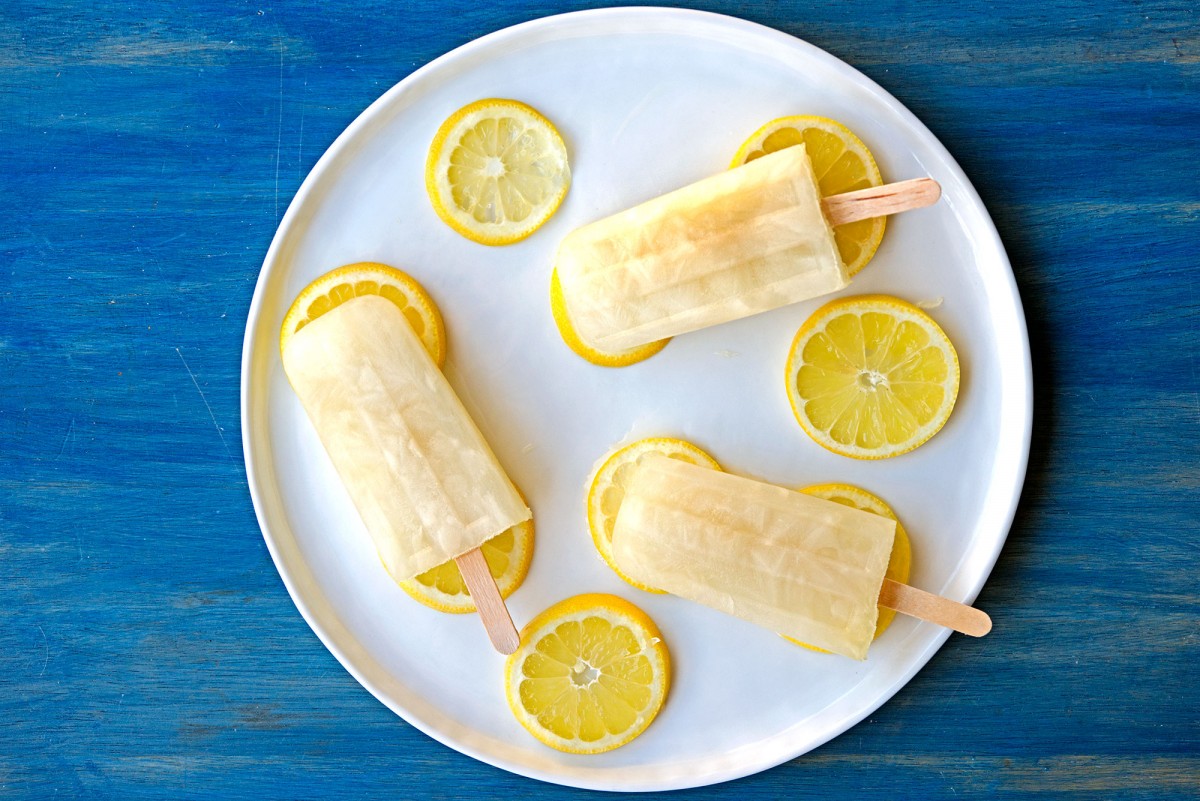
Lemon Lime Popsicles | Garlic, My Soul

You guys might not know this about me, but I love me some Shark Week. It’s one of my favorite weeks of the year (besides the week of Thanksgiving and Christmas) and it reminds me of my childhood.

When I was a kid, my sister, brother, and I would watch Shark Week every summer. We’d spew off facts about bull sharks, lemon sharks, nurse sharks, hammerhead sharks, tiger sharks, you name it – we knew them all, we knew facts about each one, and we loved to share that knowledge with whoever would listen. I watched Shark Week through college and straight on through into my adult life.

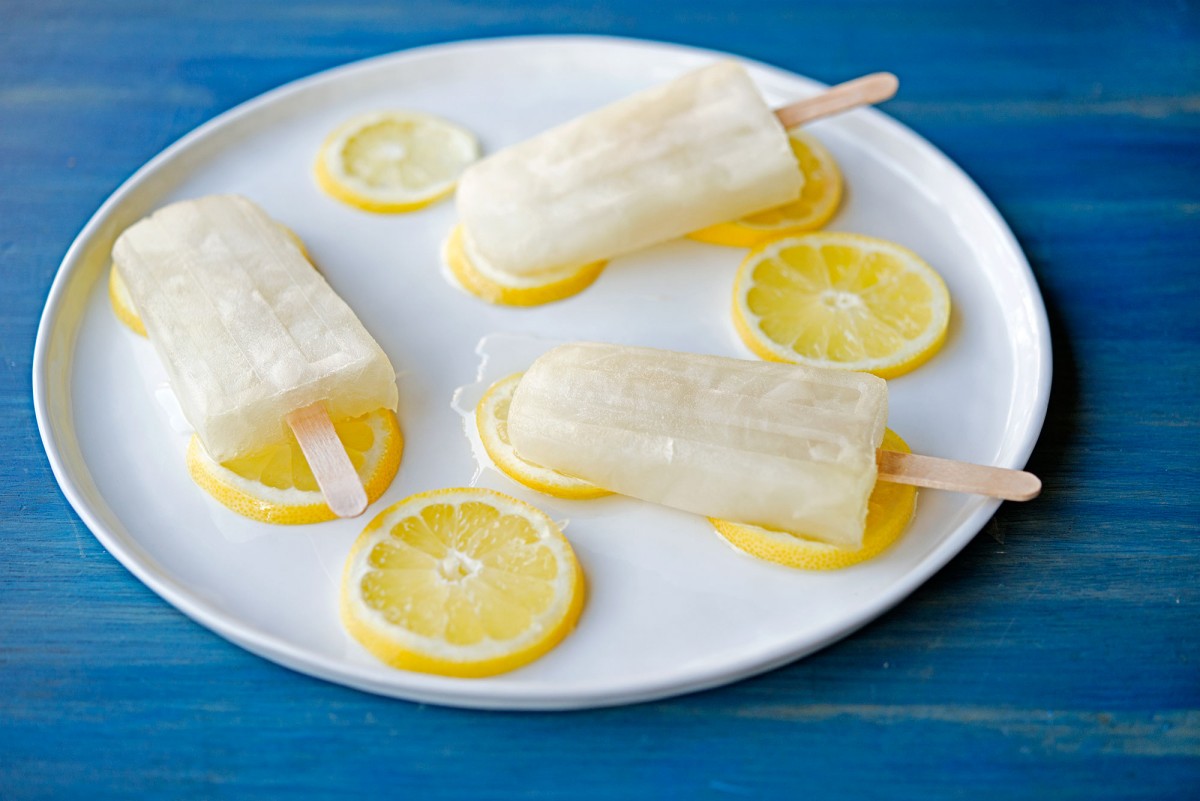
Lemon Lime Popsicles | Garlic, My Soul

When I went to China in the summer of 2008 during the Olympic, I made Jeff PROMISE to DVR the whole thing for me so I could watch it when I got back. We got rid of cable last year JUST after Shark Week ended, and haven’t missed it since until this week (but luckily I am having Ellen record some for me, and I hear it’s available on the Internet, too.) I love the tradition, I love the science, I love the art, and I love the knowledge of sharks.

Every summer, there are a few traditions I try to stick to (icebox cake, flag cake, macaroni salad, etc.) but there is none that holds as much weight as Shark Week. And so, in honor of this week and my love for it, I wanted to recreate my favorite popsicle from when I was a kid – lemon-lime popsicles.

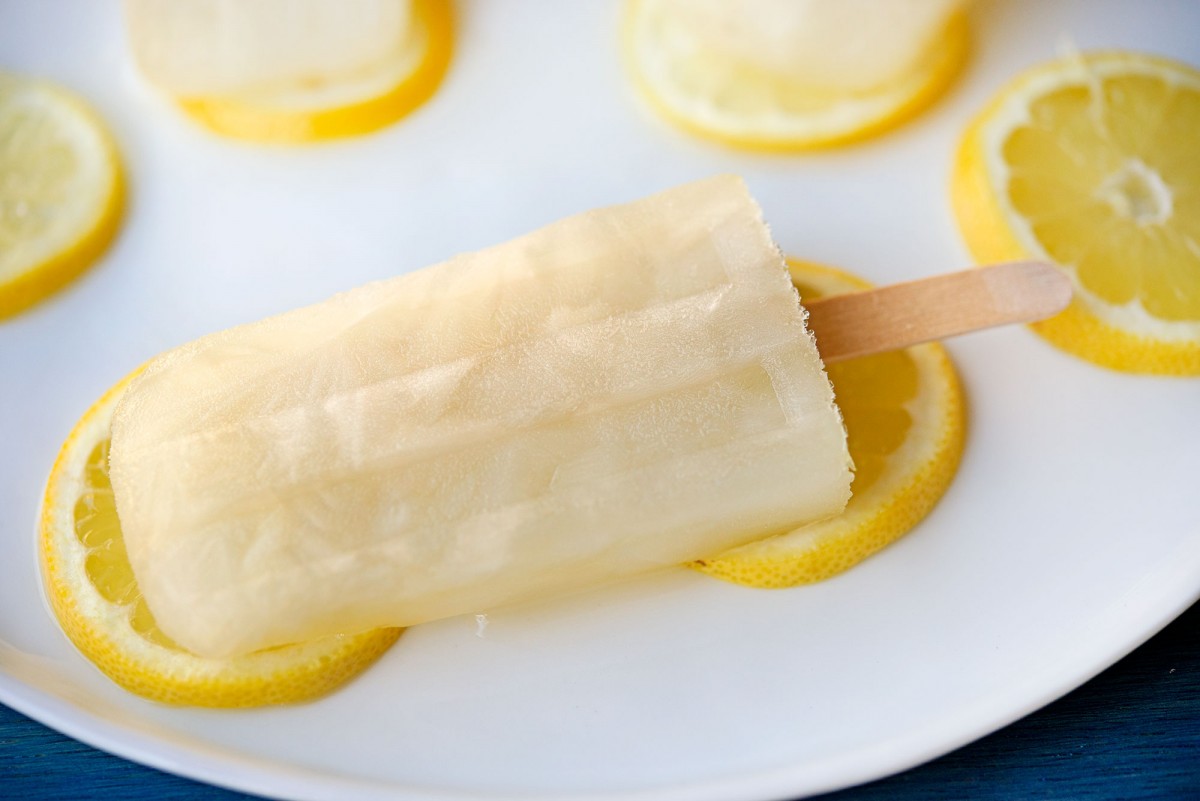
Lemon Lime Popsicles | Garlic, My Soul

Growing up watching Shark Week, the only thing I loved more than watching was watching with a lime popsicle. But I couldn’t make popsicles without including lemon, since I also wanted to throwback to the popular popsicle from the 90s (Does anyone remember the lemon-flavored shark-shaped popsicles from the ice cream man? Apparently they don’t sell them anymore, what a shame.)

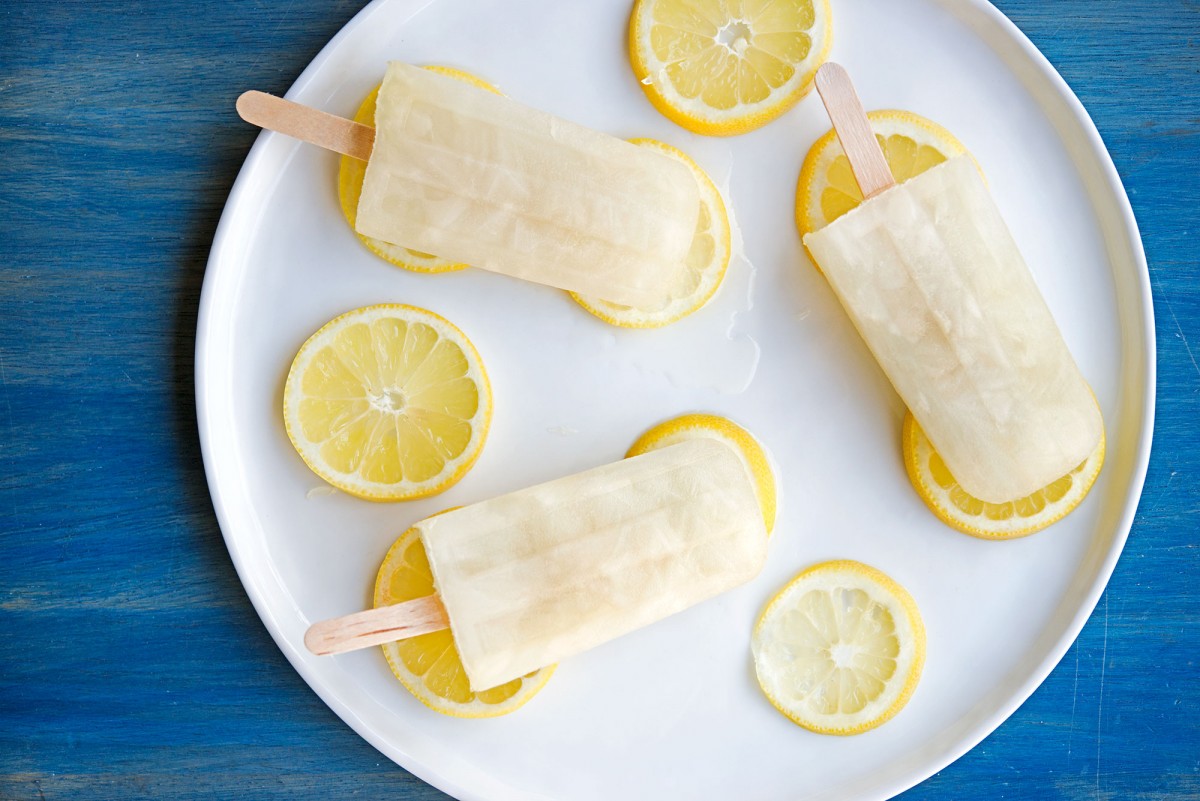
So here’s what you do: you make simple syrup (equal parts water and sugar over heat until the sugar dissolves, then allow to cool) and then you add an equal part of lime and lemon juice. I used 2 limes and 1 lemon for this recipe to make a half-cup of juice and added a half-cup of simple syrup. Then I added about two cups of water – add water to taste (final lemonade is very personal, so I leave that up to you, but here’s a recipe to help you out.) Mix well, then fill your popsicle molds and freeze.

Lemon Lime Popsicles | Garlic, My Soul

What is your favorite summertime memory from your childhood? Is it food related, or does it have to do with a place or person? Happy August/Shark Week, y’all!


[addtoany]

Chocolate / Red Velvet Half & Half Cupcakes | Garlic, My Soul

Around these parts, we love making people cakes and brownies and cookies for their birthdays. But, as we’ve gotten older people often have their get-togethers in bars and the like, making it hard for us to cart along a two layer cake. Thankfully, the stars align every now and then and we get to make a cake (or cupcakes) and share them with our friends. This year, our friend A (hi, A!) turned 30, and we wanted to make him something since he’s never had a birthday treat from the GMS kitchen.

The text convo went like this:

J: What kind of cake or treat would you like for your birthday?
A: Maybe this is totally decadent and horrifying, but some combination of red velvet and chocolate in a cupcake would be amazing, haha.
J: Can be done. You got it.

Not only was this not horrifying; it was genius. So we set out to make chocolate and red velvet cupcakes with butter frosting. The following recipes made 36 cupcakes all together – a big batch, but perfect for a big party!

Here’s what we did: start with Ina’s Chocolate Cupcake recipe, but make only half the recipe. We made a few adjustments using ingredients we had on hand, too:

Ingredients

6 tablespoons unsalted butter, at room temperature
1/3 cup granulated sugar
1/3 cup brown sugar, packed
1 extra-large eggs, at room temperature
1 tsp pure vanilla extract
1/2 cup buttermilk, shaken, at room temperature
1/2 cup plain yogurt, at room temperature
7/8 (3/4 cup + 2 tbsp) cup all-purpose flour
1/2 cup cocoa powder
3/4 tsp baking soda
1/4 tsp kosher salt

Directions:

1. Cream butter and sugars at medium speed about 5 minutes until light and fluffy.
2. Lower speed and add egg and vanilla.
3. Meanwhile, mix in a bowl buttermilk/yogurt.
4. In other bowl, mix flour, cocoa powder, baking soda, salt.
5. Add buttermilk and dry ingredients to bowl alternating between the two in thirds (so add each one a third at a time) until combined.

Chocolate / Red Velvet Half & Half Cupcakes | Garlic, My Soul

Now, you need to make some Red Velvet Cake. We used the Wilton Red Velvet cake because it had two eggs – easy to half. You also want to make half the recipe. Here’s how we made it:

Ingredients:

1/4 cup butter
3/4 cup granulated sugar
1 egg
1/2 tsp pure vanilla extract
1 cup all-purpose flour
1 tbsp cocoa
1/2 tsp salt
2 tbsp red food color, gel recommended (really to your desired color)
1 cup buttermilk
3/4 tsp baking soda
1/2 tbsp white vinegar

Directions:

1. In a medium bowl, stir together flour, cocoa and salt; set aside.
2. In large bowl, beat butter, sugar and vanilla until light and fluffy. Add eggs and red icing color; mix well.
3. Add flour mixture alternately with buttermilk to butter mixture, beating until well blended.
4. Stir baking soda into vinegar and fold carefully into batter.

Now, here’s where it gets interesting. You’re going to do 350 for your oven. You want to fill your cupcake tins about 2/3 full – that’s it, or they’ll overflow. You want 1/3 chocolate cake on the bottom, then 1/3 red velvet on that. Stick them in the oven about 20 minutes, until a toothpick comes out clean.

Top with Butter Frosting because it’s the right choice. Add sprinkles if you want, or not, if you don’t.

Chocolate / Red Velvet Half & Half Cupcakes | Garlic, My Soul

What is your fave birthday treat? Do you love chocolate, or would you rather have an apple pie? Let us know and we’ll add it to our “to make” list!


[addtoany]