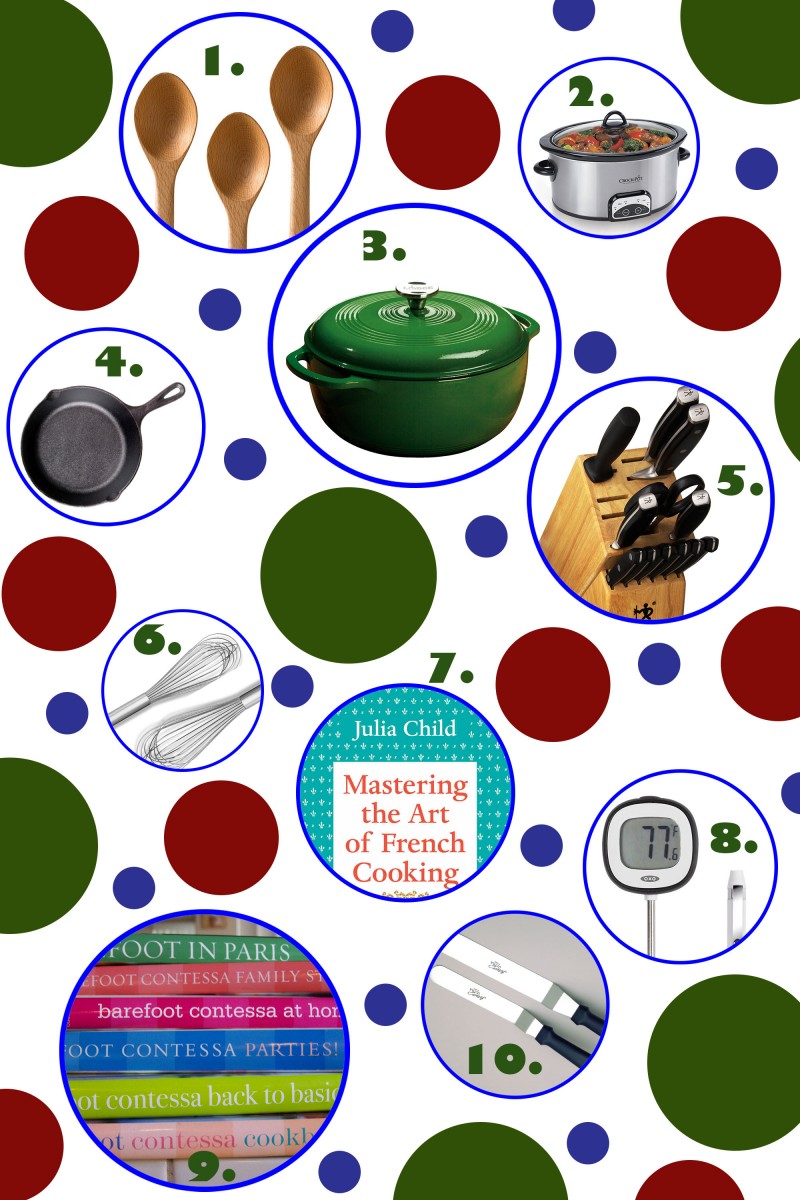
We love gifting things for people’s kitchens, because we spend a LOT of time in ours, and we know the things we keep coming back to again (and again, and again.) So we’ve put together a list of ten things we use over and over that are classic gifts anyone who loves cooking or baking will use! We hope this helps you out if you’re still looking for that perfect gift for your loved ones!

Holiday Gift Guide | Garlic, My Soul

1. Wooden Spoons – We each have at least five of these, and they’re great for everything under the sun – stirring cookie dough, soup, sausage, etc. They’re versatile, they’re pretty, and they’re easy to clean.

2. Crock Pot – We love a slow cooker. It is so easy to stick a bunch of ingredients into a Crock Pot and hit “start” and then you’re on your way to a delicious dish with minimal prep. These are great for a busy family that still wants to cook during the week.

3. Dutch Oven – We use our Dutch oven for almost everything – think of it as a manual slow cooker. It’s great for soups, stews, deep frying, roasting, pretty much any cooking you could need to do – and it’s stove top and oven safe, making it great for dishes that start with a sear and end in the oven. Plus, the ones we are recommended are cast iron coated with enamel – making them heavy but nearly indestructible.

4. Cast Iron Skillet – Again, a cast iron skillet is perfect for just about everything. We use ours on weekends to make eggs, we use them to make cornbread (again, they’re stove top and oven safe), to make omelets, to sauté a million onions for caramelizing, the list goes on. A well seasoned cast iron is virtually non stick and will last you years and years, standing up to all kinds of seemingly-impossible burns, sticks, and stuck cakes. Every chef should have one!

5. Good Knives – Again, knives are a cook’s main tool. Sharp, good knives. We have a middle of the road set, and Jeff is in charge of sharpening them every month or so with a Japanese stone (which I also recommend you get.) The sharper the knife, the less likely you are to cut yourself. Do yourself a favor and upgrade someone’s kitchen with this invaluable gift and rest assured they won’t be slicing their finger any time soon!

6. Whisk – This one is for all those cooks who think a fork does the job. And, it can, but a good whisk is just so worth it! You can make whipped cream in a jiffy, you can really get your eggs scrambled, you can incorporate things so well with a whisk. This is must-have that you won’t know how you lived without.

7. Julia Child’s Cookbook – Julia had many books, but this one was her first. It’s for the committed home cook, but it is filled with hilarious notations and fool proof recipes guaranteed to come out amazingly. We will never stop laughing over this direction from the mayonnaise recipe, “And the crisis is over. The beating arm may rest a moment.”

8. Digital Thermometer – We love thermometers in the kitchen – one for the oven to tell us the true temperature (you can never trust those pesky apartment ovens!), one digital for the grill, one for candy-making, the list goes on. When in doubt, though, a digital thermometer will do the trick for those times you really do need to know the temperature, like when you’re deep frying the perfect doughnuts or when you want to make sure your turkey/chicken/roasted bird is really done. We have this one and we’re pretty satisfied with it!

9. Barefoot Contessa Cookbook – We love the Barefoot Contessa because Ina is one part practical and simple to two parts “Hamptons” which is just where we like to get our recipes from. Her recipes are good enough to please a crowd, but just aspirational enough to know that she really knows what she’s doing. We have several of her books, and you can’t go wrong with any of them!

10. Offset Spatula – If you know a baker, then you have to get them an offset spatula or two. Perfect for getting baked goods out of pans, for smoothing frosting on a cake or cupcake, and for serving said baked goods up. It’s a mighty tool that comes in a skinny package, and will help with cake-movings that before seemed daunting.

[addtoany]

Cranberry Walnut Cookies | Garlic, My Soul

This year, GMS participated in our first Food Blogger Cookie Swap. This is the swap’s fourth year running, and it is a partnership for Cookies for Kids’ Cancer, which means we’re raising money to support an amazing cause and we’re getting some cookies in the mail, too. It’s a win-win. We baked cookies to mail to three food bloggers, and we received three dozen DELICIOUS cookies that we enjoyed over a couple weeks to get into the holiday spirit – and get ideas for cookies we can make next holiday season!
fbcookieswap2014_whiteLG

We were excited to be sending our treats across the country to spread some cheer this holiday season – it’s fun to connect with food bloggers every now and then, and the holiday season is a great time to spread a little love and good cheer.

WE received cookies from the amazing bloggers at What’s Cooking, Love?, Sunshine & Sweet Tea, and A Spicy Perspective, and they were all delicious and eaten right up. You should check out their posts today – they’re a talented group of bloggers!

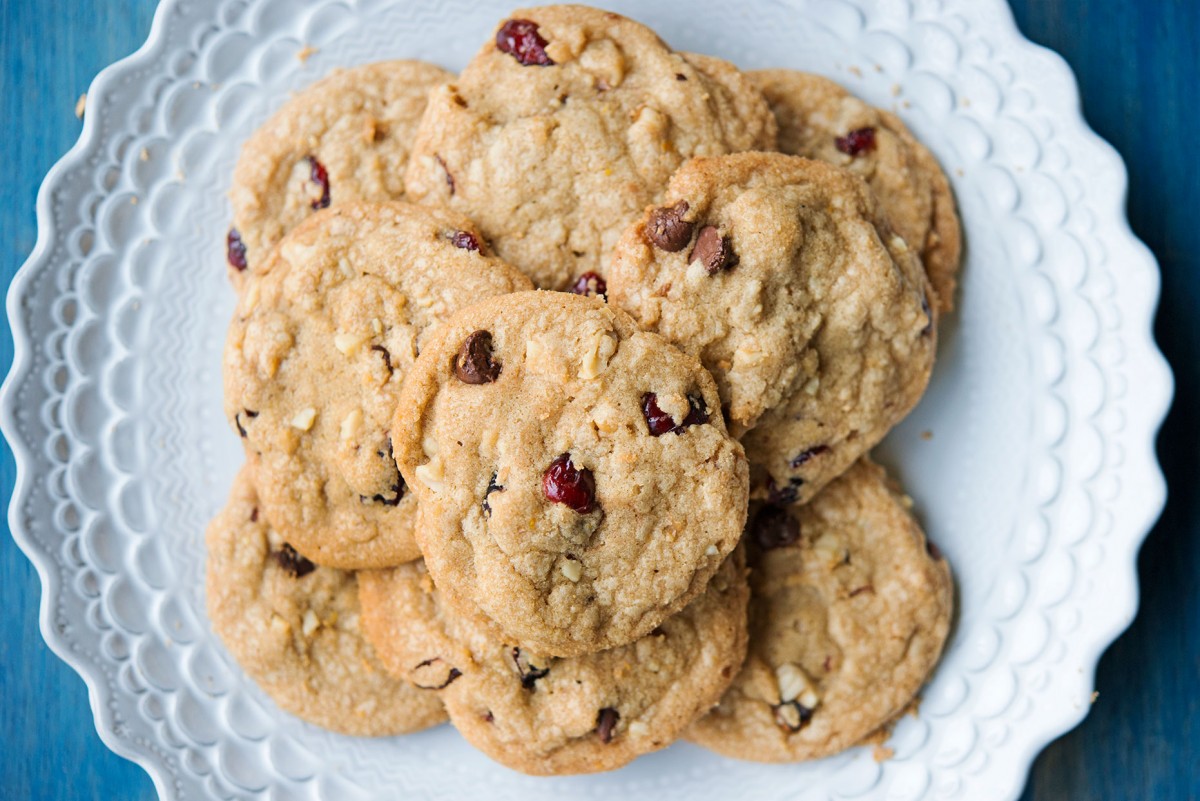
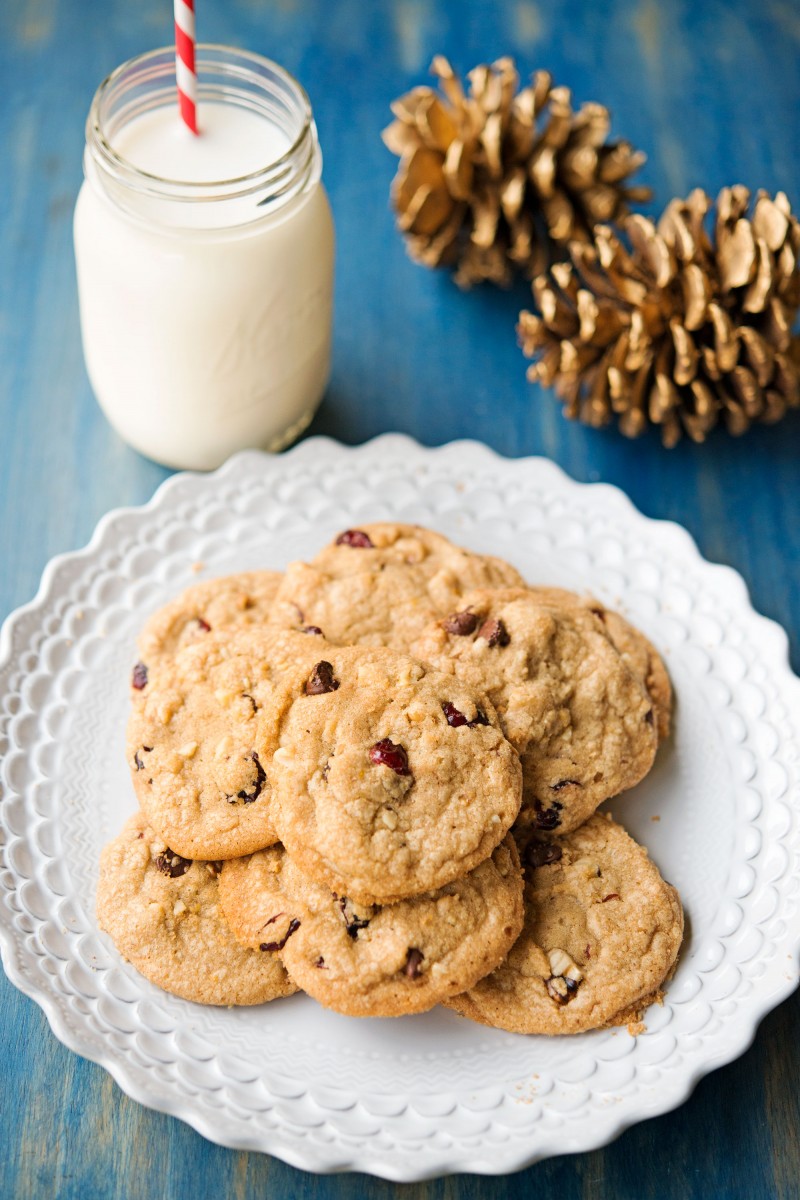
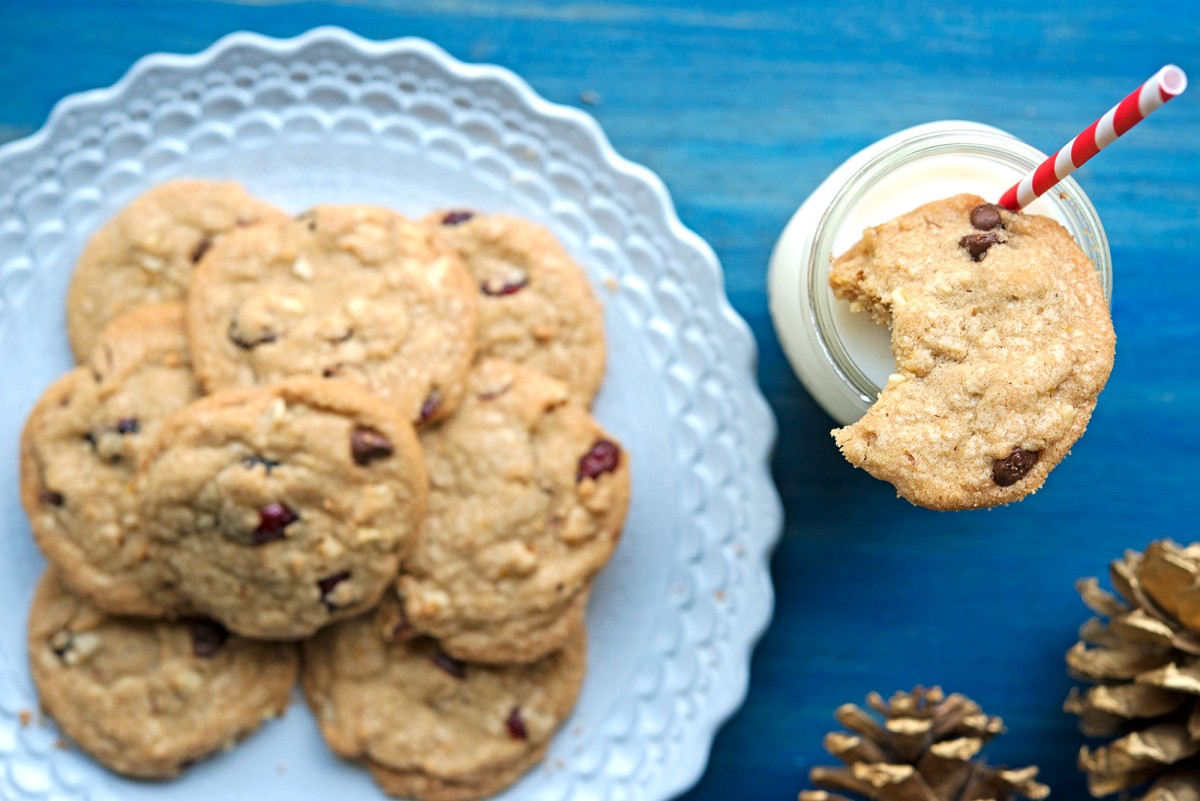
We created a new cookie for y’all that is sweet, savory, a little salty, and even is citrusy. It plays off of our basic cookie dough recipe, which we love because that means you can play with this recipe, too! Add whatever dried fruit, nuts, chips, zest, or spices you want, and the possibilities are endless.

Cranberry Walnut Cookies | Garlic, My Soul

Oven temperature: 350 degrees

Ingredients:

1 cup sugar
1 cup brown sugar
1 1/3 cup butter or coconut oil
2 eggs
1 tsp vanilla
3 cups flour
1 tsp salt
1 tsp baking soda
1/2 tsp cinnamon
1 tbsp orange zest
¾ cup cranberries
¾ cup walnut pieces
¾ cup chocolate chips

Directions:

1. Turn on your oven. Combine sugars and coconut oil and cream until light and fluffy, about 4 minutes.
2. White the sugars/coconut oil is mixing, in a separate bowl, mix together flour, salt, baking soda, cinnamon, and orange zest. Set aside.
3. To your creamed sugar/oil, add eggs one at a time, and then vanilla.
4. Now, add your dry ingredients to your wet, and mix well.
5. At this point, you’re going to mix by hand if you’ve been using a mixer. Add in the cranberries, walnuts, and chocolate chips and hand-mix until incorporated in the batter. If you want more or less add ins, go for it – this ratio worked for us, but I love a loaded cookie!
6. Place cookie dough onto a baking sheet; we use a jelly roll pan, and do one dozen per tray – about a tablespoon or so of dough. Again, make smaller/larger based on your preferences.
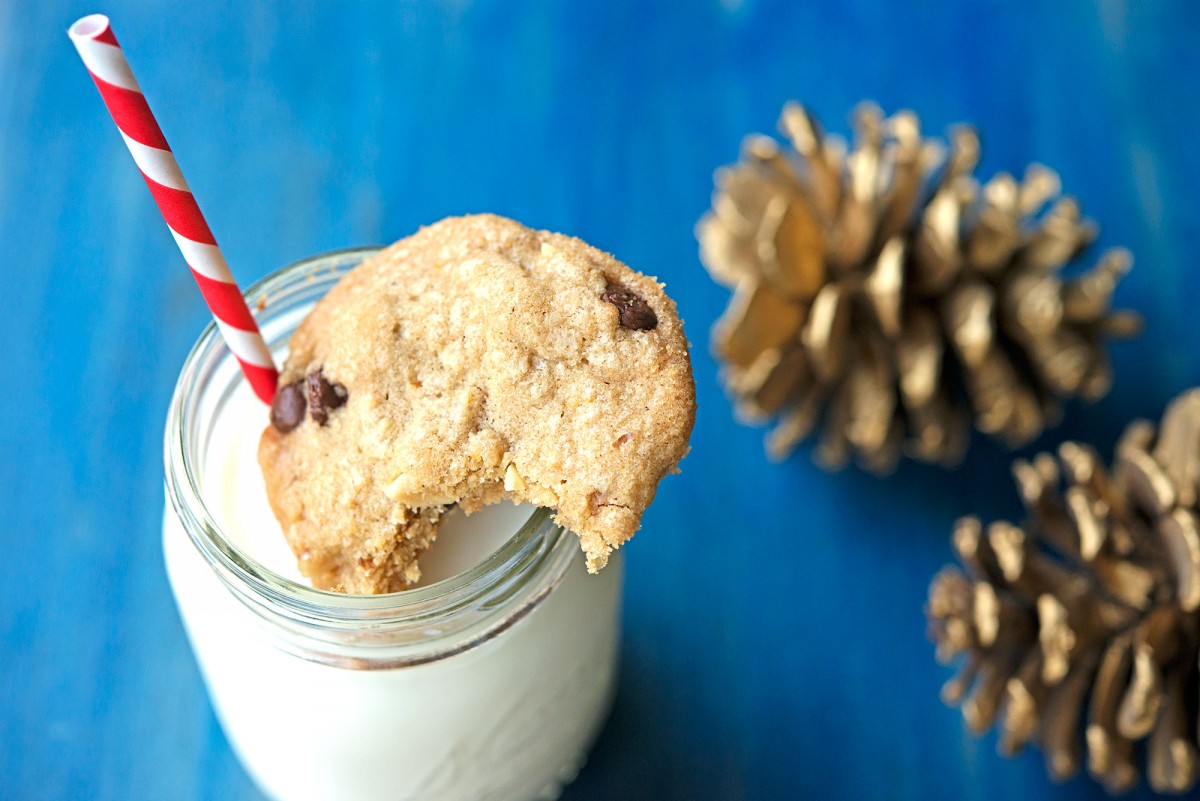
7. Bake for 10-12 minutes, then remove from oven and transfer to a cooling rack. Serve warm with milk or coffee.

Cranberry Walnut Cookies | Garlic, My Soul Cranberry Walnut Cookies | Garlic, My SoulWe hope you’ll stop by tomorrow…we might have some more treats in store for you as we get closer and closer to Christmas and know that everyone has some last minute holiday shopping to do!


[addtoany]

Thor's Cereal Bars | Garlic, My Soul

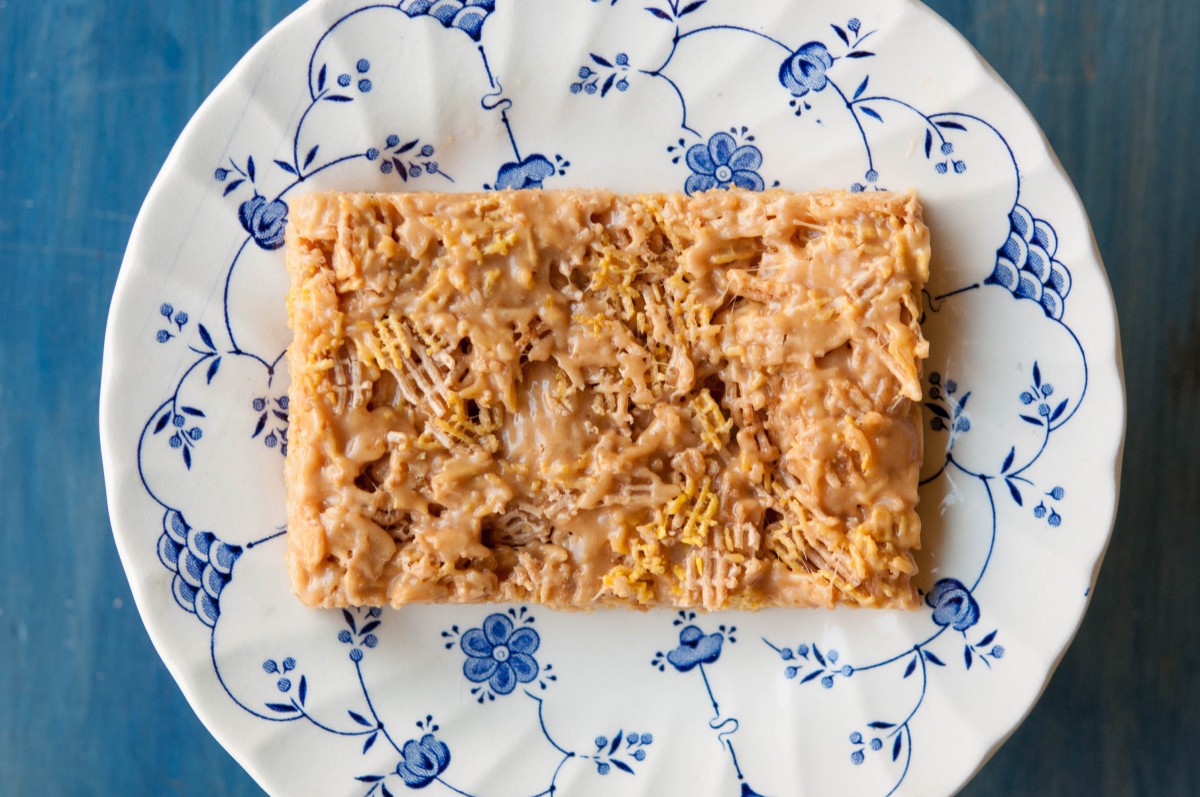
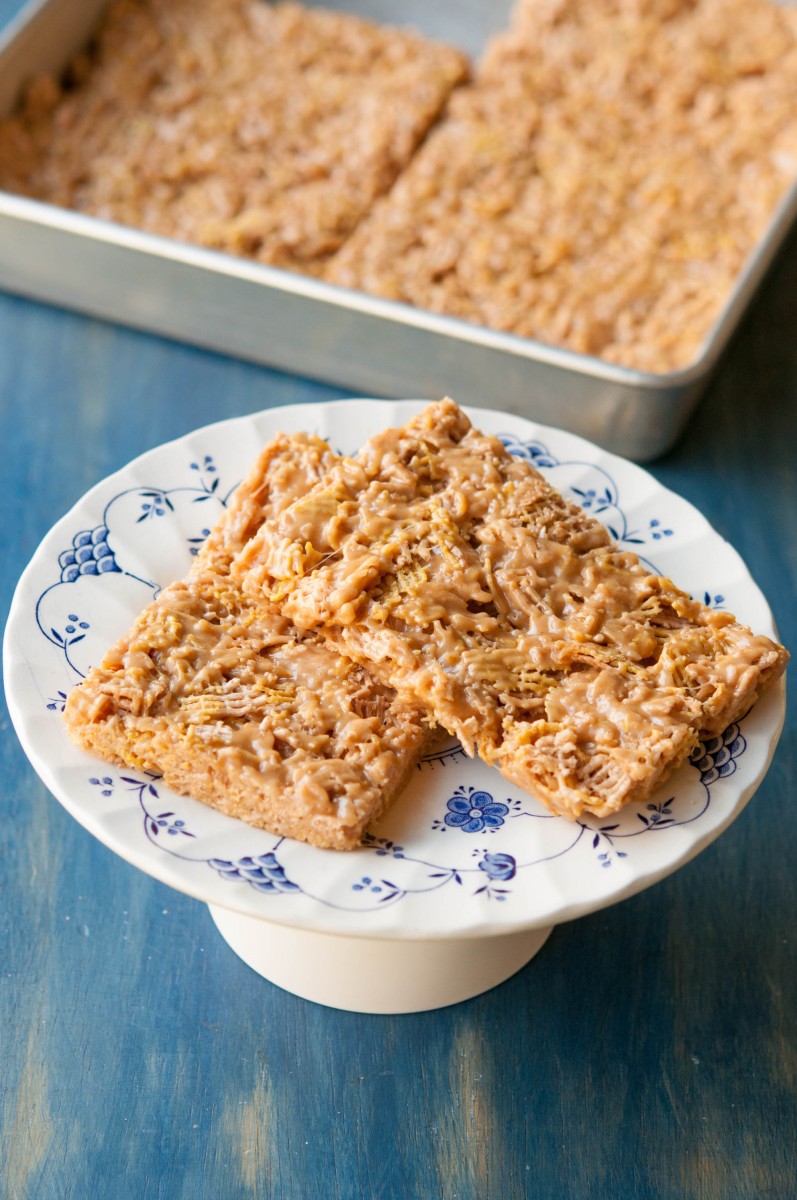
As a small digression from my standard format here, I made these Thor-sized cereal bars in an effort to bribe Thor into becoming an icon for cultural awareness. I just want to see a children’s book or Archie-style comic entitled “Thor Learns About Cereal” or “Thor Learns Proper Earth-Bound Coffee Refill Protocol” – something harkening to the beauty in our differences and hilarity in absurdly ripped men from a heavenly realm discovering the miracle of mortal breakfast foods.

Cereal is a fiber-packed staple for those surrounding the Norse god’s earthly adventures – at least in the Jane Foster camp. Packed in her trailer and eaten in lieu of other sweets in her more emotional and Thor-missing moments, cereal seems to mean a lot to this scientist and her god. Or at the very least (in cereal-marketing-speak) start their mornings off right, keep them going throughout the day as well as going regularly!

Thor's Cereal Bars | Garlic, My Soul

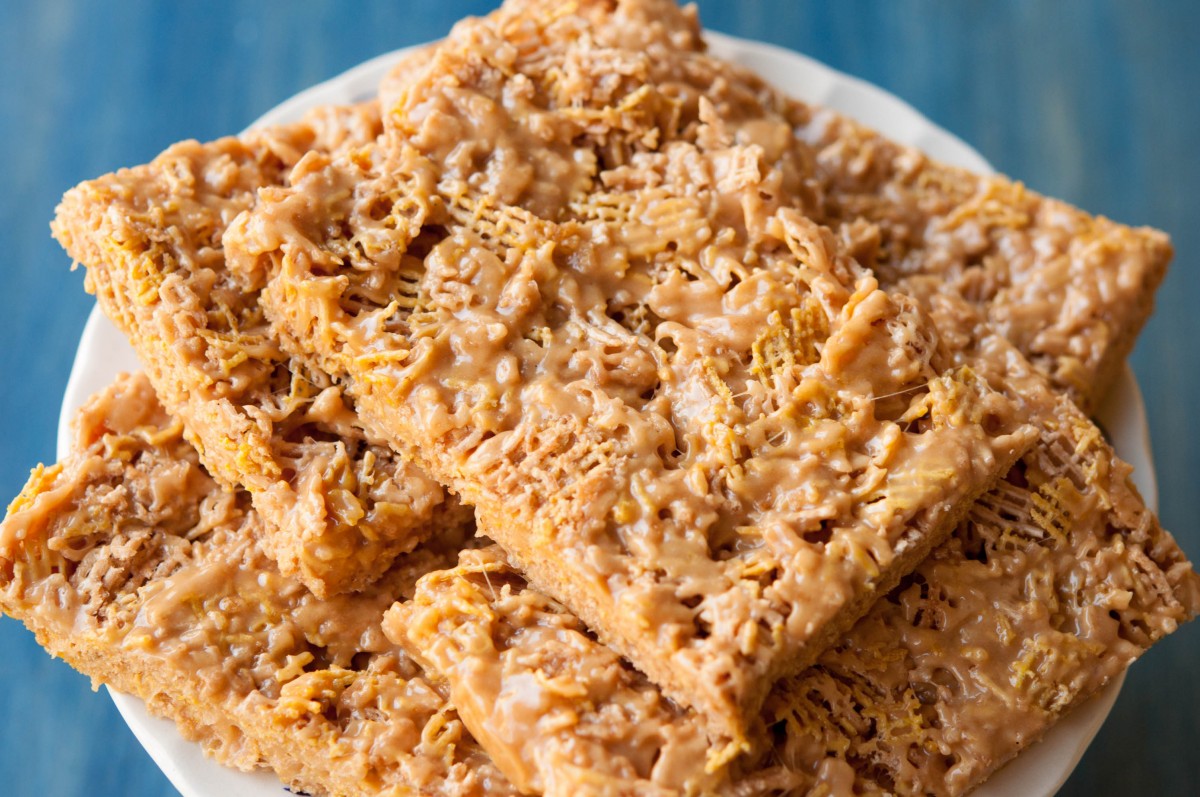
These cereal bars add your breakfast cereal of choice to the originial Rice Krispie treat recipe – following that time-tested, easy-to-make formula. You can cut them into any shape or size you find convenient for packing on-the-go on your way about the realms. And do, in fact, deliver sugary-peanut-buttery energy just when you need it (like during your Marvel movie binge watching fest so as to be properly prepared for everything forthcoming). I just hope Phase Three allows Thor time to continue on his culinary journey.

Ingredients

2 ½ tablespoons butter
½ cup peanut butter
1 package marshmallows
6 cups cereal of your choice! I used Crispix because I’m obsessed with Crispix but Chex (in any fun flavor) would work wonderfully for the completely GF crowd. Be sure to check your labels.

Directions

1. Grease a medium pan and set aside.
2. In a large pot, melt butter over low stovetop heat.
3. Stir in peanut butter.
4. Mix until melted and creamy.
5. Pour in marshmallows.
(Life Hack: spray your stirring utensil and later whatever you use to compact the mixture into the pan with cooking spray to help lessen stickage)
6. Turn off heat when marshmallows are almost completely melted (you may still see small marshmallow lumps).
7. Stir until smooth.
8. Slowly fold in cereal and mix until evenly coated.
9. Turn the mixture out into your greased pan and spread evenly.
10. Let cool, then cut into any size or shape you find convenient for your travels about the realms.

Thor's Cereal Bars | Garlic, My Soul


[addtoany]

Ganache Filled Mini Cakes | Garlic, My Soul

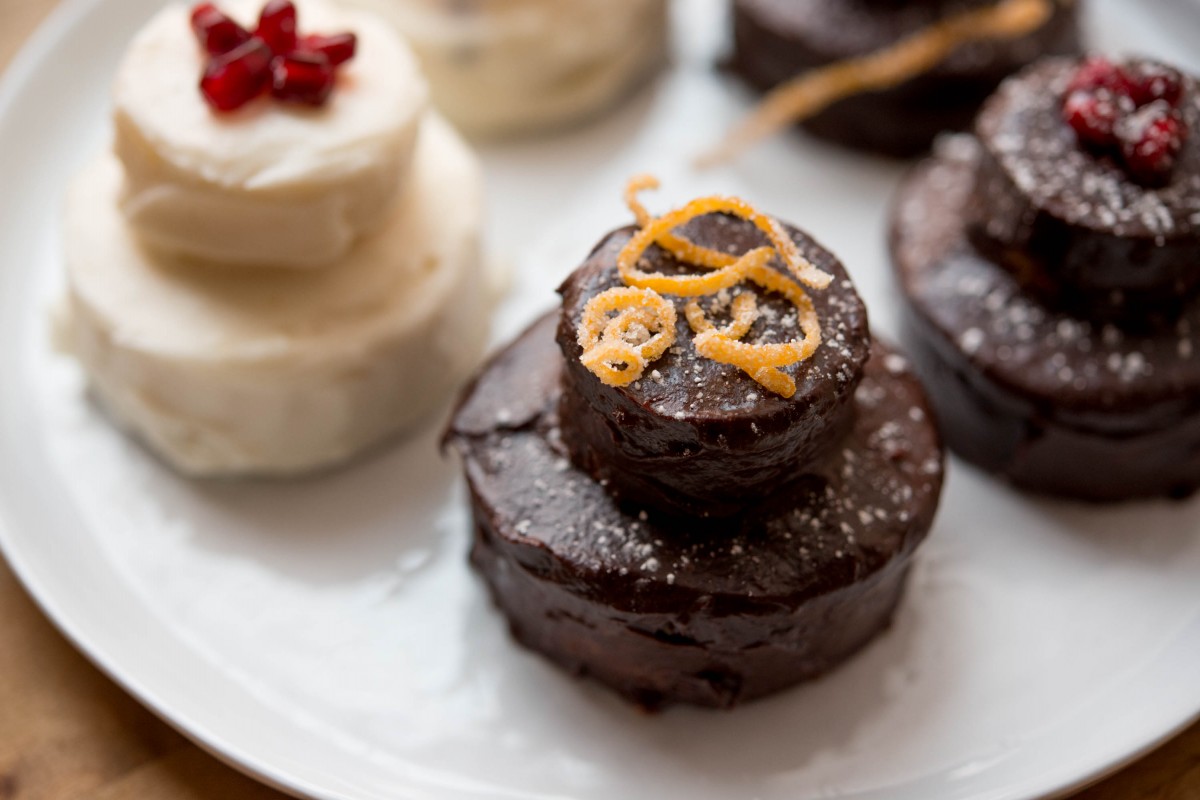
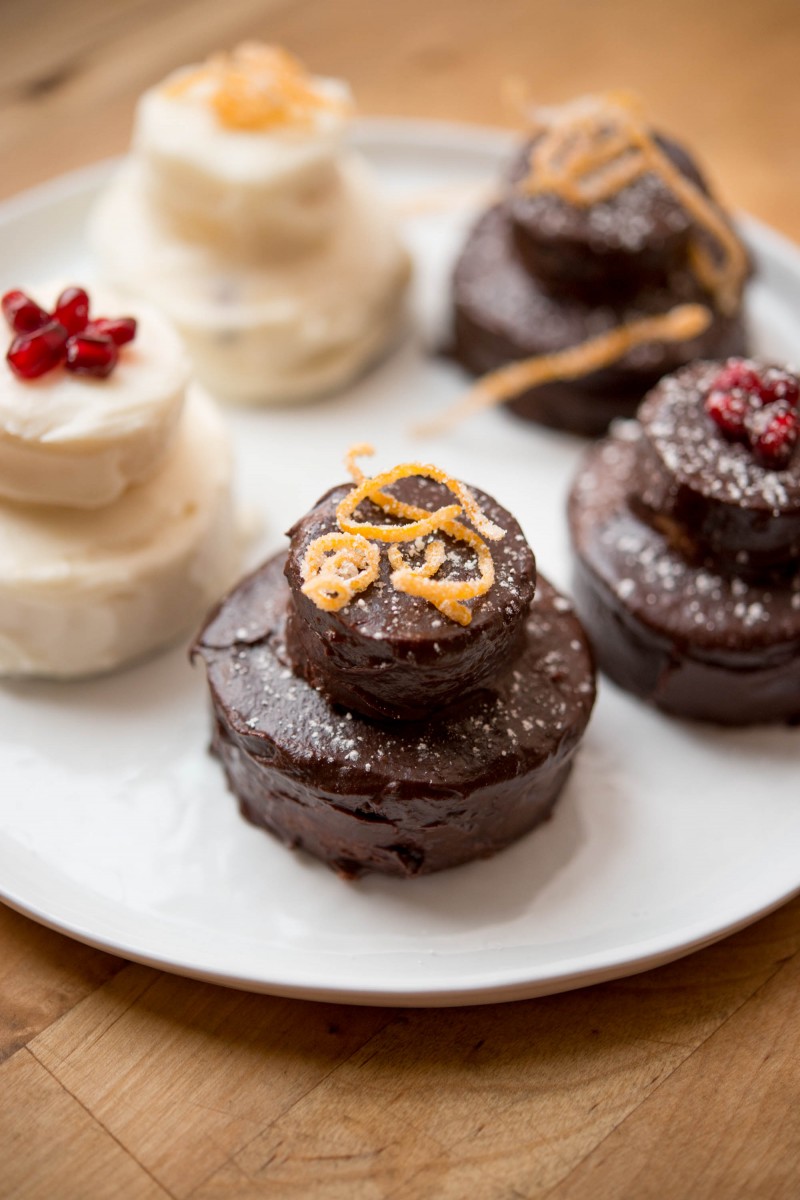
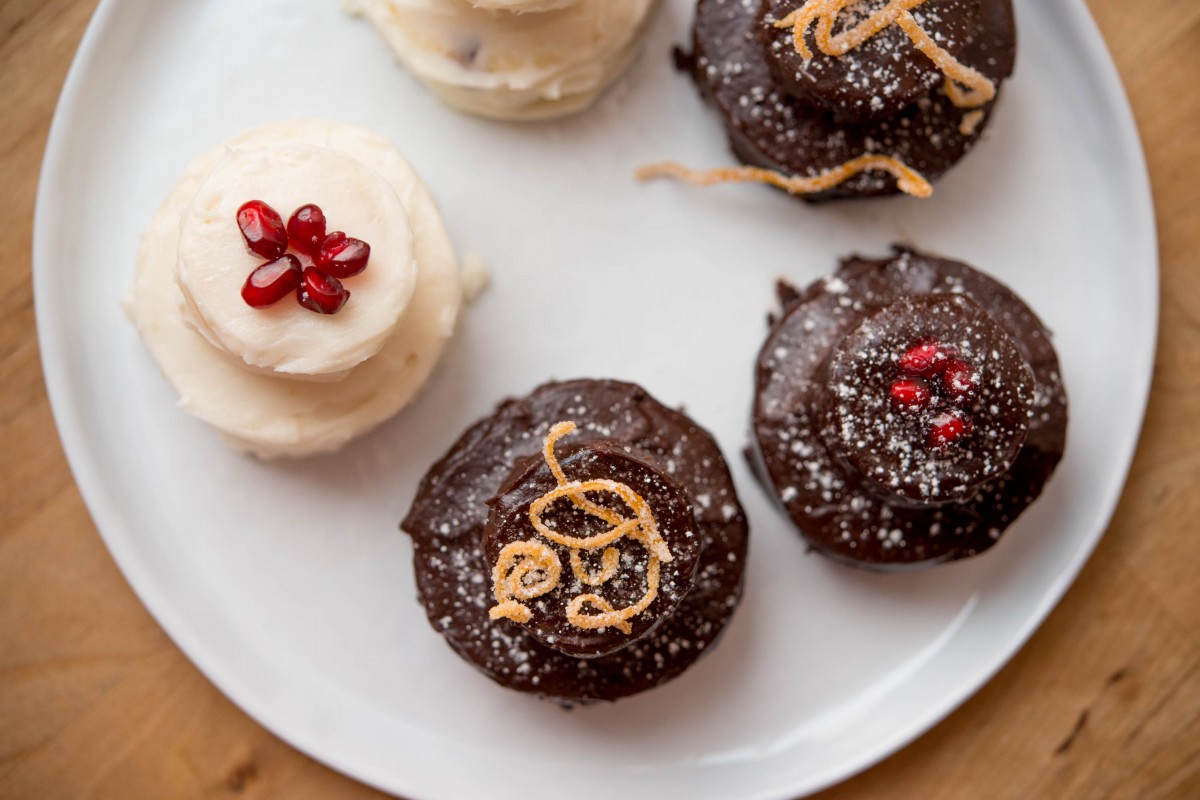
In addition to his amazing truffles, my father is also known for his fondness for experimentation in the kitchen. This almost always leads to delicious results, so we were intrigued when he shared his plan for these mini ganache cakes, and the fruits of our labor did not disappoint!

To create these, you really just need a sheet cake and some soft ganache. Luckily, we have recipes for both. Whether or not you plan on making these mini cake creations, be sure to check out this moist orange sheet cake at the next available opportunity. It was out of this world.

Ganache Filled Mini Cakes | Garlic, My Soul

First, make a pourable ganache and spread in a thin layer on parchment paper to harden overnight.

Then, make your sheet cake and let it come to room temperature before popping it in the freezer for at least 30 minutes. This will make it easier to cut out the circular layers and for those layers to hold their shape.

You’ll need three circular cookie cutters in a small, medium, and large size. Use the largest size to cut your bottom layers, your medium size to cut your top layer, and (only if you want to get really crazy) use your smallest size to cut holes in the middle of the bottom layers. Later, you can fill those holes with ganache, jelly, cream, or whatever your heart desires for a surprise pocket of flavor.

If you are going to use a filling, you will want to seal the bottom with a layer of the hardened ganache. Use your largest size cookie cutter to create circles that match the bottom layers of your mini cakes. This will be the base for your cake.

Ganache Filled Mini Cakes | Garlic, My Soul

Then, assemble from the bottom up. (We recommend placing the whole thing on a baker’s rack above a layer of parchment paper. It will make for easier clean up later.)

Start with a circle of the hardened ganache. Drizzle a thin layer of whatever filling you’ve made to create a glue-like seal for your bottom layer of cake. We obviously used a soft pourable ganache as our filling, but feel free to experiment with other options. Fill the middle of the bottom layer, and place your top layer last.

As the last step, coat the whole thing in a layer of your pourable ganache, and smooth with a small offset spatula. You can also use regular buttercream frosting, but beware that these cakes will be a bit more delicate since frosting doesn’t harden and set the way ganache does.

Ganache Filled Mini Cakes | Garlic, My Soul

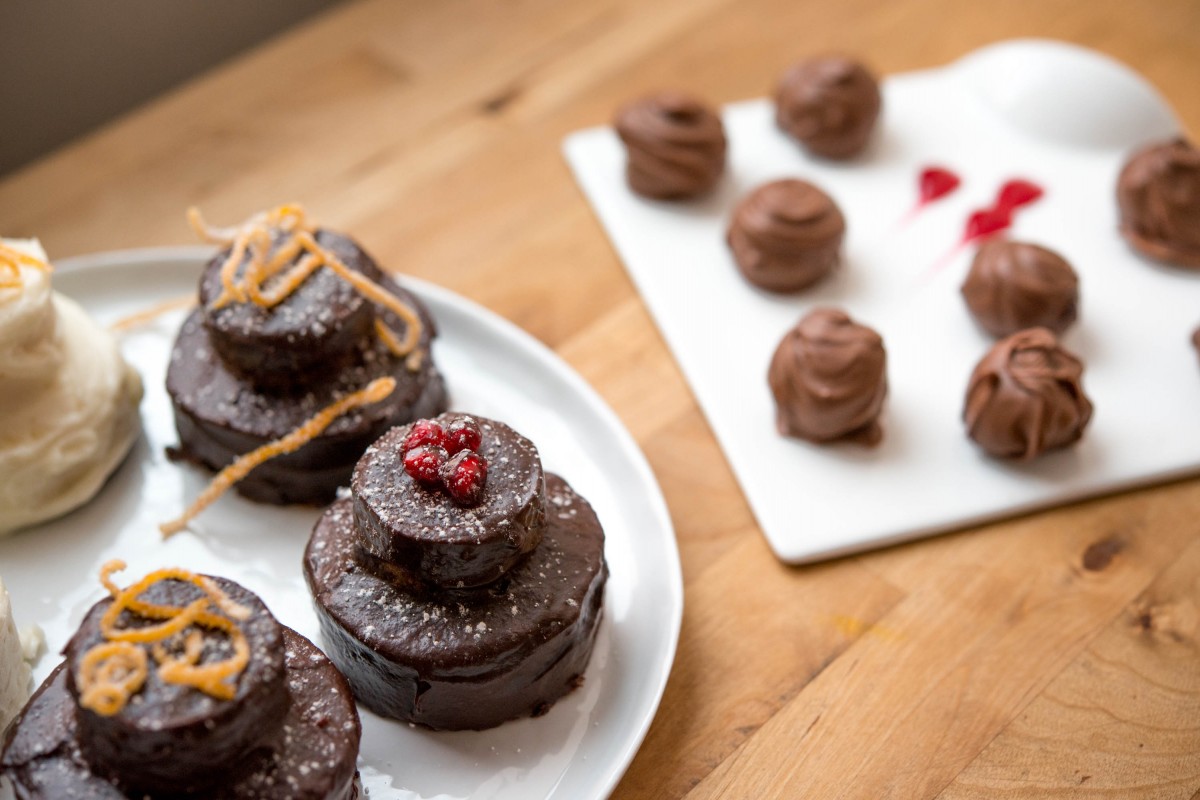
Top with powdered sugar, berries, pomegranate arils, or candied orange peel for a polished look! These are best enjoyed immediately, but they will also keep nicely in the fridge for a few days.


[addtoany]

Chocolate Truffles | Garlic, My Soul

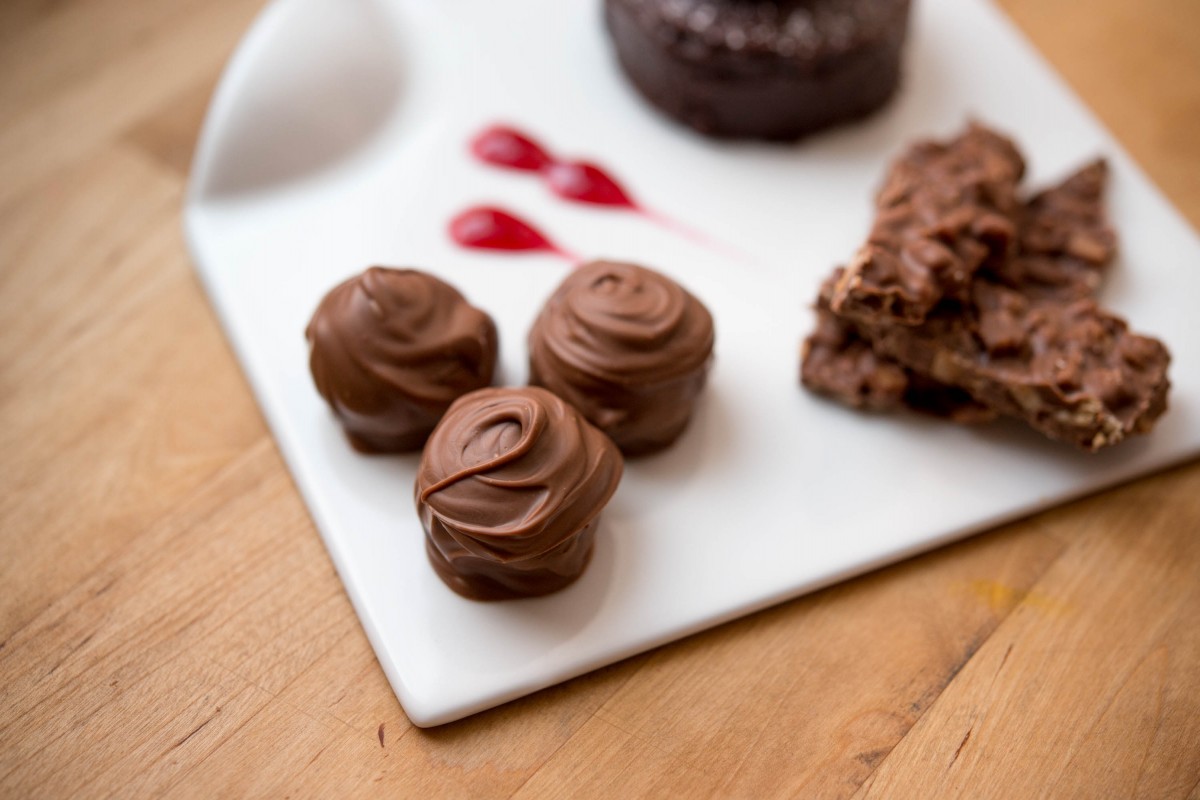
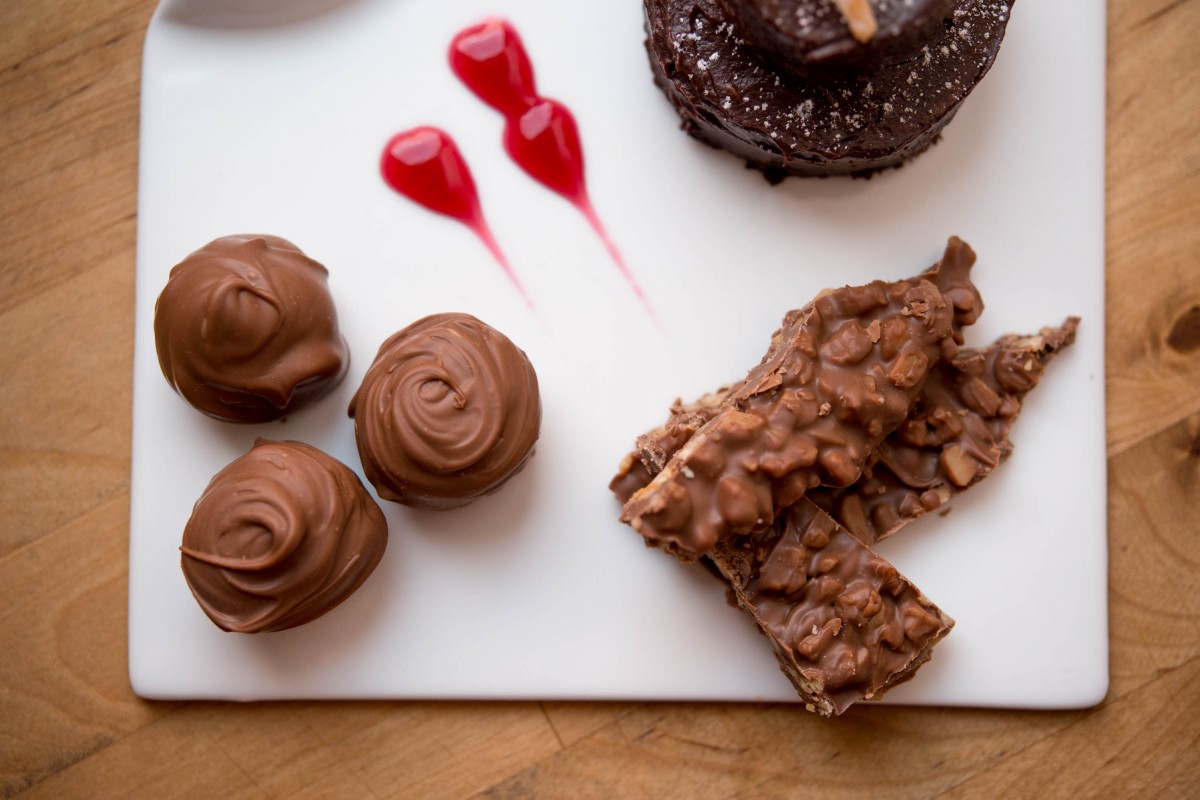
Long term readers of Garlic, My Soul might remember that my father is an accomplished maker of chocolate treats, and his pièce de résistance is the hand-dipped truffle. Every holiday season (and for a couple of family weddings), he rolls out his chocolate tools and sets to work making the perfect truffles. When my dad made a trip out to Los Angeles for a visit last weekend, we were lucky enough to get a master class on the chocolate making methods he has been perfecting for the last 20 years or so.

Chocolate Plate | Garlic, My Soul

The secret to a delicious truffle is the ganache, and we were pleasantly surprised to learn that ganache is actually not all that difficult to make. The key is to get the proportions right, and adjust depending on the consistency you want. For a softer ganache, up your liquid by an ounce or so. For a harder ganache, reduce it. For these truffles, we used about 16 oz of bittersweet chocolate chips, 8 oz of heavy whipping cream, 3 oz of organic almond extract and 4 oz of amaretto liqueur. See this recipe for a good starting point.

Chocolate Truffles | Garlic, My Soul

My dad’s trick to help the ganache come together easier is to pre-warm the chocolate by placing it in the microwave for 10 seconds at a time, until the edges of your chips just barely start to melt, so that they stick to the sides of your bowl when you tip it. Use your hands to feel the bottom of the bowl. It should be slightly warm, but not hot.

When you pour the hot cream and liqueurs over the chocolate, this pre-warming helps it incorporate a little faster. Refer to recipe for full instructions.

Chocolate Truffles | Garlic, My Soul

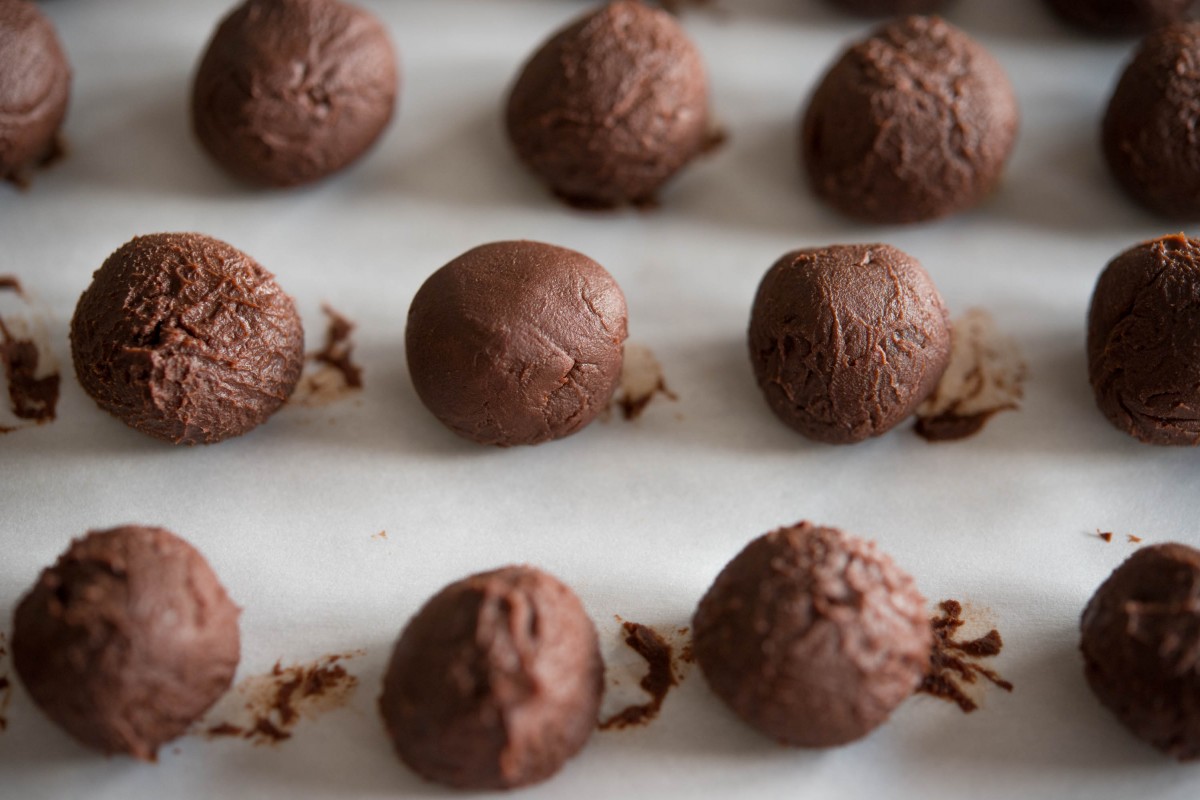
We let this ganache harden overnight, then formed it into teaspoon sized balls. You can do it with two teaspoons, but a cookie scoop like this one will save you a lot of headaches.

Then, you heat the tempered milk chocolate that will be your outer coating. If you have a tempering machine, by all means use it, but if you’re like the rest of us, the microwave will do. Be sure to start with tempered bars. We used Ghirardelli milk chocolate bars for this batch, but Symphony bars are my father’s preference.

Break the bars into pieces in a microwave safe bowl, and then heat for 10 – 20 second increments, stirring in between and monitoring the temperature of your chocolate. The magic number is 90 degrees. If you go over 90 degrees, the chocolate will lose temper and the crystalline structure will break down. However, you do want to get as close to 90 as possible so that you have soft, workable chocolate. As you get closer to 90 degrees (in the 88 range) start zapping the chocolate for smaller and smaller increments, even 5 or 1 second at a time as you near your target temperature. We found that the Ghirardelli worked best right at 90 degrees, but the Symphony bars will work beautifully at 89.5.

Chocolate Truffles | Garlic, My Soul

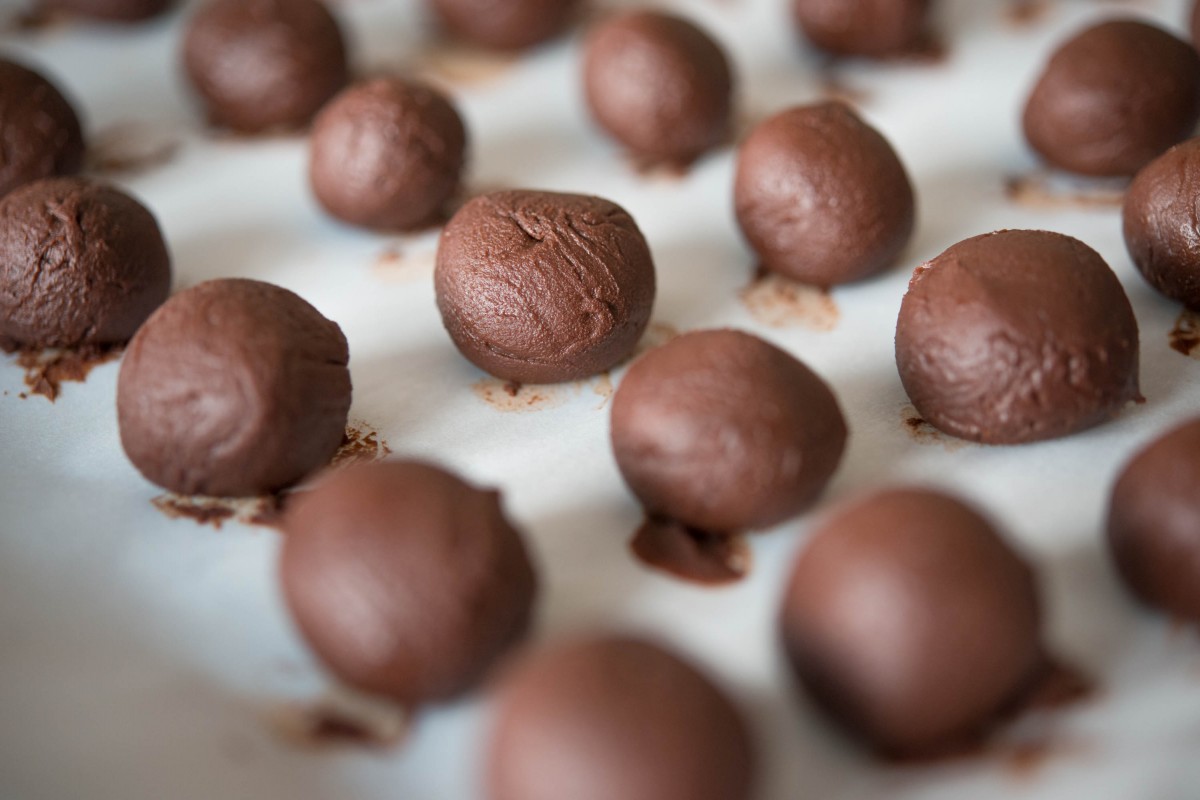
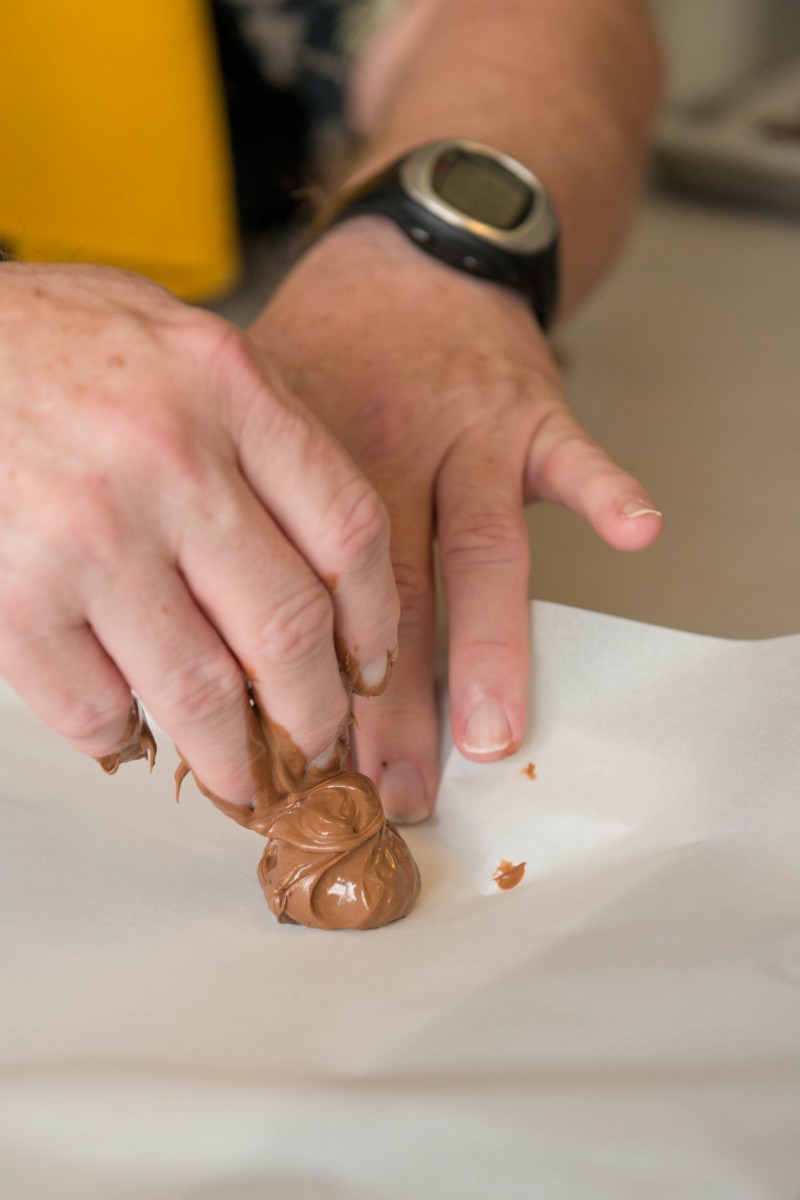
When you reach your target temperature, scoop out about 1/2 cup of the milk chocolate onto a layer of parchment paper, and use your hands to gently coat the balls of ganache in the warmed milk chocolate. Arrange them on a clean sheet of parchment paper to set. This may take only 30 minutes or up to a few hours, depending on your climate. In relatively cool, dry Los Angeles, these set within minutes.

Chocolate Plate | Garlic, My Soul

We are so grateful that my father spent the day teaching us his truffle making tricks Just goes to show that you can accomplish anything with a good teacher!


[addtoany]