Ciao, bambini!

I’m the actual sorella of Jennie. When she asked me to guest post on the blog, I was pretty excited, for the following reasons:

1. Jennie and Corelyn’s blog is pretty awesome, and I was getting jealous.

2. I love cooking.

She told me I could post about anything, which meant it was time to get creative.

I thought I really needed to pull off something I’d never tried before.

I believe in the power of teetering on the brink of disaster.

I immediately called my friend Ky, who’s my cooking-partner-in-crime, and brainstormed about what we could cook that would be both delicious and also something that wasn’t in our usual repertoire.

When someone asks you to guest blog on their cooking site, you simply don’t give them something easy.

There would be no spaghetti on this day.

After some deliberation, we decided on bouillabaisse. It’s something we’ve been wanting to tackle for a long time, due to the following considerations:

1. The best recipe is Julia Childs. You should probably watch this for inspiration.

2. It involved going to the fish market. Or in our case, two fish markets. Ky and I love nothing more than a specialty market.

3. We needed a fish head. In general, we like to find ourselves in situations where we’re running around town, looking for things that you can’t find at the regular supermarket.

With these three things in mind, we took off on Sunday afternoon to our favorite two fish markets in Chicago (Dirk’s and New England Seafood Company, if you were wondering).

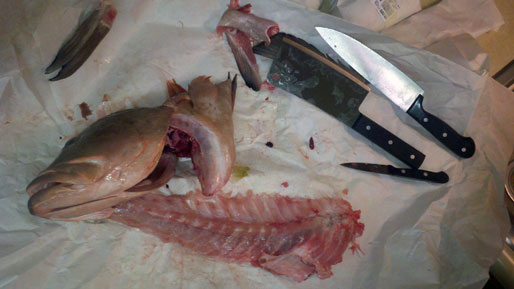
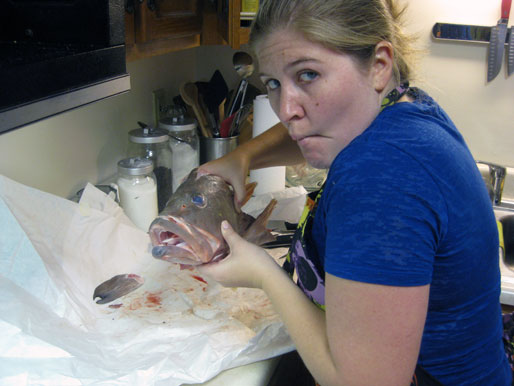
At Dirk’s, I asked if they had any fish heads I could possibly buy from them. The fish monger proceeded to tell me he had a grouper, which would be ideal, and then chopped its head off, dealt with the gills, and told us to be careful of the gills.

“They’re kind of toxic. I mean, it won’t kill you if you touch them, but you probably want to avoid it.”

Good advice, I thought.

Then he told us the head/bones were on the house.

Between the two markets, we ended up with hake, whitefish, bluefish, cod, mussels, and littleneck clams. You need about a pound of each to make enough bouillabaisse for six or so people.

Now, despite the fact that I told you we were up to something challenging (which we were), I am here to tell you that it is actually not all that difficult to produce a delicious, French-y fish stew.

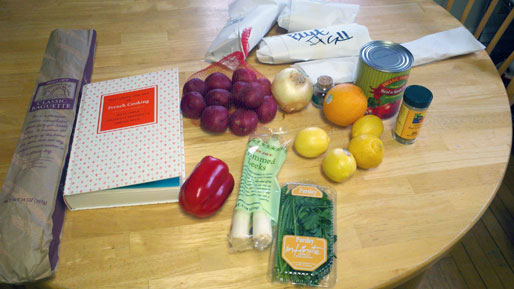
Here are all the items we used, aside from the fish:

The trick to all of this is actually concentrating on your fish stock, which is what we used the fish head/skeleton for.

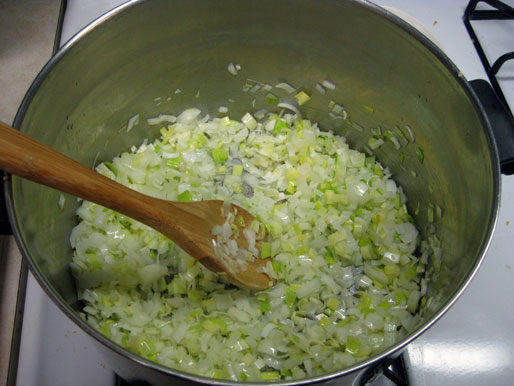
The base of the stock, according to Julia, is a combination of leeks, onions, and garlic.

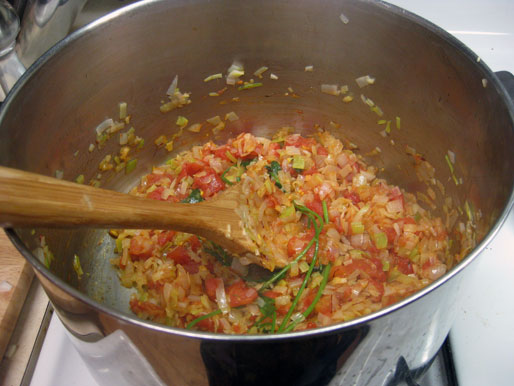
Once those have sauteed for awhile, you throw in the tomatoes. You can chop them up, or you can use diced. We used 1.5 cups of diced, since tomatoes aren’t in season in Chicago anymore.

Add the herbs. Julia says to use 5 parsley sprigs, a pinch of dried thyme (or basil, but we think dried basil is weird), and 1/8 teaspoon of dried fennel.

Ky and I don’t believe in an 1/8 teaspoon of anything, so we skipped the fennel.

Also, throw in two big pinches of saffron. And some orange peel. You might be skeptical of the orange peel (we were), but it’s delicious. Trust us.

More importantly- trust Julia.

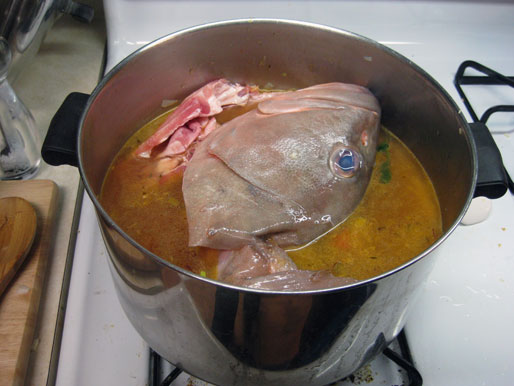
After you’ve let those items saute for about five minutes, add 2.5 quarts of water, and the fish head/skeleton.

The fish will be looking at you.

It will be weird.

You have fifty minutes to get over this, because that’s how long you’ll be boiling your stock.

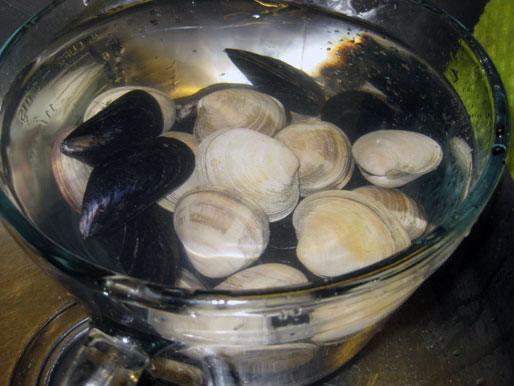
In the meantime, prep your fish. This means rinsing your fishes, and letting your shellfish hang out in some cold water. We added some cornstarch to the water, which the shellfish ingested, and then spit out, along with a bunch of grit.

Once the mussels and clams are finished spitting all over the place, scrub them so they’re clean.

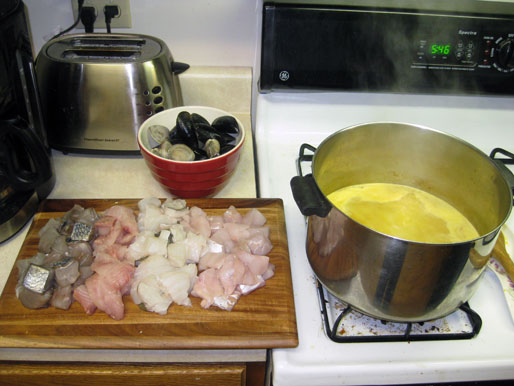
Cut your fish into pretty decent sized chunks.

Call some friends because you realize you’re going to have way too much bouillabaisse for three people.

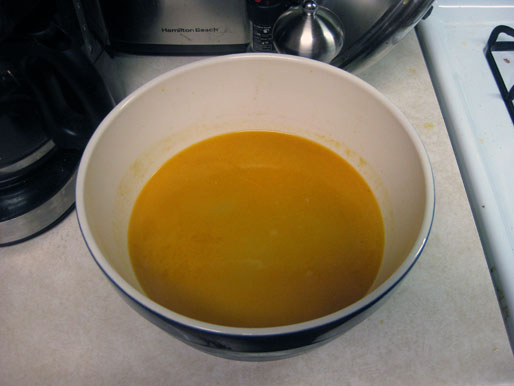
Once the fish stock has boiled for about fifty minutes, press it through a sieve to remove all the solids.

What’s left is a beautiful, yellow-y, delicious smelling stock.

Get rid of the fish head, which by this time has disintegrated and is really, really gross.

Back to the stew.

Put the stock back into your pot, and bring it back to a boil. You might have to add some water–the recipe says you should have 2.5 quarts of stock, but we had more like 2 quarts.

We also added the rest of our canned tomatoes, because we’ve never added extra tomatoes and regretted it.

Start another clean pot of water in which to boil some potatoes. This is a delicious side, suggested by Julia.

The woman loved boiled potatoes.

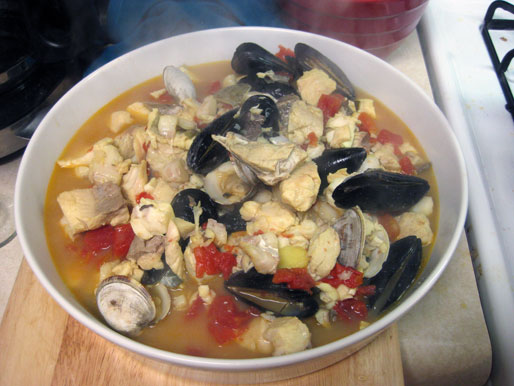
Once the stock is at a rolling boil, throw in any small, gelatinous fish you might have. We didn’t actually have any of those, so we threw in everything at once and let it cook for around seven minutes.

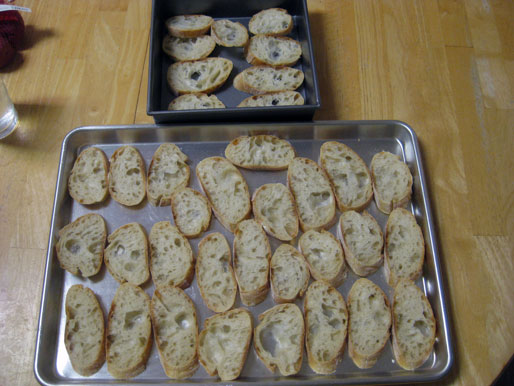
While that’s happening, throw some baguette rounds in the oven to broil.

This recipe has a lot of moving parts. It’s a good project for more than one person.

While one person is making sure that the fish is cooking properly and the toast rounds aren’t burning, the other person should be making the rouille, which is a delicious red pepper/potato/spicy/olive oil sauce.  Here’s what’s in it:

  • 1 minced red bell pepper, boiled in water for about five minutes
  • hot sauce, to taste
  • 4 small peeled garlic cloves, mashed
  • 1 potato, boiled in the soup
  • Fine sea salt, about 1/2 teaspoon or to taste
  • 1/3 cup extra-virgin olive oil

While Julia says you can use a mortar and pestle to complete this task, we pulled out the food processor, and combined it all fairly quickly. We set that aside, and got to the business of putting the soup together.Pull out a big platter (I recommend one with sides, to catch all the broth) and layer toast rounds on the bottom.

Ladle out the fish onto the top of the toast rounds, and then ladle the broth on top of that.


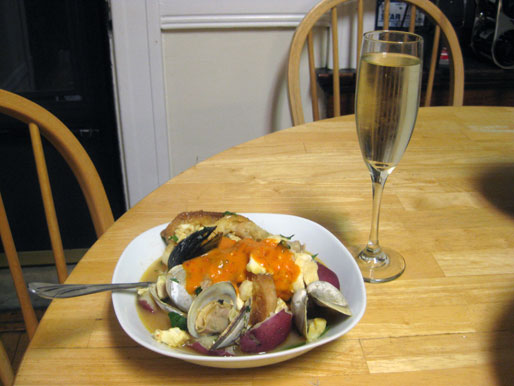
This is served with the potatoes and the rouille on the side. Below is how we put together a bowl.


We drank this with prosecco, because we felt like celebrating, and enjoyed every last bite. It was delicious, and contending with a giant fish head was definitely worth it to end our weekend with this comforting, perfect bouillabaisse.
We like to think Julia would have been proud.
And even not, we were.


Here’s the recipe-
but the trick is, mix it up. Make it your own. We’re not advocates over here of dictating what will work and what won’t.
That would ruin all the fun. Happy cooking, chickadees!


[addtoany]

Eight days from now, Garlic, My Soul is getting a significant face lift. About six months ago, we decided that Garlic, My Soul could be better. We knew that our photography could certainly use an upgrade, as well as our design, recipe formats, and organization. What grew was an effort by Jeff, Corelyn, and I to design a website that would meet our needs as a growing blog. We talked Jeff through what we wanted, and he did all of the design and web work.
We also worked with Mary and Jess to finish off the the site — we wanted to highlight the photographs taken with Mary in April, and we wanted Jess to use her graphic design skills to create a logo for us to help brand the site. All in all, we wanted the full package to really create Garlic, My Soul, as a complete idea; the fruition of two years hard work.

On September 20, 2009, I said to Corelyn, “This garlic is like my soul.” And because we had already been toying with the idea for a blog, it became the title of ours.

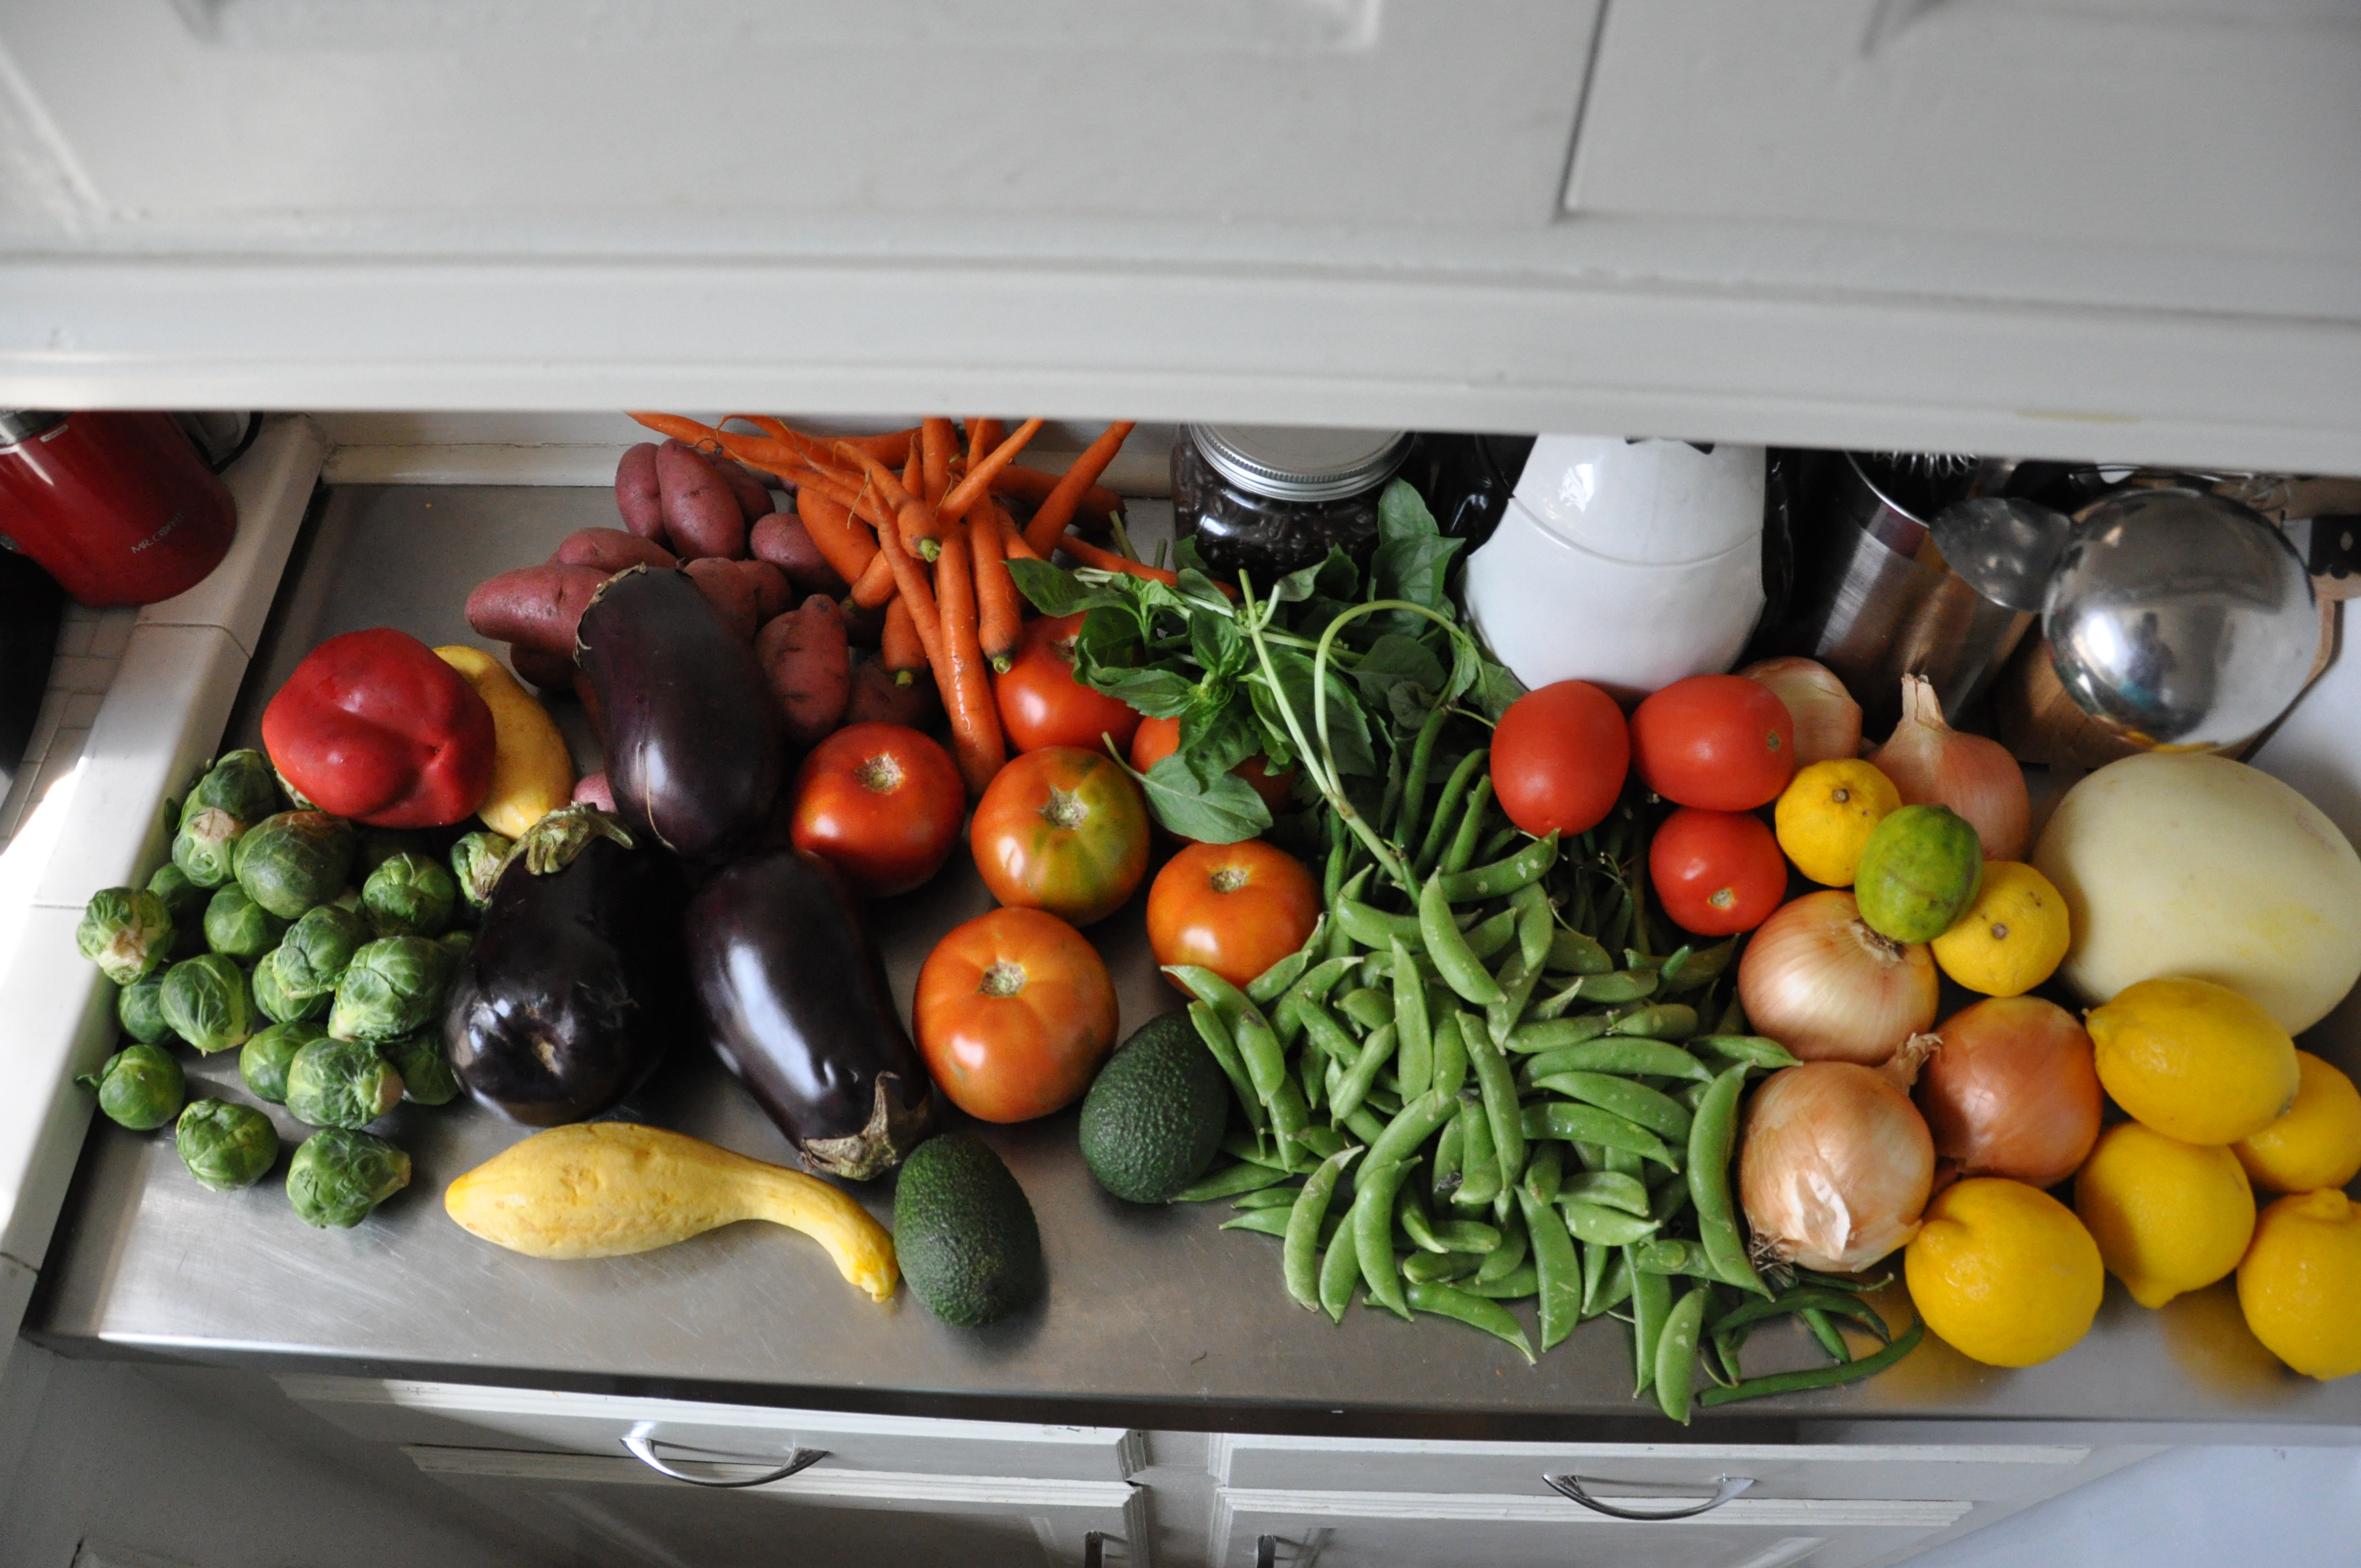
Two years and a few months later, we’ve cooked through cookbooks, made up our own recipes, and managed to go bi-coastal. We’ve gone from images like this:

Which, while it shows the delicious array of our farmer’s market bounty, leaves something to desired.

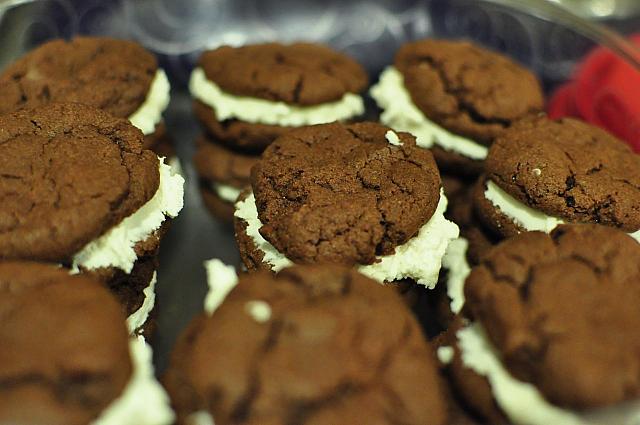
To this. We’ve come a long way, learning how to use depth of field, shutter speed, aperture, and use Photoshop, too.

We’ve added guest bloggers –one that’s been to Le Cordon Bleu in France, one that is a vegetarian, one that is gluten free, and one that’s just as likely to make a mess in the kitchen as Corelyn and I. This has allowed us to branch out into worlds of cooking we never would have otherwise.

Next week, when the new website is up, you’ll have an easier time finding recipes by category and you’ll be able to read author’s posts on pages dedicated to each writer. There are other changes in store, too, that’ll you’ll just have to wait and see. We are excited to share it with you, and hope you’ll join us next Monday for the reveal. For now, enjoy some guest posts this week, some information about our favorite day of the year (Thanksgiving, of course!) and another one of our baked goods.


[addtoany]

Here at GMS, we read a lot of blogs – cooking blogs, foodie blogs, mommy blogs, twentysomethings blogs, political blogs…you get the picture. Often times, we want to share lots of posts with you, and resort to Twitter or Pinterest. But, for those of you who aren’t following us on either, or those of you who, like us, just don’t always have the time to click through a post, we’ve decided to make it easier for you.

Here’s a weekly roundup of what we found to be the best of the (food-oriented) Internet, as well as some things we’ve been meaning to share with you:

Firstly, we’d like to point you over to T.R.’s blog, No One Likes Crumbley Cookies. He’s a new friend of Corelyn’s, and as she prepares to move to Virgina this weekend, we know that Corelyn will (hopefully!) be getting the chance to hang out with T.R. and cook some more. The best part? His blog is gluten free, so we have yet another resource to cook for Melissa and our other non-gluten-eating pals.

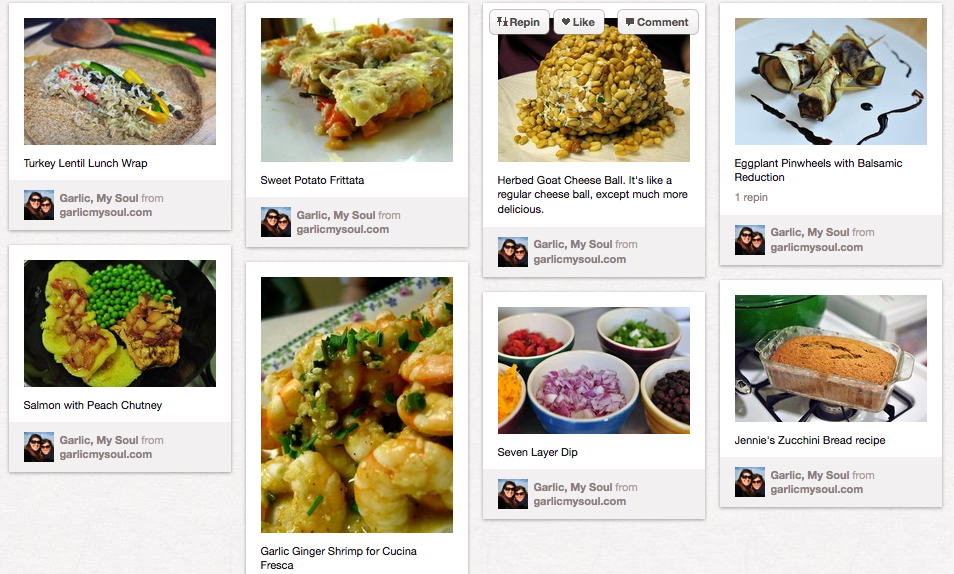
Garlic My Soul started a Pinterest account! We’re in the process of adding new pins and fleshing out our inspiration board, but follow us if you have a Pinterest account, or simply bookmark our page to see what’s making us go “ooh” and “aah.”

A glimpse of one of our pinboards!

This site allows you to rate recipes against each other, and even has a page where you “Guess the ingredients.” Our blackout cake was featured on the “Guess” page, but you should also check out the rest of the site to get recipe ideas – I know we do!

Master weight chart. This one has been amazingly helpful for figuring out just what weighs what. I have a kitchen scale that has helped us out time and time again, and ever since seeing this earlier this week I’ve been using it to measure my dry goods correctly.

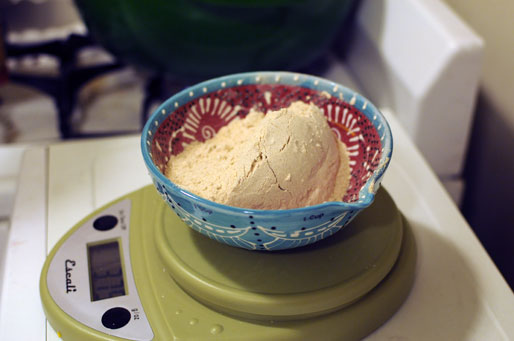
I was pointed to this helpful page from this post on How To Measure Flour. Seeing the vast difference between how much flour was measured from scooping a cup of flour versus using a spoon to add flour to a cup  was astonishing, and has definitely made me reconsider pulling the scale out more often. This is the scale I have, and it was relatively inexpensive and a fun color!

The GMS kitchen scale in action!

Something that’s to come to GMS in the coming weeks…

Chocolate cupcakes with peanut butter frosting…

Something I’ve been meaning to post for a while, and never got around to! Mary‘s mom made me this fantastic apron, which I wear basically all the time…

Forgive the lighting…I was mid-recipe, and decided it was VERY important to get a shot…and I was alone…hence the mirror shot…

I’ve recently become obsessed with soup.

I want to try:

This chicken stew

This corn chowder

This lentil soup

I’m lusting after this:

And I am so intrigued by this. She takes five ingredients, and makes dinners in less than 500 calories. It’s amazing, and I’m pretty sure it might be a new challenge idea for us, too! Simple makes for easy often times, and that’s what busy cooks like us need!

What have all of you been reading? What are you interested in? Found any neat tricks lately? Send them our way, and they may be featured next week!


[addtoany]

Accidentally, for better or worse, lately I have been taking a break from Ree (or the Pioneer Woman as most of us know her) and have been cooking others recipes; Emeril has been presenting some good recipes, as well as The Barefoot Contessa, Rachael Ray, etc. (Although, oddly enough, tonight I made an old favorite of Ree’s, but that’s for later.) So when Scott asked me to make him stuffed shrimp for his birthday dinner, I researched a few options but we agreed Emeril’s looked the best.

Thanks for being my friend, Scott! Thanks for this photo, and the one of us both hugging that tree in Vegas, and that one of us doing yoga in that bar…you get the idea. I’m glad you’re around!

Back to the food, of course.

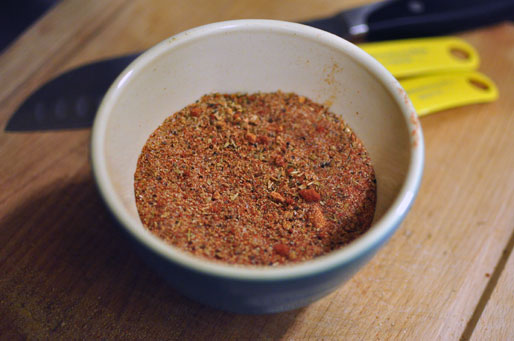
First you make some essence. As it turns out, essence is spicy. I used about 2/3 of the Essence that recipe makes, and I definitely will be using 1/2 as much next time – the stuffed shrimp had a KICK.

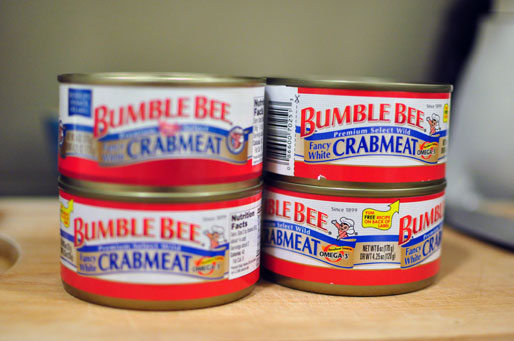
Take your crab meat, and drain.

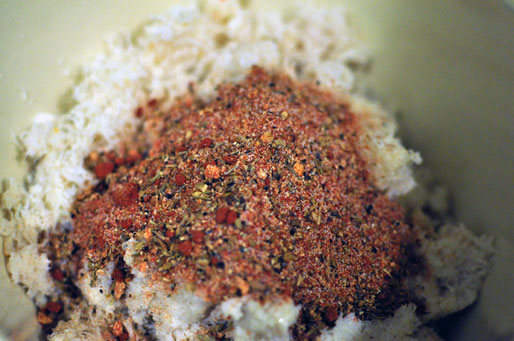
Stick it in a bowl, and mix it with your essence.

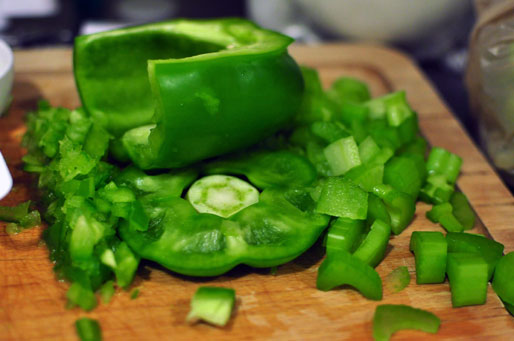
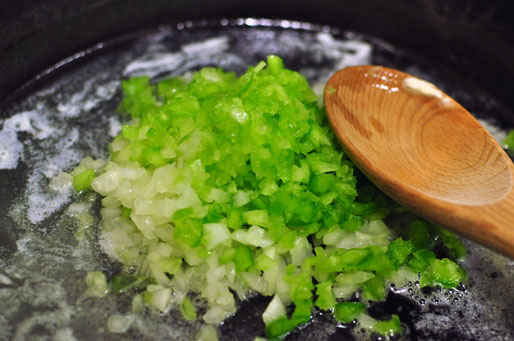
Now you’re going to dice some things. Celery, green pepper, and onion.

Saute in butter.

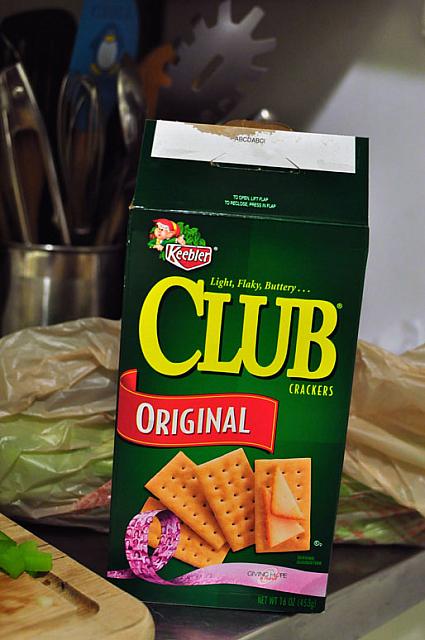
Take some Club crackers. Emeril doesn’t specific say Club crackers, but you know that’s what he meant.

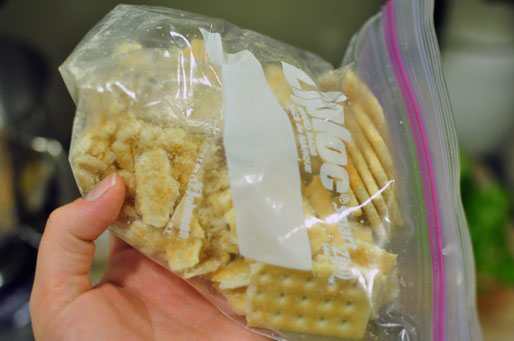
Crush ’em up.

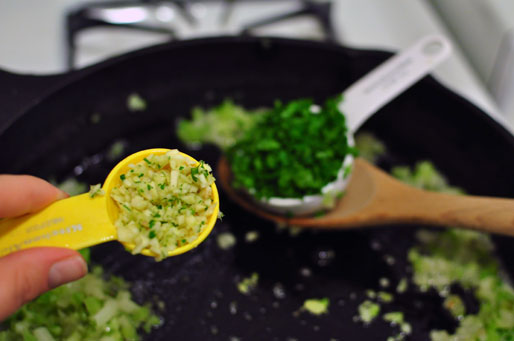
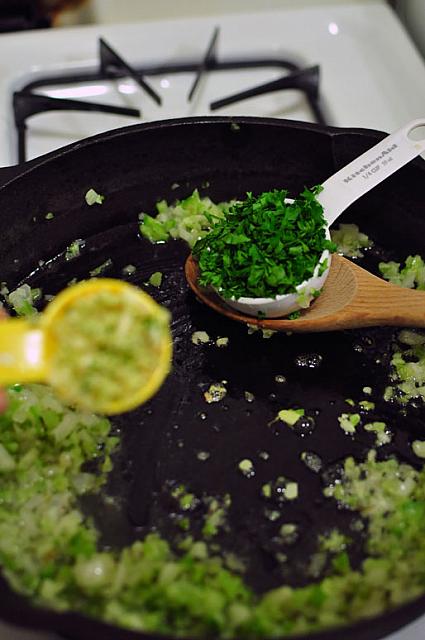
When the peppers, celery, and onions are soft, about five minutes, add your garlic.

And your roughly chopped parsley.

Cook for about a minute. Then turn off the heat, and let your veg cool. Or, if you’re in a rush, stick it in the freezer to cool off quickly. Like I was…

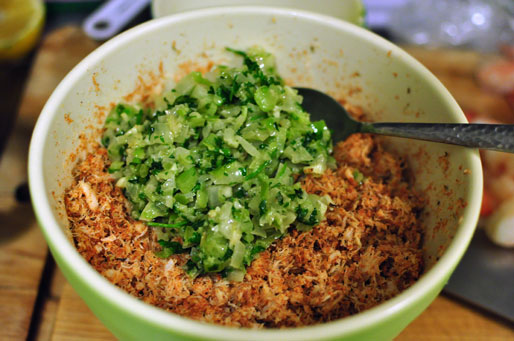
Now add your veggies that have cooled to your crab meat. Mix it up!

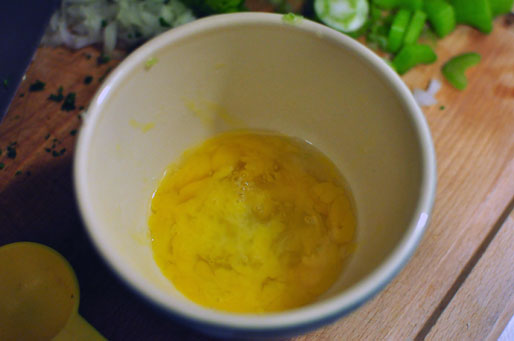
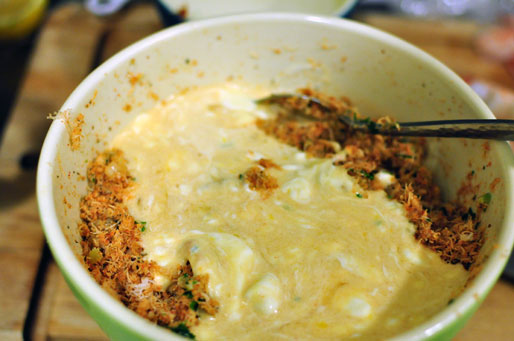
You’re also going to add your mayo, egg (that’s lightly beaten, see above), your lemon juice, and your Worcestershire sauce. And your hot sauce, if you’re into that type of thing. I added a little Tabasco.

Mix it up.

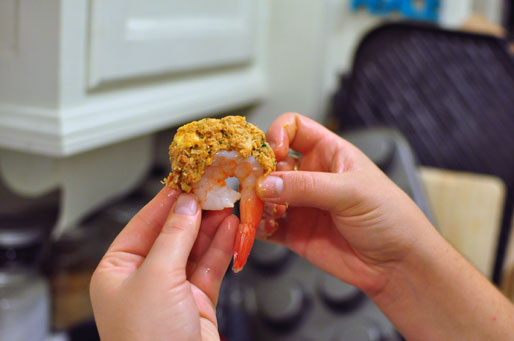
Now you’re going to stuff your shrimp. As it turns out, I didn’t stuff them the right way because Scott wasn’t over and I wasn’t sure how to do it, and I didn’t Google it because I figured there was only one logical way.

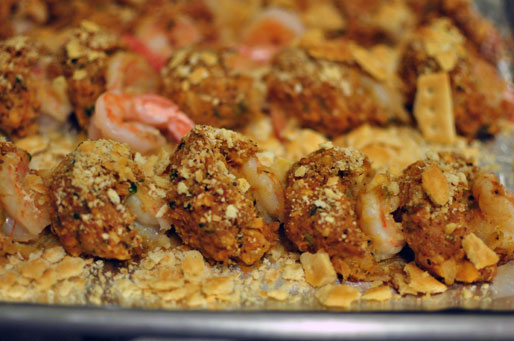
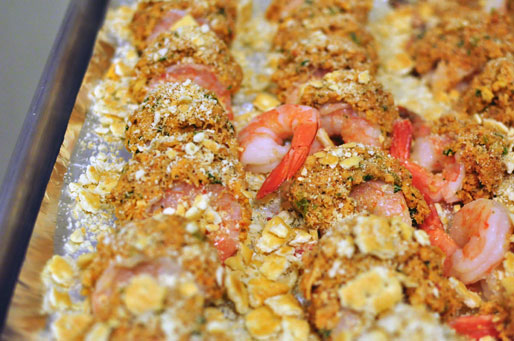
I sliced them down the backside, and stuffed it! Please note I used pre-cooked shrimp, but you don’t have too.

Then Scott came, promptly laughed, and left me wondering…

How do I stuff them? Which way? (Which way would YOU stuff them??)

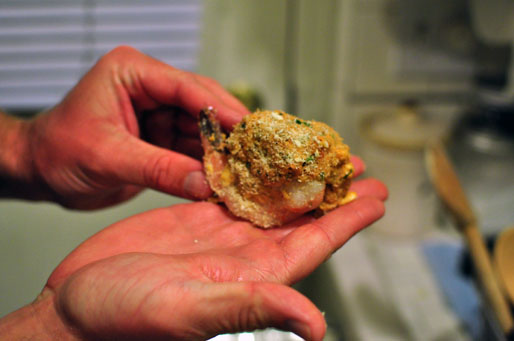
Scott showed me the way…

But it was too late. The shrimp had been cut, and this was the way we must proceed.

Once you’ve stuffed them all, you’re going to drizzle melted butter over the top, and also sprinkle on the rest of your crackers.

This is the one shrimp that Scott actually stuffed the correct way.

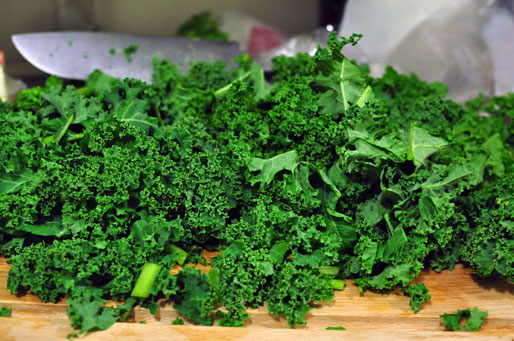
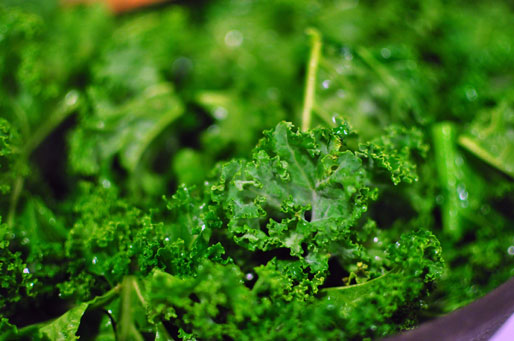
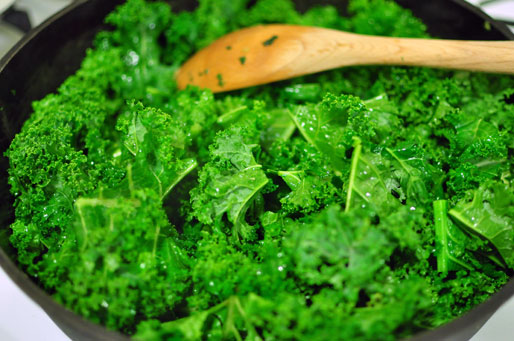
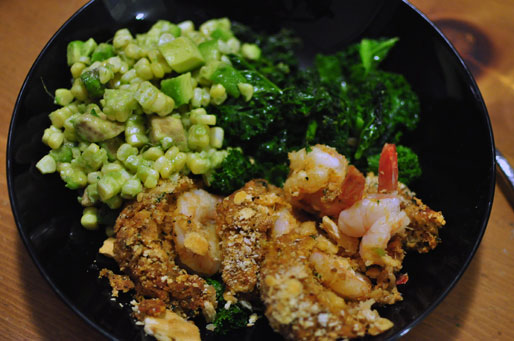
At this point, you’re going to stick the shrimp in, and make your kale. Kale is my fave. I have had it three days this week, and I am not even close to sick of it because I’ve made it a different way each time! It’s definitely a versatile vegetable that you can serve even to the pickiest of eaters!

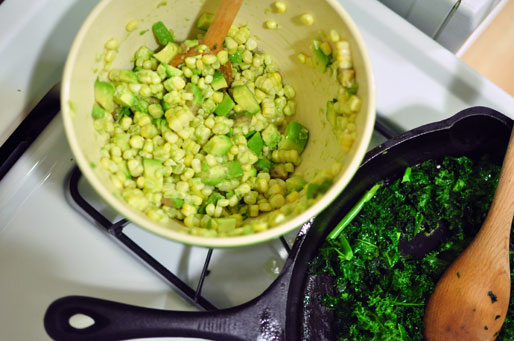
Just drizzle with olive oil, and toss to coat, add garlic, and saute in your cast iron!

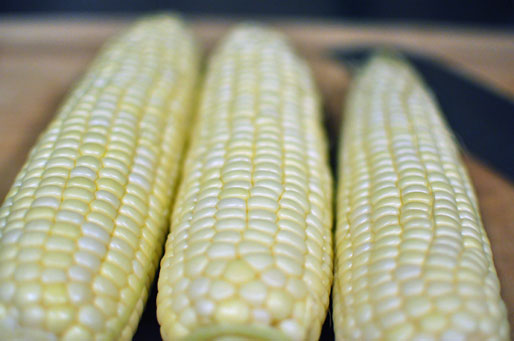
I also served corn this meal, because Scott likes it and it’s easy!

Corn that’s been boiled, avocado, lime, and salt is a great side!

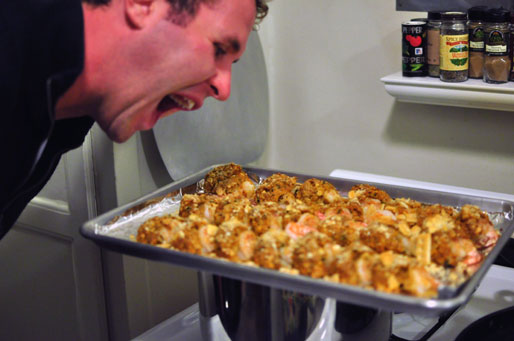
After about 20 minutes, your shrimp should be looking ready to go – golden brown stuffing, and pink shrimp.

Everyone is ready to eat by this point.

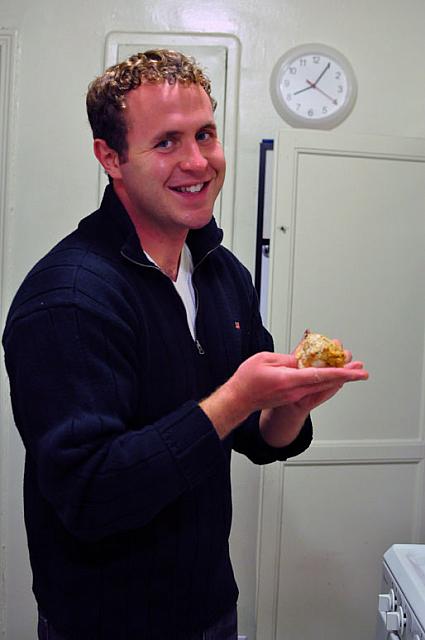
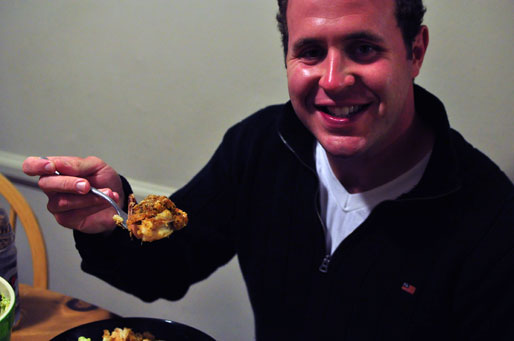
That’s the face of someone who is extremely happy.

Look at that face.

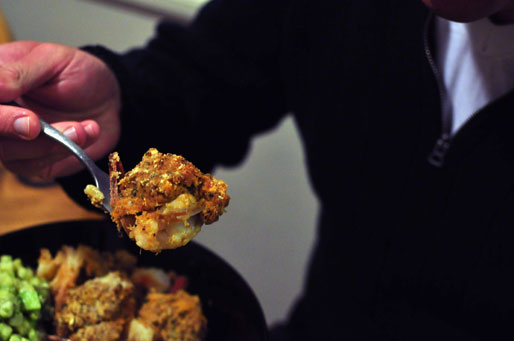
Of course, eating his perfectly stuffed shrimp first. I can assure you the others were just as good.

There you have it – avocado corn lime salad, kale, and stuffed shrimp! For dessert, chocolate peanut butter cupcakes – look out for that post!


[addtoany]

Stuffed mushrooms are one of those decadent appetizers that people love to eat, but are too intimidated to make. I think we’ve been programmed to assume any “stuffed” food item is inherently difficult and therefore fancy.

Guess what? This is totally false!

I was lucky enough to grow up in a household that had no such misconceptions about stuffed mushrooms, and while visiting my father last week, we decided to make this simple recipe which is actually a variation on one my sister came up with years ago. In my high school vegetarian phase, my father used to make this for me as a special treat. Now that I’ve returned to being a carnivore, I still love stuffed mushrooms and I want to share the recipe with all of you!

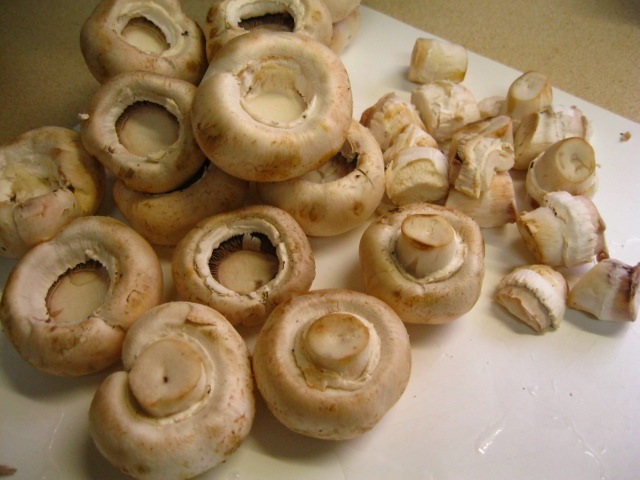
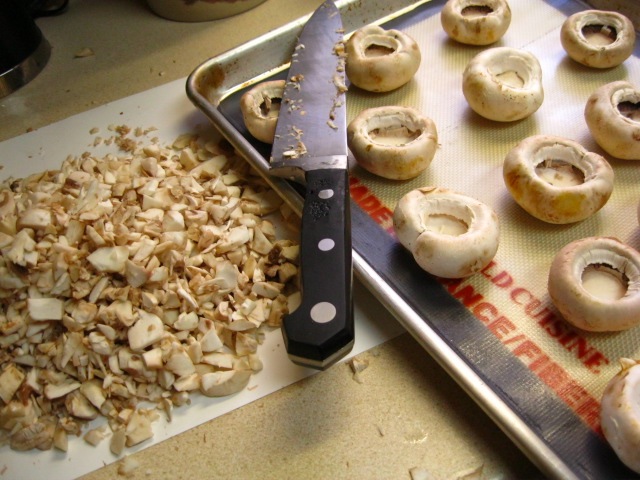
Start with 10 – 15 white mushrooms, on the larger side. Pop the stems out and save them to use in the stuffing mixture.

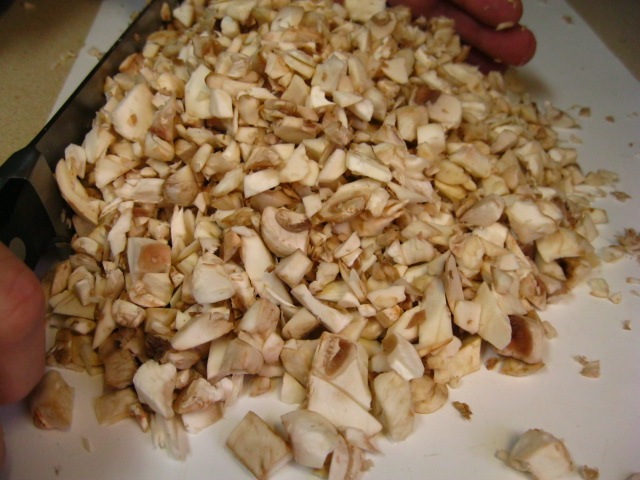
Take another 10 – 15 mushrooms and the leftover mushrooms stems and chop roughly. You can use any variety you like. Poppy favors shitakes, but I’ve never been a big fan, so we stuck to regular white mushrooms.

Ready for business.

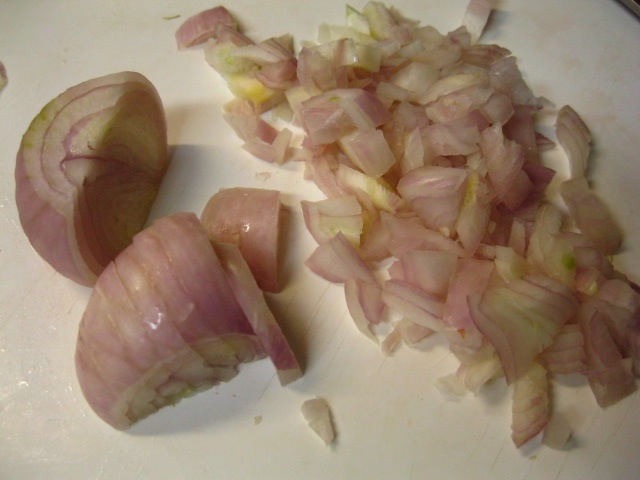
Meanwhile, go chop up a shallot. If you’ve ever eaten something delicious at my father’s house, shallots were probably the secret ingredient. They’re magical.

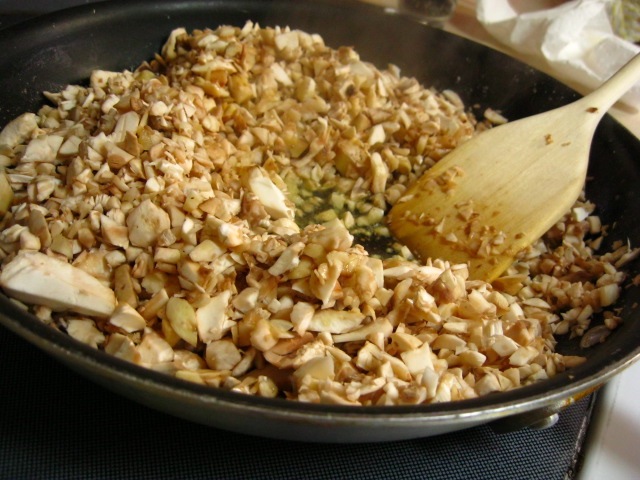
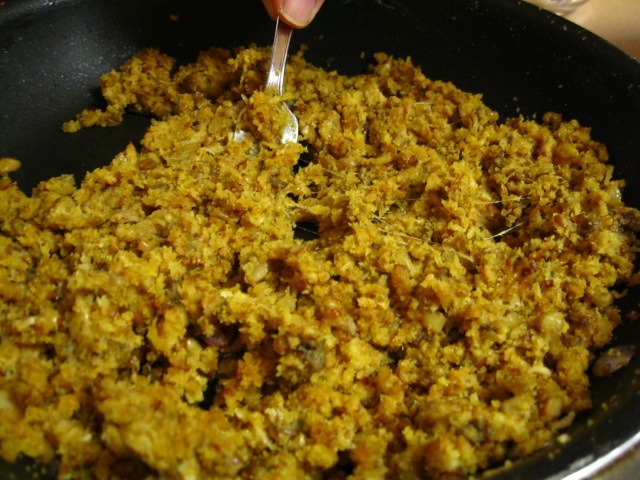
Now saute the shallot and chopped mushrooms and let them caramelize. We used about 3 tbsp olive oil mixed with 2 tbsp of butter, and pre-seasoned the oil/butter with a little kosher salt and a few grinds of black pepper.

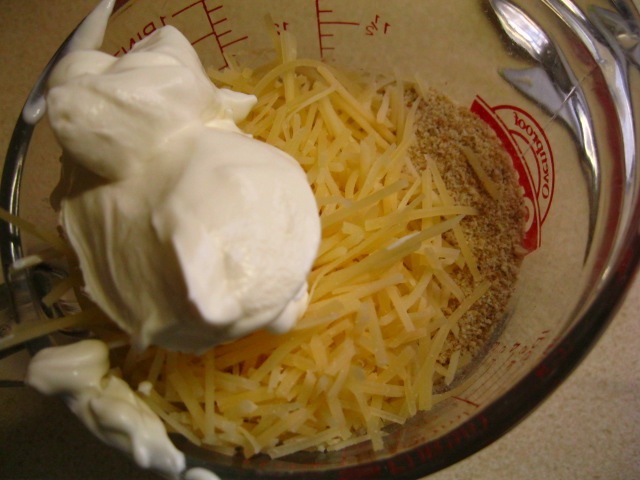
Then add some bread crumbs, grated Parmesan, and sour cream (optional).

If your mixture seems a little dry, you can add more sour cream or some chicken broth. At this point you should adjust your salt and pepper to taste, and add some turmeric and thyme.

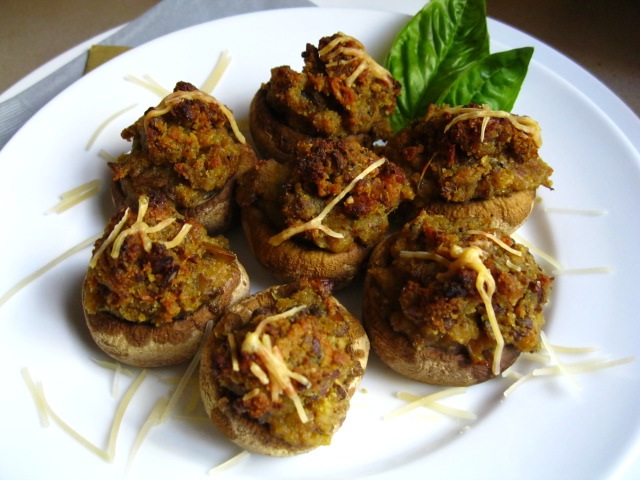
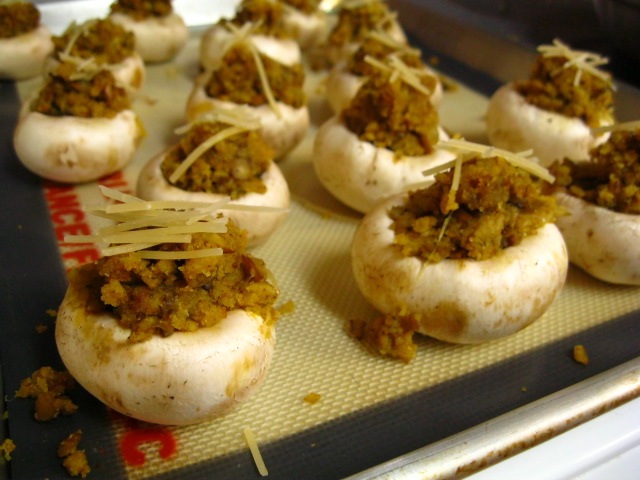
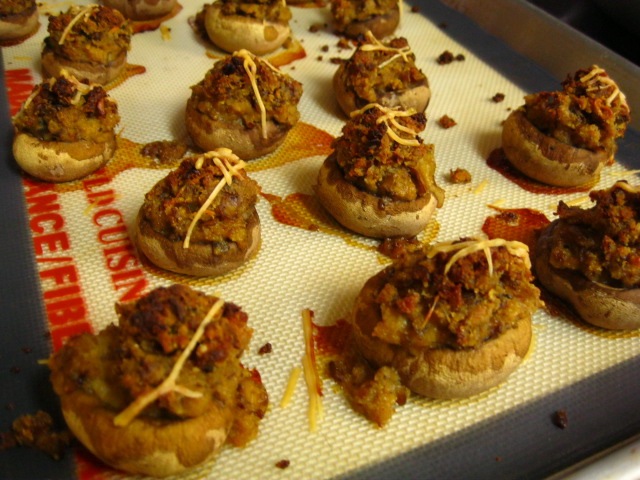
Stuff your mushroom caps, top with a little extra cheese, and into the oven they go!

About 30 minutes on 350 degrees should do the trick.

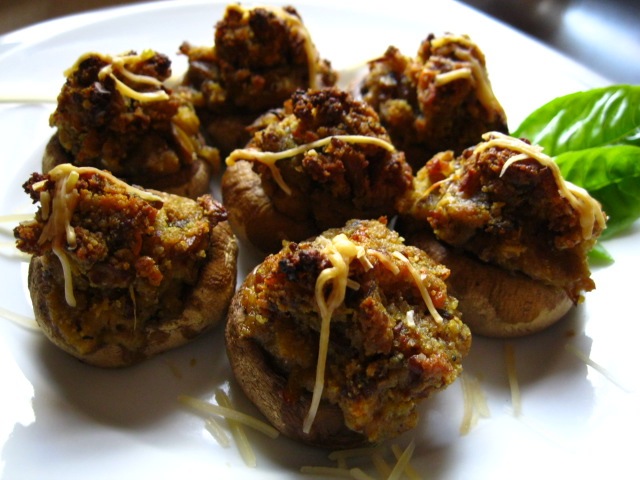
Rich and delicious! See full recipe here.


[addtoany]