
When I was first diagnosed with Celiac, I bought myself a breadmaker. I was petrified that I was not going to be able to find bread that wasn’t those dense rice loaves in the refrigerated section that I hated SO much. I did a little research across the gf forums and ended up ordering this bread maker off of Amazon along with some gf flour, and basic gf cookbook.
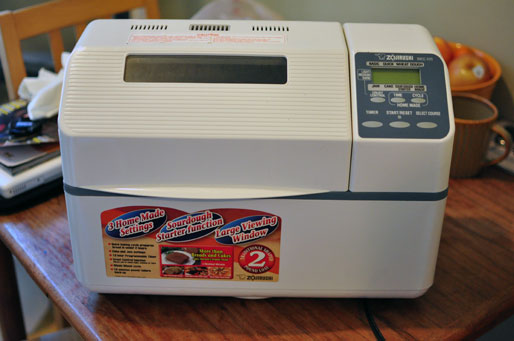
I had high hopes of baking my own delicious bread on a regular basis, filling my house with the aroma of freshly baked bread. The reality fell short of this ideal. I am sorry to report that I used my bread maker exactly once after I bought it to make a not so successful or delicious loaf of bread that I quickly tired of eating. I honestly think I ended up feeding half the loaf to some birds. I did not use my bread maker again for a full two years. However, this past weekend Jennie and I brought out the bread maker out from deep inside my kitchen cabinets and were successful in baking a thoroughly delicious French bread loaf!
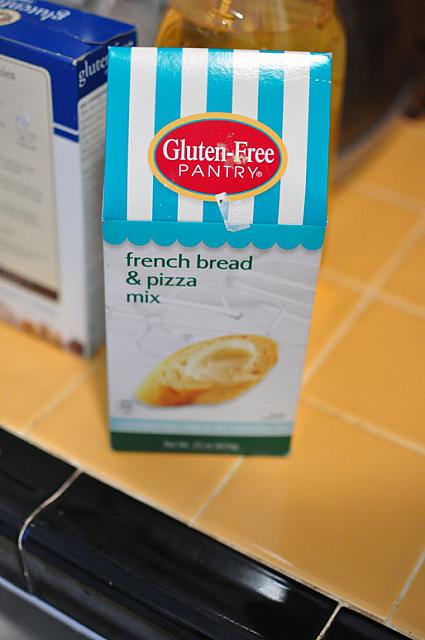
We used a prepackaged mix by Glutino and were pleasantly surprised with the result. We decided to choose a prepackaged mix for a number of reasons 1) They have already done all the math, trial and error, and mixing for you. Baking, especially gf baking, tends to warrant exact measuring and many test runs in order to be successful. 2) We were curious how a prepackaged mix would stand up to mixing our own from scratch. 3) I happened to have some in my house.
We found that the directions on the box were easy to follow. The bread maker manual instructions were somewhat rudimentary and at times comical: “If dry yeast contacts water, results may not be ideal.” Noted.
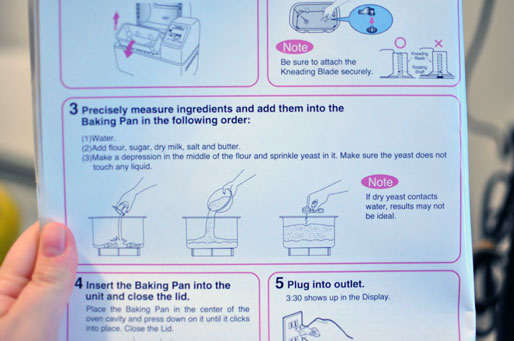
So we set about following the instructions from the box and also the bread machine manual. There is a specific order you have to add the ingredients to the baking pan otherwise the bread won’t bake correctly. It has something to do with the yeast and whatnot. We just took their word on it and followed their directions.
First, we added all of the wet ingredients. We made the executive decision to melt the butter as opposed to simply soften it because it was going into the pan during the wet step anyway.
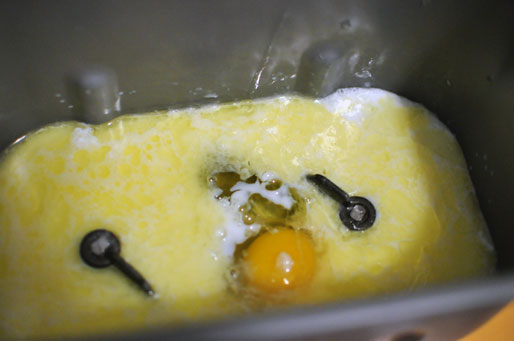
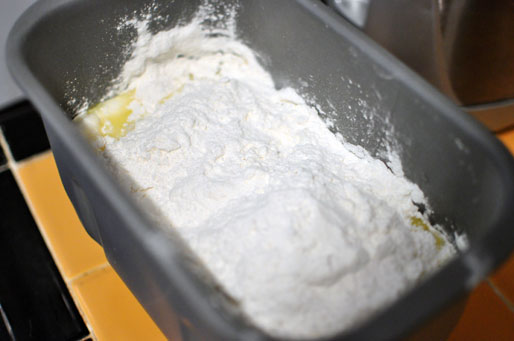
Then we added all the dry ingredients.
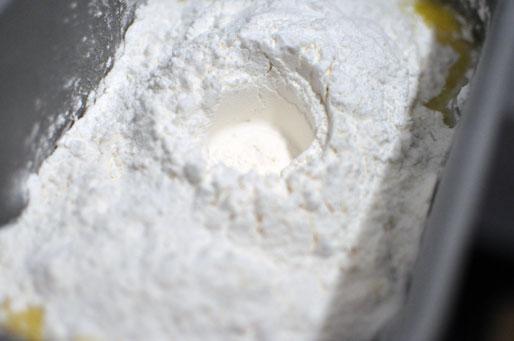
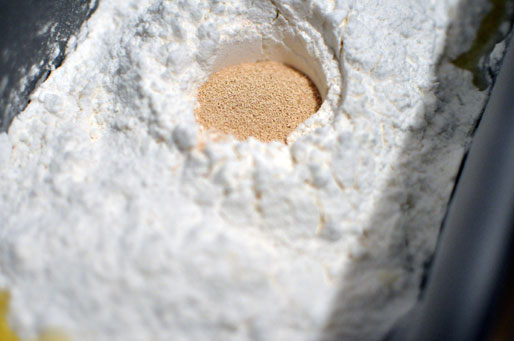
Finally, I carved out a little hole for the yeast to sit in upon the dry ingredients. You have to be careful at this step to not let the yeast make contact with the wet ingredients.
Then you close the lid, plug in the bread machine, and adjust the settings to your directions. We used the basic loaf setting with the medium crust. Then you turn it on (and it will just sit for the next long while mysteriously “preheating”. I say “mysteriously” because heat does not come into this dynamic for quite some time. Who knows what it is doing, but we just let it be.)
Eventually it will start mixing the ingredients and this will start to form dough. Our directions suggested that during this kneading phase to check on the dough to make sure it was the proper consistency (not too dry or crumbly) and to use a plastic spatula to scrape the dough from the sides if it was sticking in order to help the bread machine thoroughly mix all the ingredients. We did do this step, but the dough was a good consistency and wasn’t sticking too much, so it probably would have survived without our intervention.
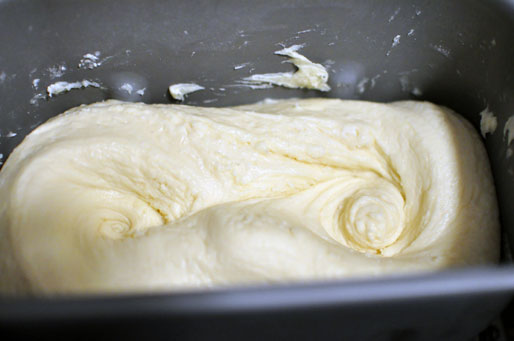
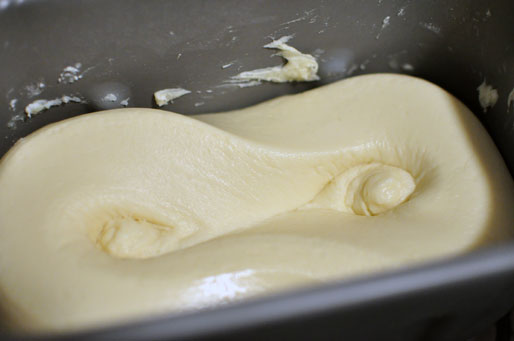
After that we let it do its thing for the remaining 2.5 hours. The bread slowly rose and eventually the heat turned on and started baking the loaf.
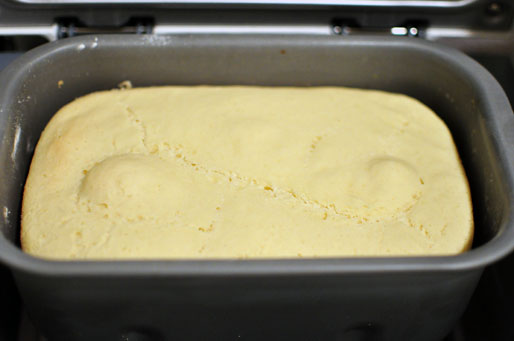
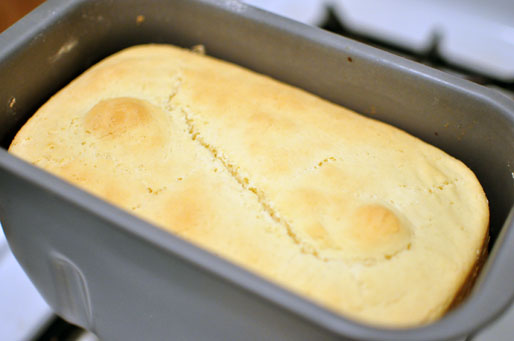
When the bread machine said it was done, the crust was not to my liking. It was too pale, it looked like it was uncooked, though I suspect it was not.
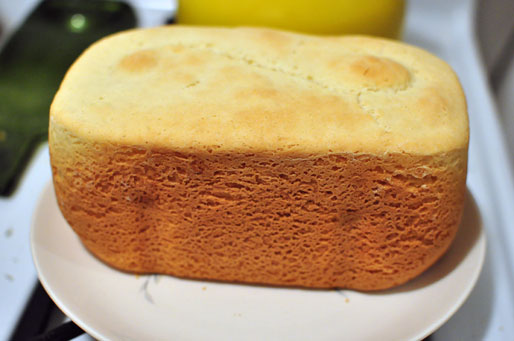
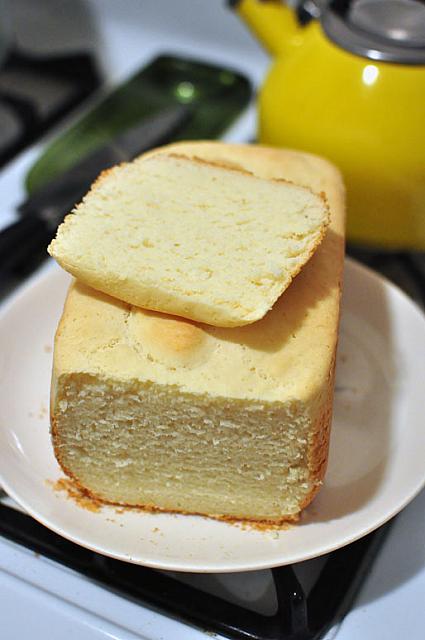
Our solution was to throw the whole baking pan into the actual oven for an additional 15 minutes. We put it in for 10 minutes, then an additional 5 and it came out looking like this:
Much more appetizing!
Overall, using a bread machine and a mix has many advantages. It is very easy and passive. The hardest work is to throw in the ingredients in the right order. The 3.5 hours it is in the bread machine you can be doing other things and it doesn’t even get hot until the last 45 minutes or so. I think that next time we would also probably set the bread maker to dark crust to get it to brown whilst in the bread maker itself.
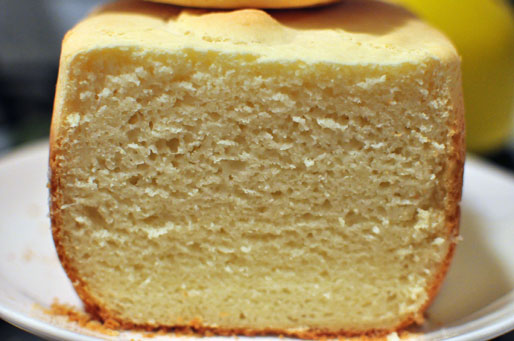
Some of the disadvantages of this particular bread mix are the fact that the bread is rather crumbly. It is gf so that is somewhat to be expected, but this mix was also for french bread which is even more crumbly. This is all by way of saying that the bread is delicious, but not structurally sound enough for say, sandwiches. It can’t hold up to vertical toasters or being thinly sliced.But having to have a thick slice of freshly baked bread? I’m alright with that!
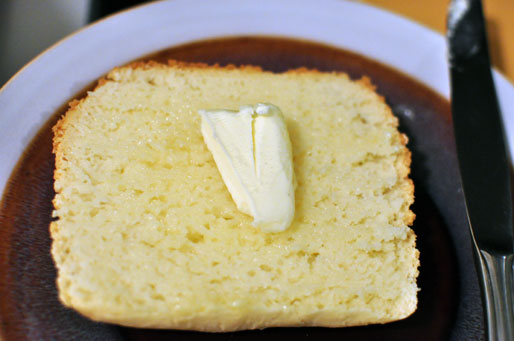
But all and all I’d say it was an outright scrumptious success!
What are the bread makers that you use? Bread mixes that are tried and true? Please share!
[addtoany] Yum