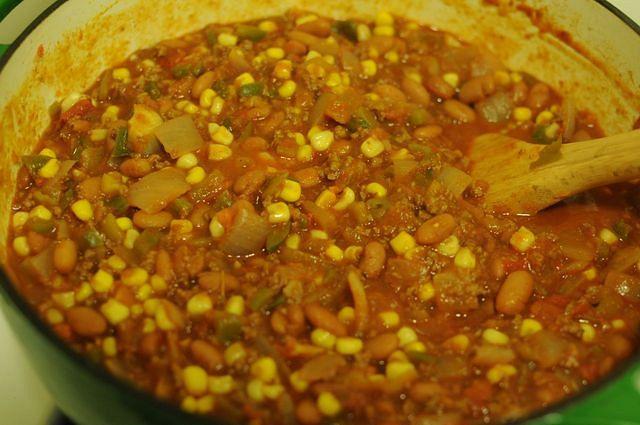
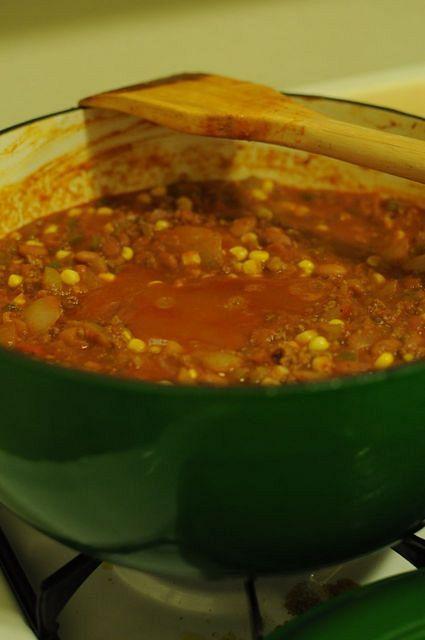
We needed a side dish to go with our 5 color chili, so Jennie had the brilliant idea to make corn muffins. We figured it’d be easy enough, so we didn’t do much planning until we found ourselves riding in the car on our way to the grocery store.

“Can we add some actual corn?” I said to Jennie.

“Sure,” she consented.

“And maybe some red pepper?”

“I love that.” Jennie said.

“And I think we should add fennel.” I mused.

“Fennel? What about lavender?” Jennie offered.

“Lets do a half batch of each!” We decided.

And so, once again, we found ourselves standing in the spice aisle of Ralph’s scouring their selection for something new and exciting. In the end, we came up with a recipe that satisfied our Cucina Fresca goal for baked goods AND for trying new spices.

Prep time: 5 minutes
Cook time: 12-17 minutes
Servings: 15 muffins

Ingredients:

1 cup cornmeal
1 cup all purpose flour
1/3 cup sugar
3 tsp baking powder
1 tsp salt
3 medium eggs (or 2 large)
1/4 cup canola oil
1 cup milk

Variation 1:

2 tsp Herbes de Provence with Lavender

Variation 2:

2 tsp crushed fennel seed
6 oz frozen corn
1 red pepper, finely chopped

Directions:

1. Mix cornmeal, flour, salt, sugar and baking powder in large bowl.
2. Mix in eggs, milk and oil.
3. Add herbs of your choice and mix well.
4. Mix in frozen corn and chopped red pepper, if preparing fennel muffins with corn.
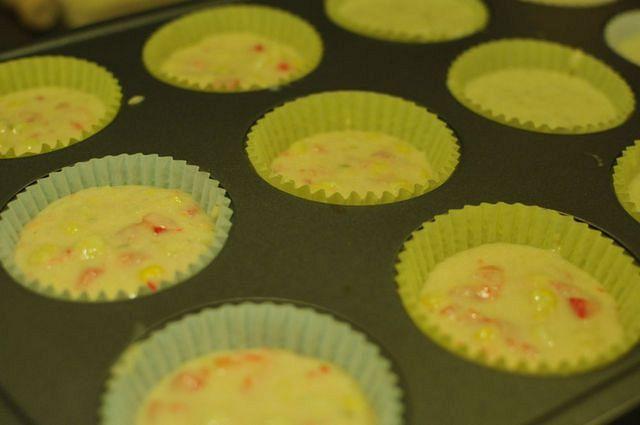
5. Fill 12 – 15 lined muffin cups. Fill slightly more than halfway for lavender herbed muffins, or 3/4 full for the fennel herbed muffins with corn and red peppers.
6. Bake for 15 minutes at 400 degrees.

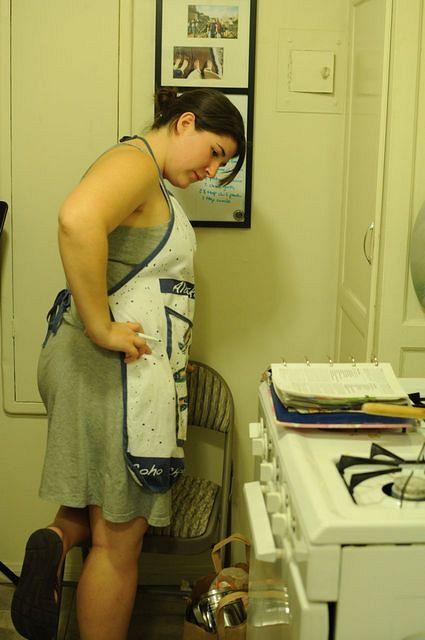
First, Jennie adapted the recipe for our corn muffin base from the Better Homes and Gardens New Cookbook.

Then we hunted through the baking cupboard for ingredients.

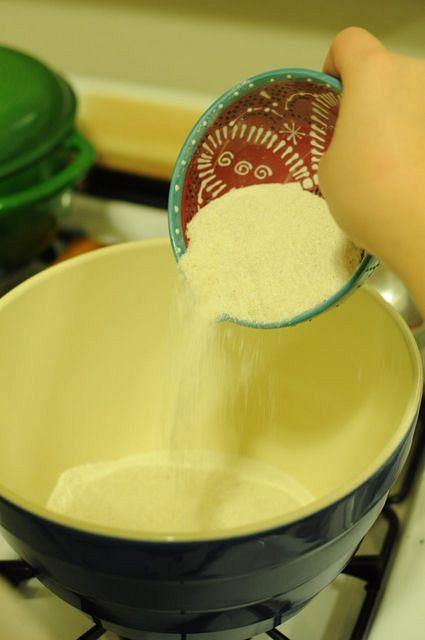
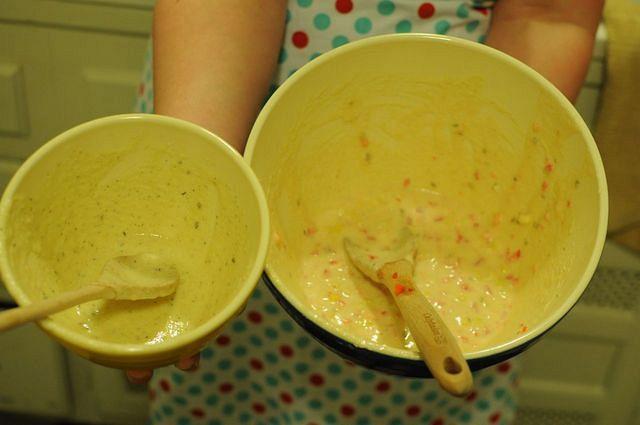
And we mixed up the batter!

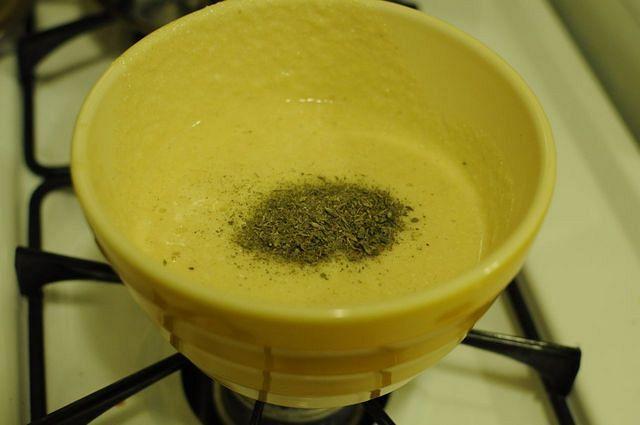
We split the batter into two batches. To the first, we added 1 teaspoons of Herbes de Provence. (Add 2 teaspoons if you’re making a full batch)

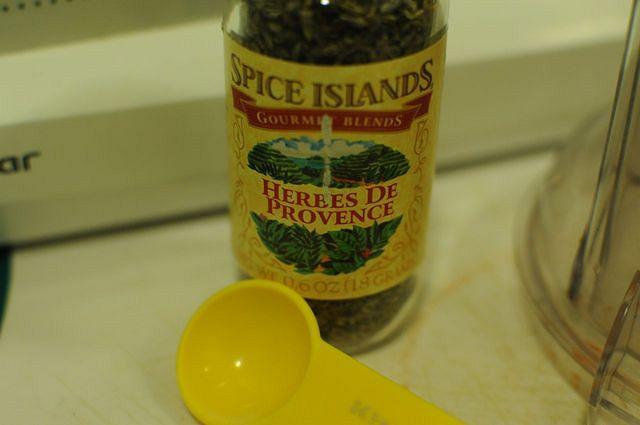
So happy to have this in our cupboard, now!

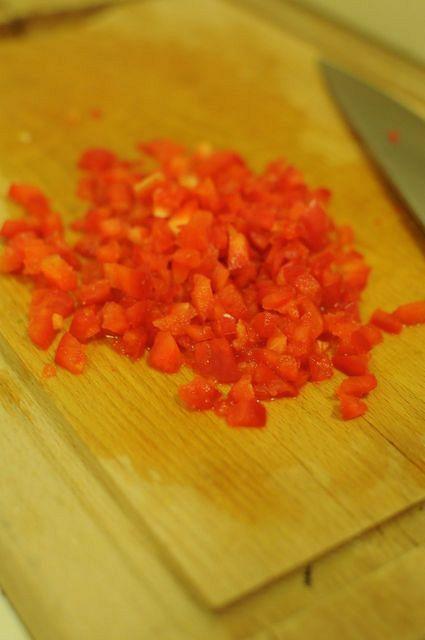
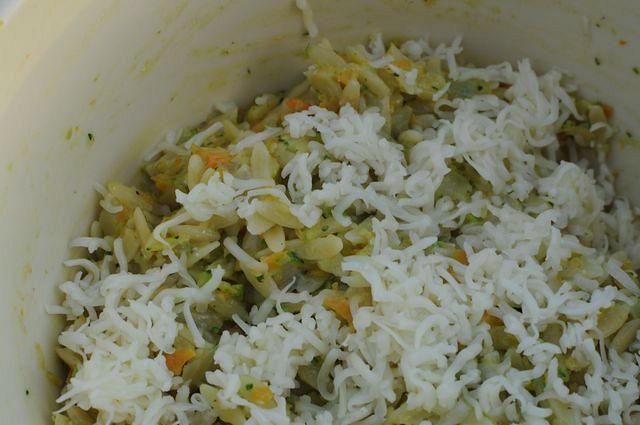
To the second half, we added half of a red pepper, finely chopped. And about 4 oz of frozen corn (one full pepper and 8oz corn for a full batch)

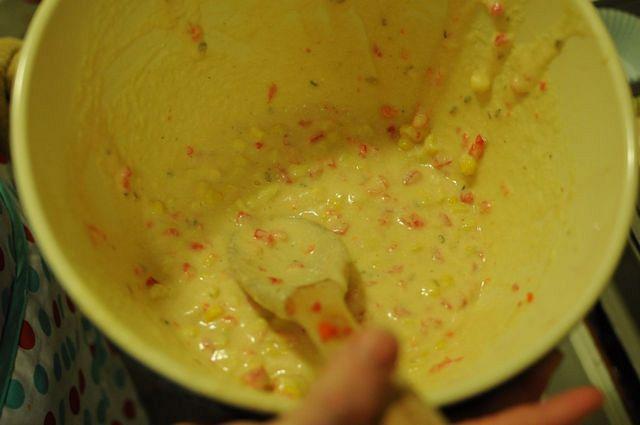
We also added a teaspoon of crushed fennel seed to this batch. (2 tsp for a full batch)

Voila!

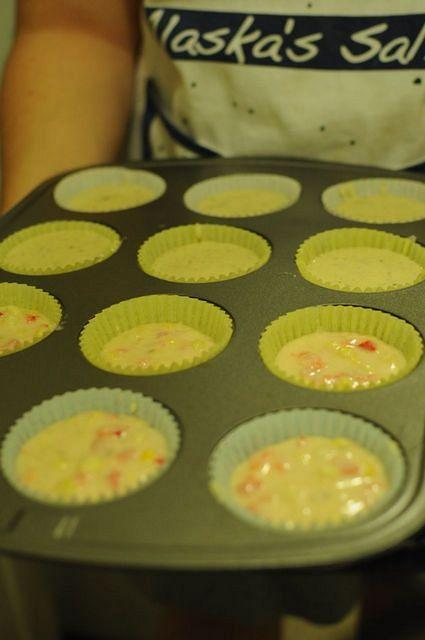
We used muffin liners, because we’re too lazy to grease the pan.

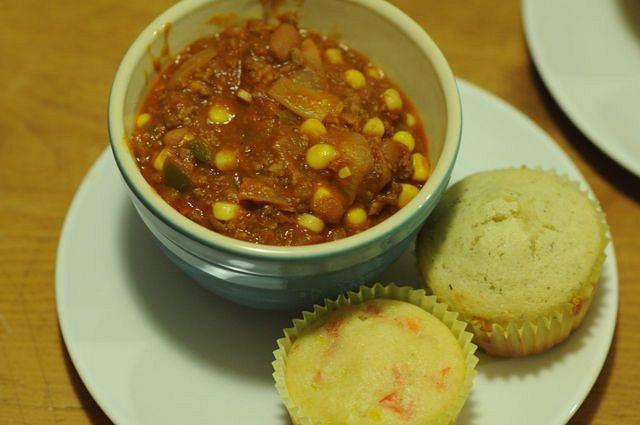
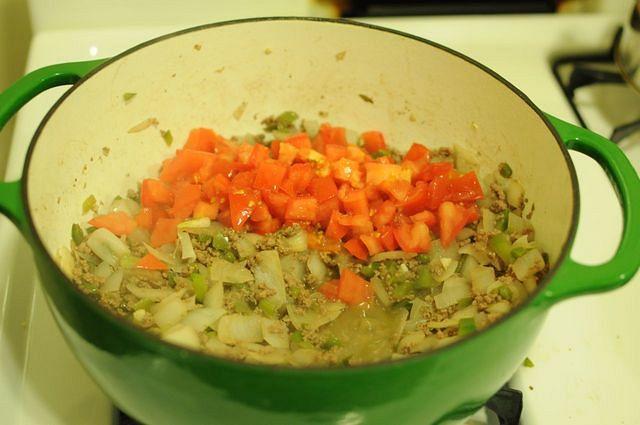
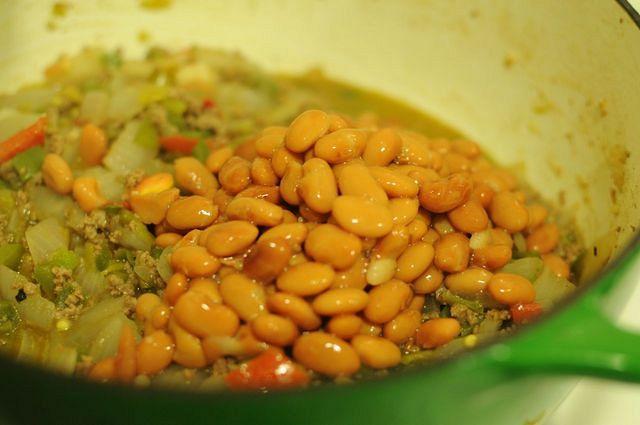
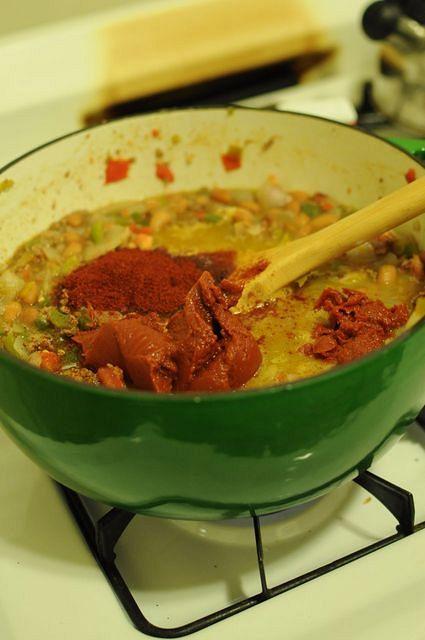
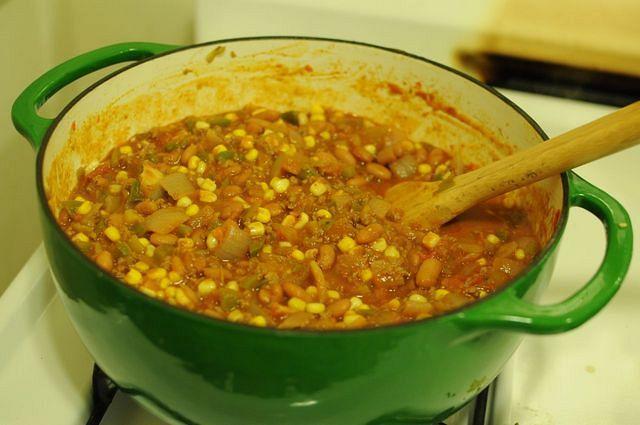
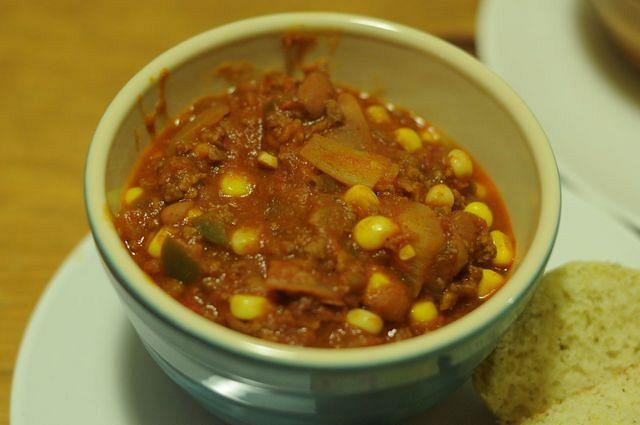
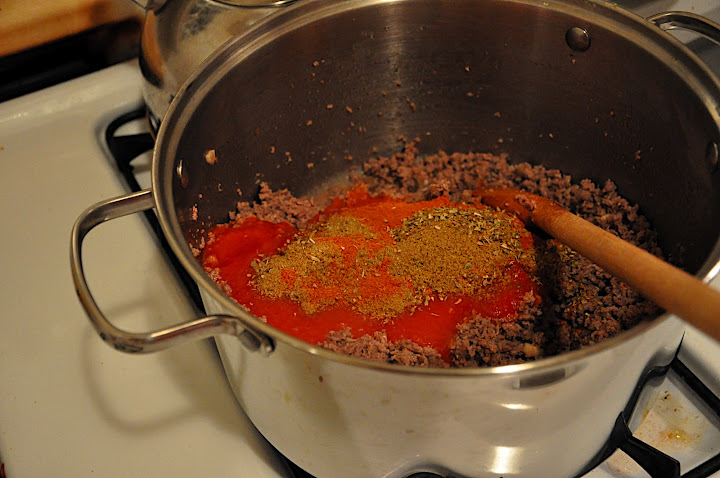
Serve with some yummy chili!


[addtoany]

For February’s Cucina Fresca, we decided to venture into the world of chili. You may recall when we made the Pioneer Woman’s chili. That chili was delicious, but it was too spicy for even Corelyn. We also felt it was perhaps lacking in the vegetable we loved so much. So we adapted Ree’s recipe along with Linda’s to make a veggie rich recipe that would be a good level of spice for me and would have a hearty amount of meat to make it a complete meal.

We came up with a recipe that covered two of our original goals:

  • Make vitamin balanced meals – at least 3 colors per meal
  • Create a couple of basic soups (or stews, etc.)

In the end, the chili was the perfect balance of vegetables, meat, and liquid. It crossed five colors: yellow (corn), green (pepper), red (tomato), brown (meat), and white (onion.) We also used a variety of spices (chili powder and cumin) to try our hand at adding things we wouldn’t normally think of. Here are some highlight photos.

Take some delicious tomatoes and blend them up. We ended up using five. You set them aside for the time being.

Please note the coffee in the photo. We usually start off (and end) all cooking days with a giant cup of coffee.

Meanwhile you chop some stuff. We opted for green pepper, garlic, and onion. Chop ’em up, put them in some (olive) oil and sauté them. Give them a few minutes before you add the beef. We used a pound of beef, but you could use ground turkey if you don’t like beef.

You probably want to use a dutch oven, if you have one, because they hold so much, and they clean really well.

Let that cook until the beef is mostly cooked.

At this point, you dish should like something like this. Mmm, good.

Go ahead and add some roughly chopped tomatoes. We used two.

You can add two cans of pinto beans at this point, too, or any kind of beans that tickle your fancy.

Add a can of tomato paste, and stir in your spices: salt and pepper to taste, as well as 2 1/2 tablespoons of chili powder and a heaping tablespoon of cumin. Mix it all in. Now, my friends, add your blended tomatoes. And add 12 ounces of frozen corn. And stir. Delicious. You can also at this point add a can of green chilis, if you’d like. We did.

Now you’re going to have a hands-off hour. You can spend that time watching an episode of Lost or the West Wing, cleaning the mess you just made, or making corn muffins. Your choice.

It’ll look like this about half way through. You’ll be so happy and excited you might put on a little James Taylor to celebrate, or you might hug whatever friend happens to be in your kitchen.

By the end, you’ll be so happy you’ll even smile whilst stirring.

Ahh, chili. Simple, 5-color chili.


[addtoany]

Here we are, mid-February, and yet to post a single Cucina Fresca recipe for this month. Well, have no fear! We’re planning two epic cooking days for this weekend, and I am positively giddy with anticipation.

Why?

Because. We’re making chili!!

Now, I love chili. But we seldom get to eat it. This is in large part due to Jennie’s intolerance for spicy food, but also because it’s such a heavy meaty meal with almost no real vegetable content. A hearty bowl of chili is delicious, but it’s so much food on it’s own that I find it difficult to incorporate it into a balanced meal.  So, I’ve been wanting to come up with a veggie-heavy chili for years now.

It may surprise some of you to know that I was a vegetarian for about four years as a teenager/young college undergraduate. This may seem strange, since I now spend a significant amount of my time taking pictures of raw meat, preparing it, and then eating it with enthusiasm. But really, I just LOVE vegetables, and one of the things I miss most about my vegetarian days is vegetarian chili, because it was always chock full of yummy vegetables.

Since embracing the world of traditional meat chili, I’ve tasted some winners. My parents have a fantastic recipe, which is still my reigning favorite chili. Readers of the Pioneer Woman challenge of 2010 will remember her delicious recipe which was unfortunately too spicy for me and Jennie to eat without 75% sour cream and rice. What I’d really like to do, is take what I’ve learned from both of those recipes, add some good vegetables to the mix, and hopefully I’ll end up with a delicious (and not too spicy) chili that marries my love of vegetables with my recently renewed love of red meat.


[addtoany]

January’s main dish was baked mustard lemon fish. For the fish, we headed to the farmer’s market in search of something white. We saw red snapper, and decided that we would come back through, and if the red snapper was there, that’s what we’d take. When we came back, there was only one left. It was our fish.

These were some black cod that were next to our red snapper.

This is our guy. When I asked the man, Captain Wilson, if he could fillet the fish for us, he said, “Well, it wouldn’t do the fish justice if I filleted it” and went on to explain why the fish was better cooked whole. He then asked us if we wanted him to cut the head off.

“Yes, please! Wait, no, don’t. No. Well, we have this blog…” the moment was significantly more awkward as I continued to snap photographs and Capt. Wilson’s coworker ducked out of the frame…

More photogenic with the head, c’est vrai?

Here is Corelyn cutting its head off. After the first, “crunnncch” I said, “I wish that everyone at home could hear that sound.” And then, I remembered that the camera takes video.

Corelyn beheading the red snapper. from Jennie Palluzzi on Vimeo.

Here is the fish’s head, all detached and ready to be…well, discarded.

This is the fish, scored and ready to be put in the oven. After much deliberation, we decided that we should put the fish in a casserole dish in a tinfoil pocket, to cook it but contain the juices.

We rubbed the fish in lemon juice mixed with lemon zest, butter, olive oil, spicy brown mustard, sage, garlic, and salt and pepper.

Then we put the fish in the oven for about 20 minutes. When it was done, it didn’t necessarily look pretty…

Overall, the fish was good, the sauce on the fish was amazing, but we decided that we’re just not red snapper gals. The fish had a lot of bones, and it was hard to eat (especially after we were so hungry!) and the fish didn’t really end up having much once it was cooked. Also, the red snapper was pretty mushy, as far as fish goes.

We decided that white fish in fillet form would be better for this flavor, and it was a quick recipe to put together, so it’s definitely one to add to our wheelhouse.


[addtoany]

January’s Cucina Fresca challenge was based on a few of our challenge goals:

1. Cook fish
7. Try our luck at sauces, from different ethnicity’s and with different bases
12. greens, greens, greens!
25. Seasonal vegetables

Our main ingredient? Mustard. We used it in two of the recipes that we cooked this month. What did we not use the mustard in? The orzo we had as our side.

****

We stood in the grocery store, buying under ten items (which I think has never happened before in the history of Jennie/Corelyn shopping.) We were passing by the cheeses, when Corelyn said, “I don’t think we need cheese for anything we’re making.” Now, to most people this would be acceptable, but I immediately made a face, which Corelyn could only interpret as horror. “Well, we could add cheese…to…the orzo?” And that’s exactly what we did. After scouring the cheeses, we decided upon a soft cheese, then upon a crumbled cheese, and then, Eureka! Fontina.

Now we usually want our recipes to be easily adaptable, so you can use any cheese that tickles your fancy. But in this case, we highly recommend the Fontina. It was perfect in this recipe!

Prep time: 10 minutes
Cook time: 12 minutes
Servings: 4

Ingredients:

8 oz orzo
4 oz fontina or your favorite cheese
3 tbsp olive oil
2 1/2 garlic cloves
1/2 onion
6 small OR 3 large carrots
2 medium zucchini

Directions:

1. Put water on to boil. When boiling, add orzo and cook to box directions.
2. Meanwhile, mince/food process carrots and zucchini
3. Put a frying pan on with 3 tbsp olive oil. Heat to medium-low. Saute onion and garlic.
4. Add carrots and zucchini
5. Drain orzo, and add to frying pan. Saute 2-3 minutes
6. Add salt and pepper to taste. Add fontina. Mix well.

We wanted to create a pasta side that could be eaten hot or cold, almost like a pasta salad. So we added zucchini, carrot, onion and garlic.

And since we’re a little lazy, we let the food processor do the work and dice those carrots and zucchini pieces for us.

While the orzo is boiling, saute the onions and garlic in oil. It seems like all our favorite recipes begin with this step!

When the onions start to turn translucent, add the diced vegetables.

Stir and cook for 1-2 minutes over medium heat before mixing in the cooked orzo. Keep it on medium heat while you stir it all together to combine.

We mixed half the shredded fontina into the orzo, and reserved the second half to sprinkle on top.

Voila! Heaven in a bowl.

Delightful as part of this meal!

Things we learned: 1. a delicious new orzo recipe. This could easily be adapted using whatever vegetables you have on hand/in season. 2. Orzo is pronounced like “ord-zo”. 3. Fontina is a sorely underrated cheese, and sometimes difficult to find in the grocery store. But don’t despair! It’s probably just buried under that pile of Gouda…


[addtoany]