
I’d like to start a new kind of post on our site, for recipes that either just didn’t hit it or didn’t explain the recipe enough. I’m sure you’ve all been there before: in the kitchen, recipes ready, ingredients in a row, re-reading the recipe a second, third time. Simple enough. Until you get to a step that requires you to, “Add salt to taste,” and the ingredients are something you’re not going to be able to taste. Here’s a clip of me explaining my rage of this step, found in many recipes:
Anyways, so our friend Megan turned twenty-five last week, and to celebrate Rebecca and I set out to make a delicious cake. Megan mentioned that she’d had – and loved – and so I was off Googling, finding a similiar recipe to make.
This is the recipe I found. It’s called Blackout cake. Which just sounds wonderful.
Now here are some ideas I had right off the bat with this recipe. And I don’t mean to pick on this recipe, specifically. Now that I’ve been writing recipes for a few years I know it’s hard. But recipes in general need a standardization they just haven’t found, yet.
Take, for example, this recipe. All three of the sections have some overlap as far as ingredients go. Coffee in two sections, chocolate in two sections, eggs in two sections, etc. The way this recipe is presented to me is not grocery-store friendly. In addition, there doesn’t seem to be a standard for listing ingredients. I’ve seen wet ingredients listed first, then dry. I’ve seen them listed in order of quantity. I’ve seen them listed in order of use. I think there should be a standard! When I was researching for my zucchini bread recipe, I found similar recipes ordered completely differently from the same site, even!
Now, let’s dive in.
Now, the directions from the blackout cake’s recipe are a little different than what I would have done. The recipe wants you to start by putting your milk and sugar on to just under a boil. To this, I say why don’t you mix your dry ingredients first so you’re not racing the clock?

So first, you’re going to mix together the dry ingredients for the pudding. These are your sugar (minus 2 tablespoons), your salt, your cocoa, and your cornstarch.
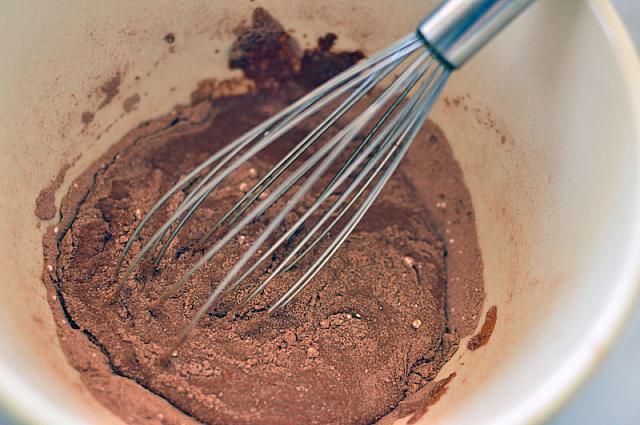
Now whisk in 1/2 cup of milk.
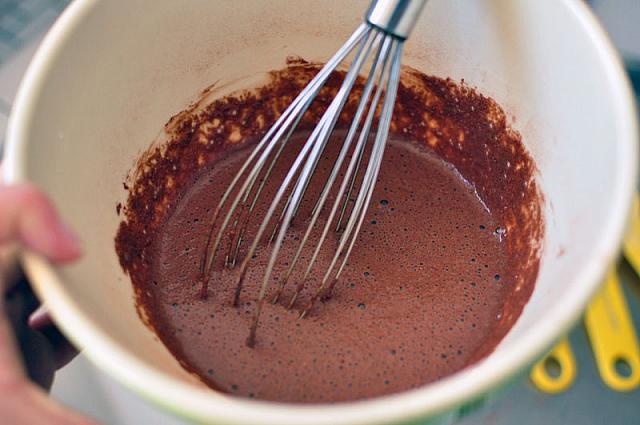
It’ll look like this. Now go ahead, onto the stove…
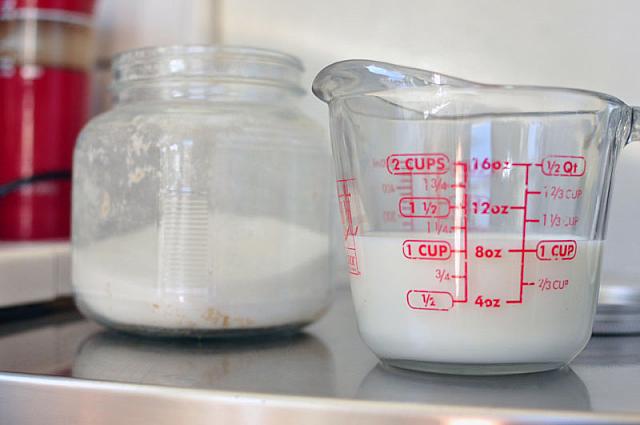
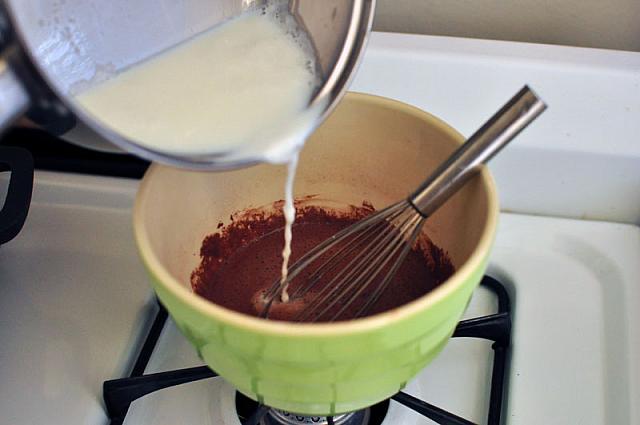
You’re going to take some milk and some sugar.
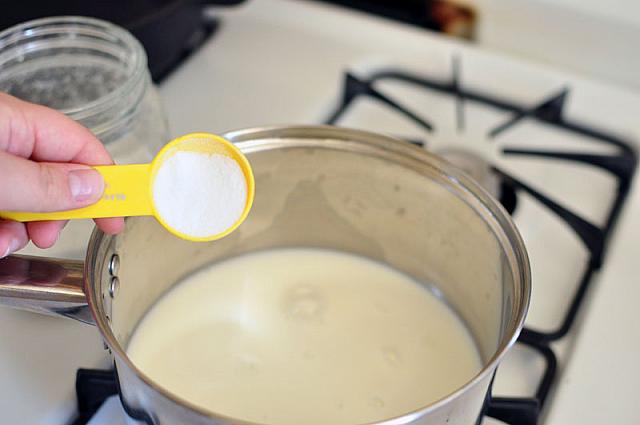
A cup of milk, and two tablespoons of sugar, to be exact. Heat until just under boiling. Then, add gradually to your other bowl of dry ingredients plus one-half cup of milk.
Perfect. Whisk that together. Now put back on the heat, and Add your egg, and your egg yolk. I am sorry, but I didn’t have time to take a photo of the egg-adding. Salmonella and cameras and heat and pudding don’t exactly mix.
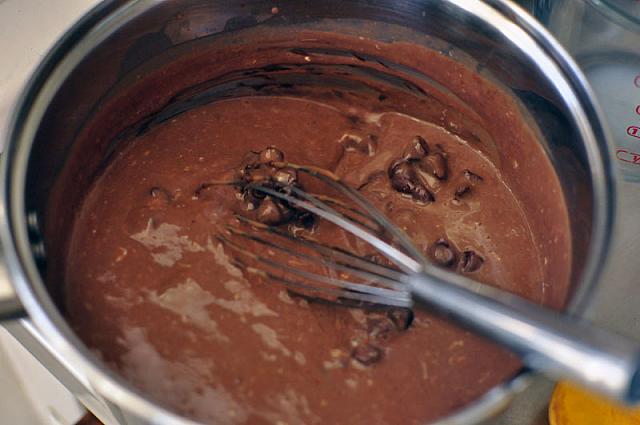
Now, remove from heat and add your chocolate (I used chocolate chips, so sue me.)
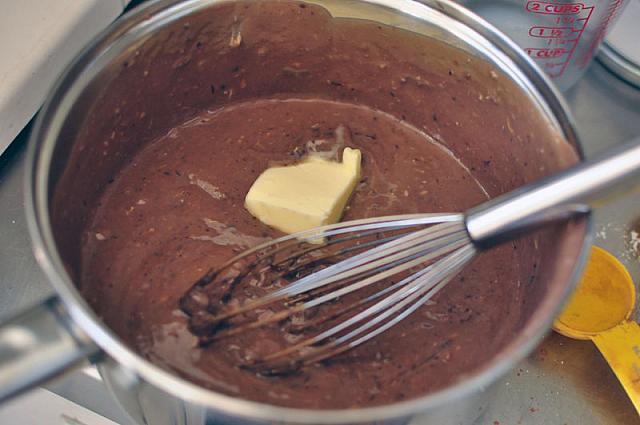
Now add your butter.
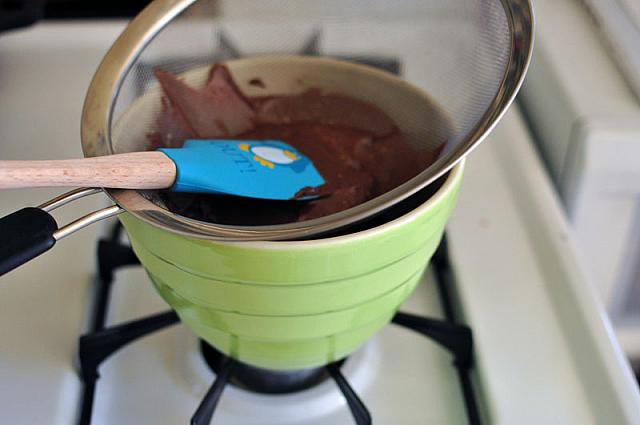
Now you have to strain it. Strain away. I didn’t do a great job, because I felt like it was a silly step, but I did as I was told.
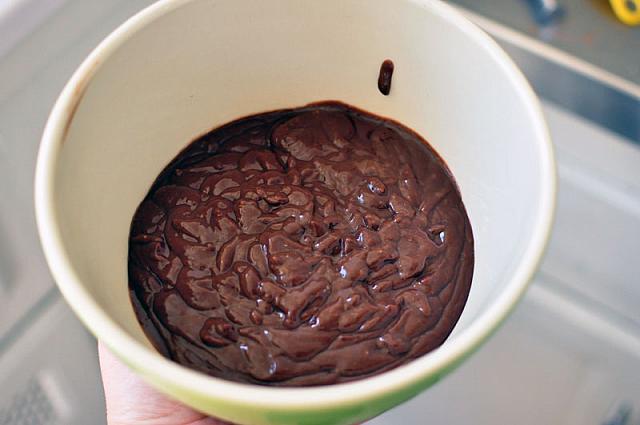
Then you have pudding! Cover with plastic wrap and through it in the refrigerator.
Now it’s time to make the cake. You’ve spent about twenty minutes doing this step, by the way.
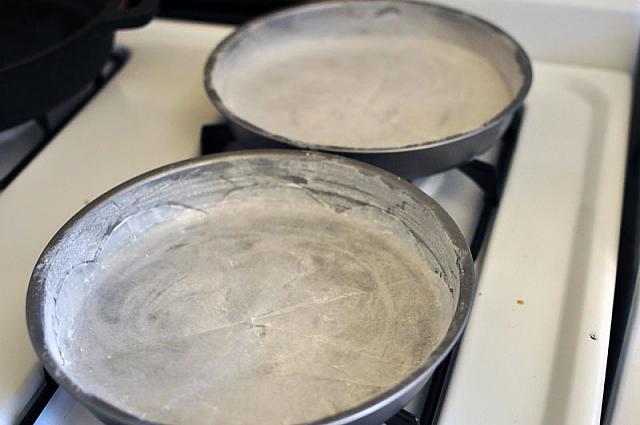
So now, you’re going to start by buttering and flouring two baking sheets. I used nine inch pans because that’s all I had. Don’t forget to line with wax paper or parchment paper, because this cake is a sticky mess, and you’re going to need it.
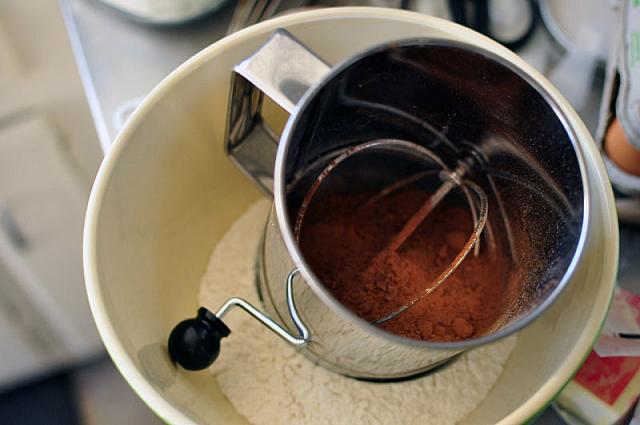
Sift together your flour, cocoa, baking soda, baking powder, and salt.
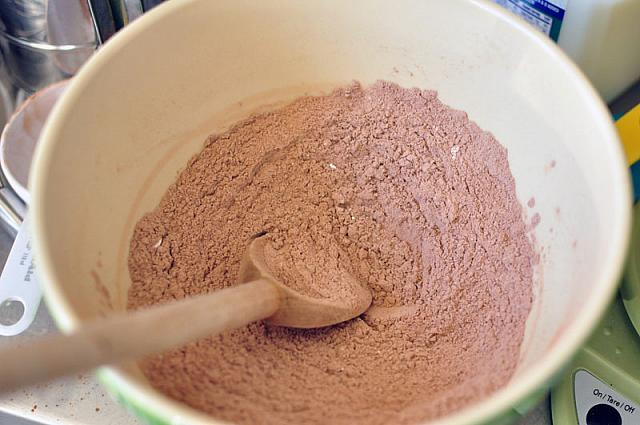
Put aside.
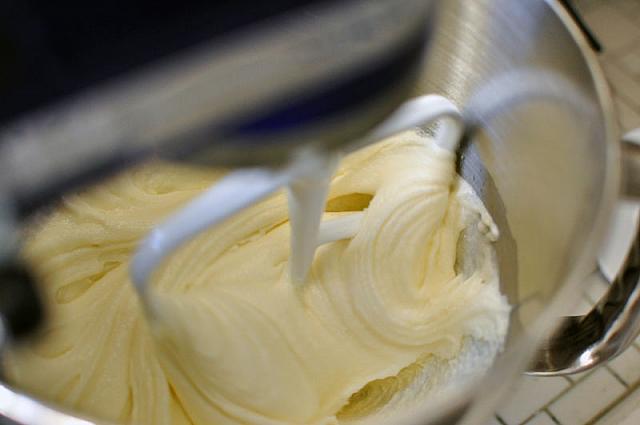
Take your eggs, and your sugar and beat until lemony yellow.
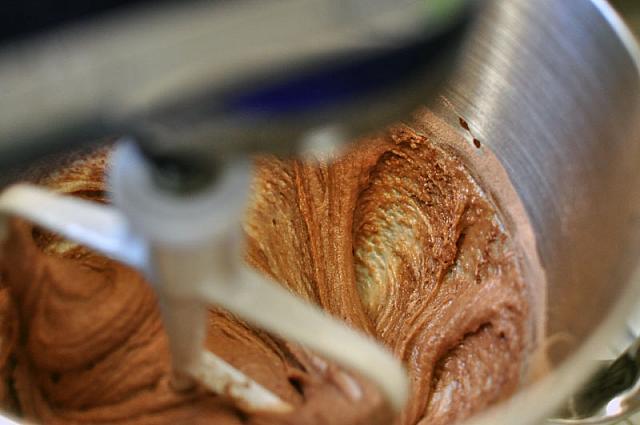
Add your oil, and your buttermilk alternatively with your dry ingredients. See PW for notes about buttermilk.
Now you add your coffee. You’ll have a thin batter, but make sure to stir it ALL together. I didn’t, and ended up with a thin batter over a thicker batter, and it wasn’t so pretty. Luckily, the cake was delicious anyways, but be warned.
Let the cake bake for about 40-45 minutes.
Whilst it’s in the oven, go break up some Oreos. Or have a good friend do it for you.
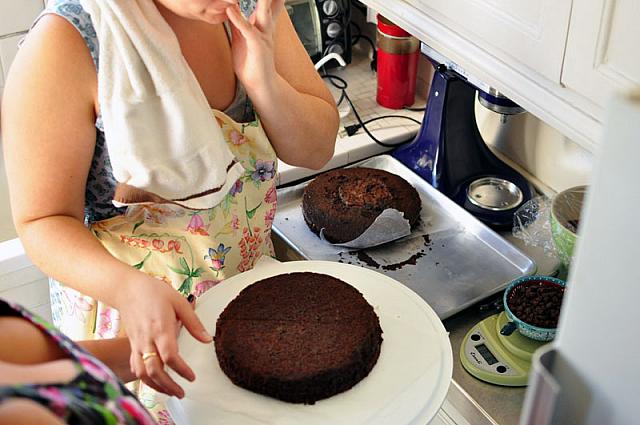
Then, cool on a baking rack for 15 minutes before you attempt to get them out of their baking pans. Then let them cool completely (or stick them in the freezer for a few minutes if you’re in a rush.)
A note: by the time the cakes were cooled, it was clear there was no way I was going to be able to slice them into layers. The cake was just too moist. I usually freeze my cakes before I slice them, but I didn’t quite have that time. I’m open to suggestions, however.
Moving on.
Take the cake out of the freezer, and put one layer wherever you’re planning to serve the cake from.

Take the pudding you made earlier and put a generous layer on.
Now you take the next layer, put it on. And…for the frosting.
The frosting must be made right when you’re going to ice, because it gets thick quickly. Which, if you ask me, is a pain, but it was delicious.
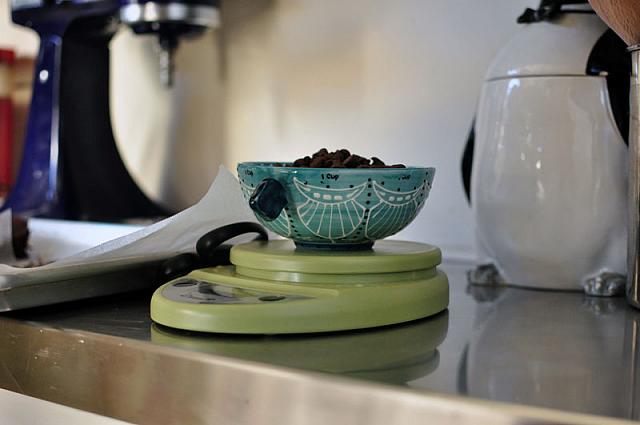
Weigh your chocolate.
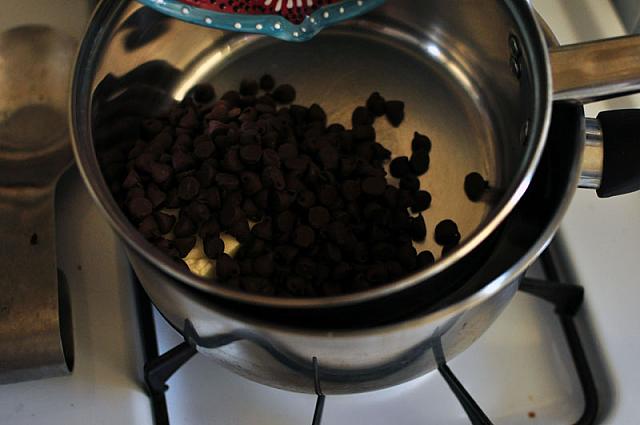
You’ll need a double boiler. Or…two sauce pans. Melt the butter with the chocolate.
Remove from heat, add your other ingredients, and whisk over an ice bath until it’s the right consistency. You’ll know.
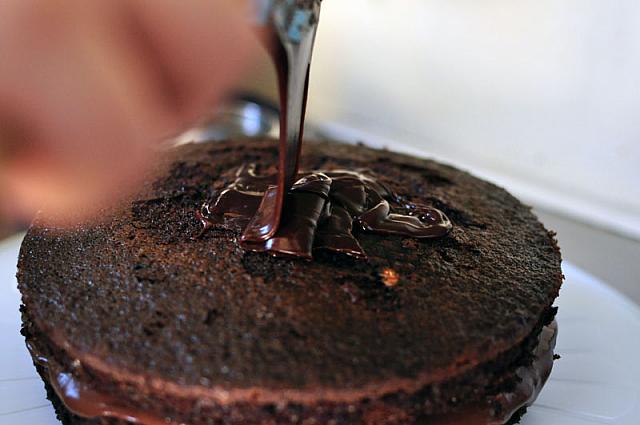
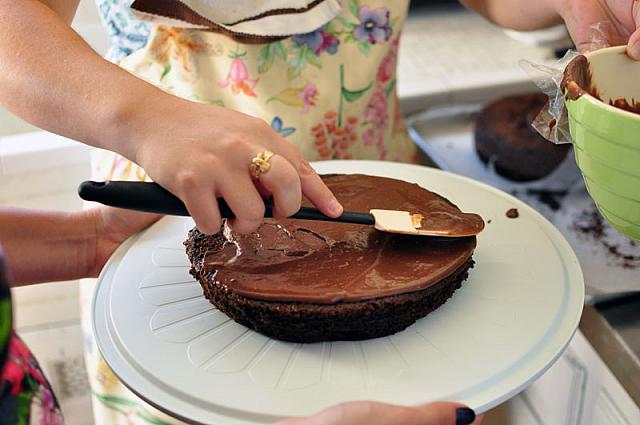
Ice away.
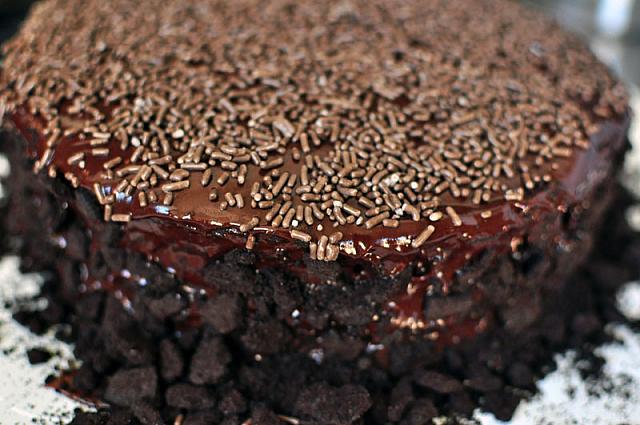
Well, I didn’t say it was the prettiest cake I’d ever made.

Sorry for the dark photo. If you can’t tell what I’m doing, I’m using crumbled up Oreo cookie to cover the sides of the cake.
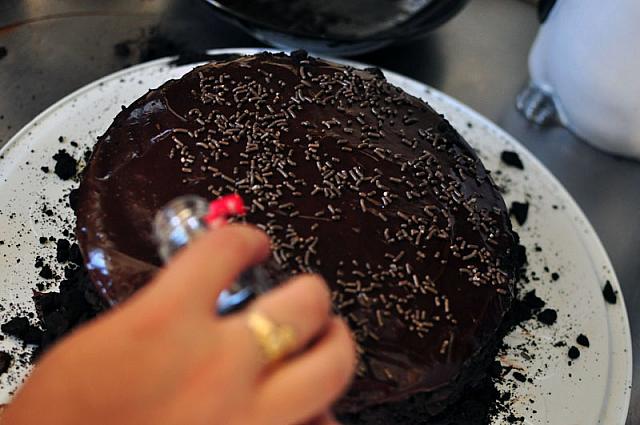
And covering the top with a container of chocolate sprinkles.
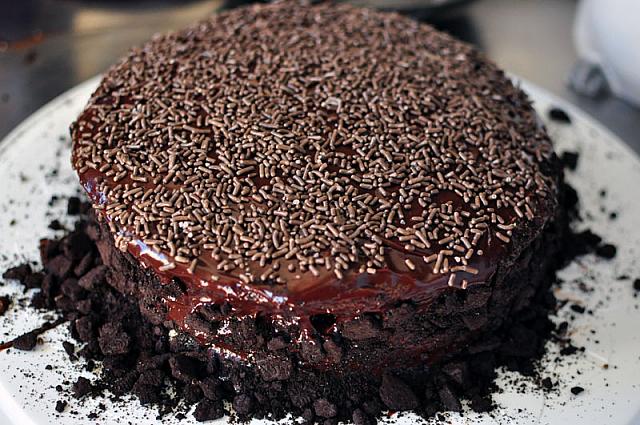
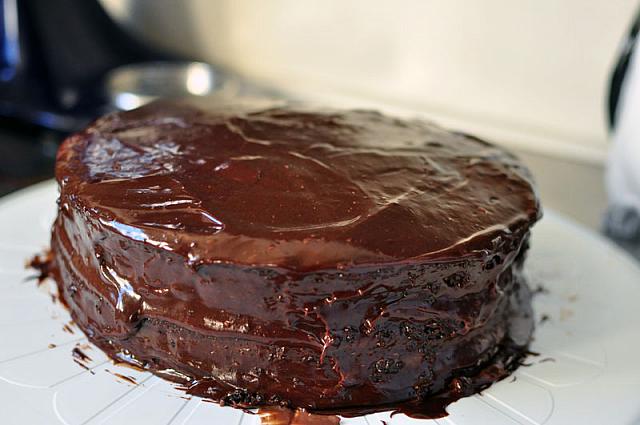
Look at that messy delicious cake.
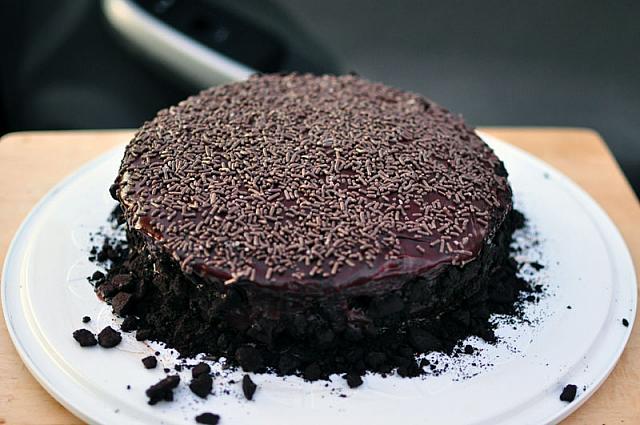
Clean up your cake plate. Transport it to the drive in. Serve to your friends. They’ll love you.
Note: I started this cake at 1:00 pm. It was ready to go around 4:30, with relatively short breaks. Yes, I photographed, but keep this in mind when you make the cake. It does NOT take only 2 hours 20 minutes.
Thanks to Rebecca for helping bake, as well as photograph, and Paul for photographing the icing situation!
[addtoany] Yum