This recipe was easy to make, although around these parts easy doesn’t always mean quick.

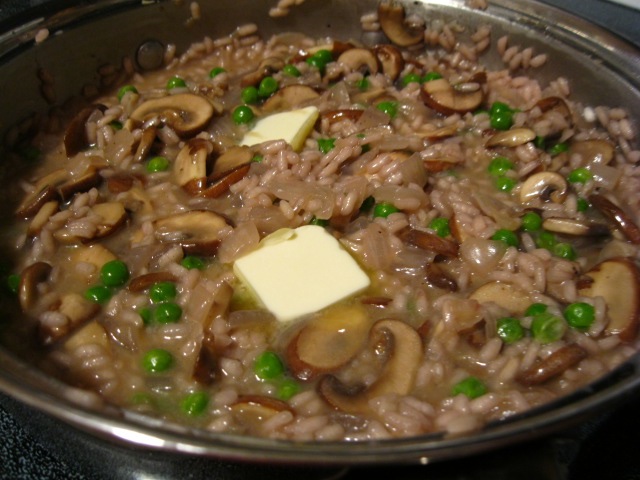
As I am trying to be truthful with our recipes, I decided today I’d time myself and see how long it took to make dinner. I was alone, I had to photograph the process, and I may or may not have forgotten to put on the peas.

It took me about 55 minutes when all was said and done. It’ll take you about ten minutes less, I’d say, or even 30 minutes if you have a partner in crime.

Someday I’m going to cook a meal from start to finish and consume it without taking a picture.

(No I won’t. But sometimes I wish I could resist!)

Anyways, back to peach chutney. I decided I wanted to cook with polenta. Which I realize is no where in the title of this post, either. But I wanted polenta, and I wasn’t to be dissuaded. And so I thought about what would be good with polenta (which I had never really had) and thought maybe peach chutney would be delicious.

And do you know what goes with peach chutney? Fish. What kind? Salmon. And what goes with salmon? Lime. Obviously.

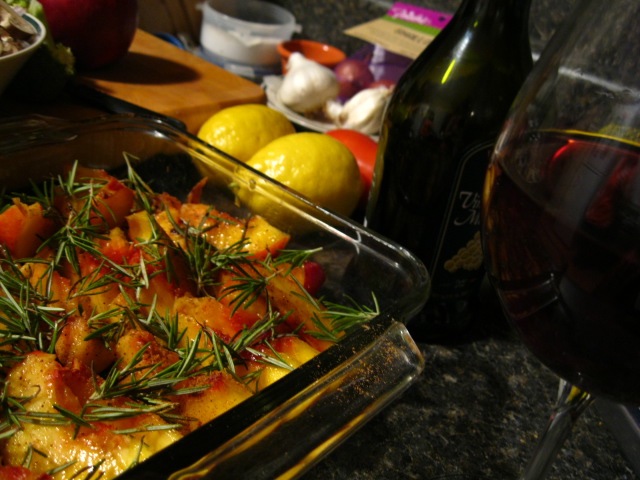
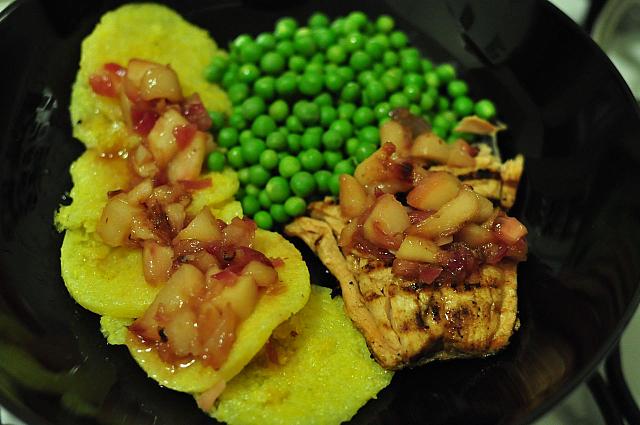
And so we have peach chutney with grilled lime salmon with polenta and peas. (Takes a deep breath.)

Onto the actual cooking. So I was looking at these chutney recipes and they were all for a pound and a half of chutney. I knew I’d be the only one eating this meal (Jeff doesn’t do seafood, and my meat eating friends are dwindling…) so I figured all I’d need was one peach. Then I’d adapt a recipe as necessary.

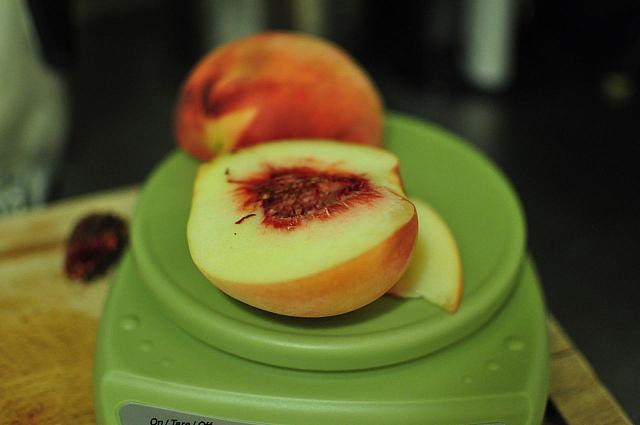
Here’s my peach. It weighed 7.9 ounces with no pit.

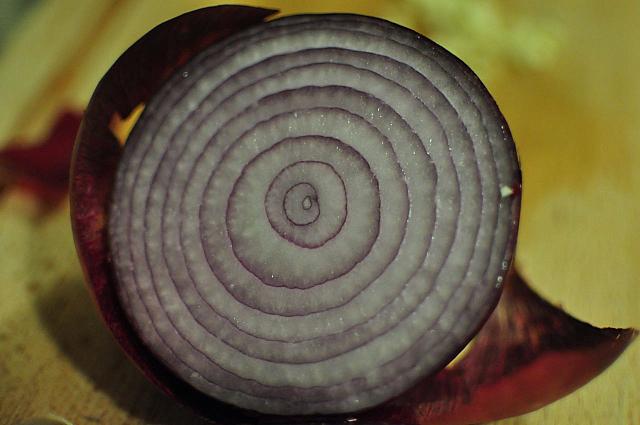
I used red onion. Look how beautiful nature is!

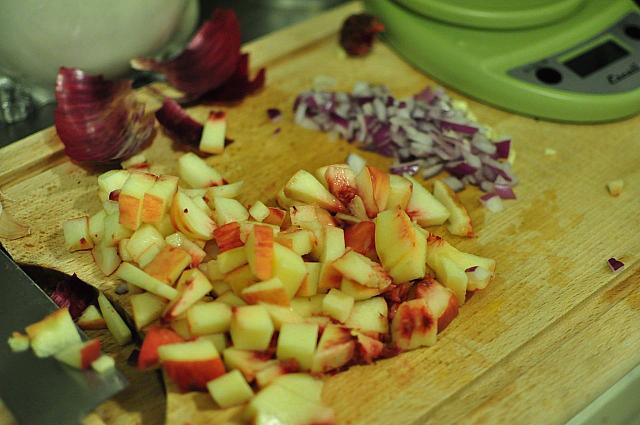
Here’s my peach cut up, along with the garlic and the onion. I used one clove of garlic, and as much onion as you see. I did not to great measuring. Don’t worry – the recipe has totals.

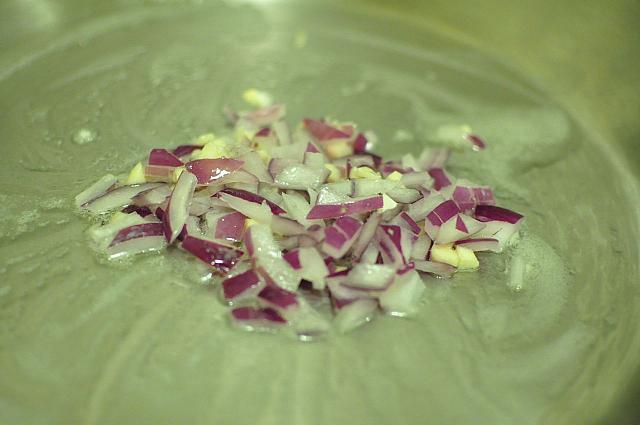
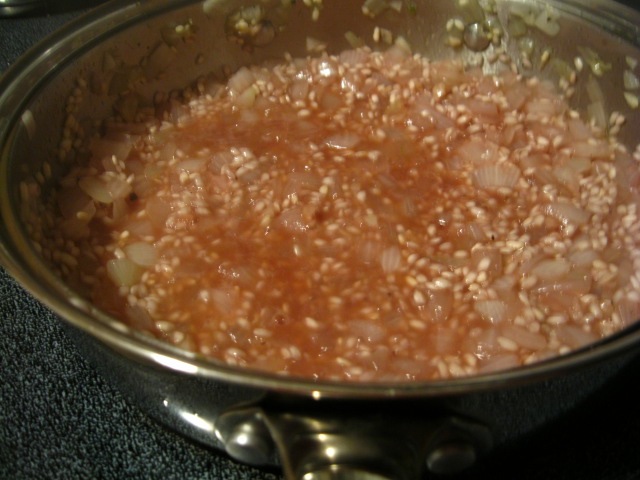
Here’s the onion and garlic. Let it sweat for about two minutes. Don’t burn it like I almost did, because you’re trying to do too many things in the kitchen.

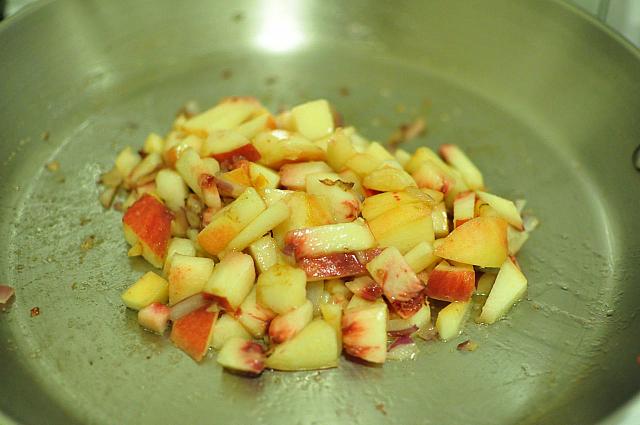
Add in your peach. Some say to peel, or blanche. I did neither. Raw peach seemed good to me.

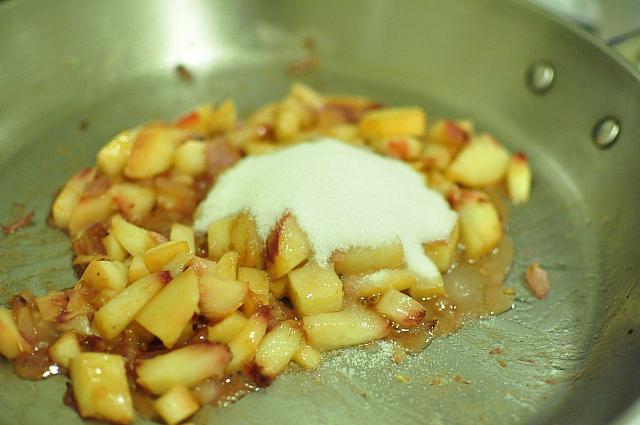
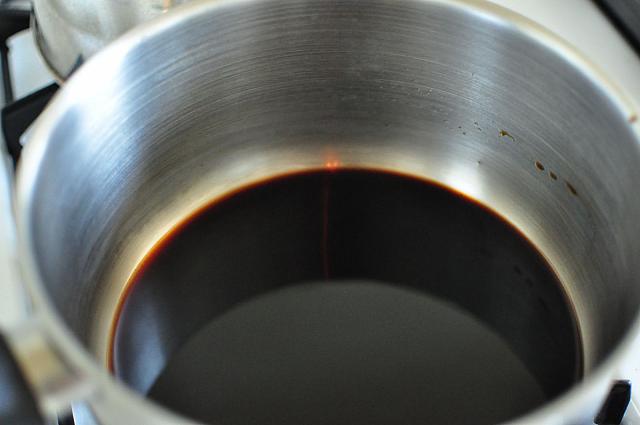
After about two minutes, add your sugar. Add your vinegar (helps to deglaze the pan) and cook until peach is soft, or until you turn around again and realize the chutney is still on. About five minutes.

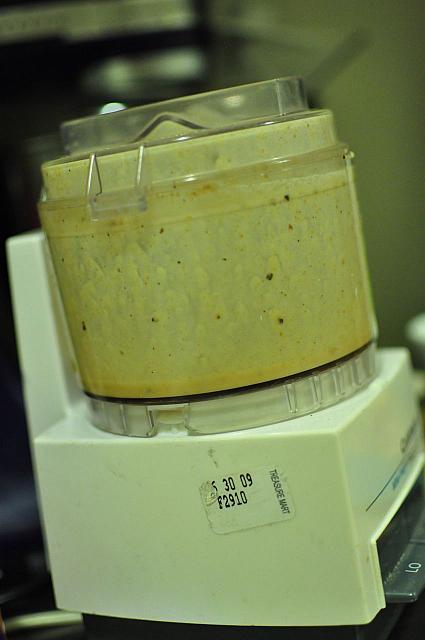
Meanwhile, take some lime juice, coriander, cumin, salt, and pepper and stick it in a food processor or blender. Add about two cloves of garlic. Blend until smooth (ish, as much as you can). Melt your butter and then add until it turns into a nice spreadable buttah mixture. Taste it to make sure it’s spiced to your liking. It’s your duty.

Thank you Treasure Mart, for supplying me with my $5 mini Cuisin art. It makes my world go round.

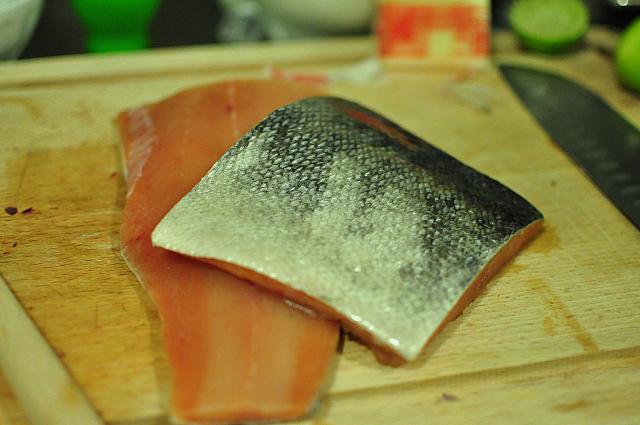
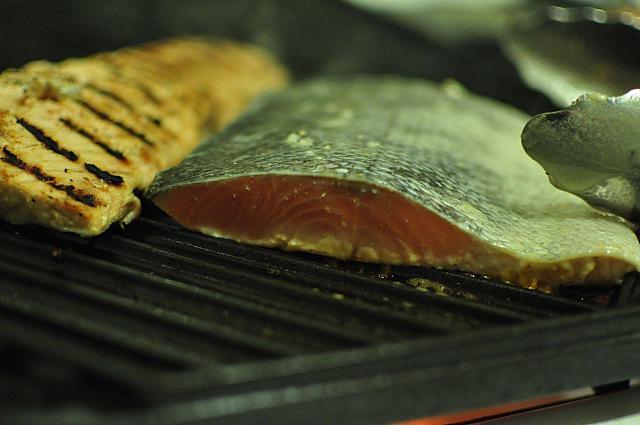
As I was truly alone tonight, please forgive the lack of the photo of me spreading the limey butter onto the salmon. It happened. I promise. Also salt/pepper the salmon first, if you’re into that kind of thing.

Grill on flesh side about 5 minutes, then flip and cover with foil for another five or so. You can bake it too, if you don’t have a grill pan, by making a tin foil pocket!

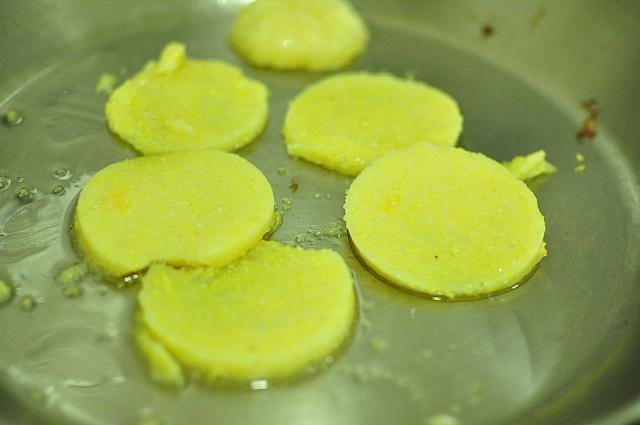
Fry up some polenta in a pan. You can make it from scratch too, but I bought mine at Trader Joe’s.

I also probably used too much oil. What are you going to do?

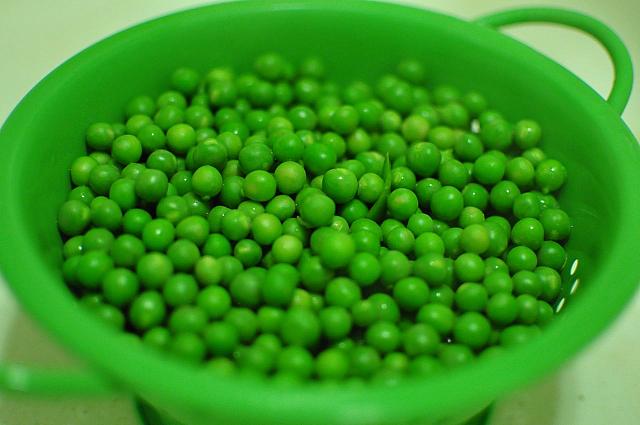
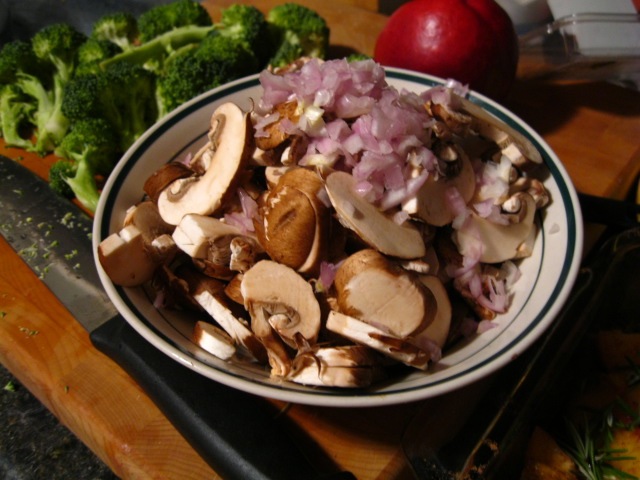
Make some peas. Or another veggie that makes you smile.

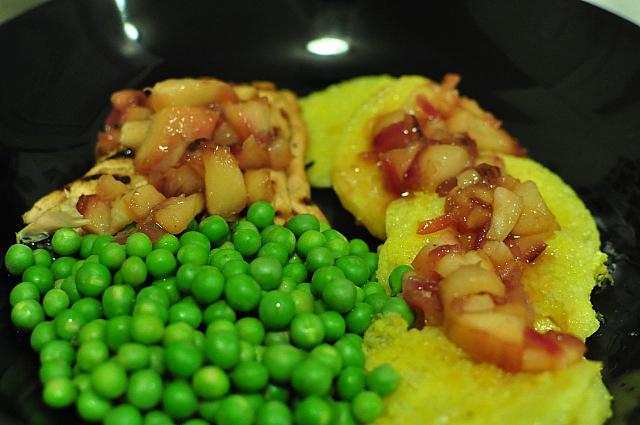
Put a healthy serving of chutney on the polenta and the salmon. And the peas, too, if you’re a rebel.

I’m not much of one.

Eat in four minutes flat. Unless you’re civilized/not eating alone. Then maybe try to take five, or six. For civility’s sake.


[addtoany]

At Garlic My Soul, our standard “what should we do with this chicken?” recipe involves baking it with some lemon, some garlic, and some spices. But I’ve recently discovered a new go-to easy baked chicken recipe.

Here’s what you need:

Skin on chicken breasts or thighs.
goat cheese
some herbs
olive oil
salt and pepper

All you do is make a goat cheese and herb mixture. Use anything you like. In these photos, we used rosemary and thyme. Then, stuff the mixture under the skin of your chicken breasts or thighs.

Forgive the blurriness. This is to prove that I was actually present and did something for this recipe. Also, making the goat cheese mixture was so easy. I just dumped some herbs in the tub of crumbled goat cheese (pictured here), popped the lid back on, and held it while I danced around the kitchen for a few minutes with my friend Meg.

Sorry, I know pictures of raw chicken are not super appetizing, but I wanted to give you an idea of what it should look like, post-stuffing.

After that, mix some salt, pepper, and whatever spices you like in with some olive oil and rub it all over the chicken pieces.

Meg mixed this up for us. Note that we added fresh chopped garlic. Because, hello, the name of the blog is Garlic, My Soul. Contrary to popular belief, we really do add garlic to most things…

Then bake!

We did 375 degrees for 45 minutes, but it could probably cook a little longer if you’re squeamish about these things.

MEANWHILE, my cooking buddies had this wonderful idea for roasted peaches. The recipe for which was equally simple and produced positively scrumptious results.

Slice some peaches and place them in a casserole dish, skin side down. Sprinkle with nutmeg, balsamic vinegar, rosemary, and joy. Broil for 10 minutes.

They will be soft and juicy, and just the right amount of tangy. Really, the perfect summer side dish. They’d probably be just as delicious served cold….


[addtoany]

I must say that eggplant pinwheels went much better the second time around!

Reasons the second time was more successful include:

a) a video chat with Corelyn pre-cooking to discuss
b) nowhere to be, nothing to do
c) balsamic reduction, delicious!

This is how it went down, much like before. 

I took my eggplant, and my mandoline. I even rinsed the eggplant.

I sliced my eggplant nice and thin.

Love eggplant. I love it so much I could eat it every day at every meal and not get sick of it. You know what I mean.

There’s Corelyn! Video chatting whilst cooking and photographing is the best way to pass an early afternoon off of work.

There’s what she says is grey skies. Doesn’t that look nice and blue from here? The magic of taking a photograph of a TV, my friends

(This is what the process looked like from Corelyn’s point of view.)

Back to the eggplant. We knew that the dates and the goat cheese (which I by accident bought instead of feta but turned out to be delicious) were going to be sweet. So we made sure to salt it well. And by we, I mean me, and my cooking advisor, Corelyn.

So after brushing with olive oil and salting, I put them on the grill pan to sear.

While one side sears, brush the other side with olive oil (borrowed from Melissa because did you KNOW I am out of olive oil? It’s travesty, it’s heresy, it’s horrific, it’s atrocious…you get the idea.) Salt this side too.

Now here’s where it gets good. You take some dates. If you’re not me, you get pitted dates to make your life easier. If you’re me, you grab the wrong dates (because you were also looking for figs, but that’s another story) and you get whole dates. Then you pit them.

Since you’re not pitting your dates though, go ahead and cut them in half.

And go ahead and fill the center with goat cheese. You won’t be sorry. I promise. At this point, you can eat a date stuffed with goat cheese if you want. While you’re waiting for the final product, of course.

Now take your dates that are stuffed with heavenly goat cheese and wrap each one in a piece of eggplant. Stick ’em with a toothpick if you want to be fancy, or you want others to have some. Otherwise, just tuck the loose end down.

Now stick them in the oven for about 10 minutes. Just enough time for the cheese to get melty, and the eggplant to crisp a smidge. I put my oven on 350, but do whatever tickles your fancy.

While you’re baking the eggplant, make some balsamic vinegar reduction. It’s very easy. All you do is take the balsamic vinegar, stick it in a pan over medium heat, and wait for it to get sticky, syrupy, and sweet. Yum. Make a whole cup, save some for later! You can use it on all things! Bread! Snacks! Salad! Anyways, that’s another story.

They should be done now. Here’s one with all the goodness coming out of one side.

Drizzle some balsamic reduction over your pinwheels, and have yourself a pre-Labor day treat. You deserve it!


[addtoany]

Last weekend, I took a mini-vacation to visit my friends Meg and Greg at Greg’s home in southern Virginia. Our goals for the weekend included a lot of wine, delicious food, and taking cover from the hurricane by staying indoors and watching How I Met Your Mother DVD’s for hours. Mission accomplished.

Say “Hi” to Meg and Greg! They are friends from college. I won’t lie. We spent a significant portion of the weekend discussing reasons why the University of Virginia is the greatest school of all time, and reasons Virginia Tech should just give up and admit their defeat.

So, listen, we made an incredible meal Saturday night. It included goat cheese and herb stuffed chicken thighs, roasted balsamic-rosemary peaches, steamed broccoli, and Greg’s red wine risotto recipe which was to die for. I’ll post the chicken and peach pictures separately. First, check out Greg’s risotto, below.

You’ll notice two things about this write-up:

1. I am blatantly copying and pasting Greg’s words verbatim, because I’m lazy and he did an excellent job describing his recipe.

2. At one point he mentions that Meg helped him chop something. You’ll notice he never mentions anything about me helping with this recipe. Once again, that is because I am lazy and I was content to sip my pinot noir and take the occasional photograph while Greg did all of the work on this one.

Ingredients:

Chicken stock, about 3-4 cups
Arborio rice, 1 cup
Red wine, about half a glass
Garlic, 2 cloves, minced
Onion, chopped
Crimini mushrooms, about 1 cup, sliced
Shallot, finely chopped
Frozen peas, about 1 cup
Parmesan cheese, grated, a big handful plus more for serving at the table
Butter, unsalted
Extra virgin olive oil
Salt and pepper

First, open up a bottle of red wine.  Since we were using a red wine for this risotto (a Pinot Noir, I’m pretty sure), you’ve got to let those tannins mellow before you get into it.  Once the tannins are sufficiently mellowed, pour a glass for yourself and any lovely ladies that happen to be in the kitchen with you.  Cooking with wine is always more fun when you’re drinking it too, and drinking wine is always more fun when it’s a collaborative endeavor.

This photo doesn’t actually contain anything related to the risotto, it’s more to prove that we were in fact drinking the rest of the wine.

Next, warm up the stock in a small sauce pot over medium heat.  I used about half of a carton of chicken stock (low sodium, please), which looked like about 3-4 cups to me (Editors note: usually cartons are 4 cups.)  Once the stock gets to bubbling, reduce the heat to a simmer and maintain that throughout the cooking process.  While the stock is heating up, get your ingredients prepped and ready to go.  I chopped the onion, minced the garlic and shallot, sliced the mushrooms (with an egg slicer), and Meg grated the cheese.

Mushrooms and shallots, an unbeatable combination.

Once you’re all set up, put a large pan over medium heat and add two tablespoons of butter and two tablespoons of olive oil.  Add the onion and a pinch of salt and pepper to sweat until the onion is softened, which should take about 10 minutes.  After 7-8 minutes, add the garlic, stirring occasionally to make sure nothing is browning (or burning).  After the onion and garlic have cooked down, add a cup of Arborio rice and stir it into the pan, so that the rice grains get covered in the fat and begin to fry up.  This deepens the flavor of the rice and help to prevent it from clumping together.  A couple of minutes of this, stirring constantly, should be fine.

Here’s where things get interesting.  When adding liquid to risotto, you want to do it bit by bit so that you give the grains of rice time to absorb the liquid and release their starch into the sauce.  Start by adding about half of a glass of red wine into the pan.  Stir the wine in and give it a minute so that the rice and soak in the flavor (and color).  Once the wine looks well incorporated, add a ladle or two of the warm chicken stock and stir in the liquid.  You have to stir more or less constantly to get the rice to release its starch and create the desired creamy texture.  Continue this process of adding chicken stock by the ladle and giving each infusion of liquid a minute or two to be absorbed; the whole process should take about 15-20 minutes total.  Taste often to check the done-ness of the rice and the consistency of the sauce.

Yes, this photo is out of focus. My apologies. I blame the wine.

Meanwhile, in another pan over medium heat, add a few tablespoons of butter.  Once the butter has melted and stopped foaming, add the minced shallot and cook down for a few minutes.  Then, add the sliced mushroom caps and a big pinch of salt and pepper.

After the rice has been cooking for 15 minutes or so, add the frozen peas.  I like to pour them straight out of the bag into the pan.  Cook for a few minutes more, adding stock as necessary.  Stir in a big handful of Parmesan cheese, which will make the sauce gooey and add some seasoning.  Add the mushroom-shallot-butter mixture and stir to combine.  Check the risotto for seasoning, and add salt and pepper as needed.  Top it off with a few pats of butter and serve immediately.  You could top it off with some parsley to add a bit of freshness to the risotto, but we didn’t bother (i.e. I forgot to get that at the grocery store).  Pass around some Parmesan cheese at the table, because I don’t think any recipe has ever been made worse by the inclusion of more cheese.

Voila! It. Was. So. Good. Go make some yourself.

There you have it, folks. Special thanks to Greg for being an incredible host.


[addtoany]

The winners of Rudi’s giveaway are:

* Marci F. @marciferous

* Tammy: “I love carver type turkey with cranberries. Makes me think of Thanksgiving. The Fall is my favorite time of the year and a good turkey and cranberry sandwich makes me think of the Fall.”

Congratulations, winners! Please email: jennie@garlicmysoul.com to claim prizes!

***********************************************************************************************

Since entering the twitter-world (which Corelyn and I made so much fun of only a year and a half ago) we’ve actually made a lot of great connections with other bloggers, companies offering products we believe in, and friends who live near and far who update us on their lives – culinary or otherwise.

We’re happy to introduce a giveaway on GMS for Rudi’s bread. Two lucky readers will win a coupon for a free loaf of gluten-free bread, and a Rudi’s sandwich box! Rudi’s makes organic (gluten-full) products as well as gluten-free products, and we think that YOU should try some! Melissa and I are also anxiously awaiting some samples of Rudi’s products so we can review them here for you, but we think you should try it for yourself. We’ll post our review here, and you can let us know what you think of this gluten-free product, too!


Here are the ways you can enter (with a chance to be entered three times!)

1.) Follow us (@garlicmysoul) on Twitter

2.) “Like” us on Facebook

3.) Leave a comment on this post answering the question:

What is your favorite type of sandwich?

The contest is open from now until Friday at 3 pm, Pacific time. Winners will be announced on Friday evening!!

(Winners will be chosen randomly. Please only comment once to the post, duplicate comments will be deleted.)


[addtoany]