I’ve been dying to try to make bread for Jeff for years (years!) but I never seemed to get around to it. For a while it scared me, because it involved yeast, but once we started making pizza dough all the time and actually having yeast in the house, I realized that it couldn’t be that hard. Especially with my KitchenAid, which could cut time kneading.
And so, last weekend I opened by Ina Garten cookbook, and made honey white bread.
Start, of course, with flour. I’ve said it before, and I’ll say it again: I love my kitchen scale. I have taken to weighing all of my flour, because it is just so much easier than getting out the measuring cups, something to level the flour, not to mention the fact that I’d have to make sure to sift my flour…nope, I just throw it on the scale and weigh it – much more accurate!
 You also need some yeast. Active dry worked great. I always have yeast on hand for the odd pizza, and you should too, so you can just whip up bread whenever (or pizza dough.)
 You’ll also need some warm water, which would be 110 degrees. I used my thermometer because I didn’t want to kill the yeast. You know yeast is alive, right? Anyways, if you use too hot water, it’ll kill the yeast.
 Here’s my yeast and my hot water. And my sugar. I’m letting it dissolve.
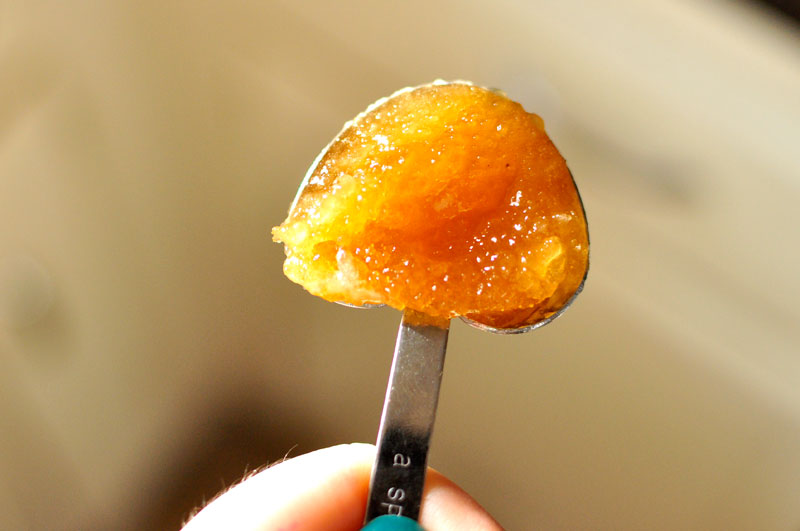
There is actual honey in this honey white bread! This is local honey that I got at the farmer’s market. It is delicious.
Look at that delicious, sweet, sticky honey.
This is my melted butter and my honey. At this point, I realized I needed hot milk, but I didn’t want to put it in the microwave (as I secretly hate the microwave.)
Luckily, I have this mini cast iron! I bought it for Jeff in Charleston, so he could melt butter for popcorn, and it was the perfect size for the milk I needed!
For this recipe, I needed egg yolk and egg white, though separately. Luckily I halved the recipe, so no egg whites were harmed in the making of this egg yolk, as I used my lone egg white on top.
After adding your milk/honey/butter, and mixing, add a smidge more than half of your flour, and salt, and egg yolk.
 Then you let the dough knead in the stand mixer for around eight minutes, until it looks like this, adding flour as you go (until it’s not sticky anymore.)
 Now you need to let your dough rise. Put it into a bowl with a smidge of oil, then flip it so it’s coated. Cover it and let it rise for an hour.
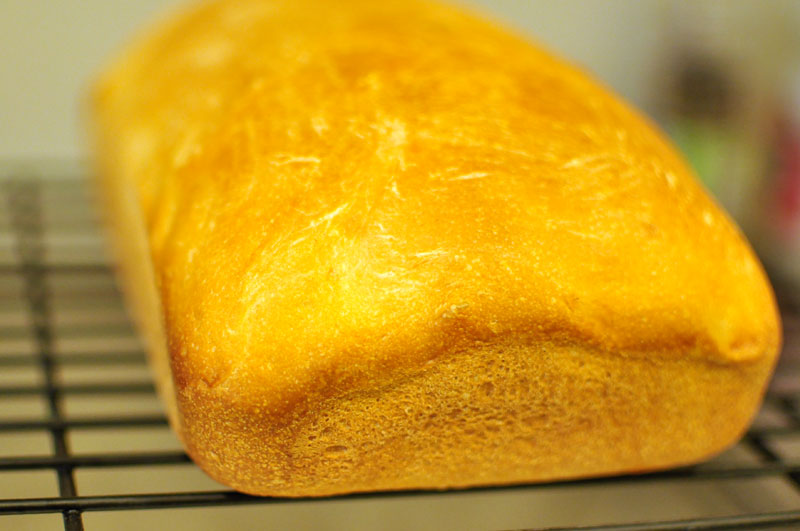
 My dough didn’t rise beautifully, and it also turned out a too-dense bread. I think this has to do with the milk (which I believe was too hot, and maybe killed the yeast.) Regardless, though, it was delicious. My point is that your dough should rise more than this!
After it rises in the bowl, you’re going to let it rise in the loaf pan! Give it another hour. Now you’re ready for action – preheat the oven, and use your egg white to brush the top.
Then after about forty minutes, take it out and take out of the loaf pan, and let cool.
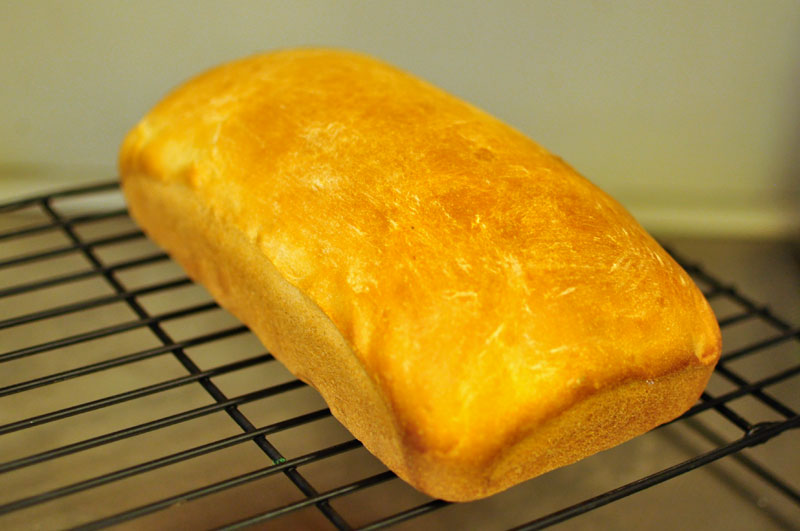
 There you have it – homemade bread. This recipe is so easy, and although requires some rising is really worth the effort – nothing better than homemade bread!
[addtoany] Yum


