For Christmas, my boss got me this Breville mini-pie maker.
This past weekend I finally got to use it to make mini apple pies. I’d never made an apple pie from scratch (or any dessert pie, for that matter!) and Sierra challenged me to make a lattice-topped pie. I decided a first pie, first lattice top, and first mini-pie Breville use all in one could only go well!
 Luckily, I also got a cookbook for Christmas (thanks M!) so I knew what I was doing, mini-pie style.
Recipe (from “Mini Pies” by Abigail Johnson Dodge):
1/4 cup brown sugar
1 1/2 teaspoon cornstarch
1/2 teaspoon cinnamon
1/8 teaspoon ground cloves
1/8 teaspoon grated nutmeg
salt
2 apples
4 tablespoons butter
1 teaspoon vanilla (it calls for 3/4 but c’mon, really?)
2 pie doughs
Finally I got to whip out my own fresh nutmeg.
 The ingredients: cinnamon, cloves, nutmeg, corn starch, and brown sugar.
 Taking the mixture I just made, I added it to my already-softened apples (which had been simmering in butter for 10 minutes.)
 Delicious, delectable pie filling.
After you’ve made your pie filling, you’ve got to lay out your dough. I made my dough, but you can also use store-bought dough, if you’re so inclined.
Pie dough recipe (from “Mini Pies”):
1 1/4 cup flour
1 tablespoon sugar
1/4 teaspoon salt (I use kosher)
1/4 cup cold butter
3 tablespoons cold trans fat-free vegetable shortening
3 tablespoons very cold water
Now, the key is that you make your dough in advance, as it needs to be refrigerator about two hours. You mix together your flour, sugar, and salt, then add in your cubed cold butter. I used all butter, and no shortening, because I don’t generally like shortening. It was risky as I knew that the dough might not roll as nicely, but it ended up being fine. I had to add about an extra tablespoon of water.
 The mini pie maker came with a top and bottom cutter. This is for the bottom.
I used my pastry cutter to cut lattice strips.
Then I weaved them…
And used the top cutter to make sure they were the right size.
The perfect size of the top.
Here are the cooled apples.
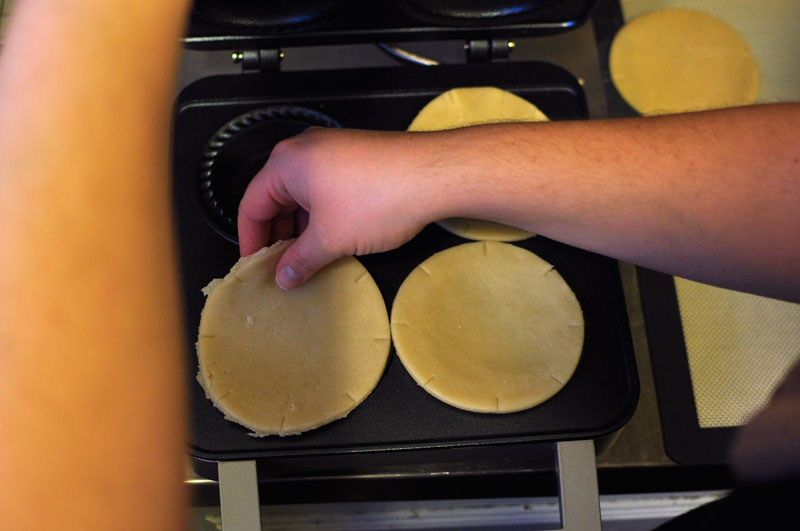
 So you take the bottom ones, and you press ’em into the pie maker.
 Then you use the top-cutter to press the bottoms in – they thought of everything with those tools!
 Then you fill your pies…the book scared me into thinking I needed to put in less filling, but I ended up having so much leftover I questioned my filling tactics. I couldn’t even blame it on too much apple, because I weighed the apple to the specifications in the book.
 Then put the tops on. And close the top for about 10 minutes, not worrying about what is going on inside.
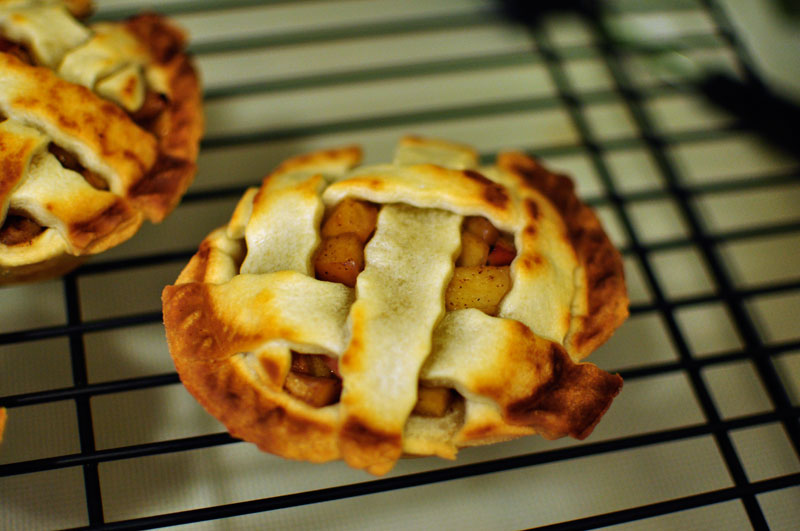
 In 10 minutes, you’ll pull them out, and they’ll look like this! Delicious, simple, easy, and the perfect size for one.
Overall, I recommend this pie maker, and can’t wait to use it to make savory pies. What about you – any favorite pie recipes? Send them my way, so I can try them in mini-size!
[addtoany] Yum


