Update: We have a new and improved version of this tutorial! Go here.

Happy Valentine’s Day! One year ago, Jessica sent Mary and I this blog post by I Am Baker for a photo shoot about hearts in weird places. This totally qualifies. We made it and photographed it, and now it is an annual event around Valentine’s Day each year. Thank you Jessica! Here is how you bake a heart into a cake.

This delightful cake actually requires 5 different cakes. A white cake with four layers, and a separate red velvet cake to make up the heart in the middle. Mary and I made our 5 cakes the night before the actual assembly of the heart inside a cake.

Red Velvet Cake

For the red velvet cake, I Am Baker messed around with a recipe from Magnolia Bakery, and then I messed around a bit more.

3 1/3 cups cake flour (not self-rising)
2 sticks unsalted butter, softened
2 1/4 cups sugar
2 eggs, at room temperature
2 egg yolks, at room temperature
6 tablespoons red food coloring (I literally just used a whole container for the super, super red color, but use liquid food coloring, trust me)
3 tablespoons unsweetened cocoa
1 1/2 teaspoons vanilla extract
1 1/2 teaspoons salt
1 1/2 cups buttermilk
1 1/2 teaspoons apple cider vinegar
1 1/2 teaspoons baking soda

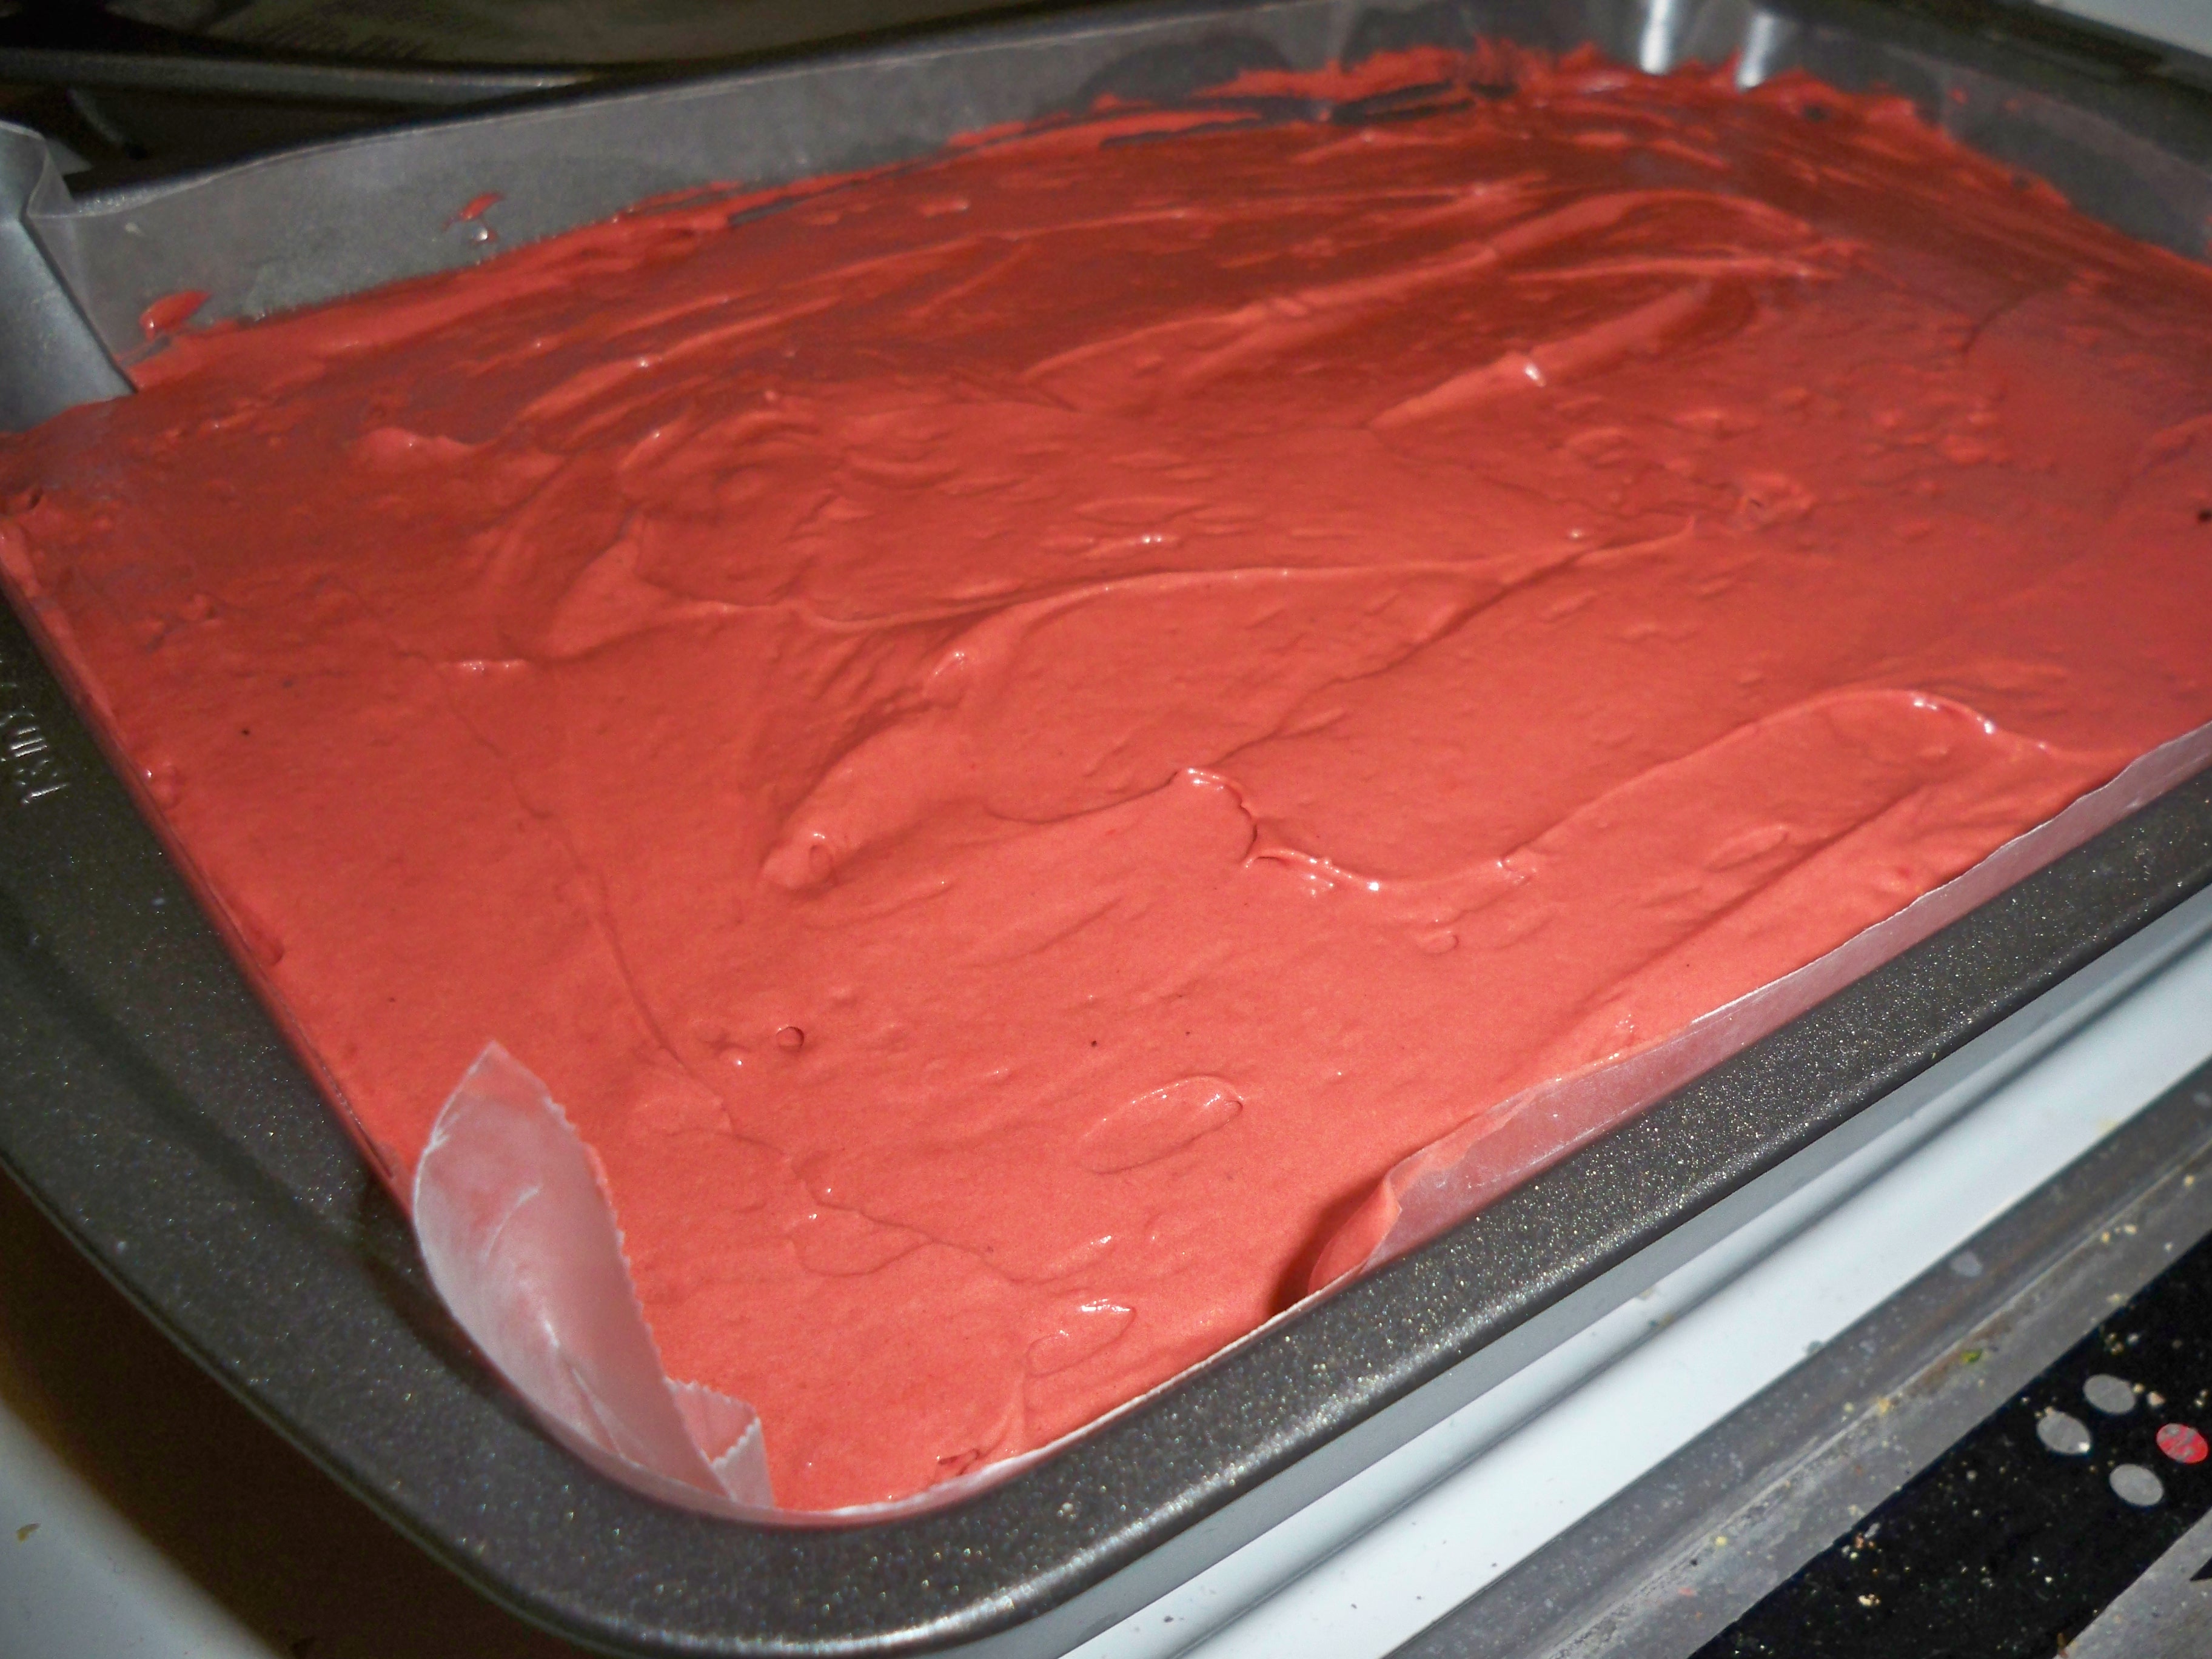
Preheat your over to 350 degrees. Grease a 13×9 inch pan with butter and then line it with wax paper. This is important because otherwise the edges of the cake will be too brown.

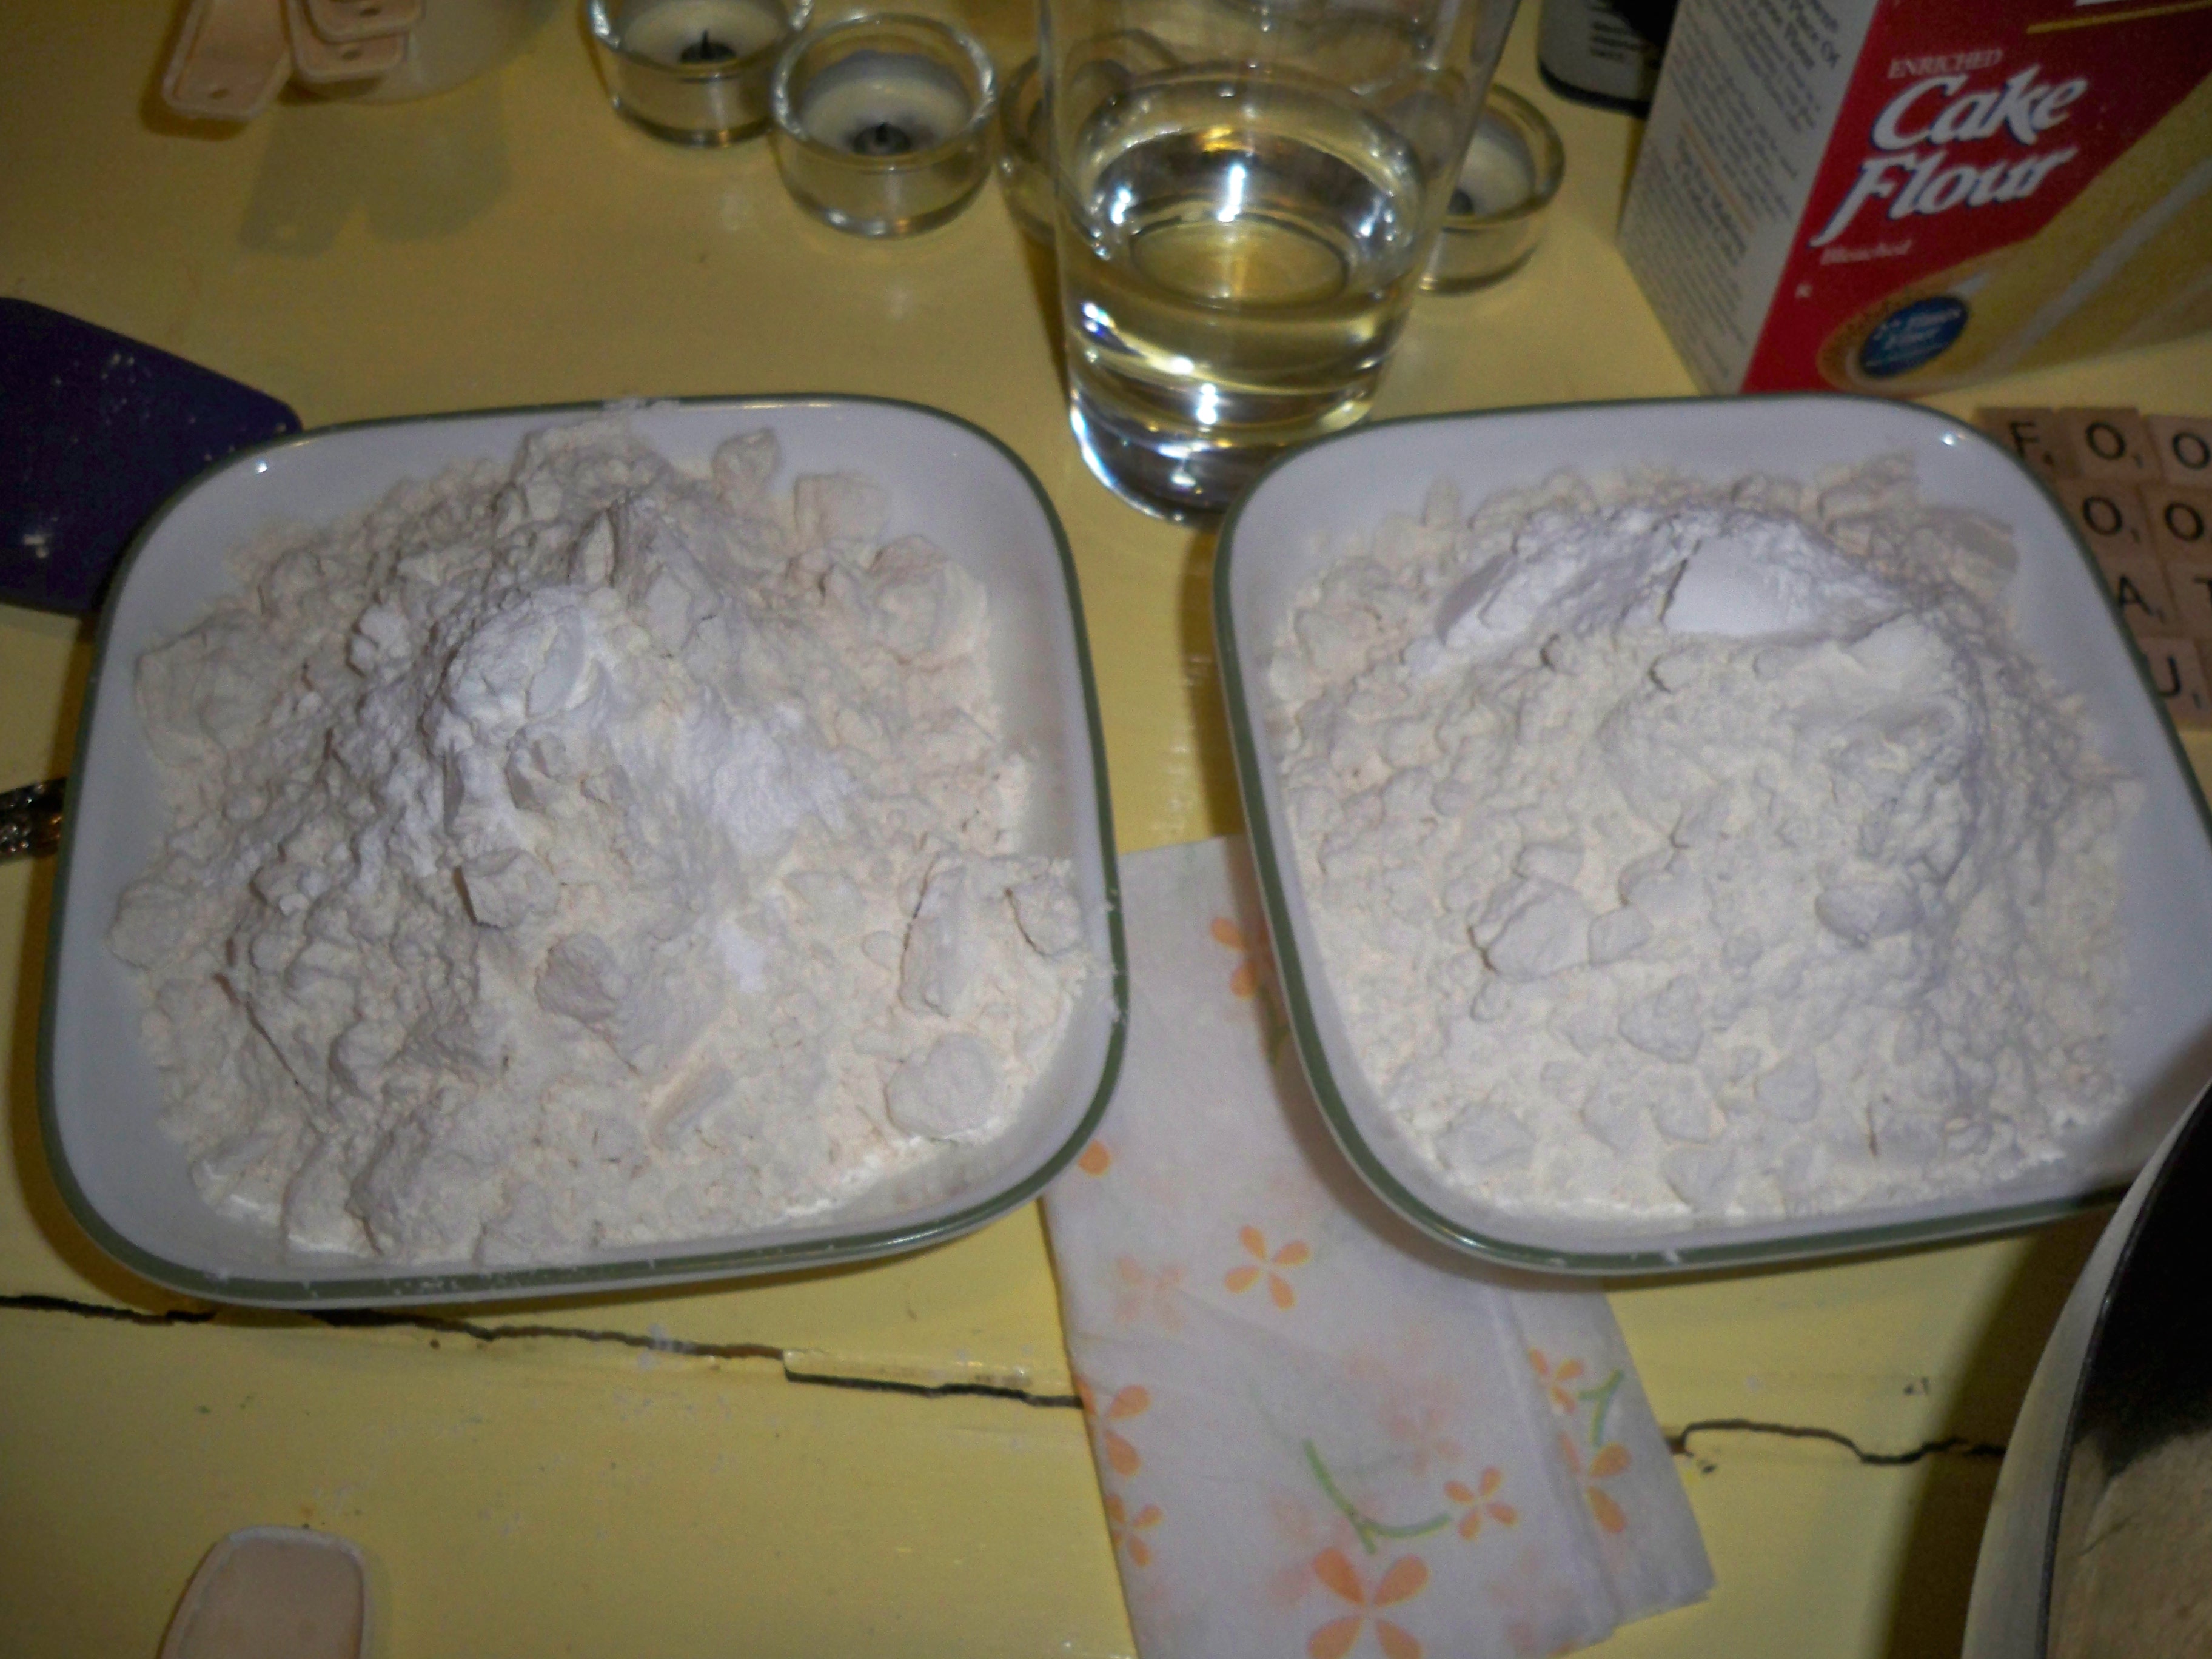
Sift the flour. I HATE sifting. If you are like me, you just have to get over it and do it, it’s important to get out the clumps.

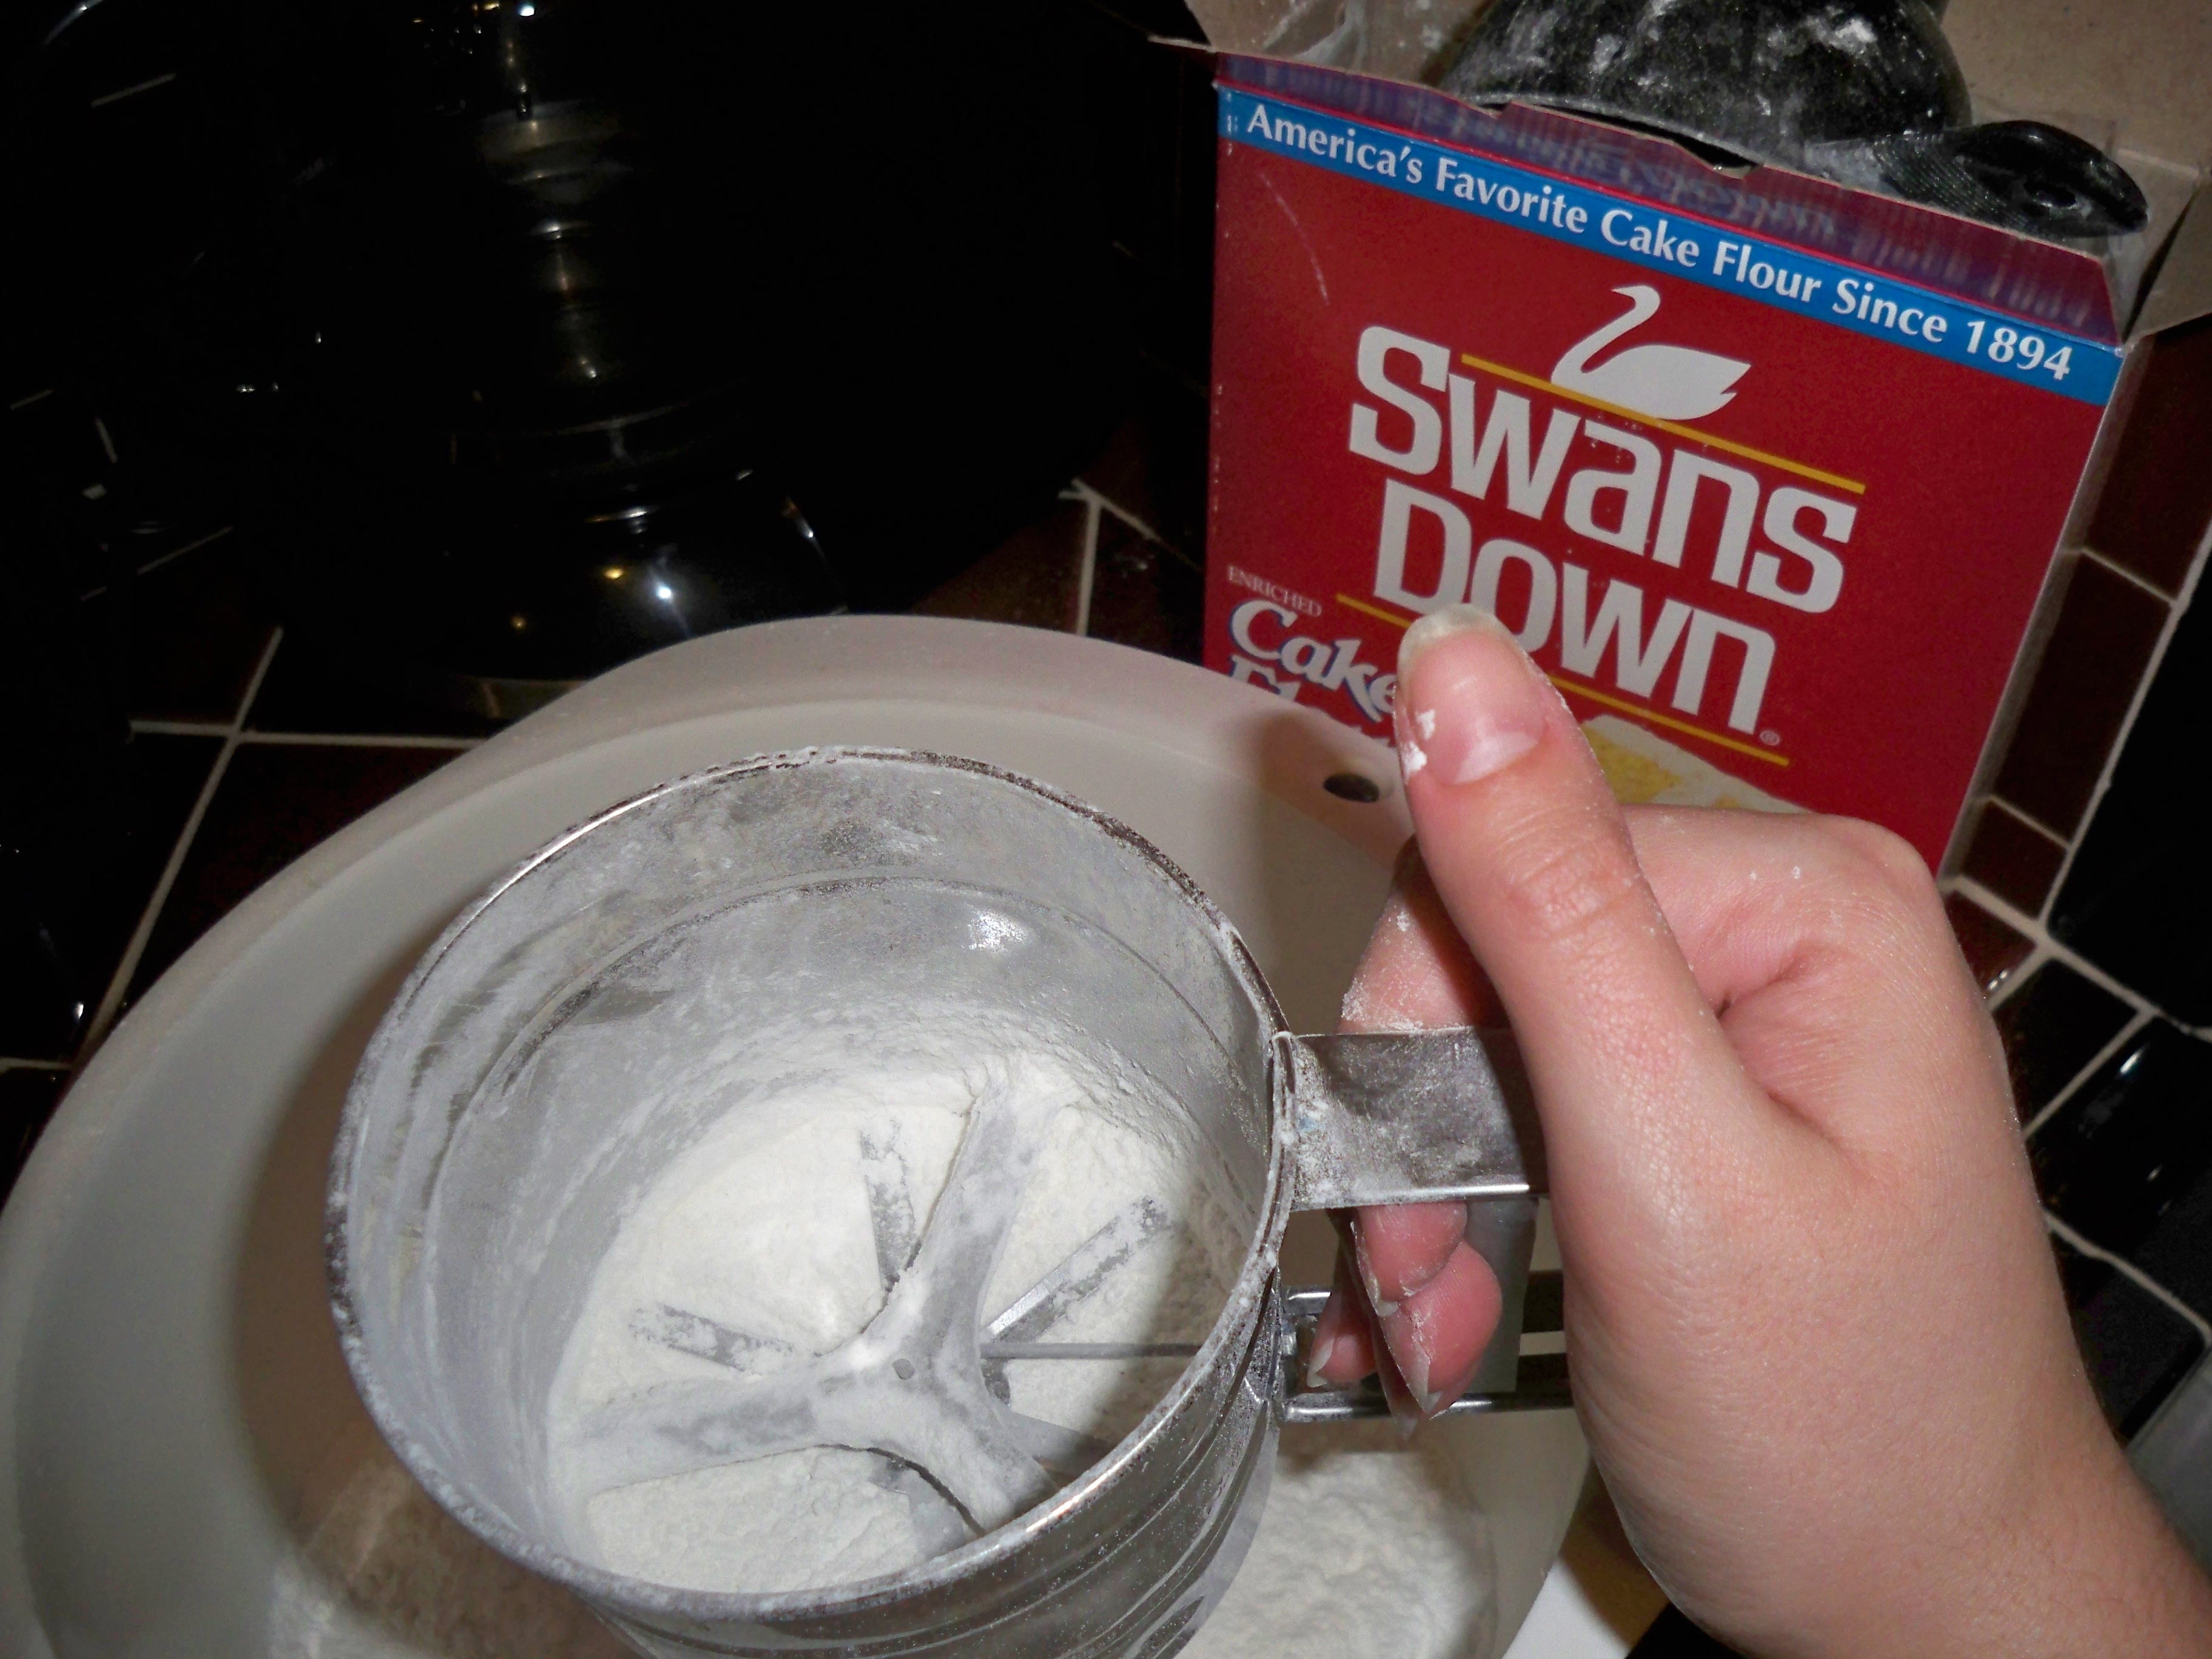
Me begrudgingly sifting flour.

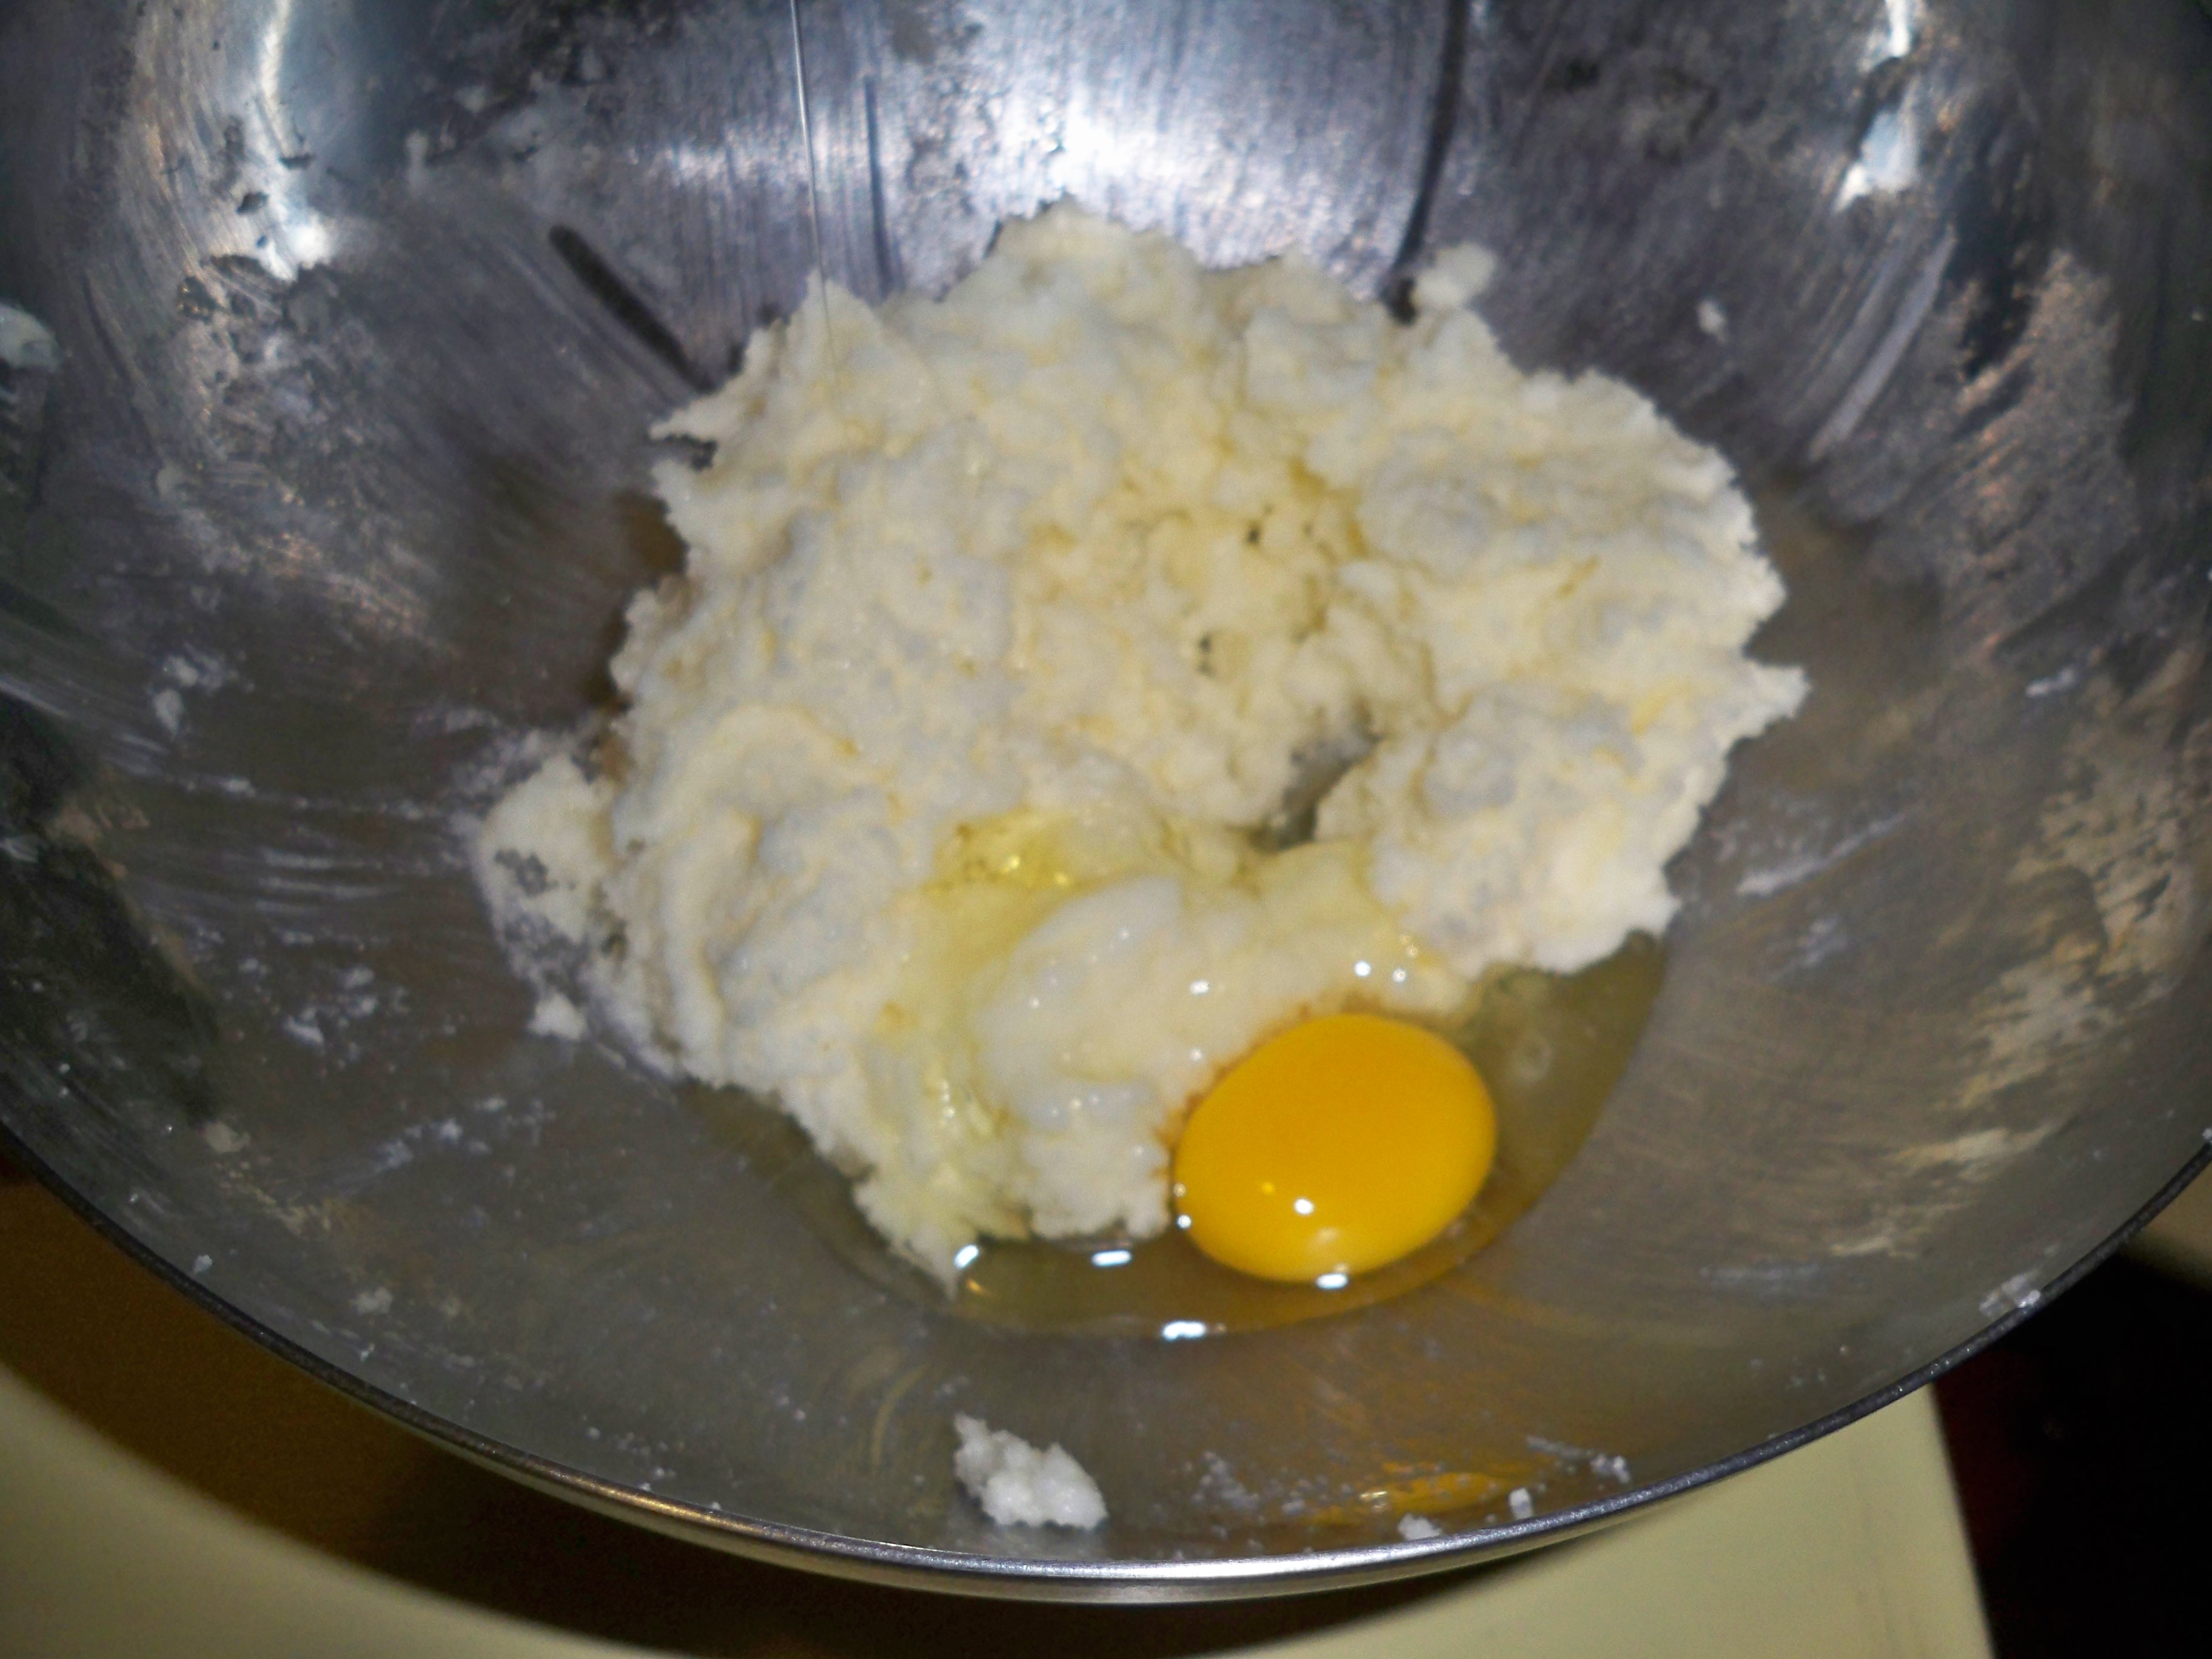
In a separate bowl, using a mixer, cream the butter and the sugar. Add the eggs one at a time and beat until combined.

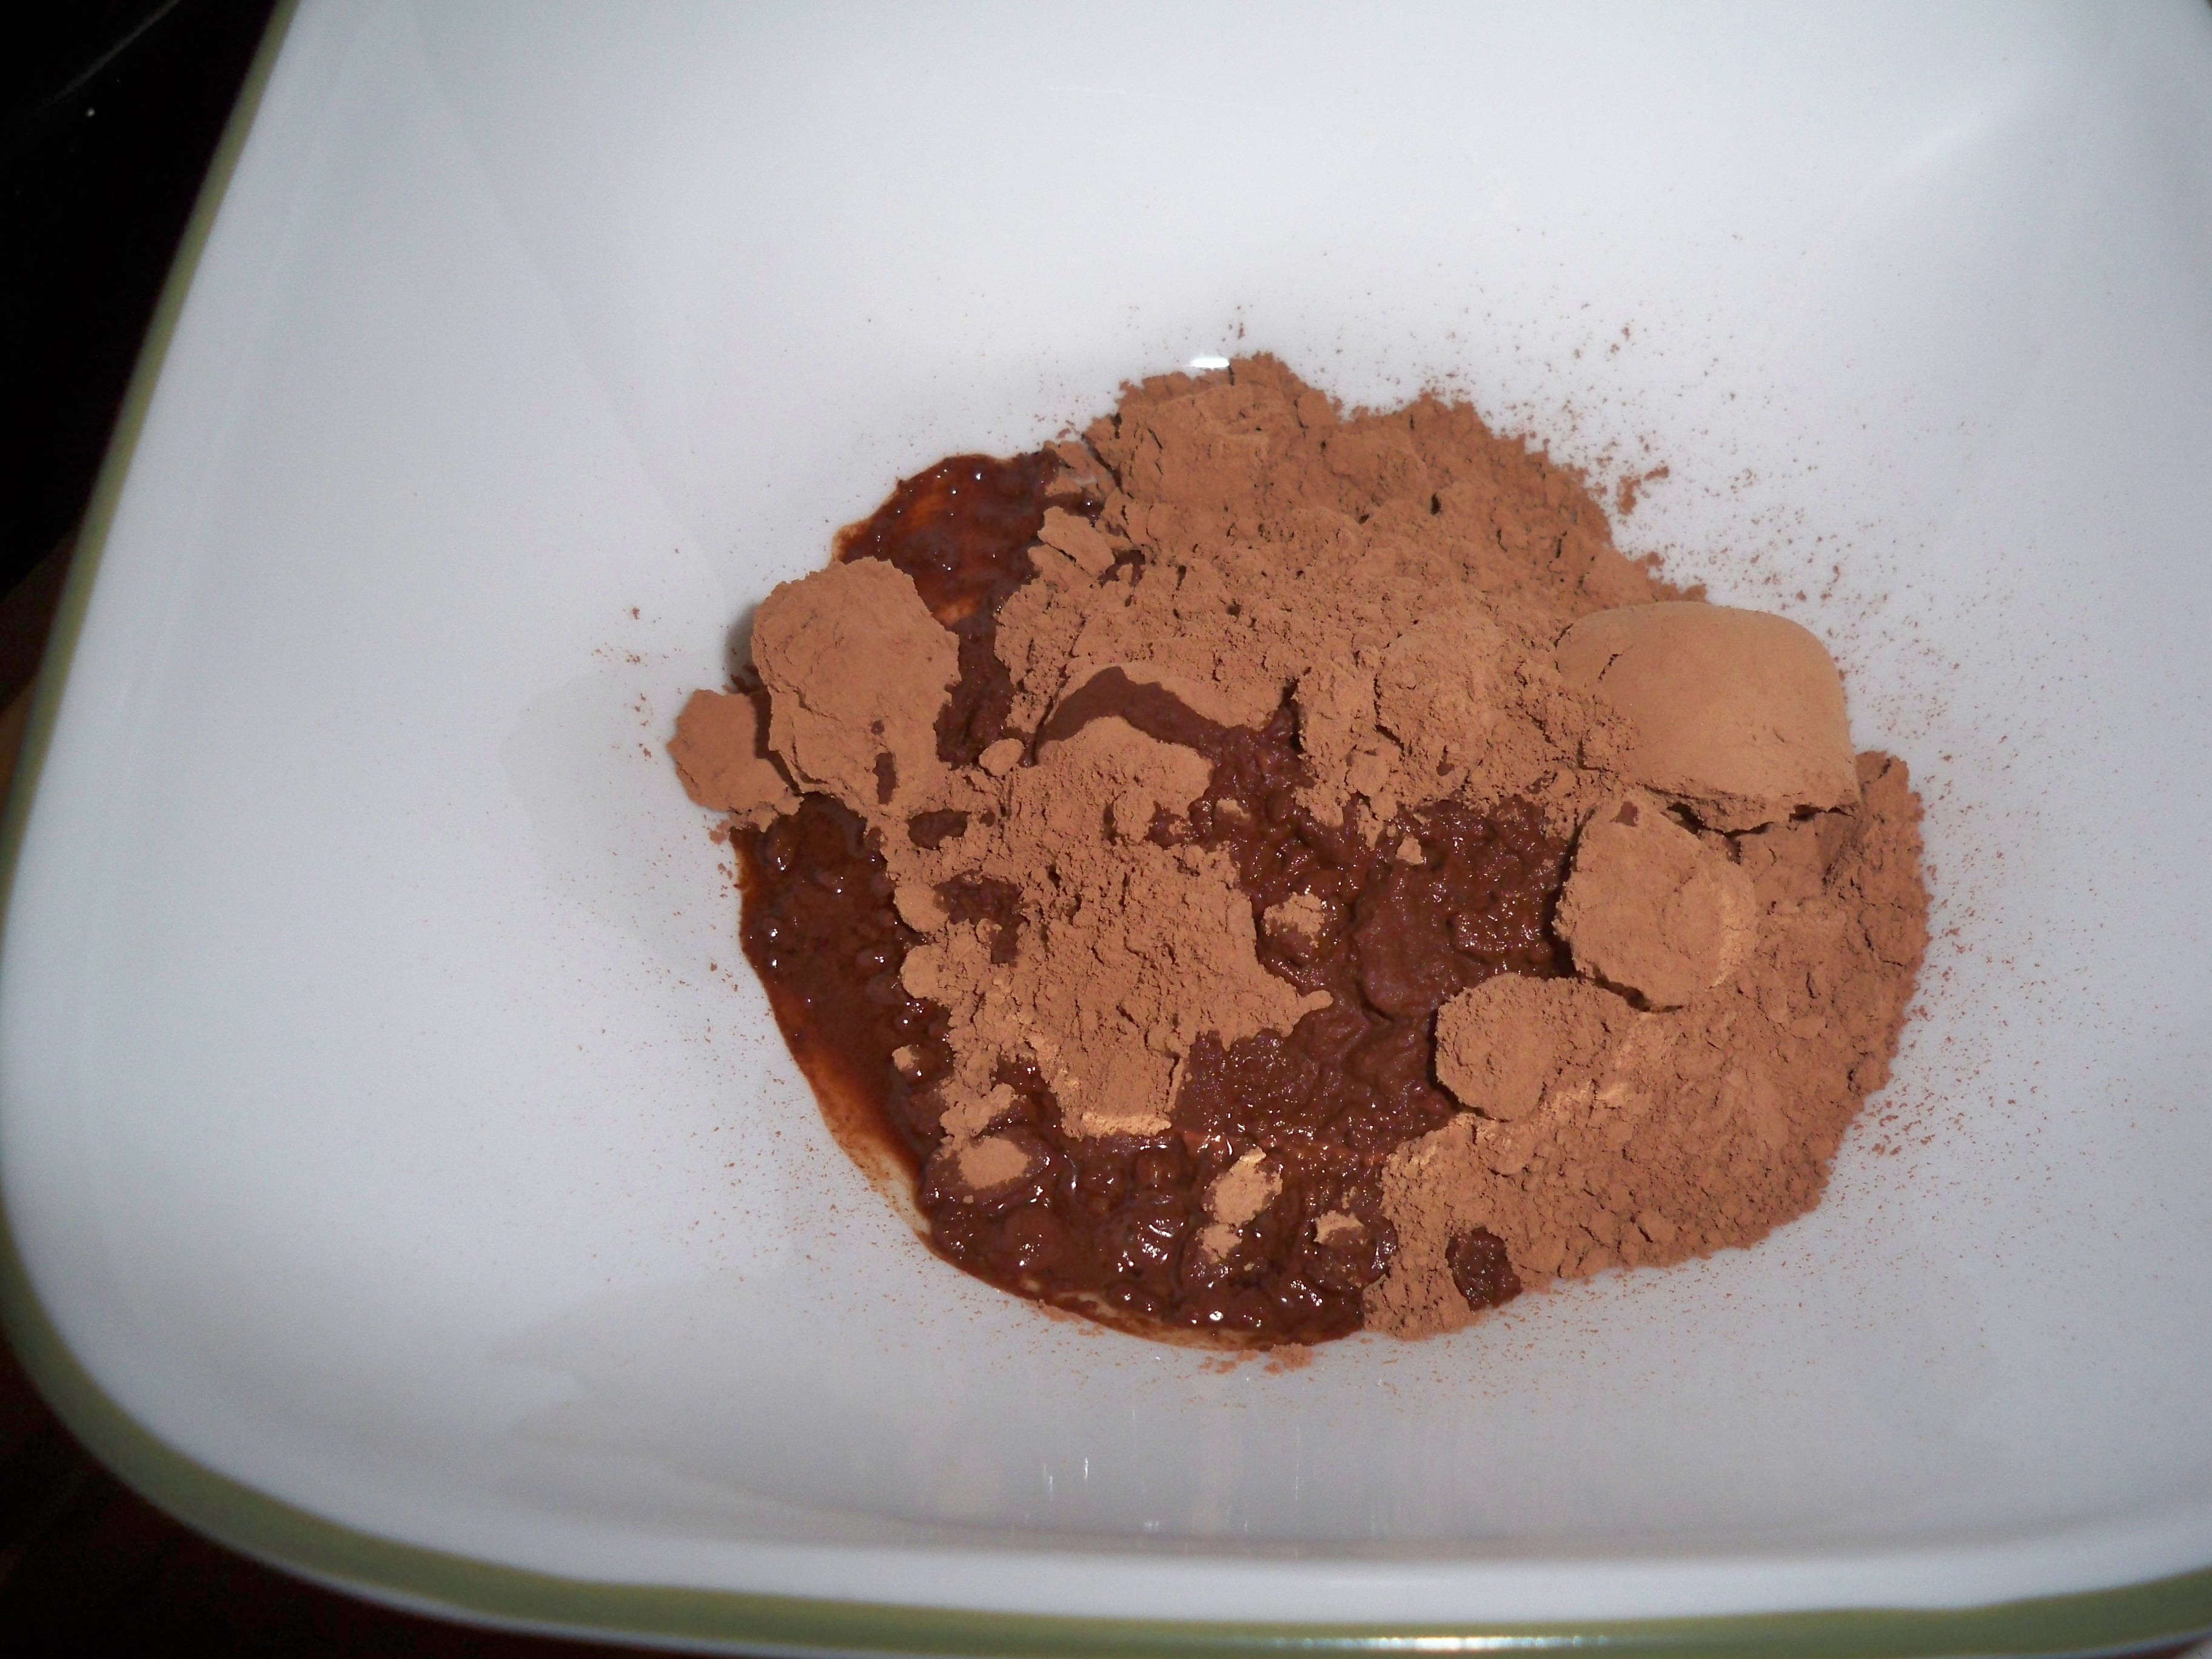
In another bowl (this recipe requires a lot of bowls, sorry) mix together the cocoa powder, the vanilla, and the red food coloring. It will look weird and be a weird consistency, but you are just going to add it to the butter/sugar/egg mixture in a minute so don’t worry.

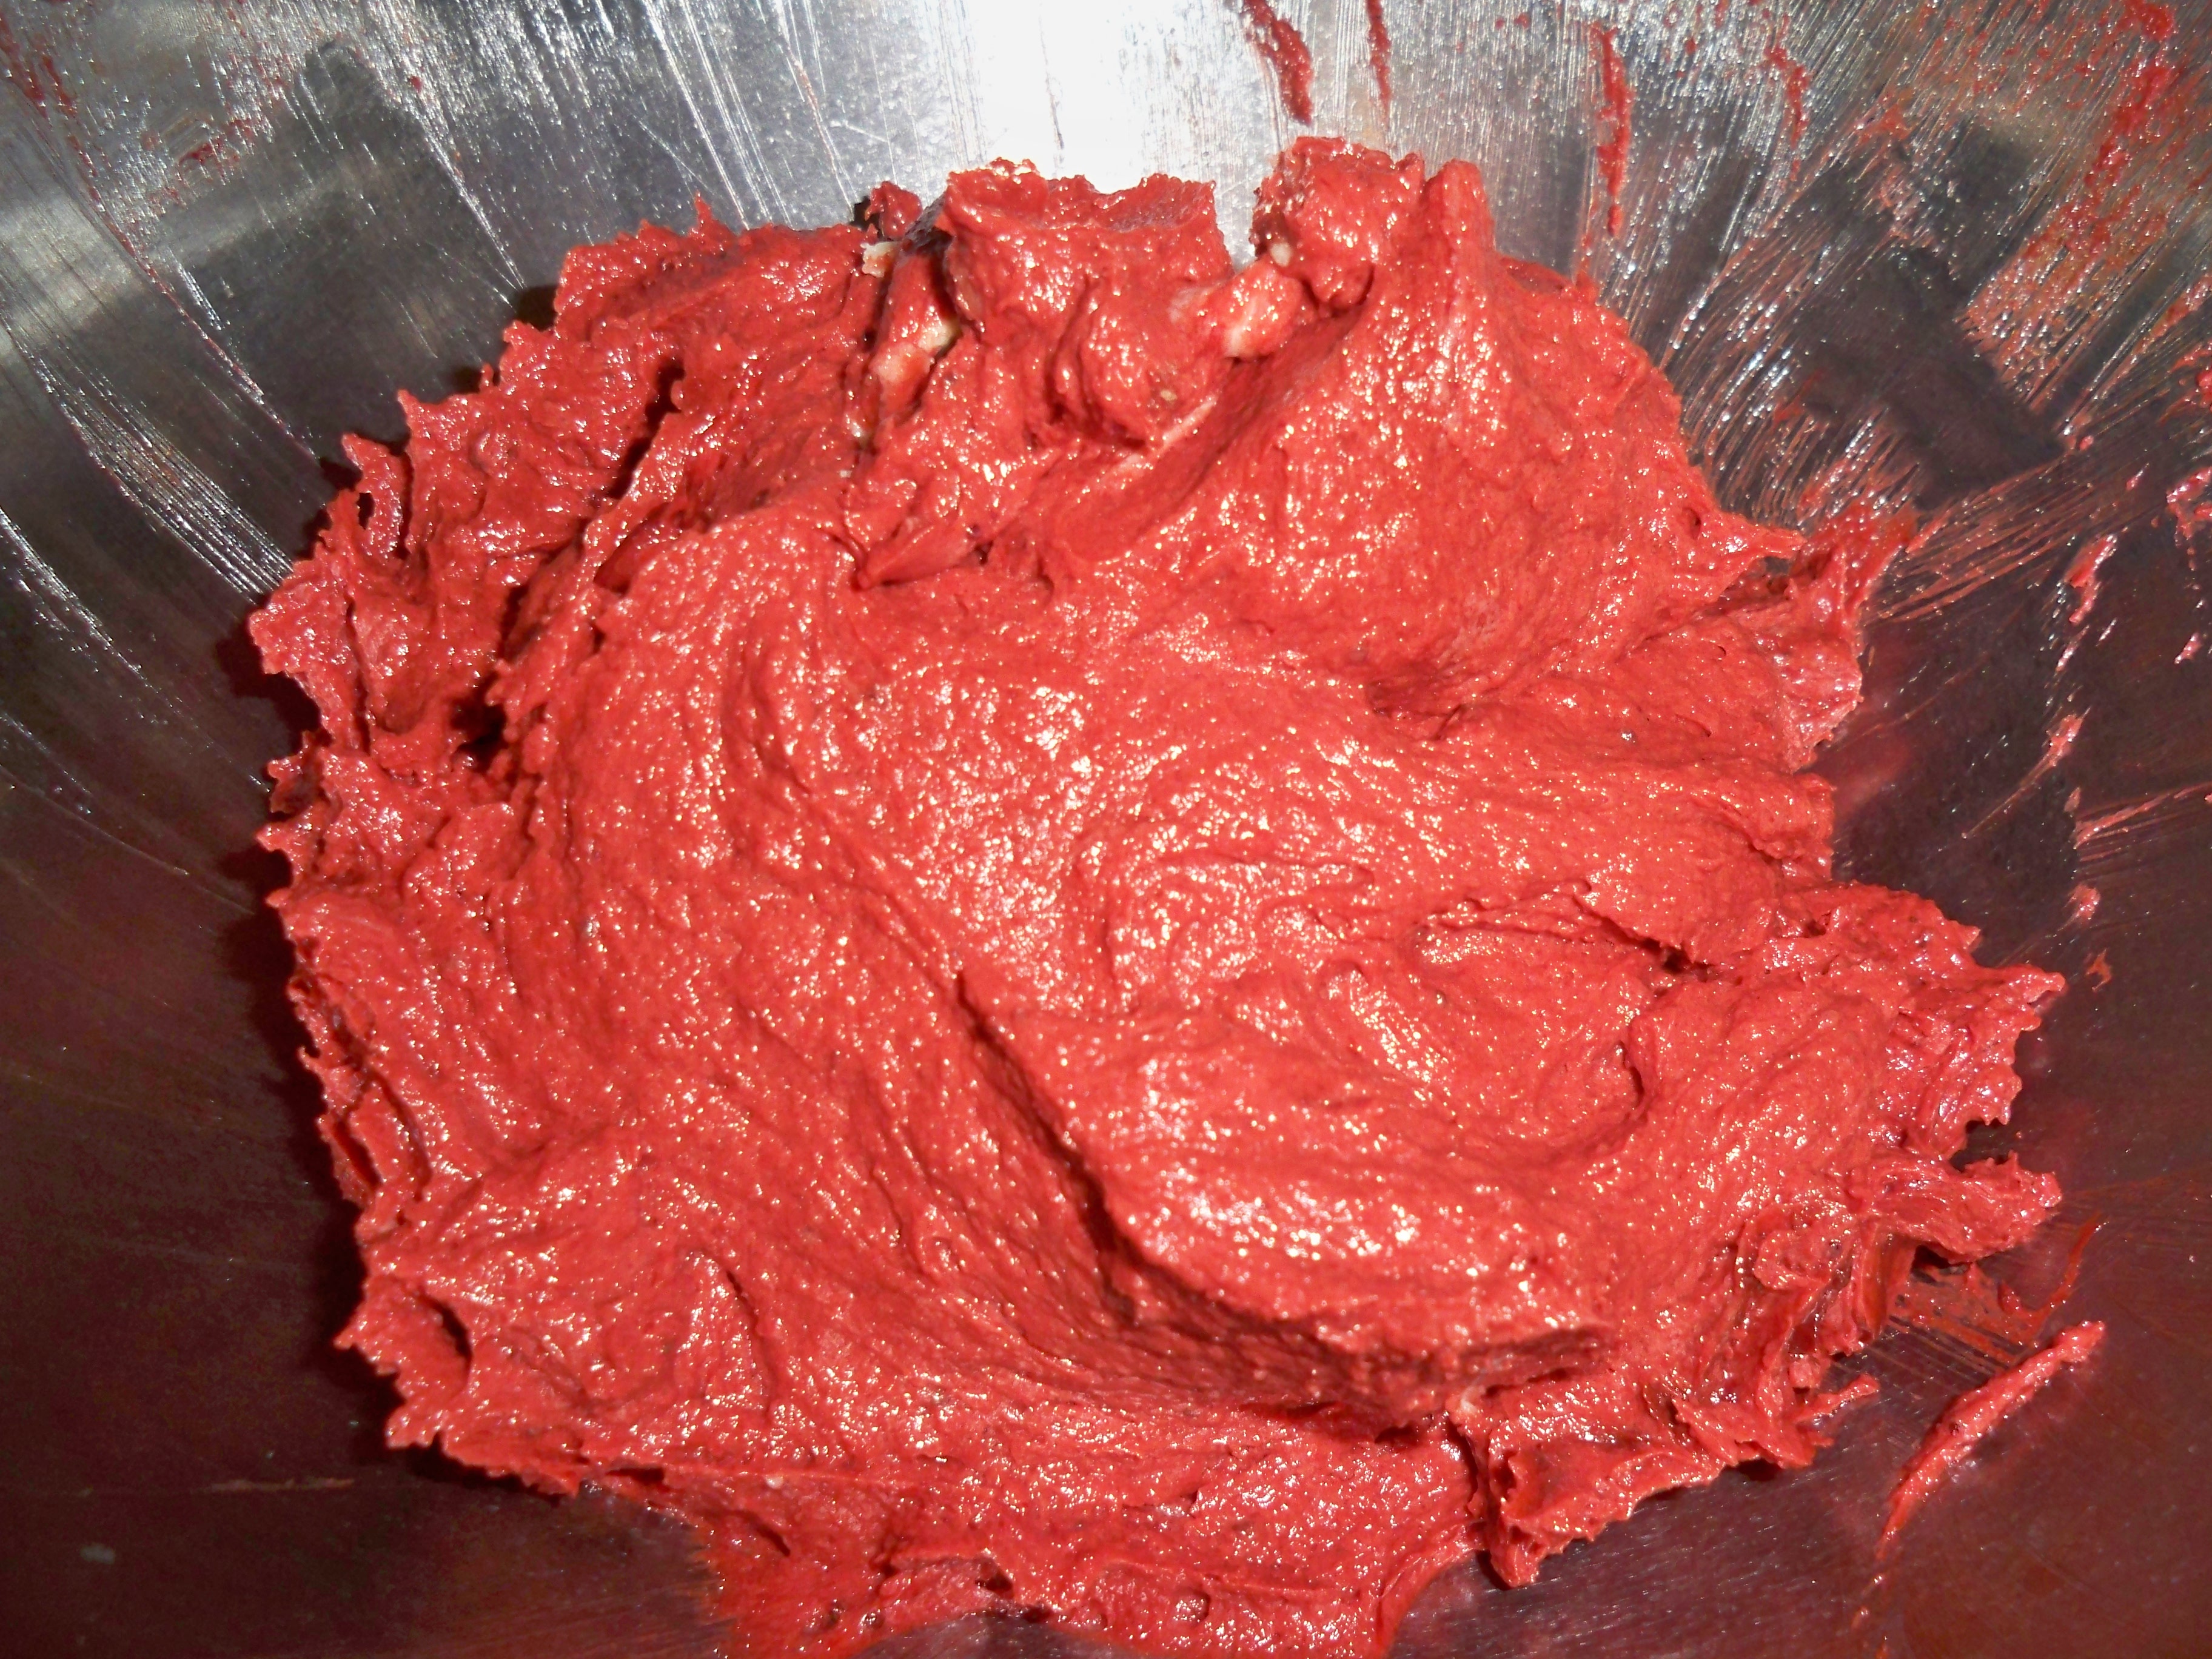
Add the cocoa mixture to the butter/sugar/egg mixture. Make sure you are satisfied with the color, otherwise you can add more food coloring now.

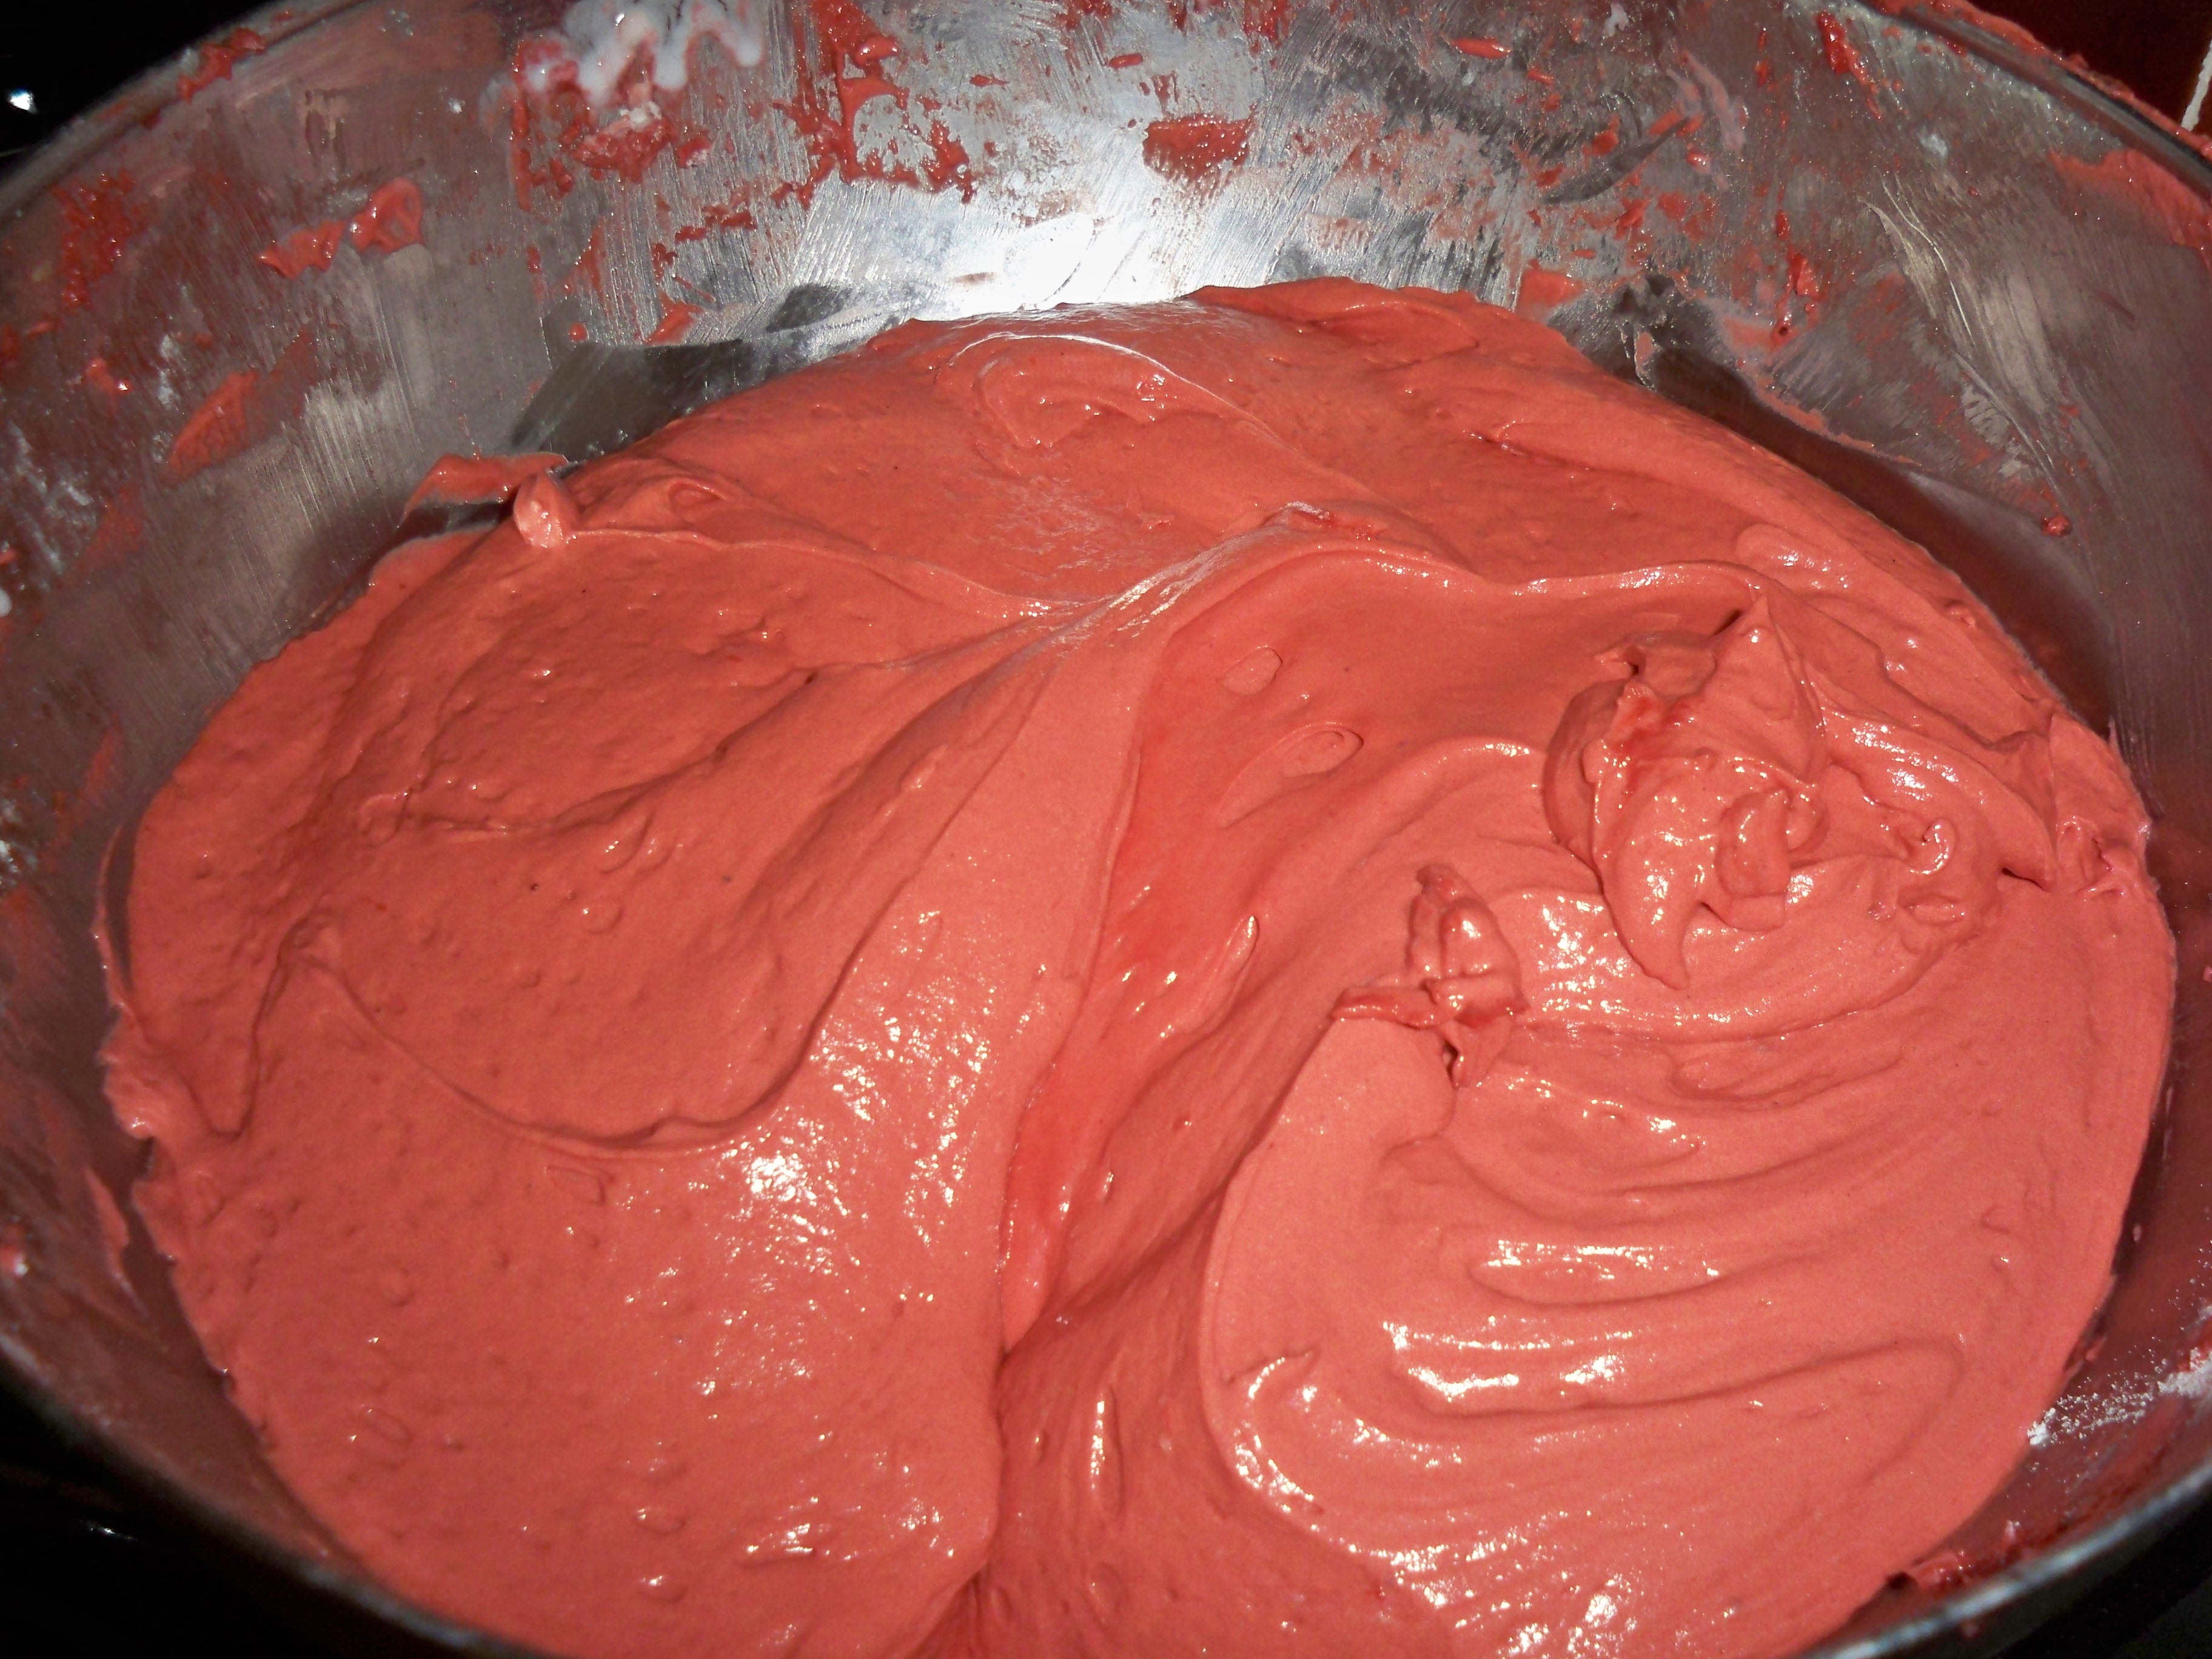
Mix together the buttermilk and the salt. Add this mixture to the butter/sugar/egg/red batter alternating with the flour and beat until combined.

In your final bowl, mix together apple cider vinegar and baking soda. It will fizz. Add this to the batter and mix one final time.

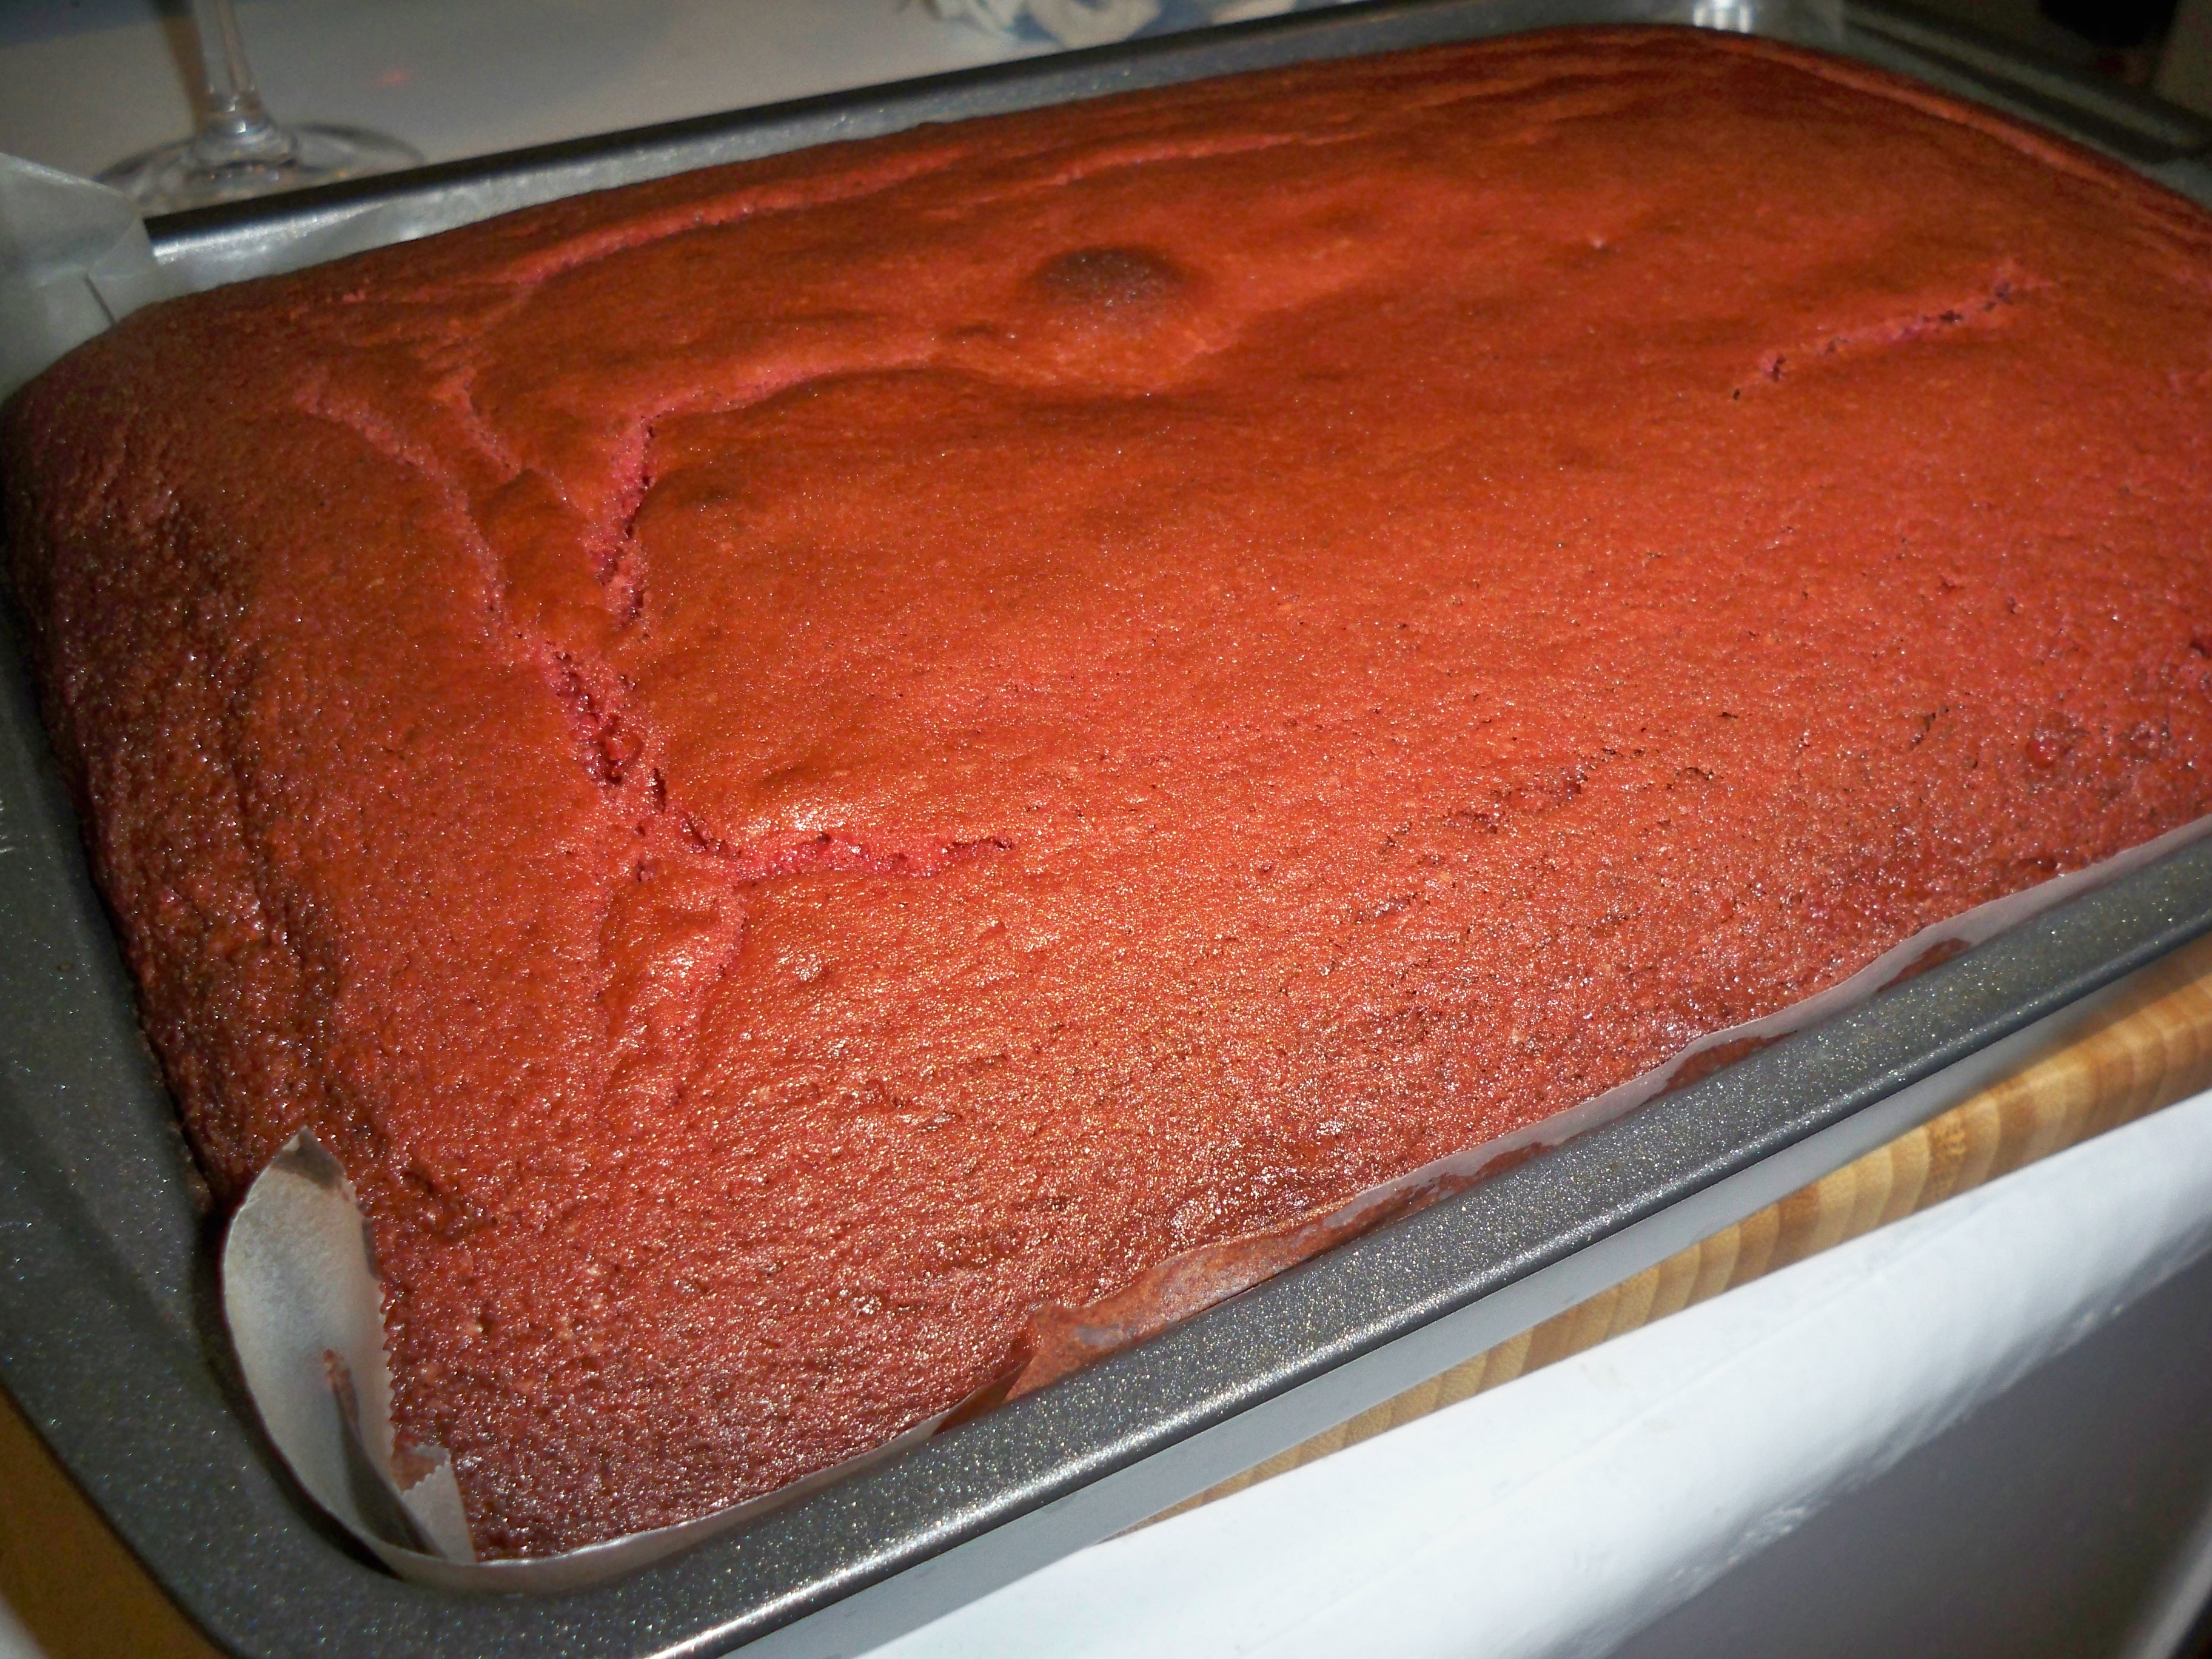
The recipe says to bake for 30 minutes, but it can take up to 45 minutes, at least in my oven. Let the cake cool in the pan, then on a rack.

Meanwhile, make the white cakes! I’m going to let you in on a secret. This recipe only makes enough for 2 cakes. I learned this after finishing making the cakes, pouring the batter into two 9 inch pans, and realizing I was short by two cakes. You have to double it, but I recommend doing it in two batches as there is a lot of beating involved and this recipe doubled can be difficult to handle with double the ingredients.

White Cake (yields two 9 inch cakes)

2 3/4 cups all-purpose flour
1 tsp baking powder
1 cup (2 sticks) unsalted butter, softened
2 cups sugar
4 large eggs, at room temperature
1 cup milk (I used buttermilk instead for a denser cake since you are going to be carving into it, and also, what else was I going to use that buttermilk for?)
1 teaspoon vanilla extract

Keep your oven preheated to 350 degrees. Grease and line your four 9 inch cake pans.

In bowl number one, mix together the flour and baking soda.

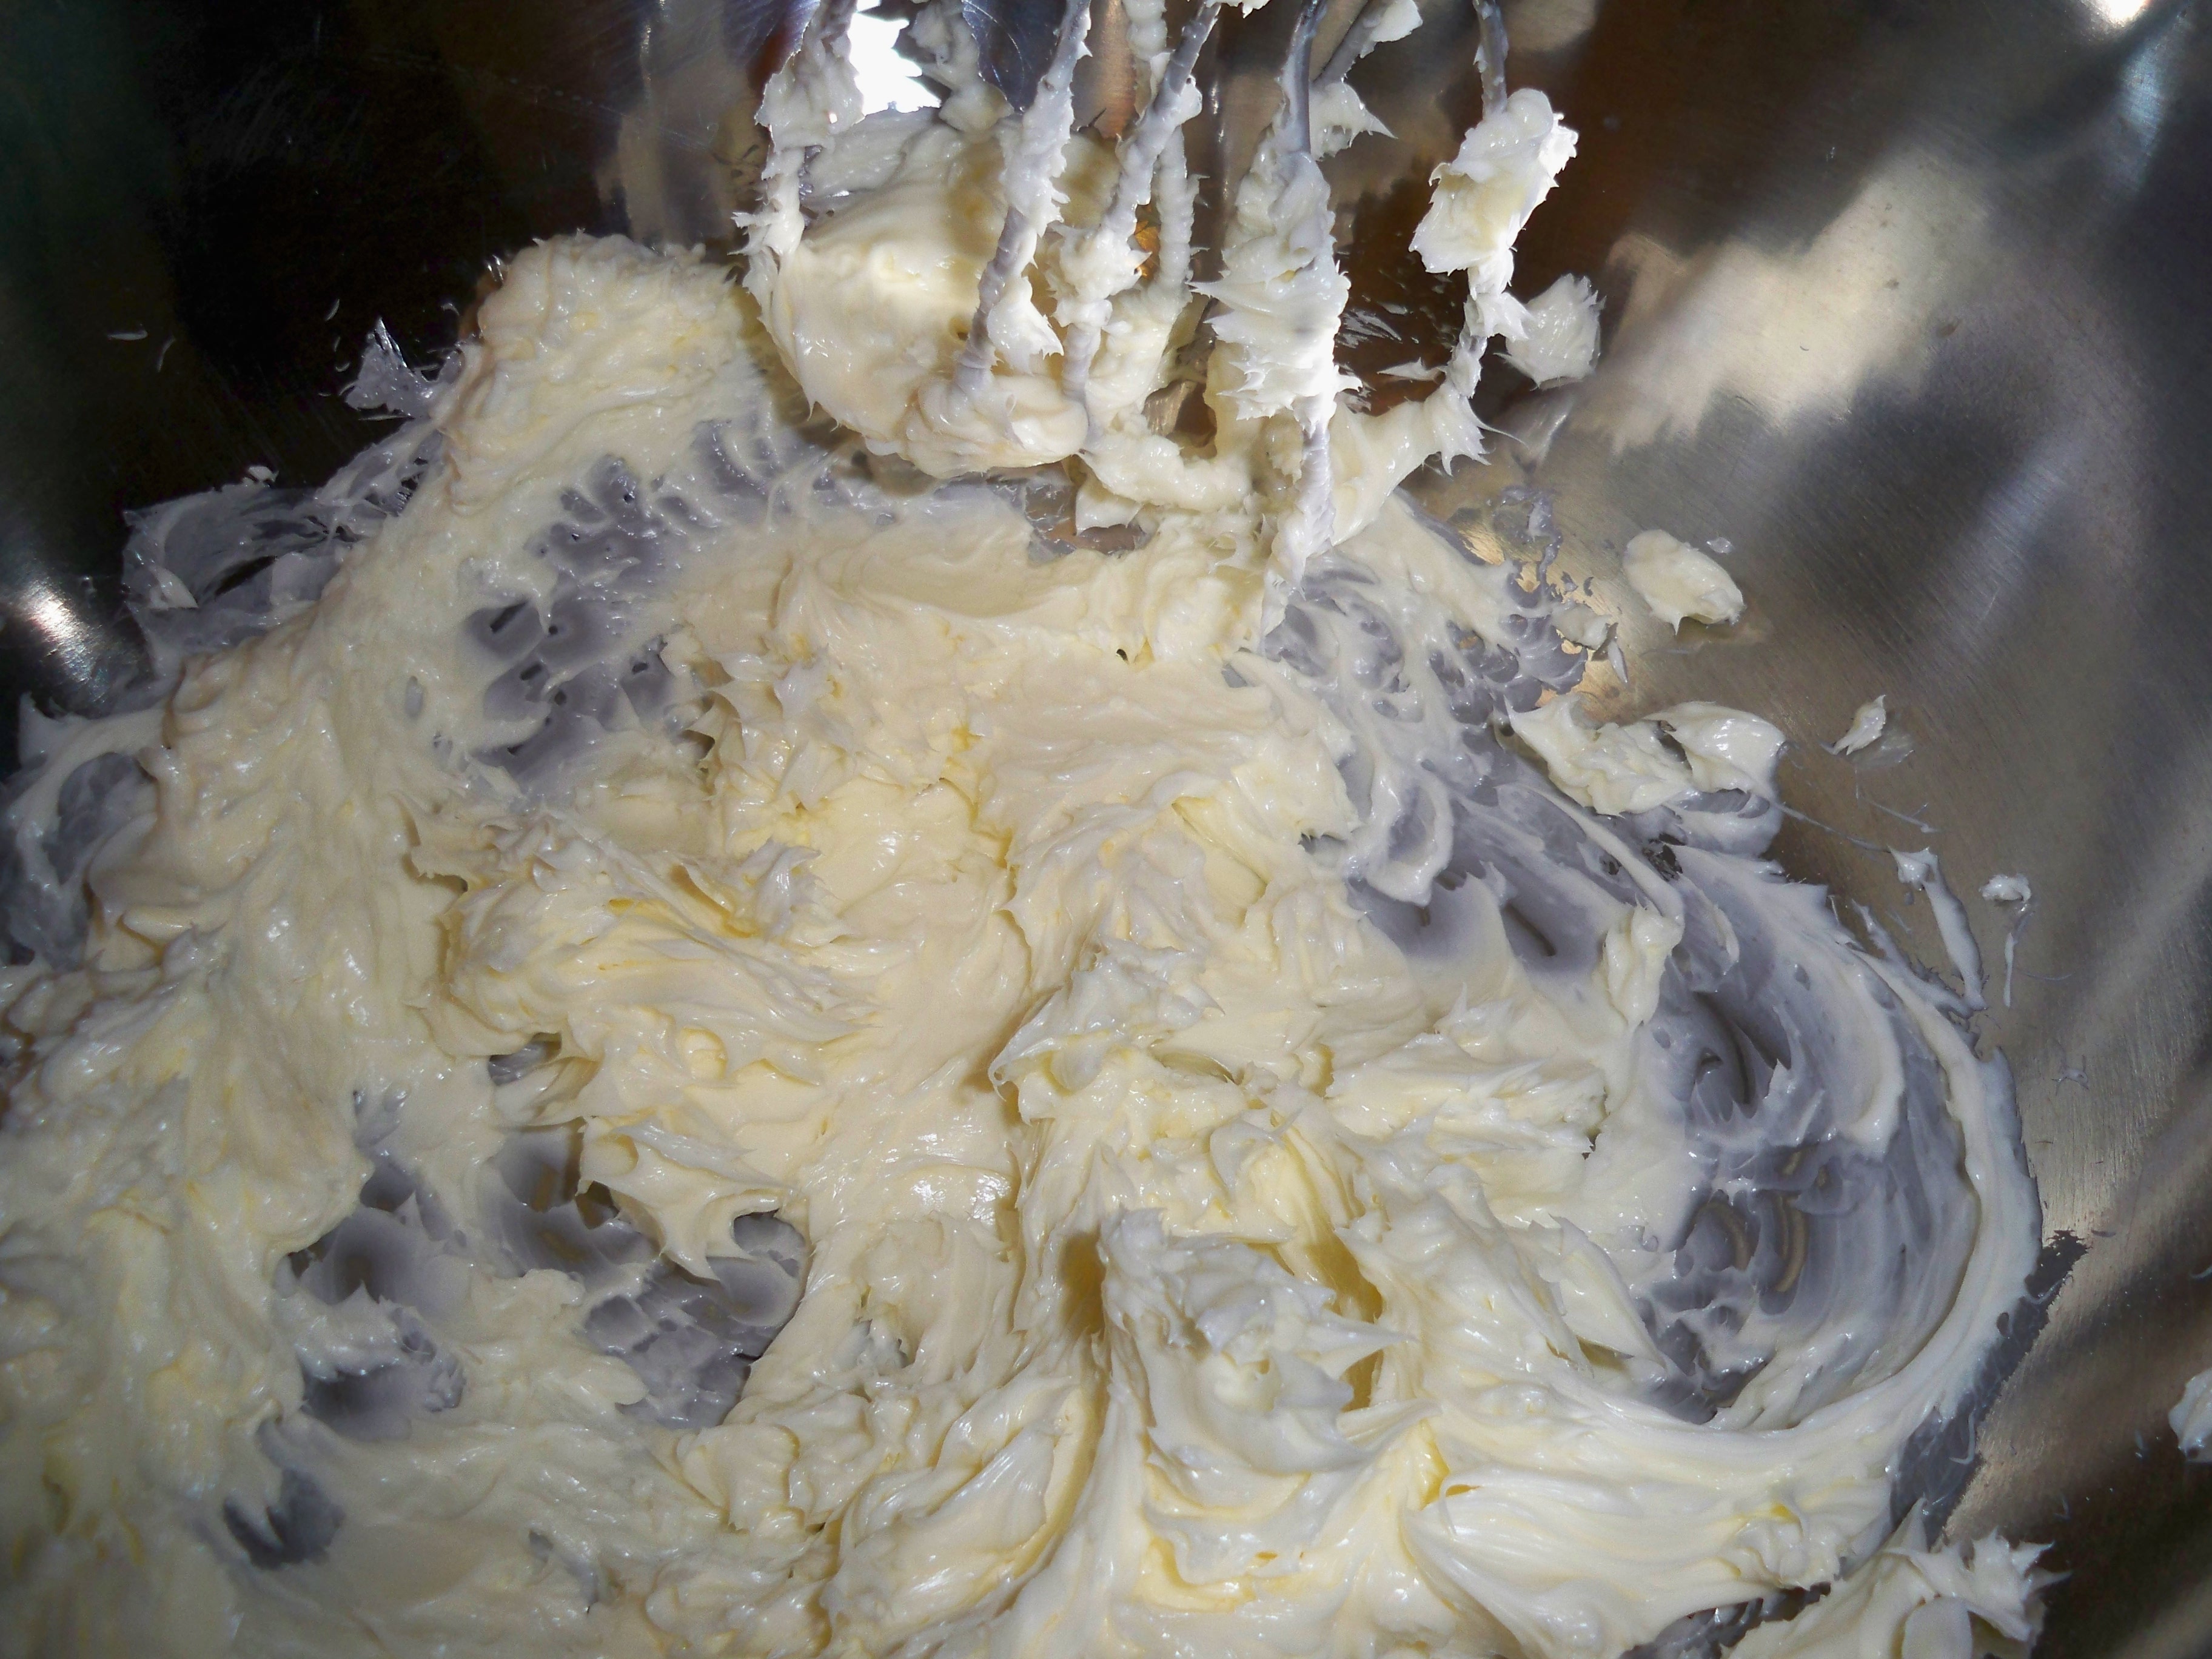
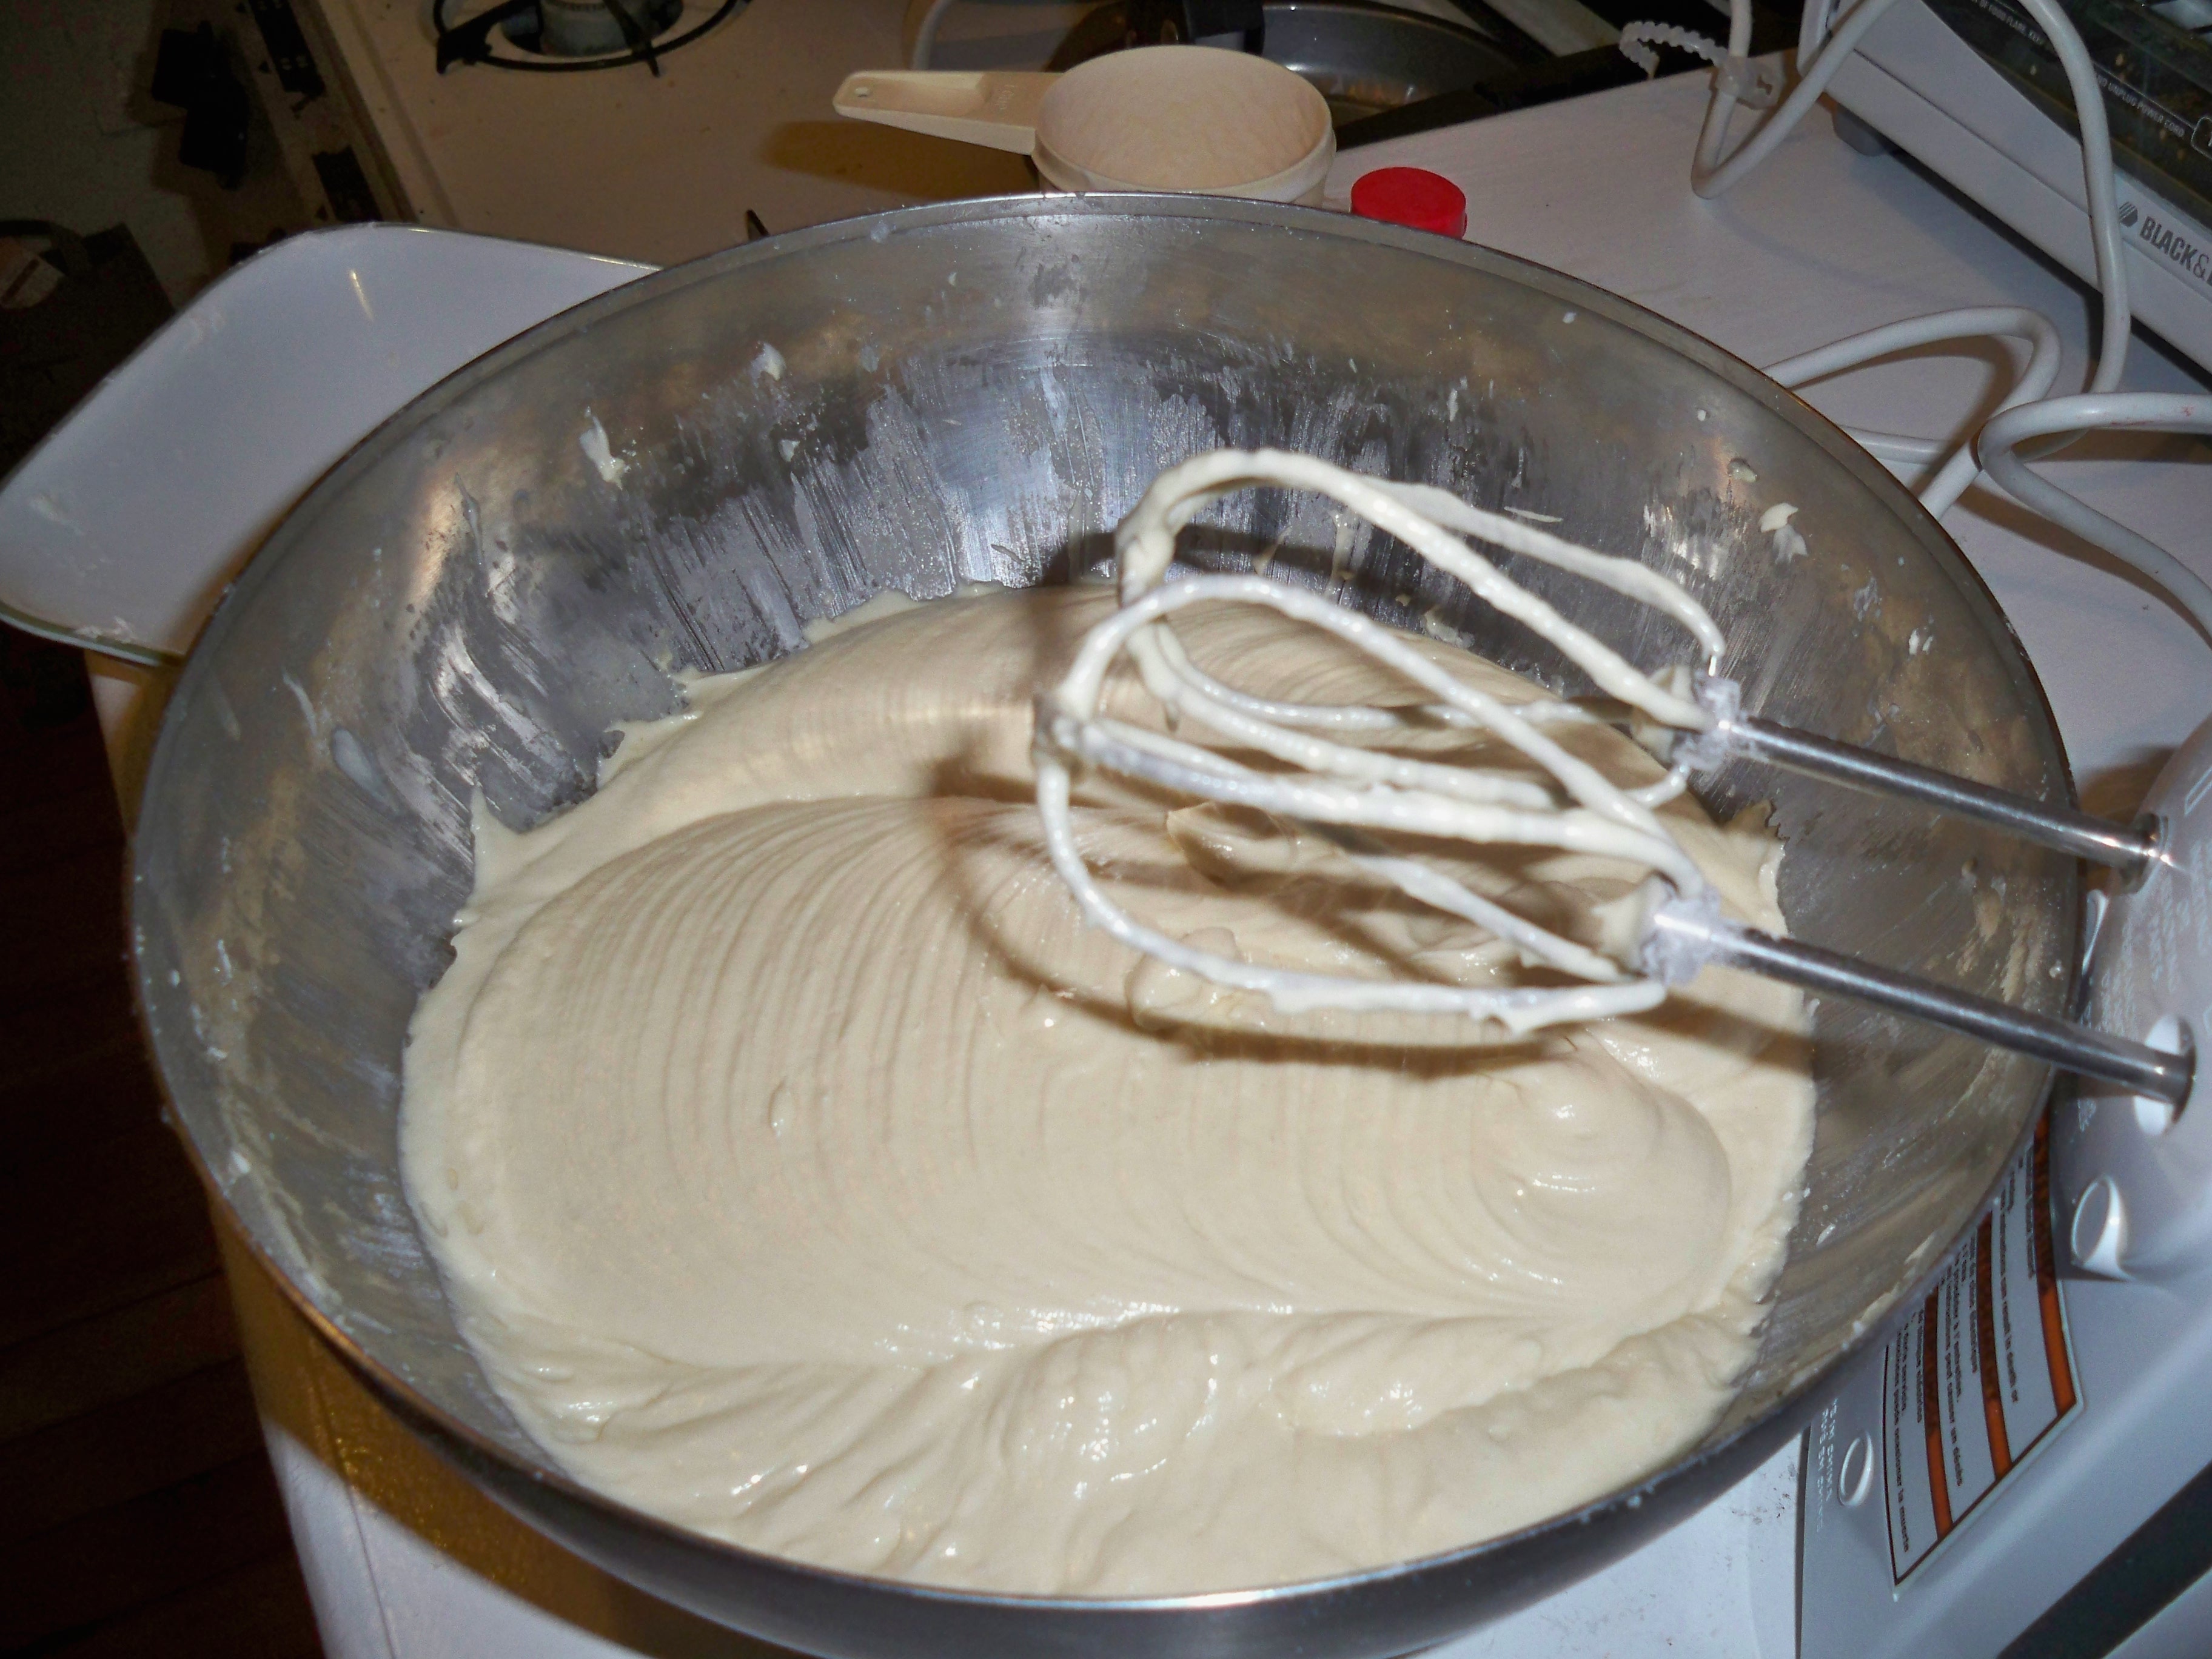
In bowl number two, cream the butter until it is smooth.

Add the sugar ½ cup at a time and beat until the mixture is light and fluffy. Add your eggs one at a time. Annoying I know, but again, important. Add the flour, alternating with milk and vanilla. Mix until just incorporated.

Pour your batter into your cake pans and bake for 20-30 minutes until a toothpick comes out clean.

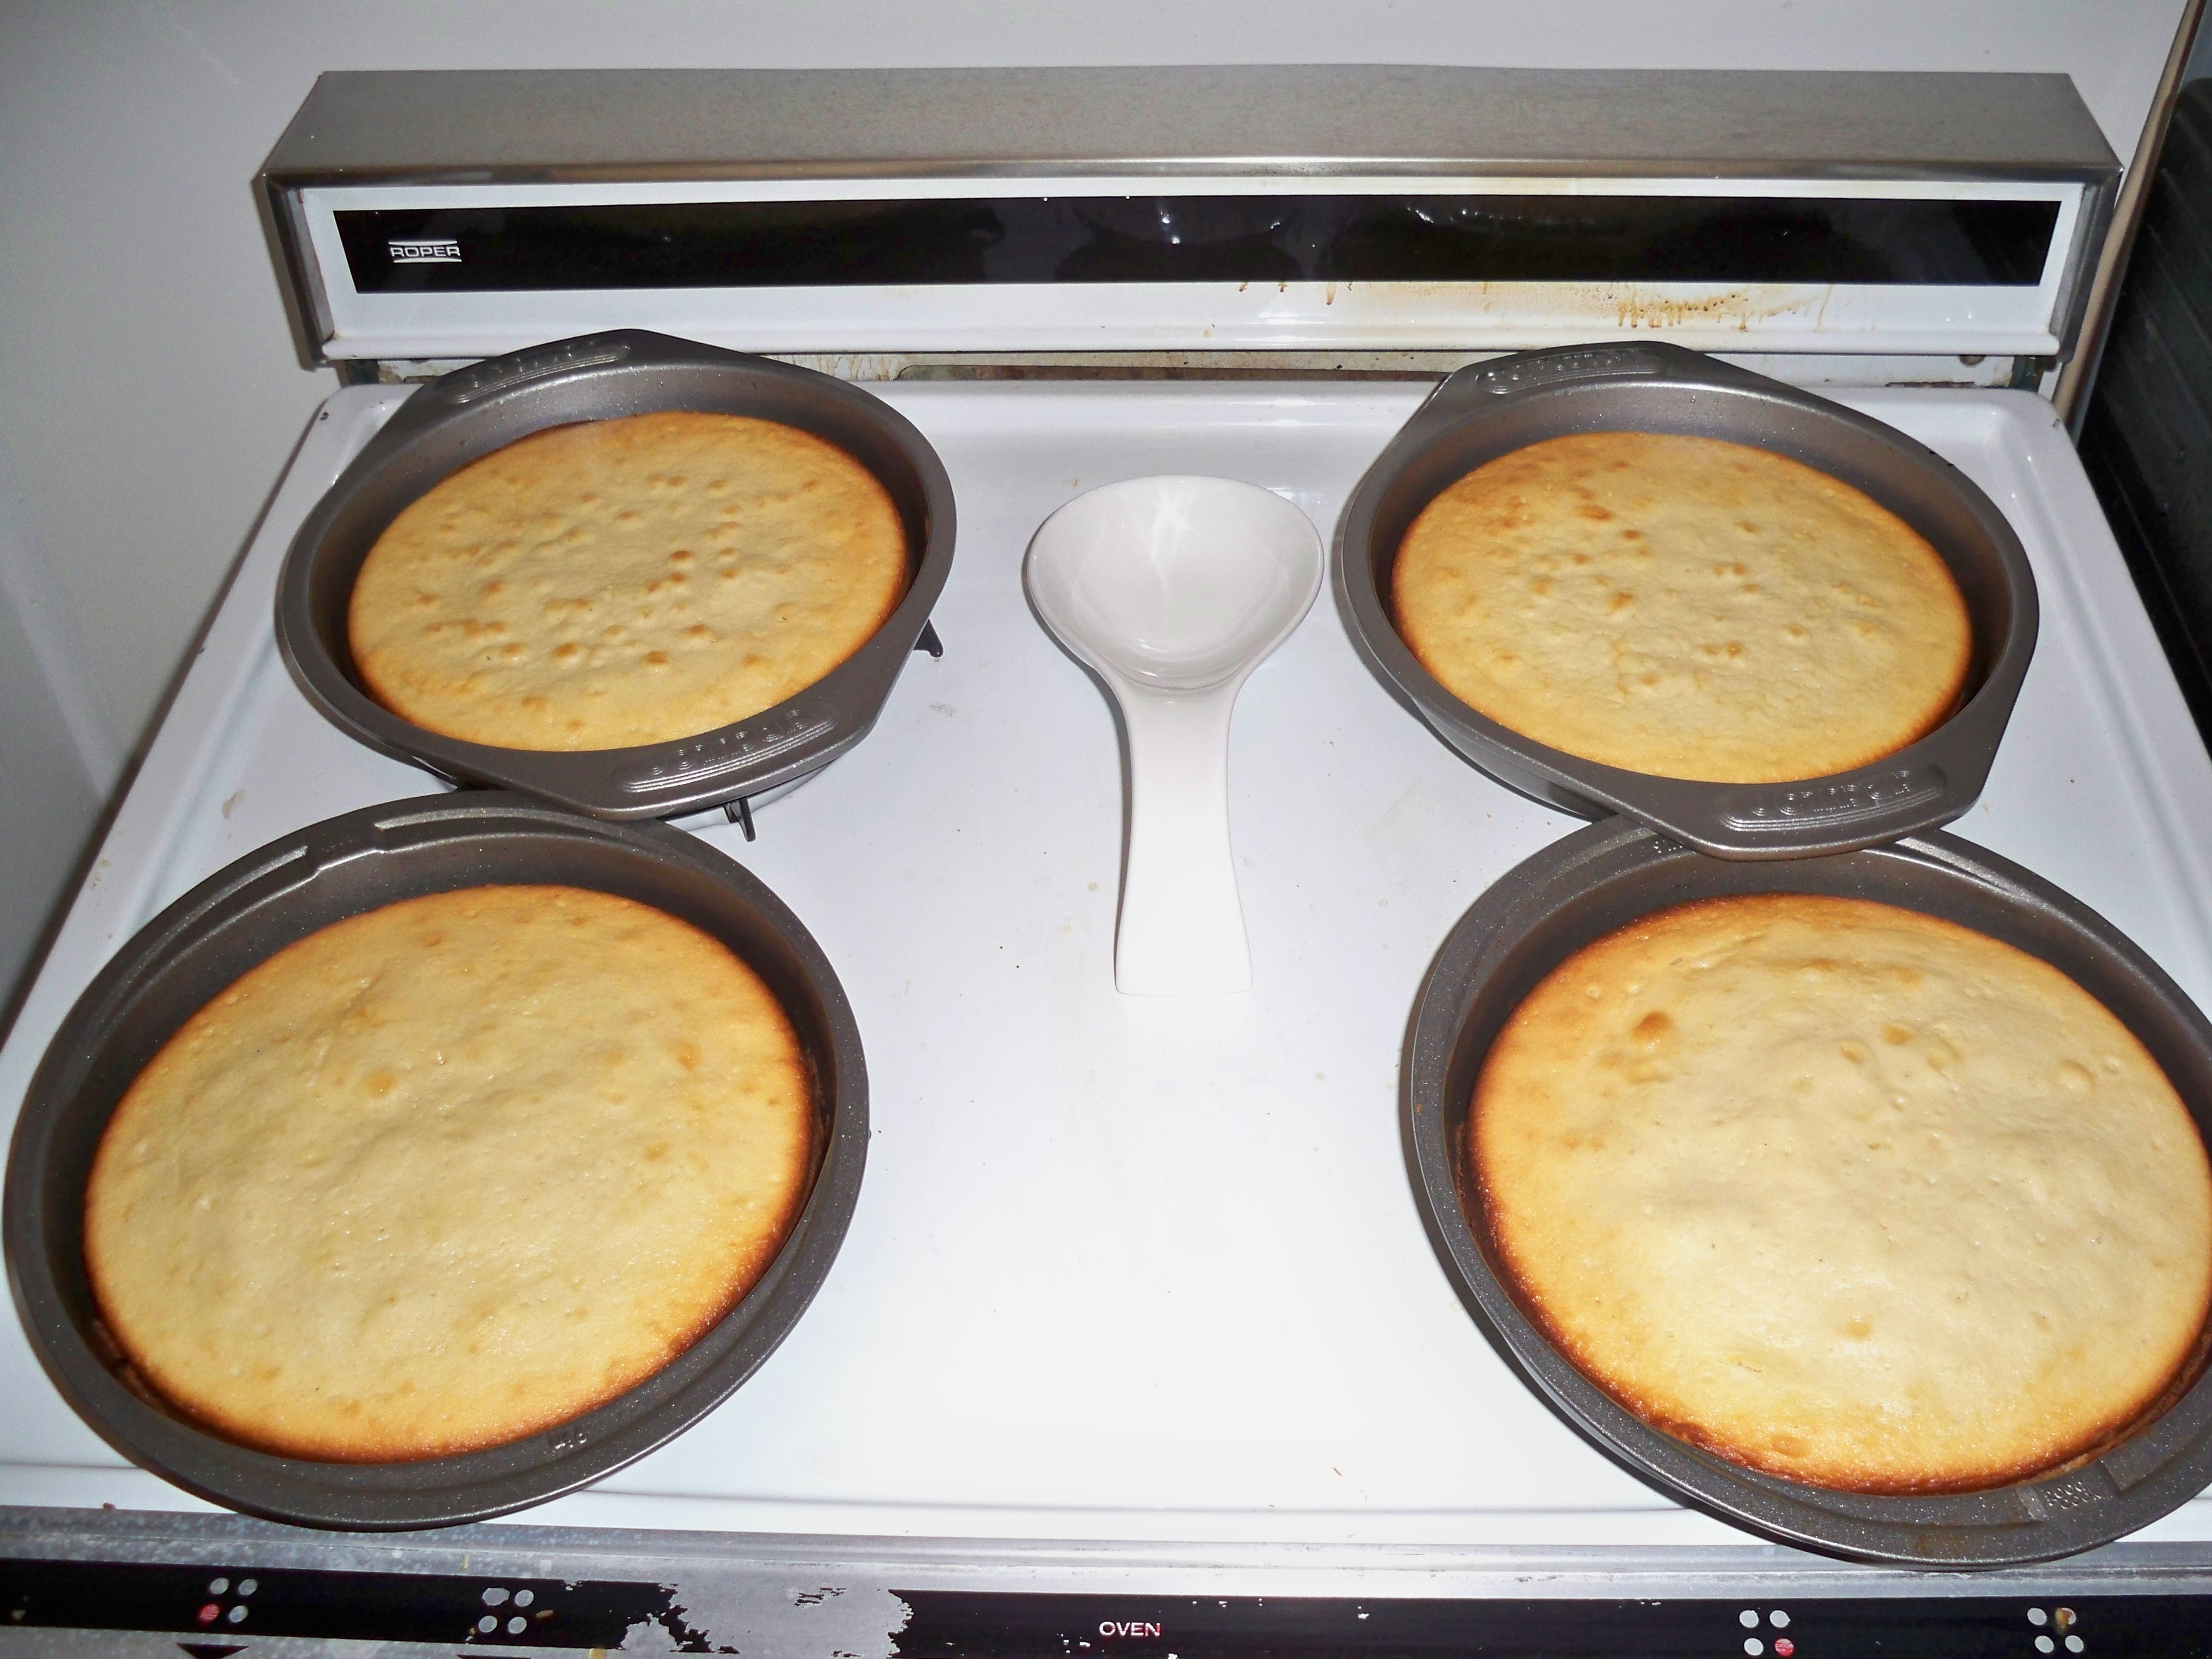
THEN DO IT AGAIN! You have just made 5 cakes in one night. Go you!

The next day, Mary returned to my apartment, where we made our frosting and began the process of actually making a heart inside a cake.

Frosting – (from Magnolia Bakery, but adapted by me)

1 cup (2 sticks) unsalted butter, softened
6 to 8 cups confectioners’ sugar (basically a whole package, about 1lb)
1/2 cup milk
2 teaspoons vanilla extract

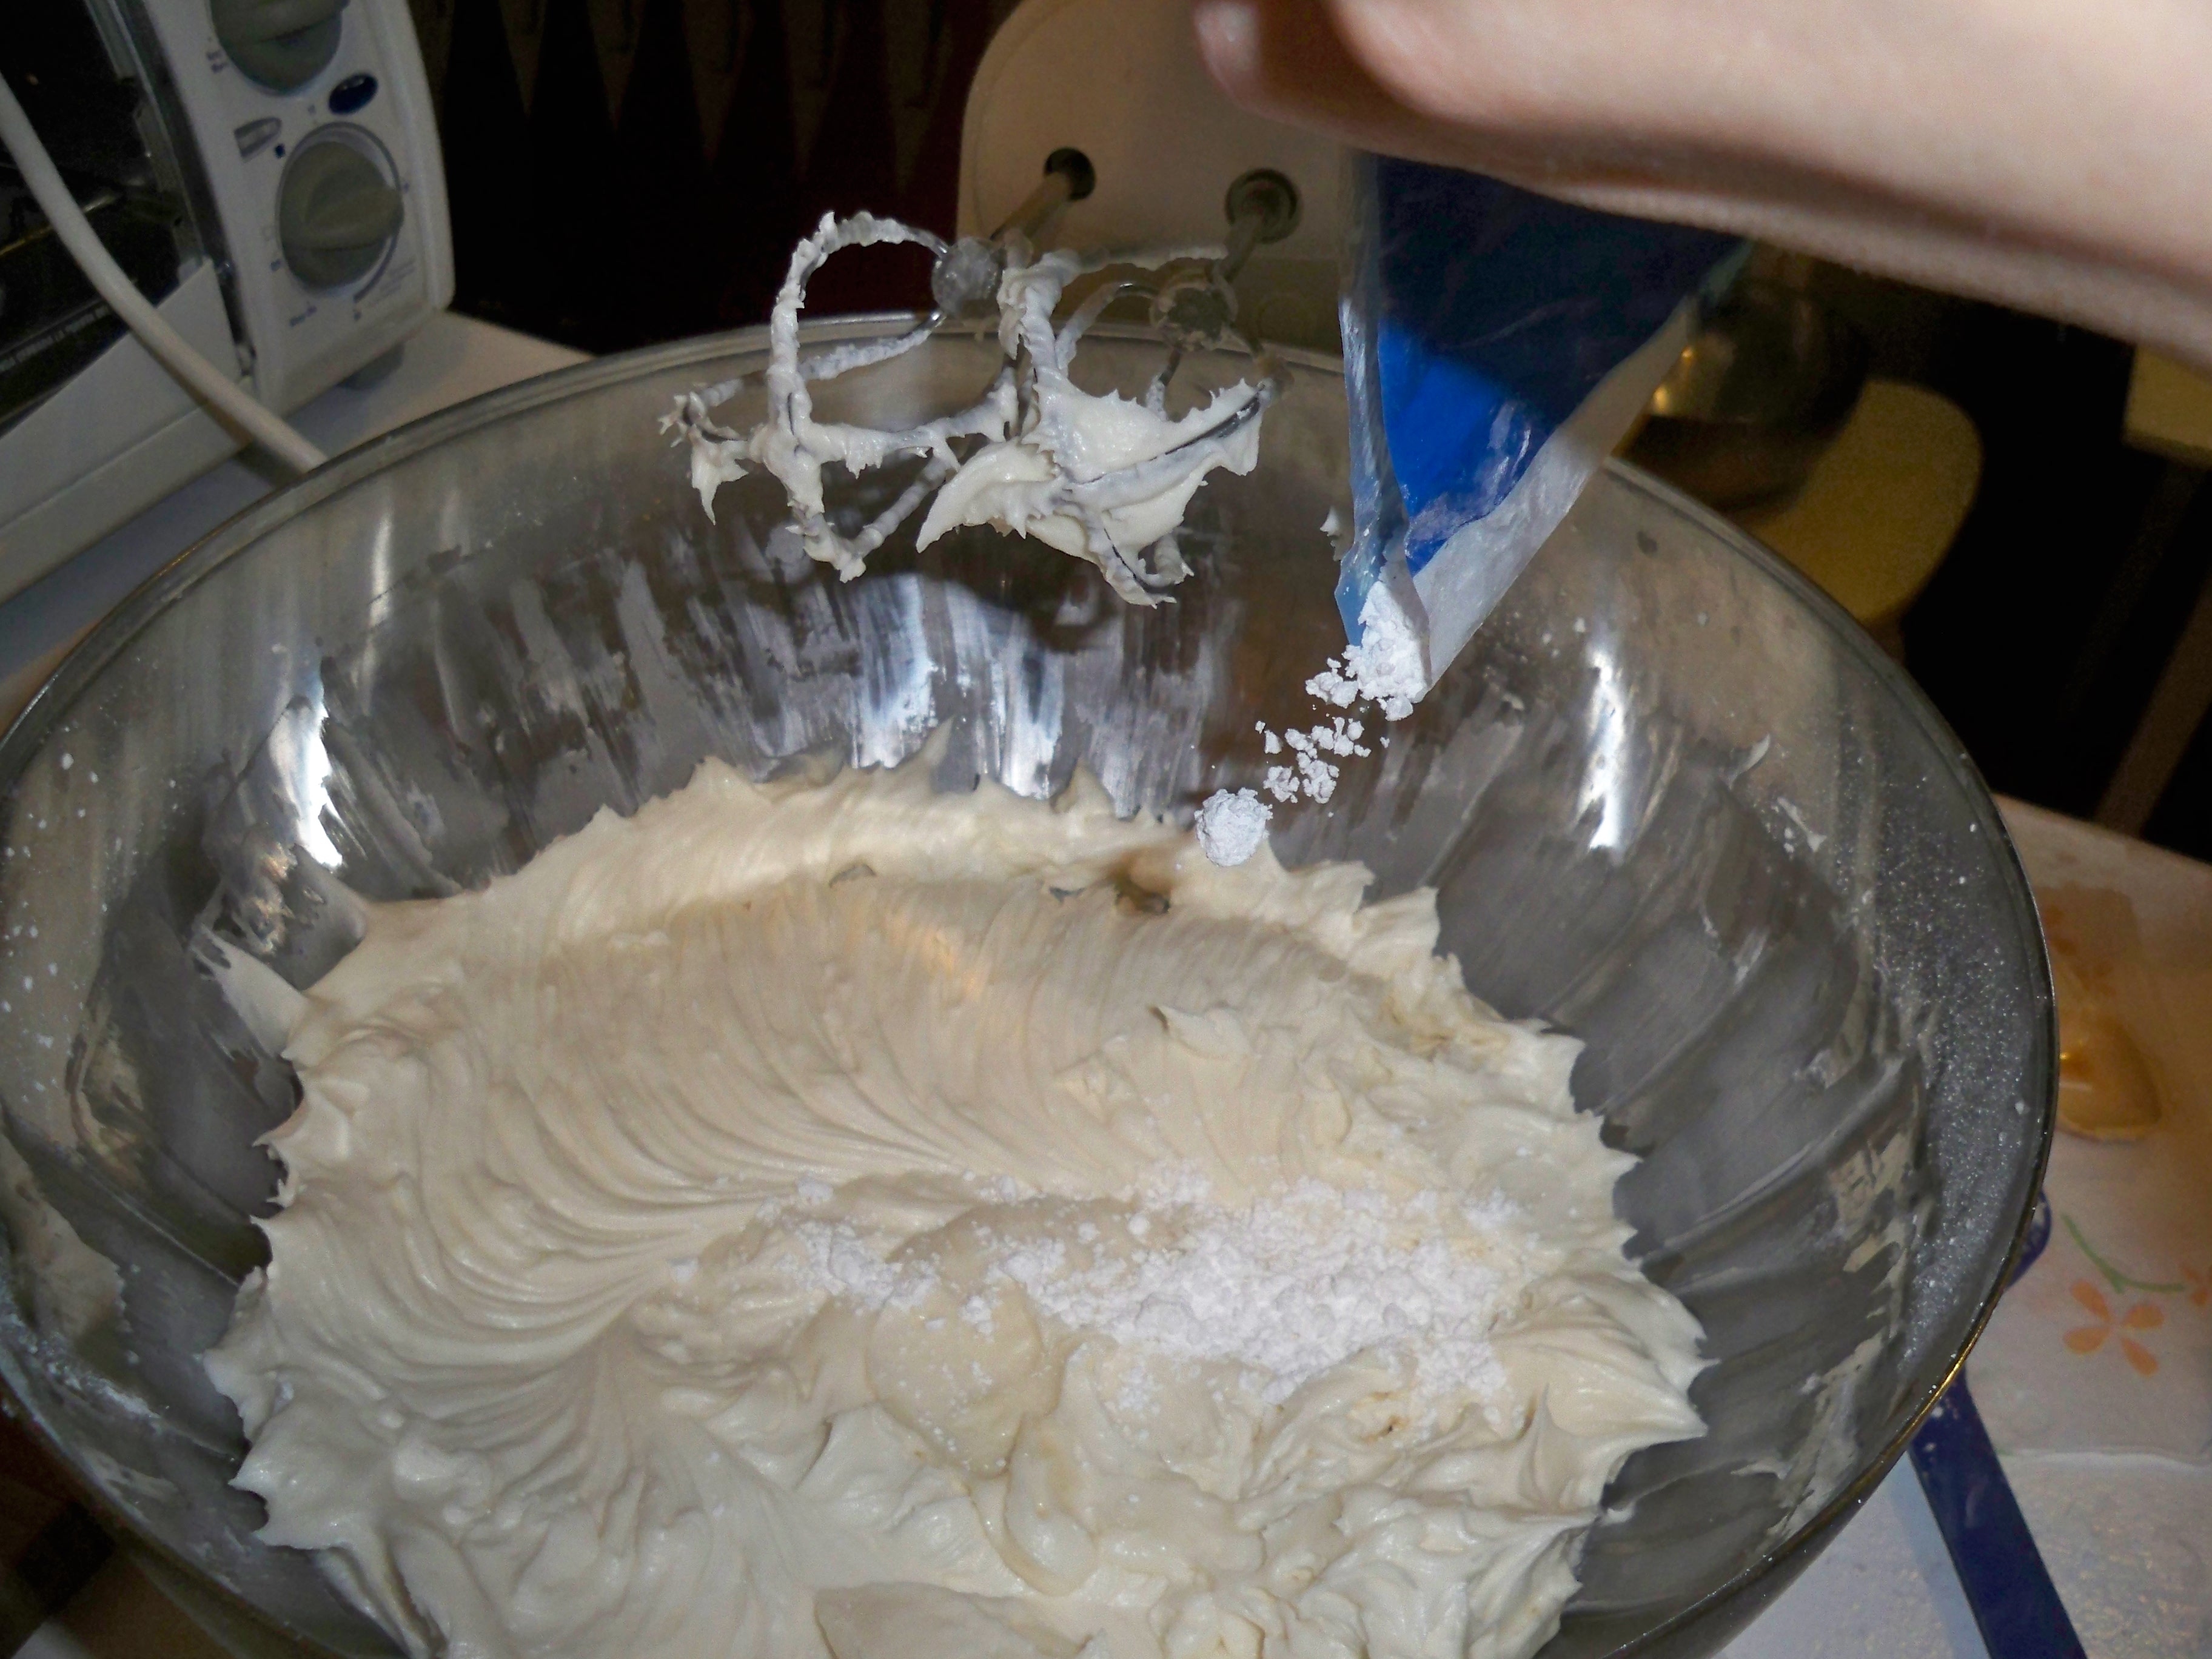
Start by creaming the butter. Add about half of the powdered sugar package, milk and vanilla and beat until smooth. Add the rest of the sugar one cup at a time to achieve the proper consistency. The icing should be thick and spreadable, but not drip off the beaters or spatula when you hold it up.

Assembling the Cake

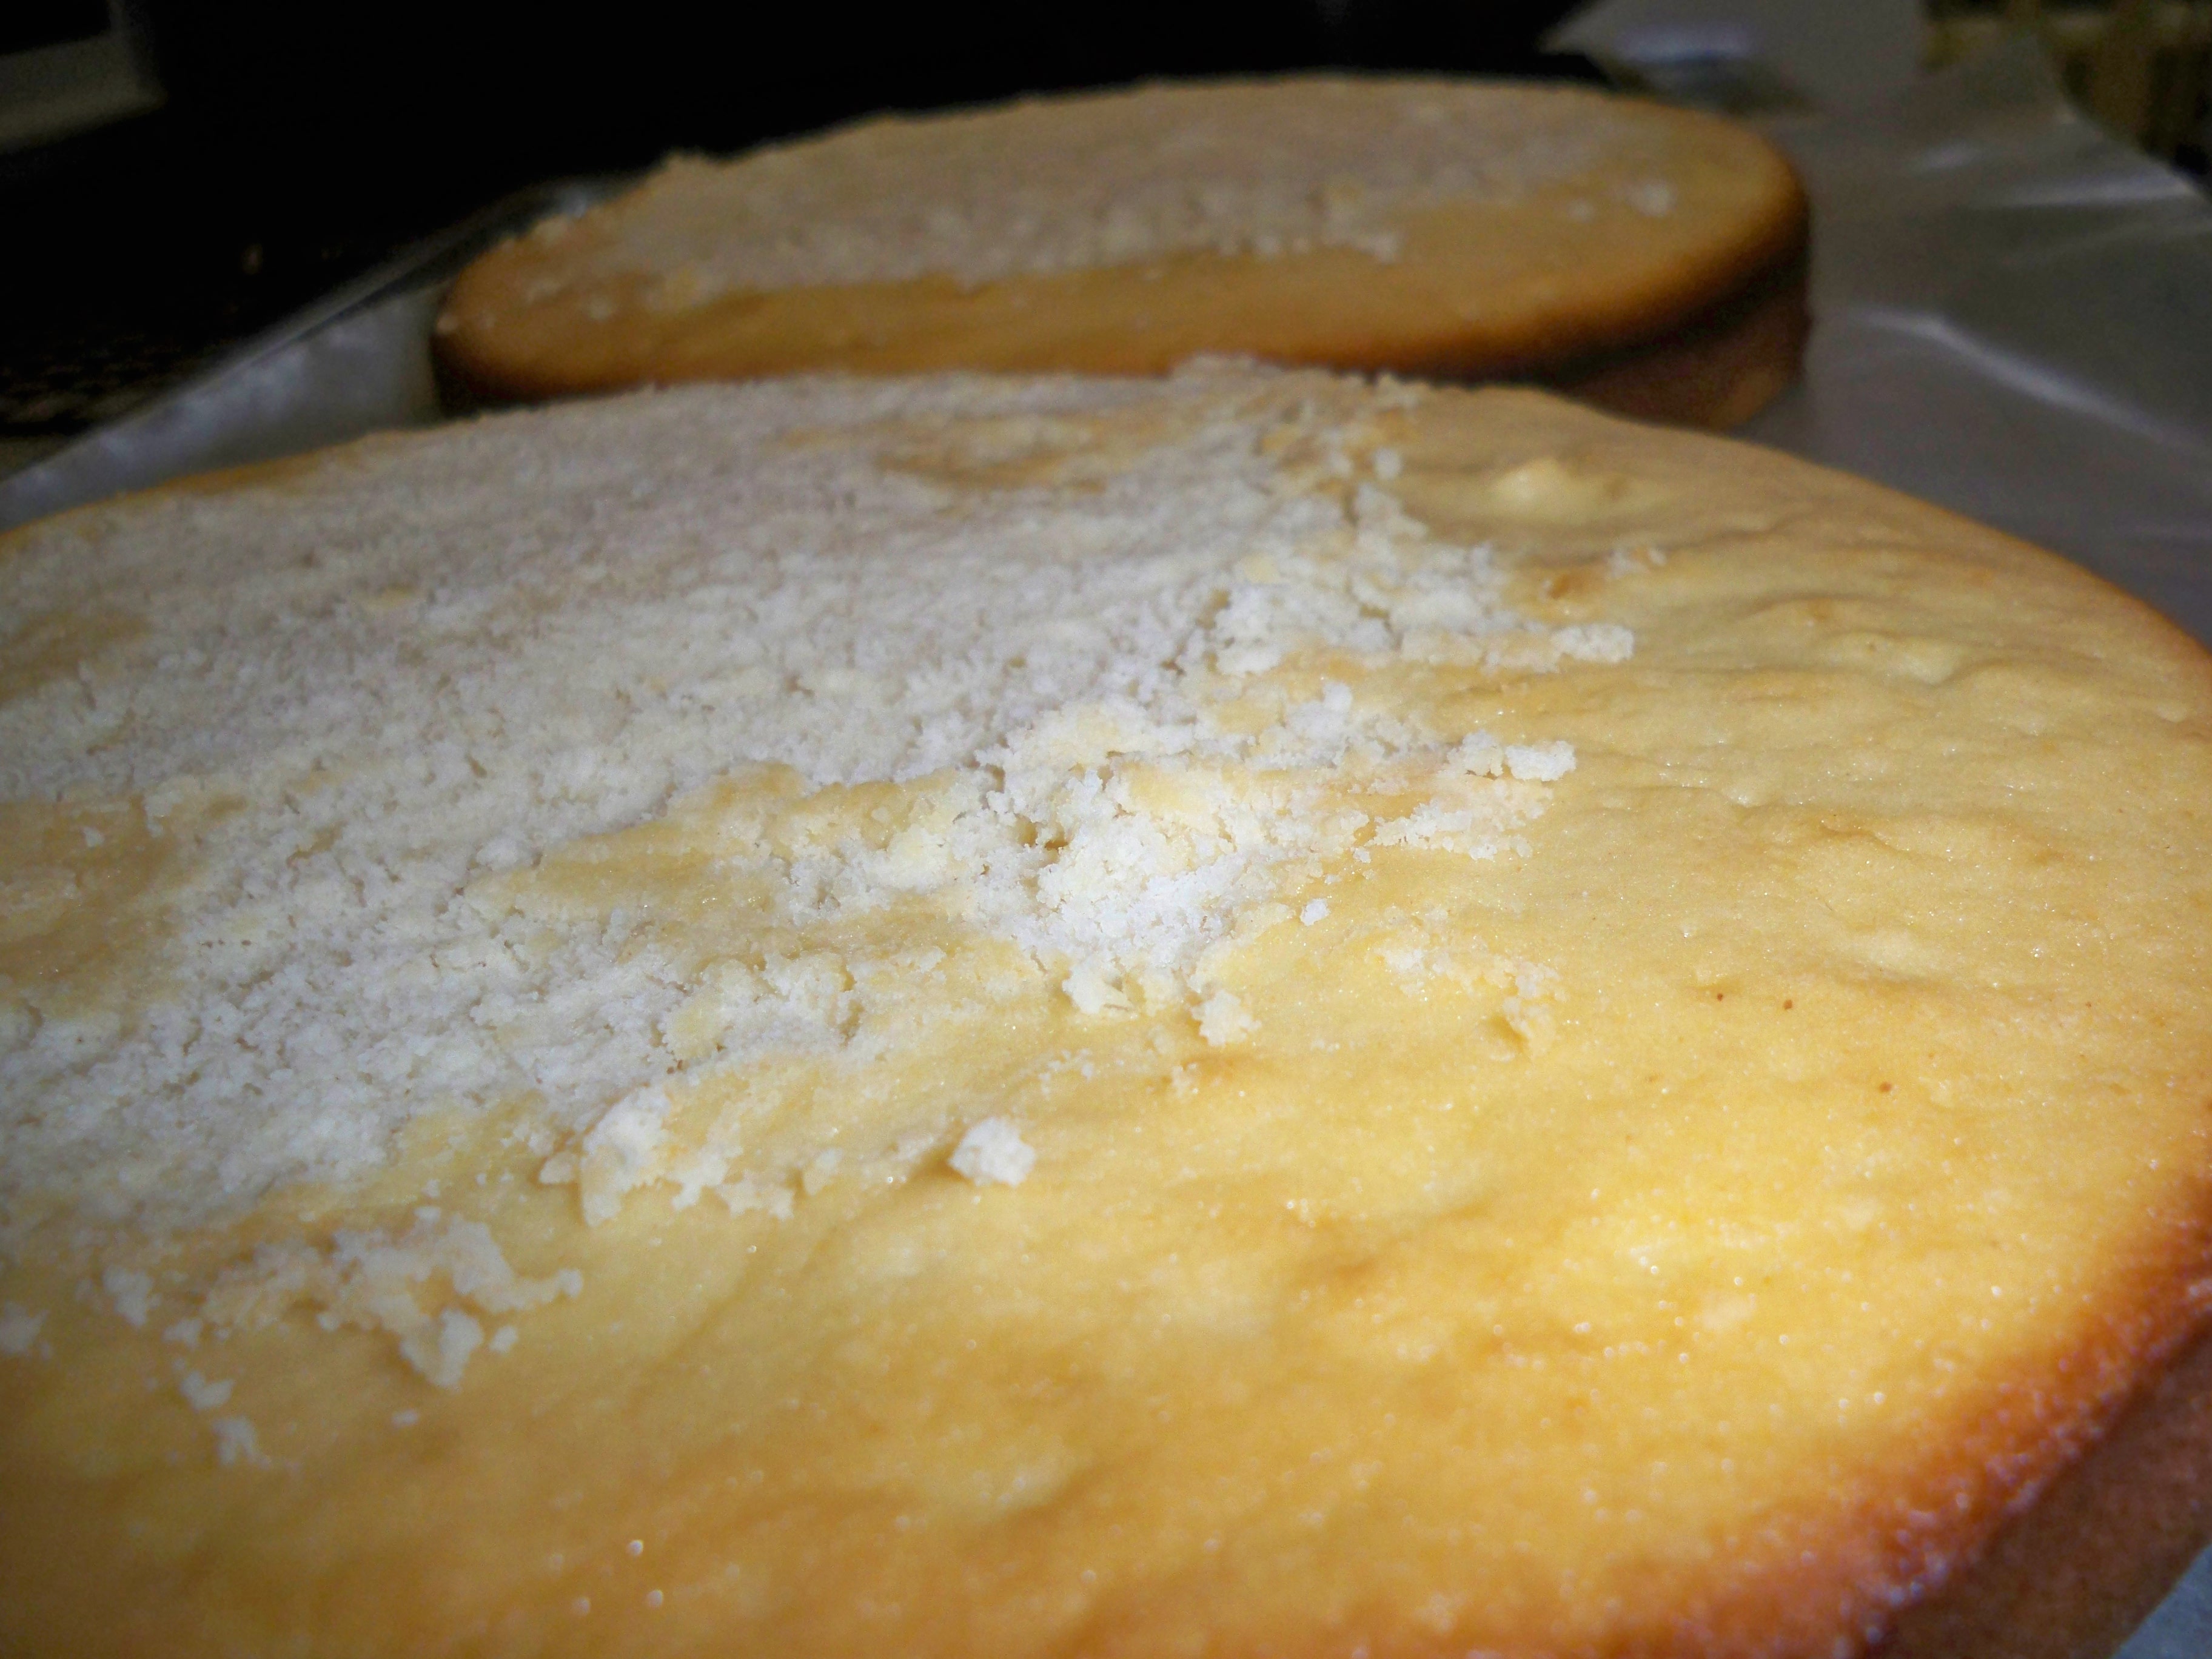
Here is a step that Mary and I ignored the first time we made this cake, but it turned out to be SO important. Level your white cakes! It will look so much better when you are done if you do this simple step.

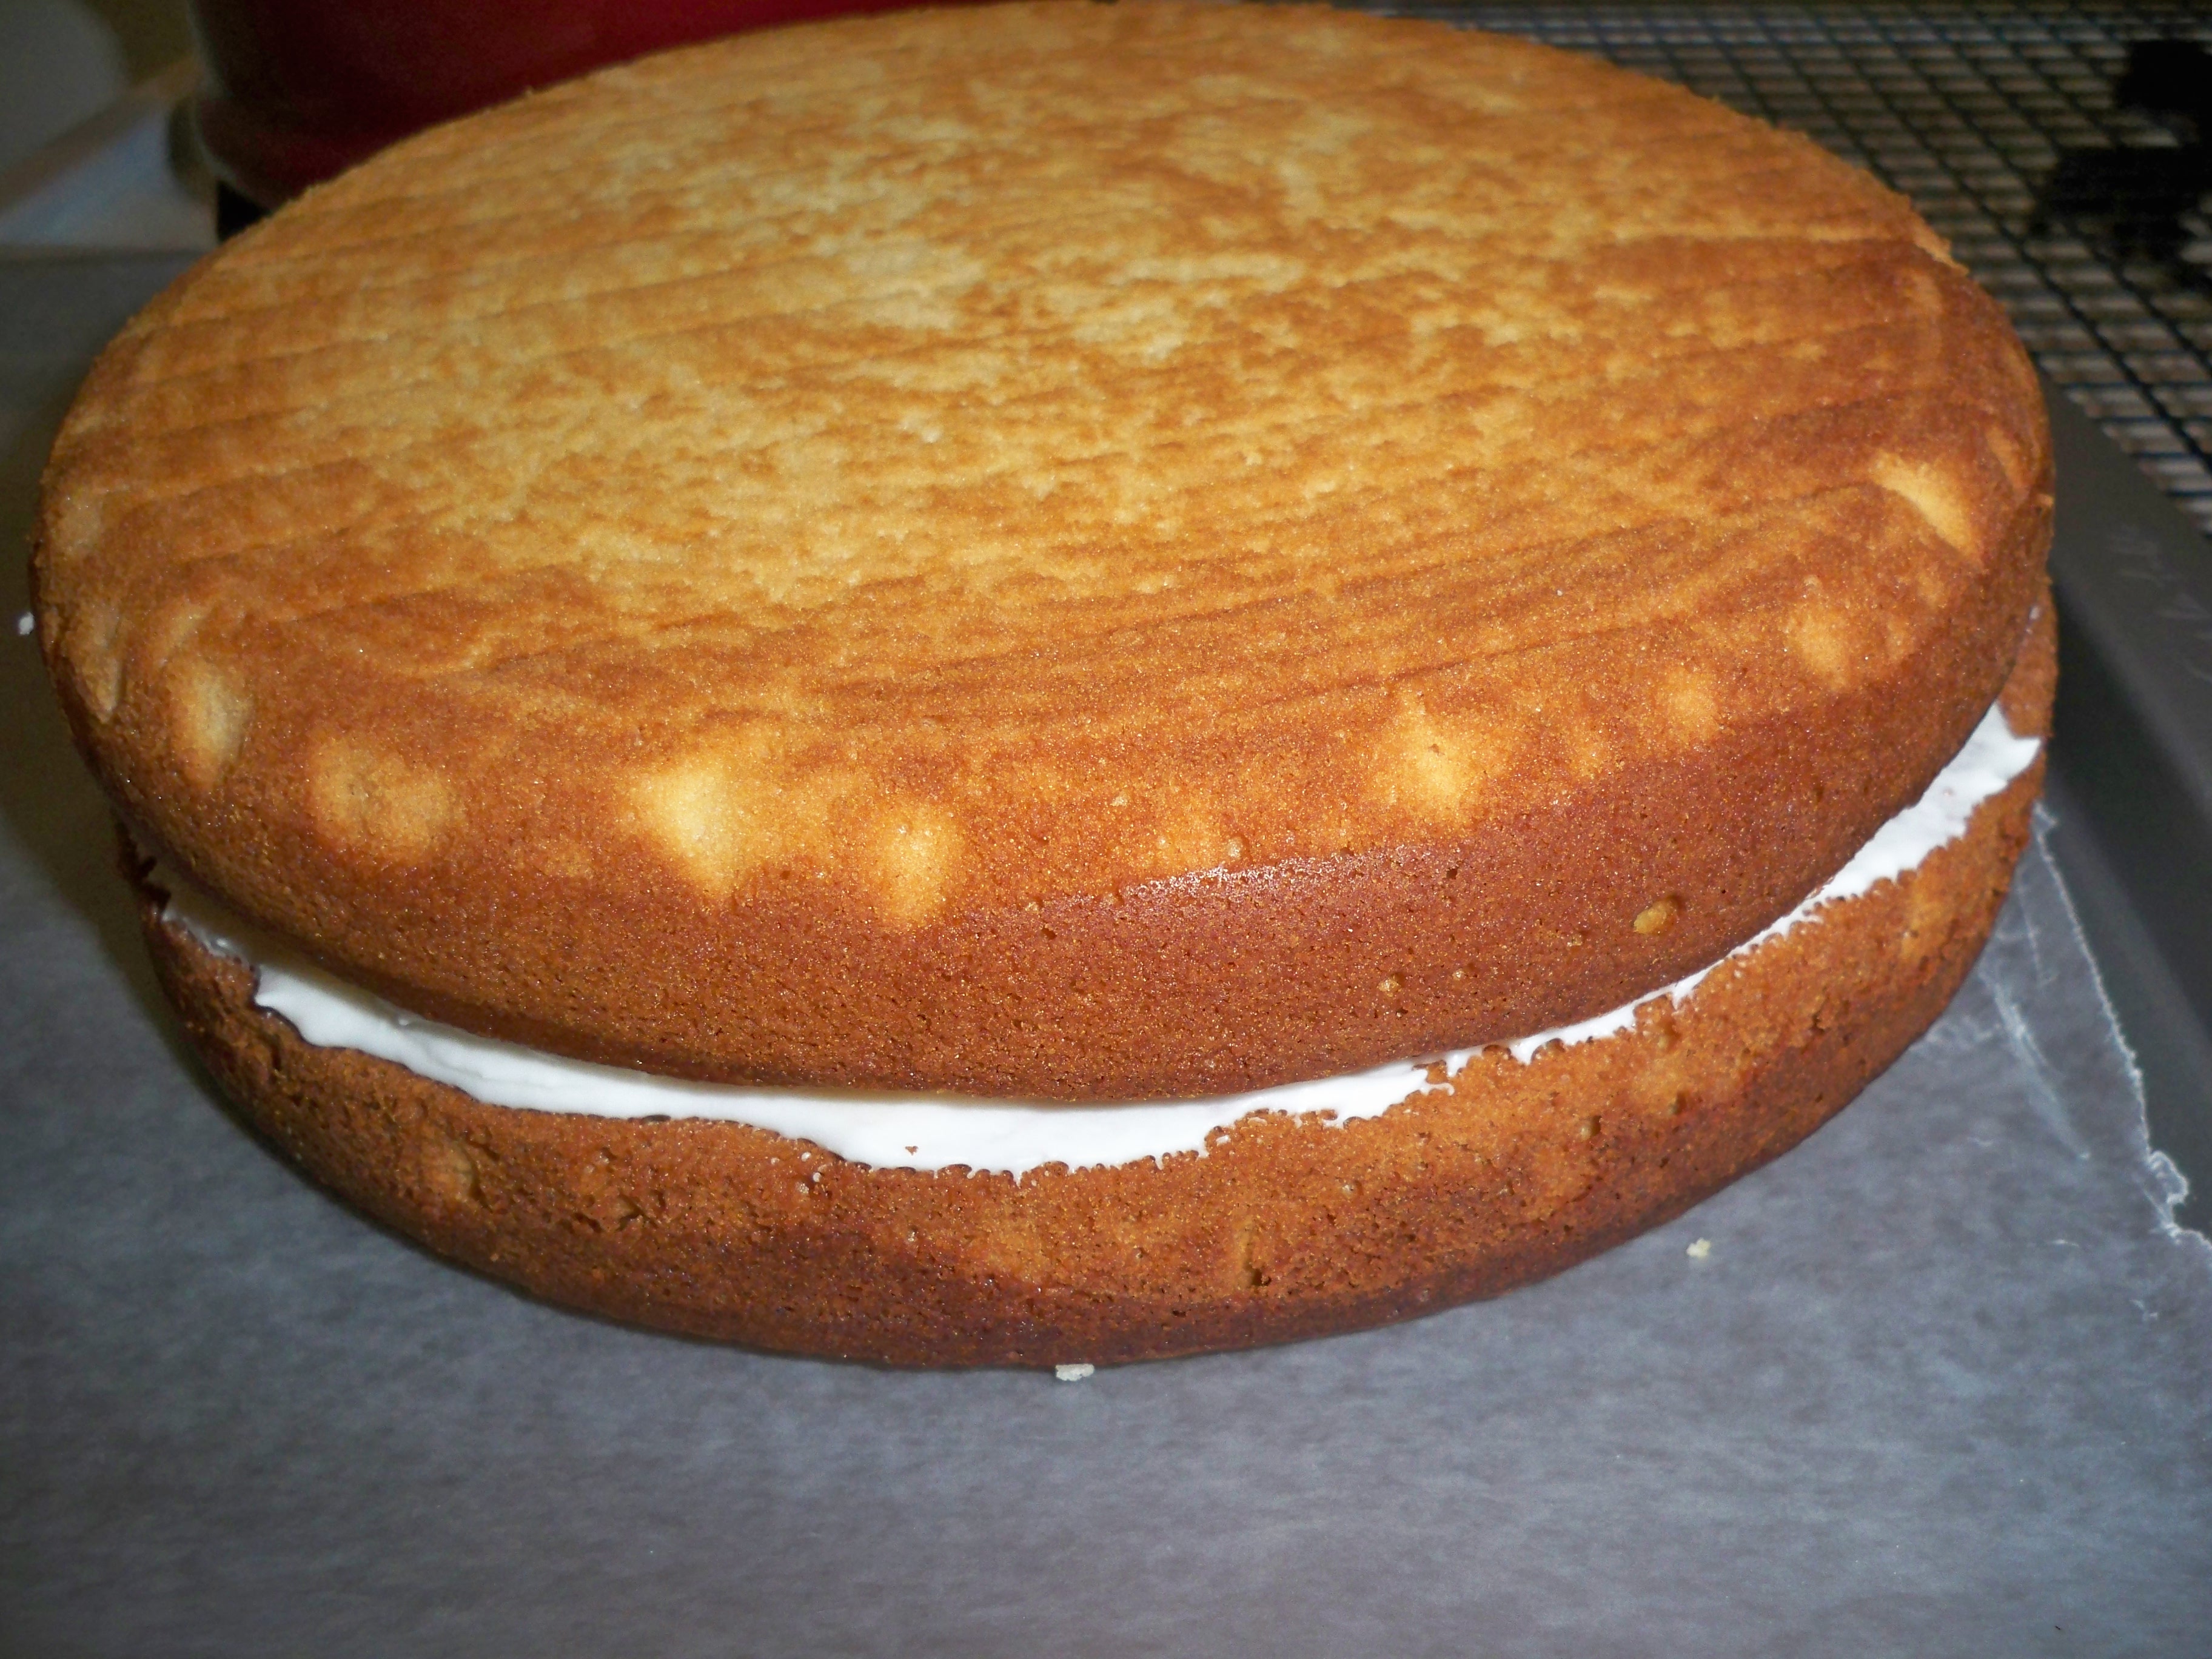
Stack your white cakes two and two together with frosting in between.

Stick the cakes in the freezer for about an hour. Meanwhile, break up your red velvet cake and pull out the best and most vibrantly red parts.

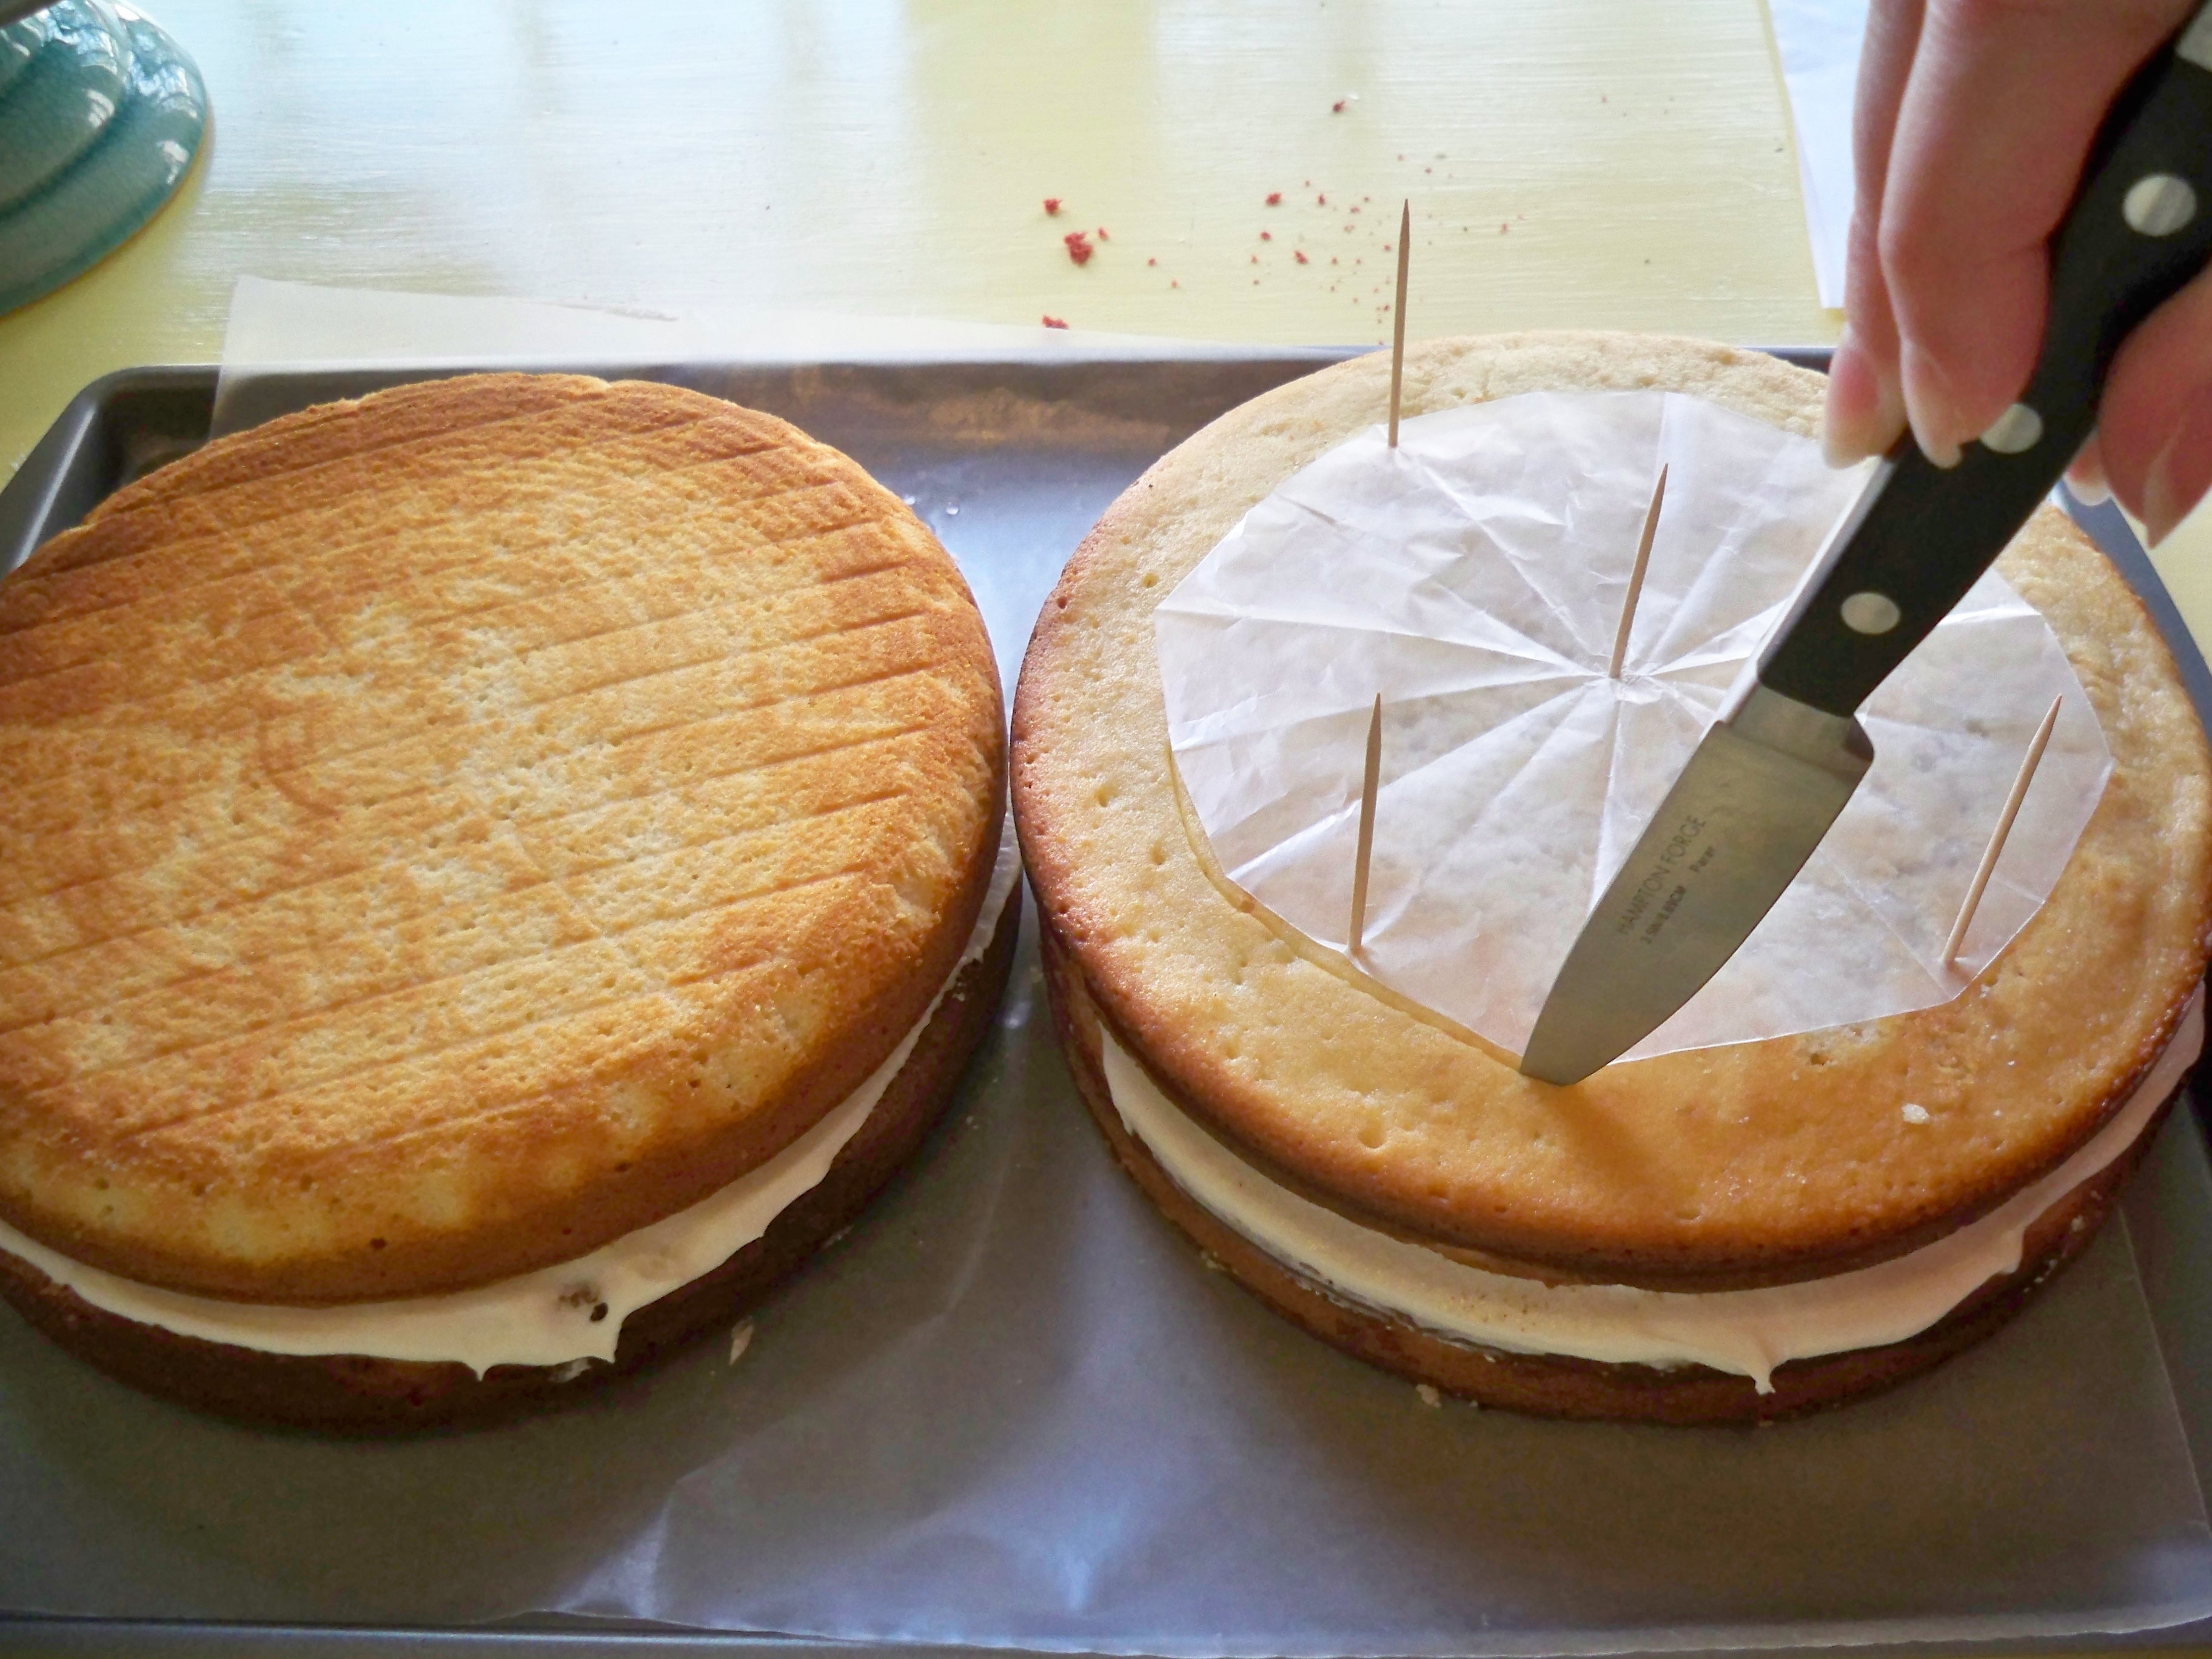
Cut a circle out of wax paper as a guide for the size of your heart in the middle of your cake.

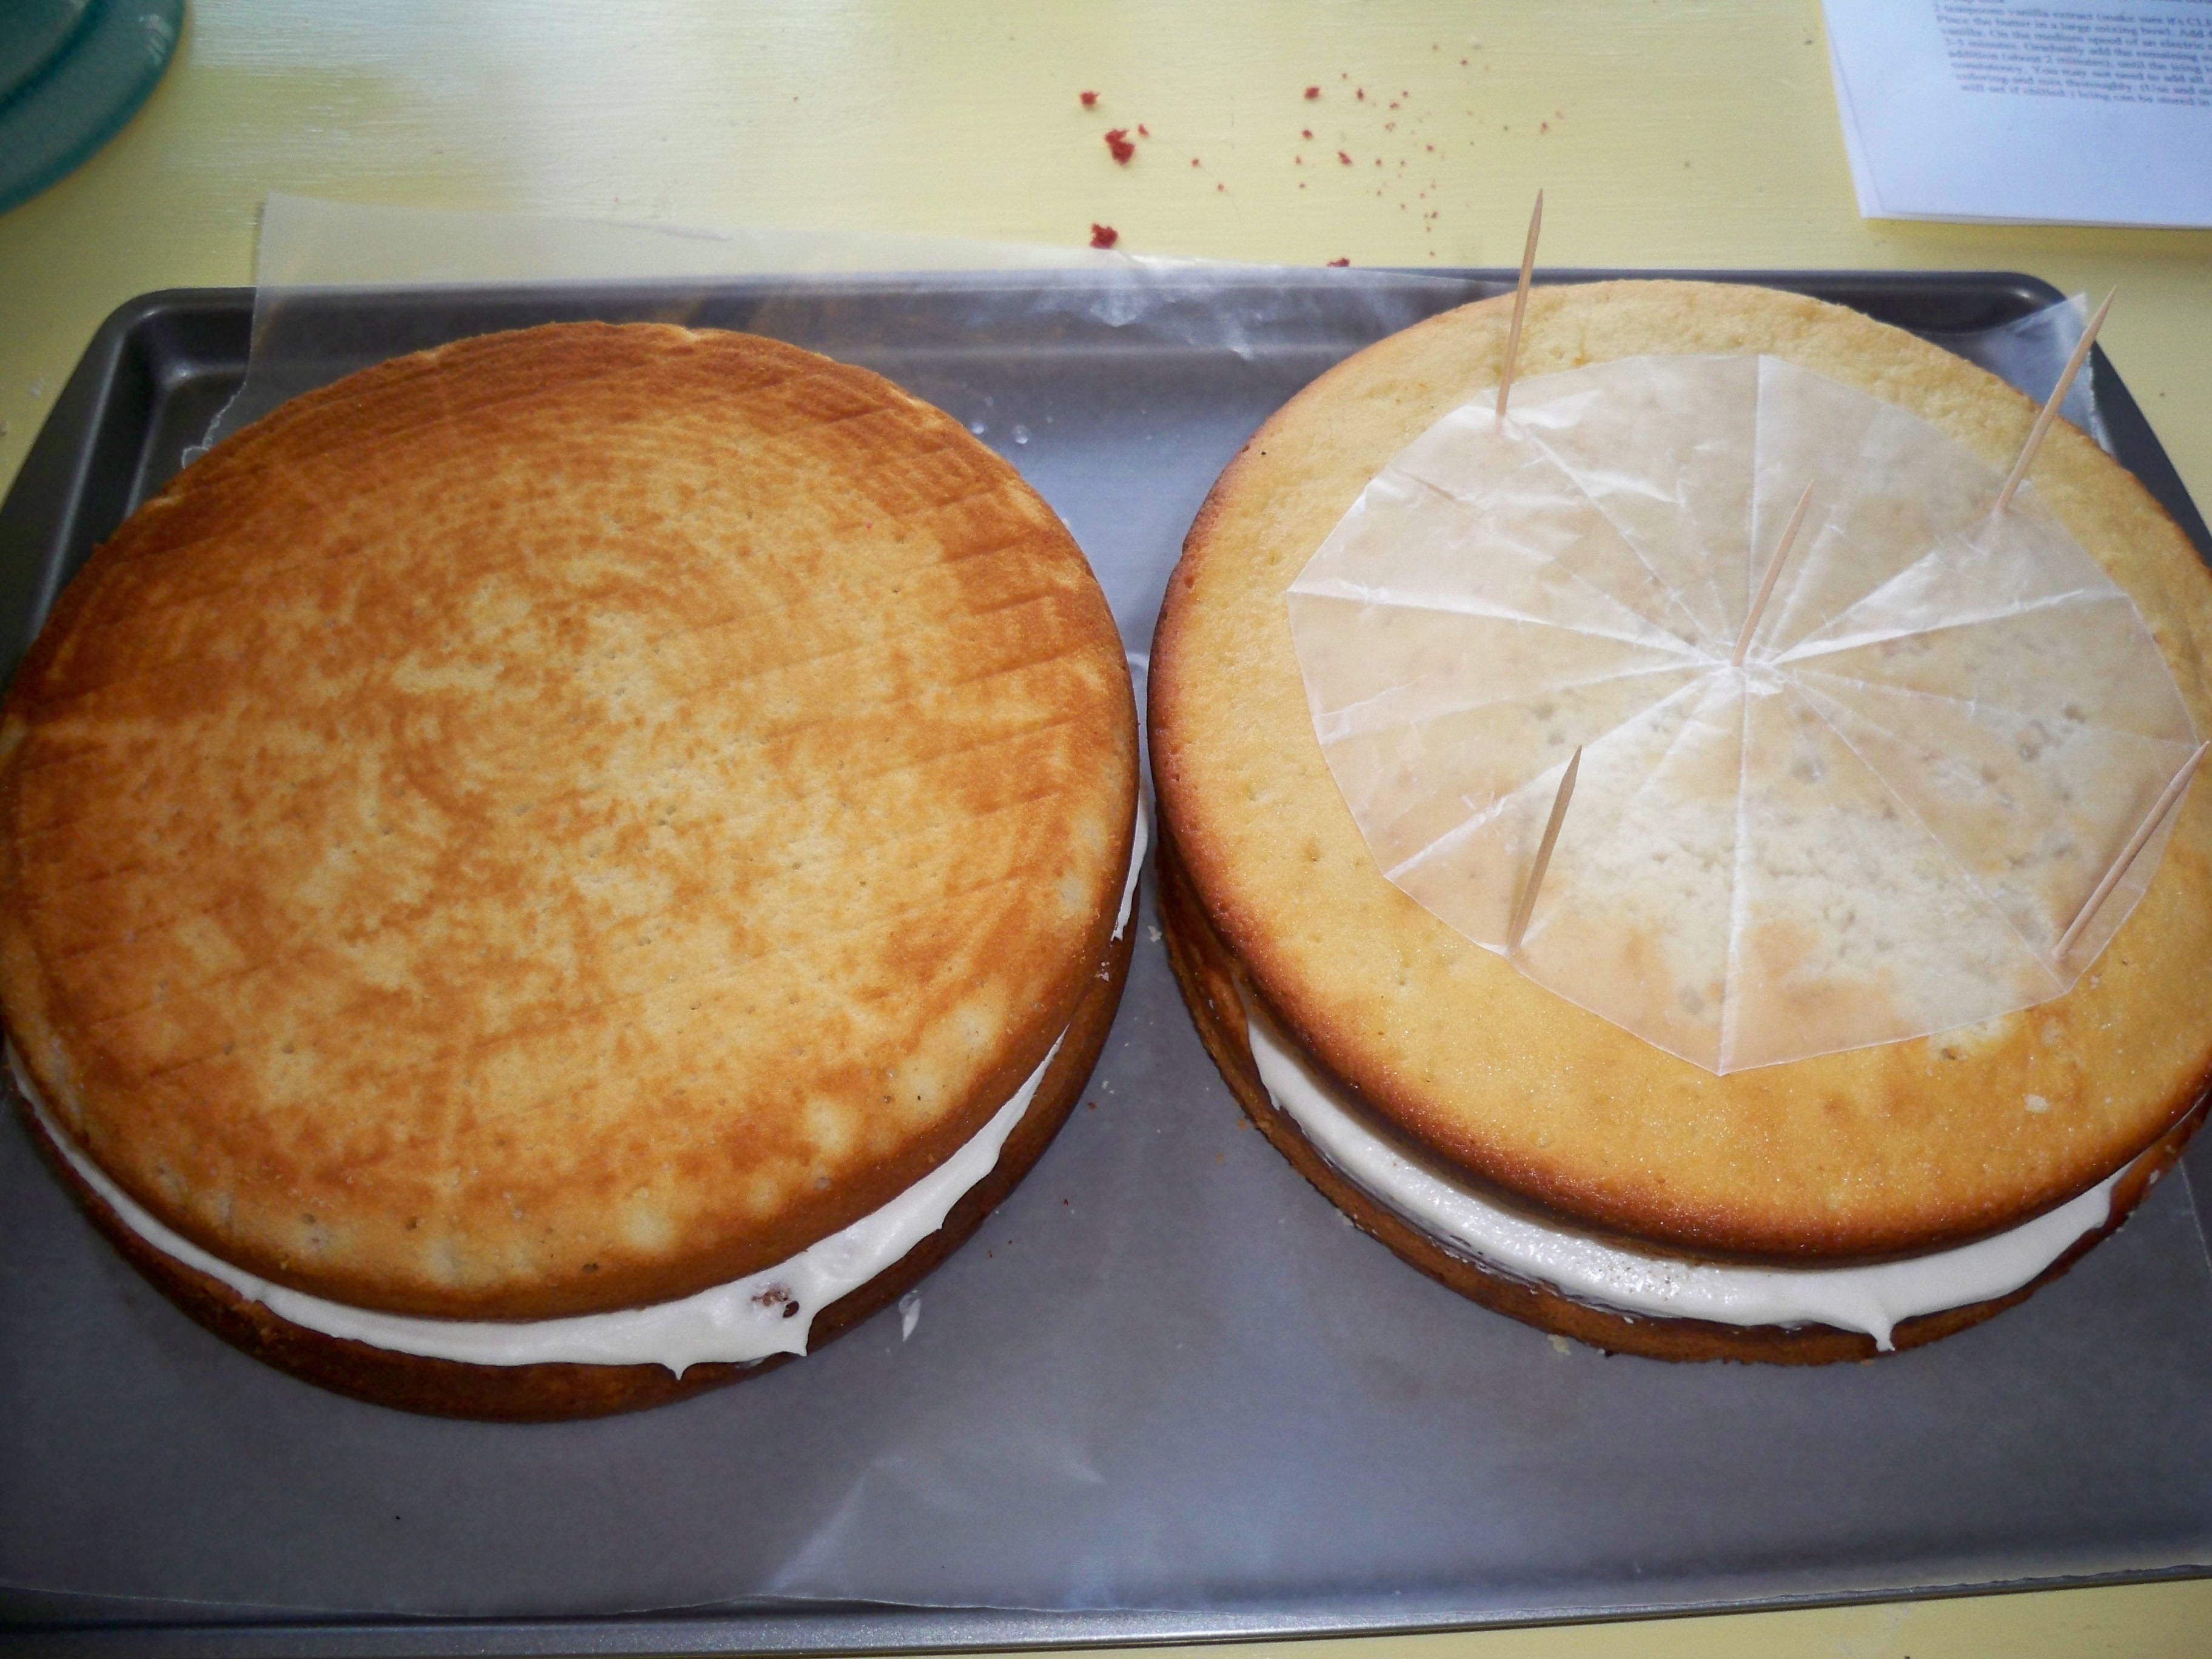
Run a knife around the edges as a guide for the size of your heart. It is important that both cakes have the same size circle so the heart will match up.

In one cake, carve out a V with the point in the center of the cake. The edges should slope down to the V in order to form the bottom of the heart.

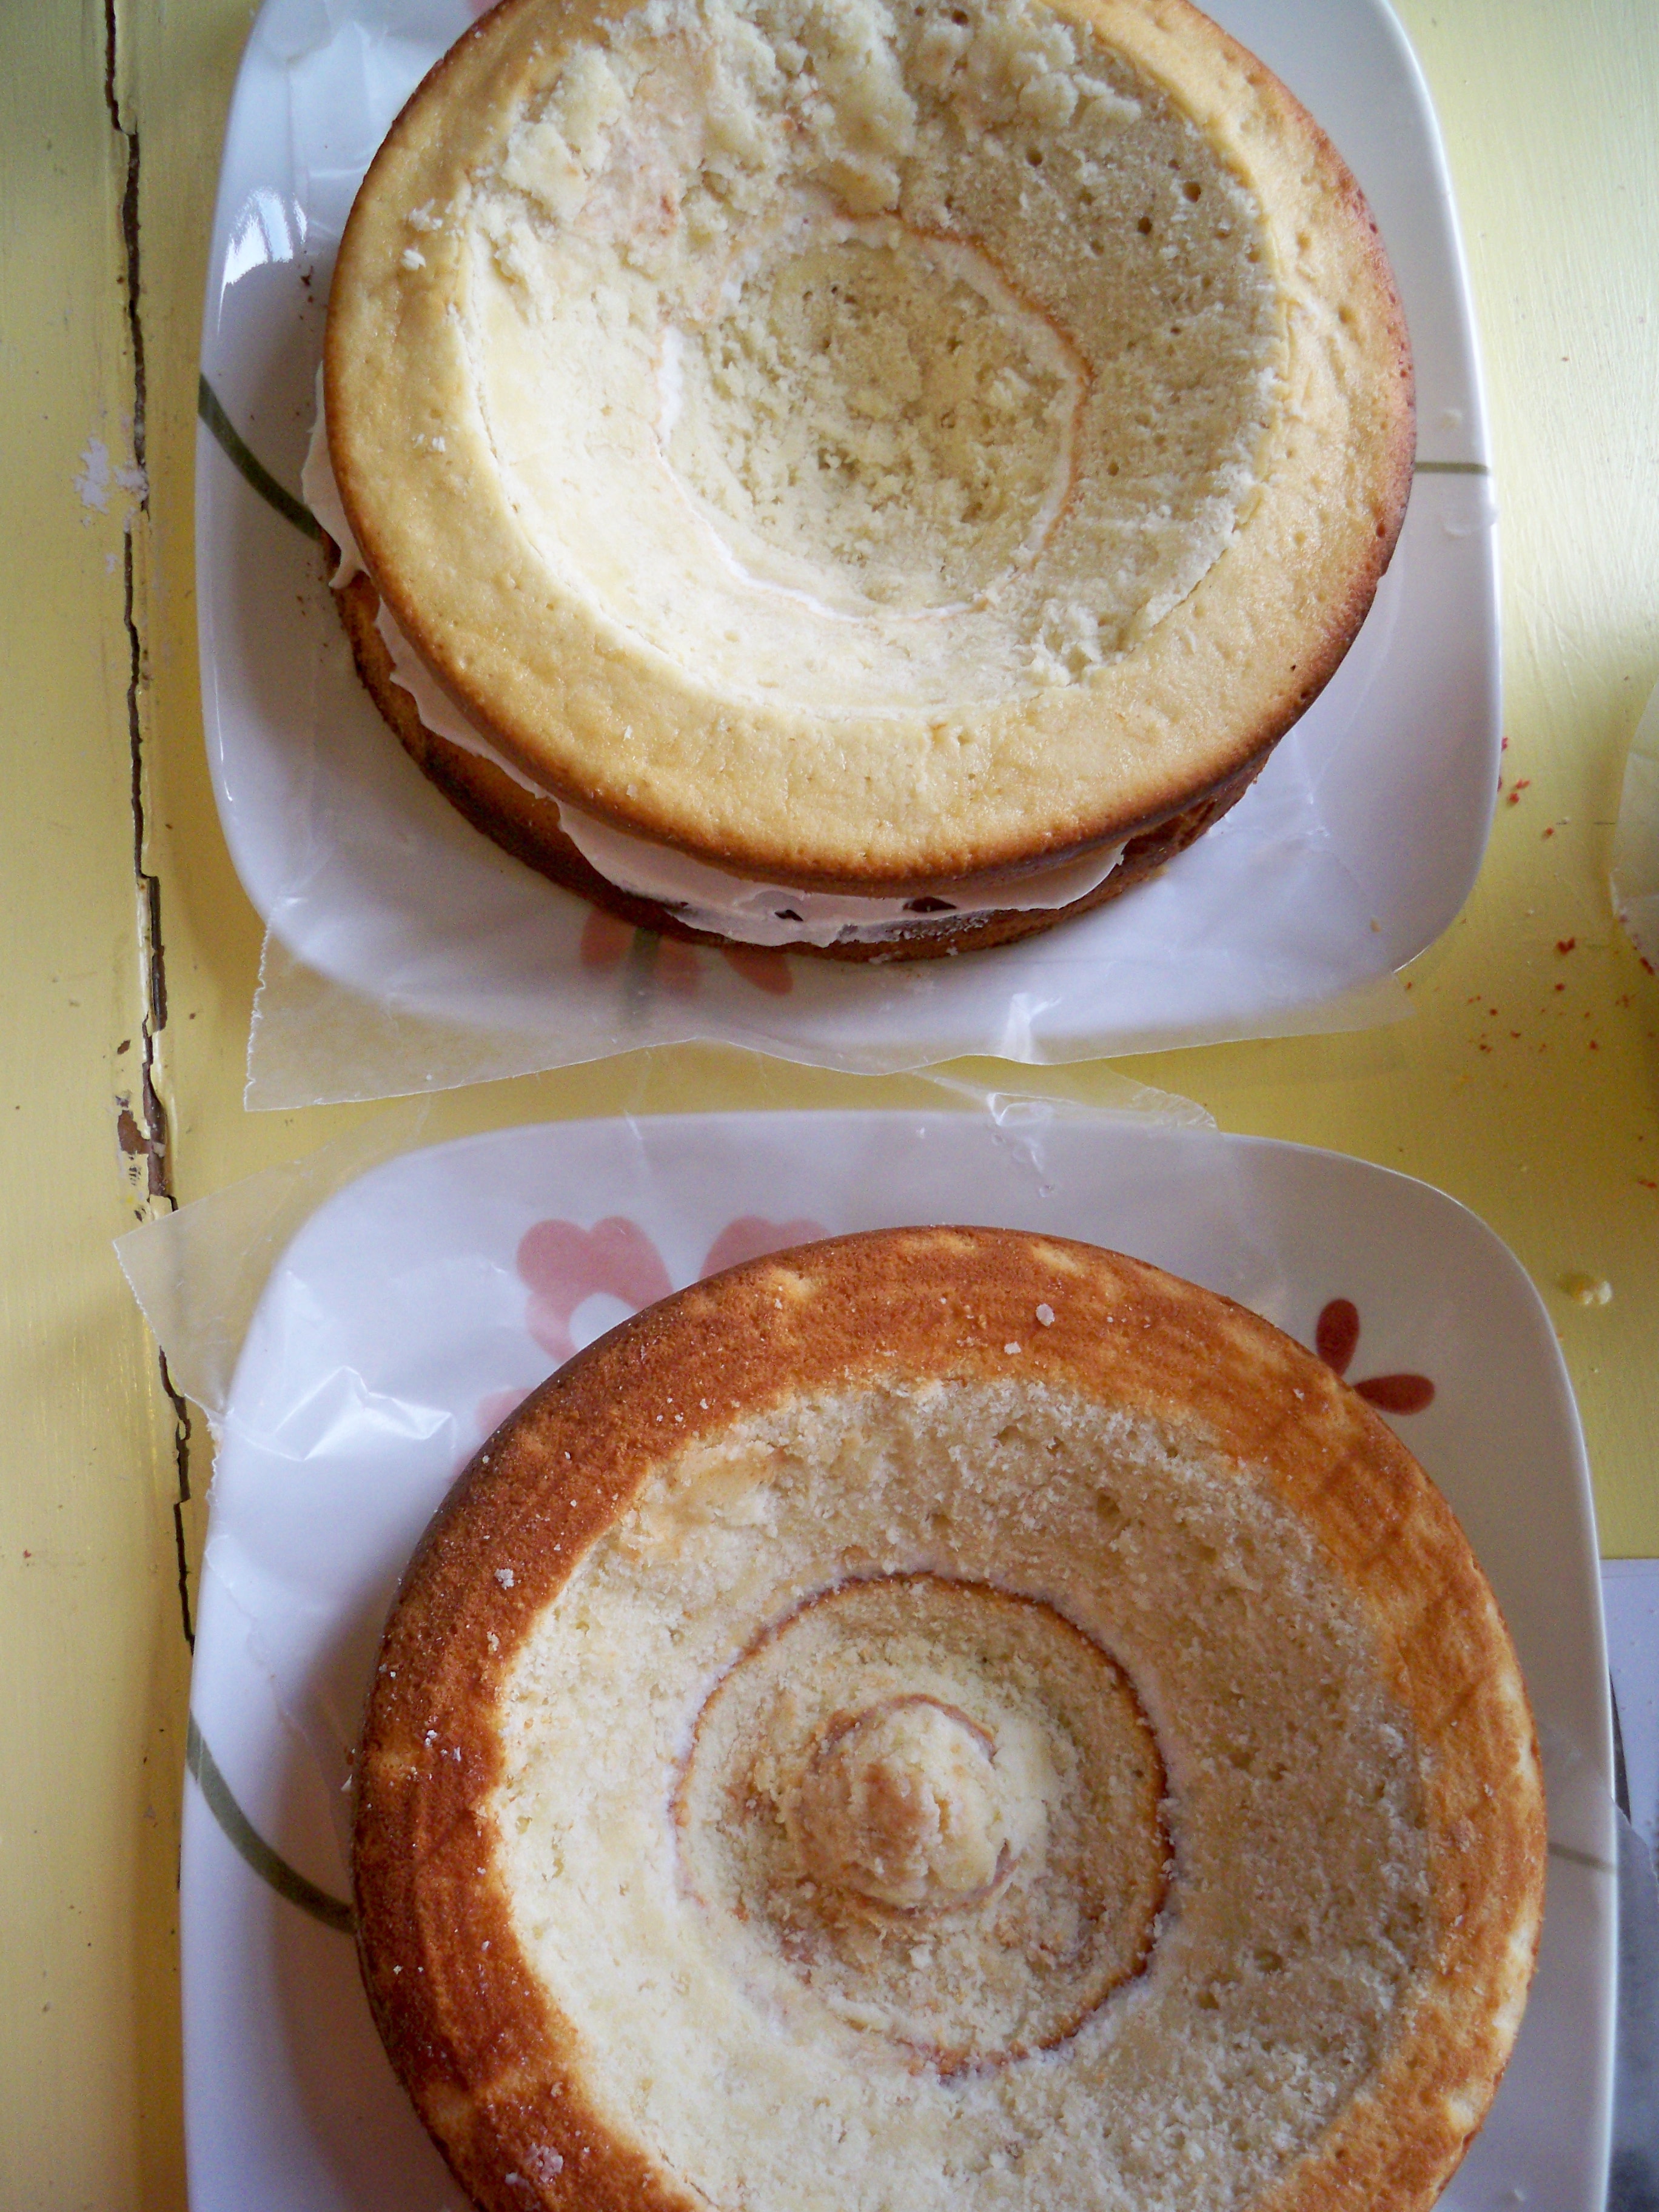
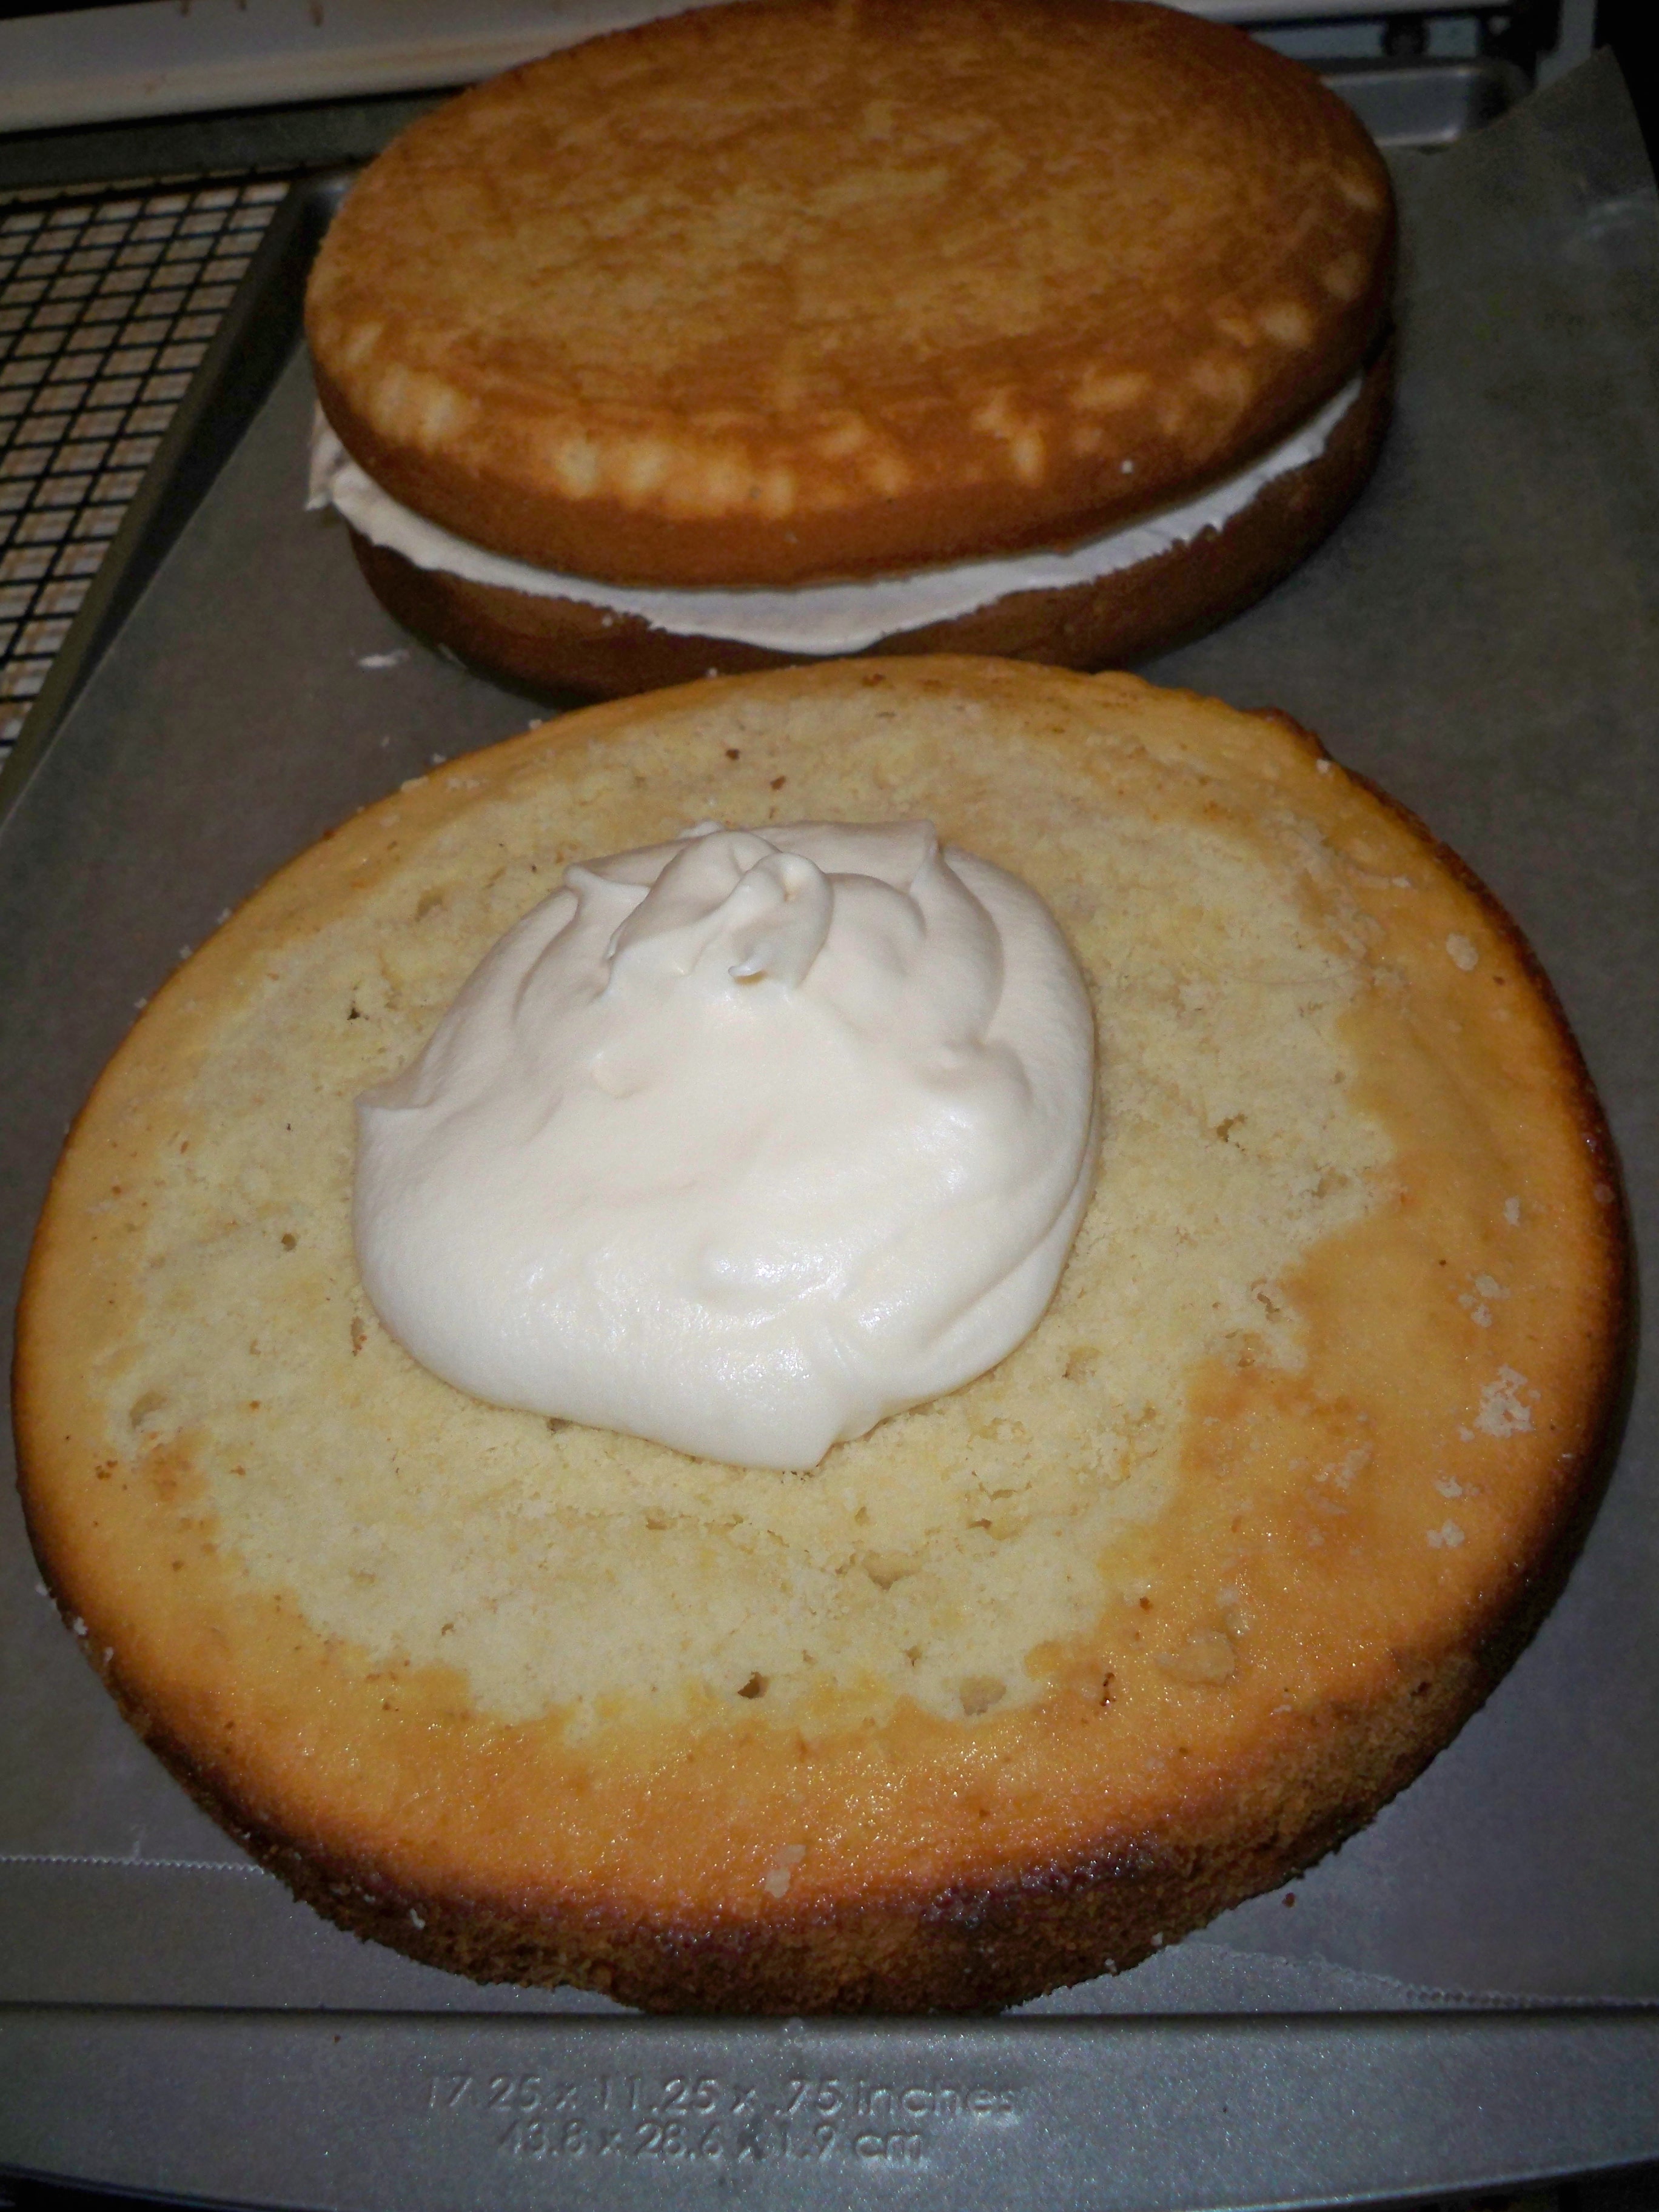
In your other stack of two cakes, carve out sloped edges, but leave a little pointed mound in the middle. This will be the top of the heart.

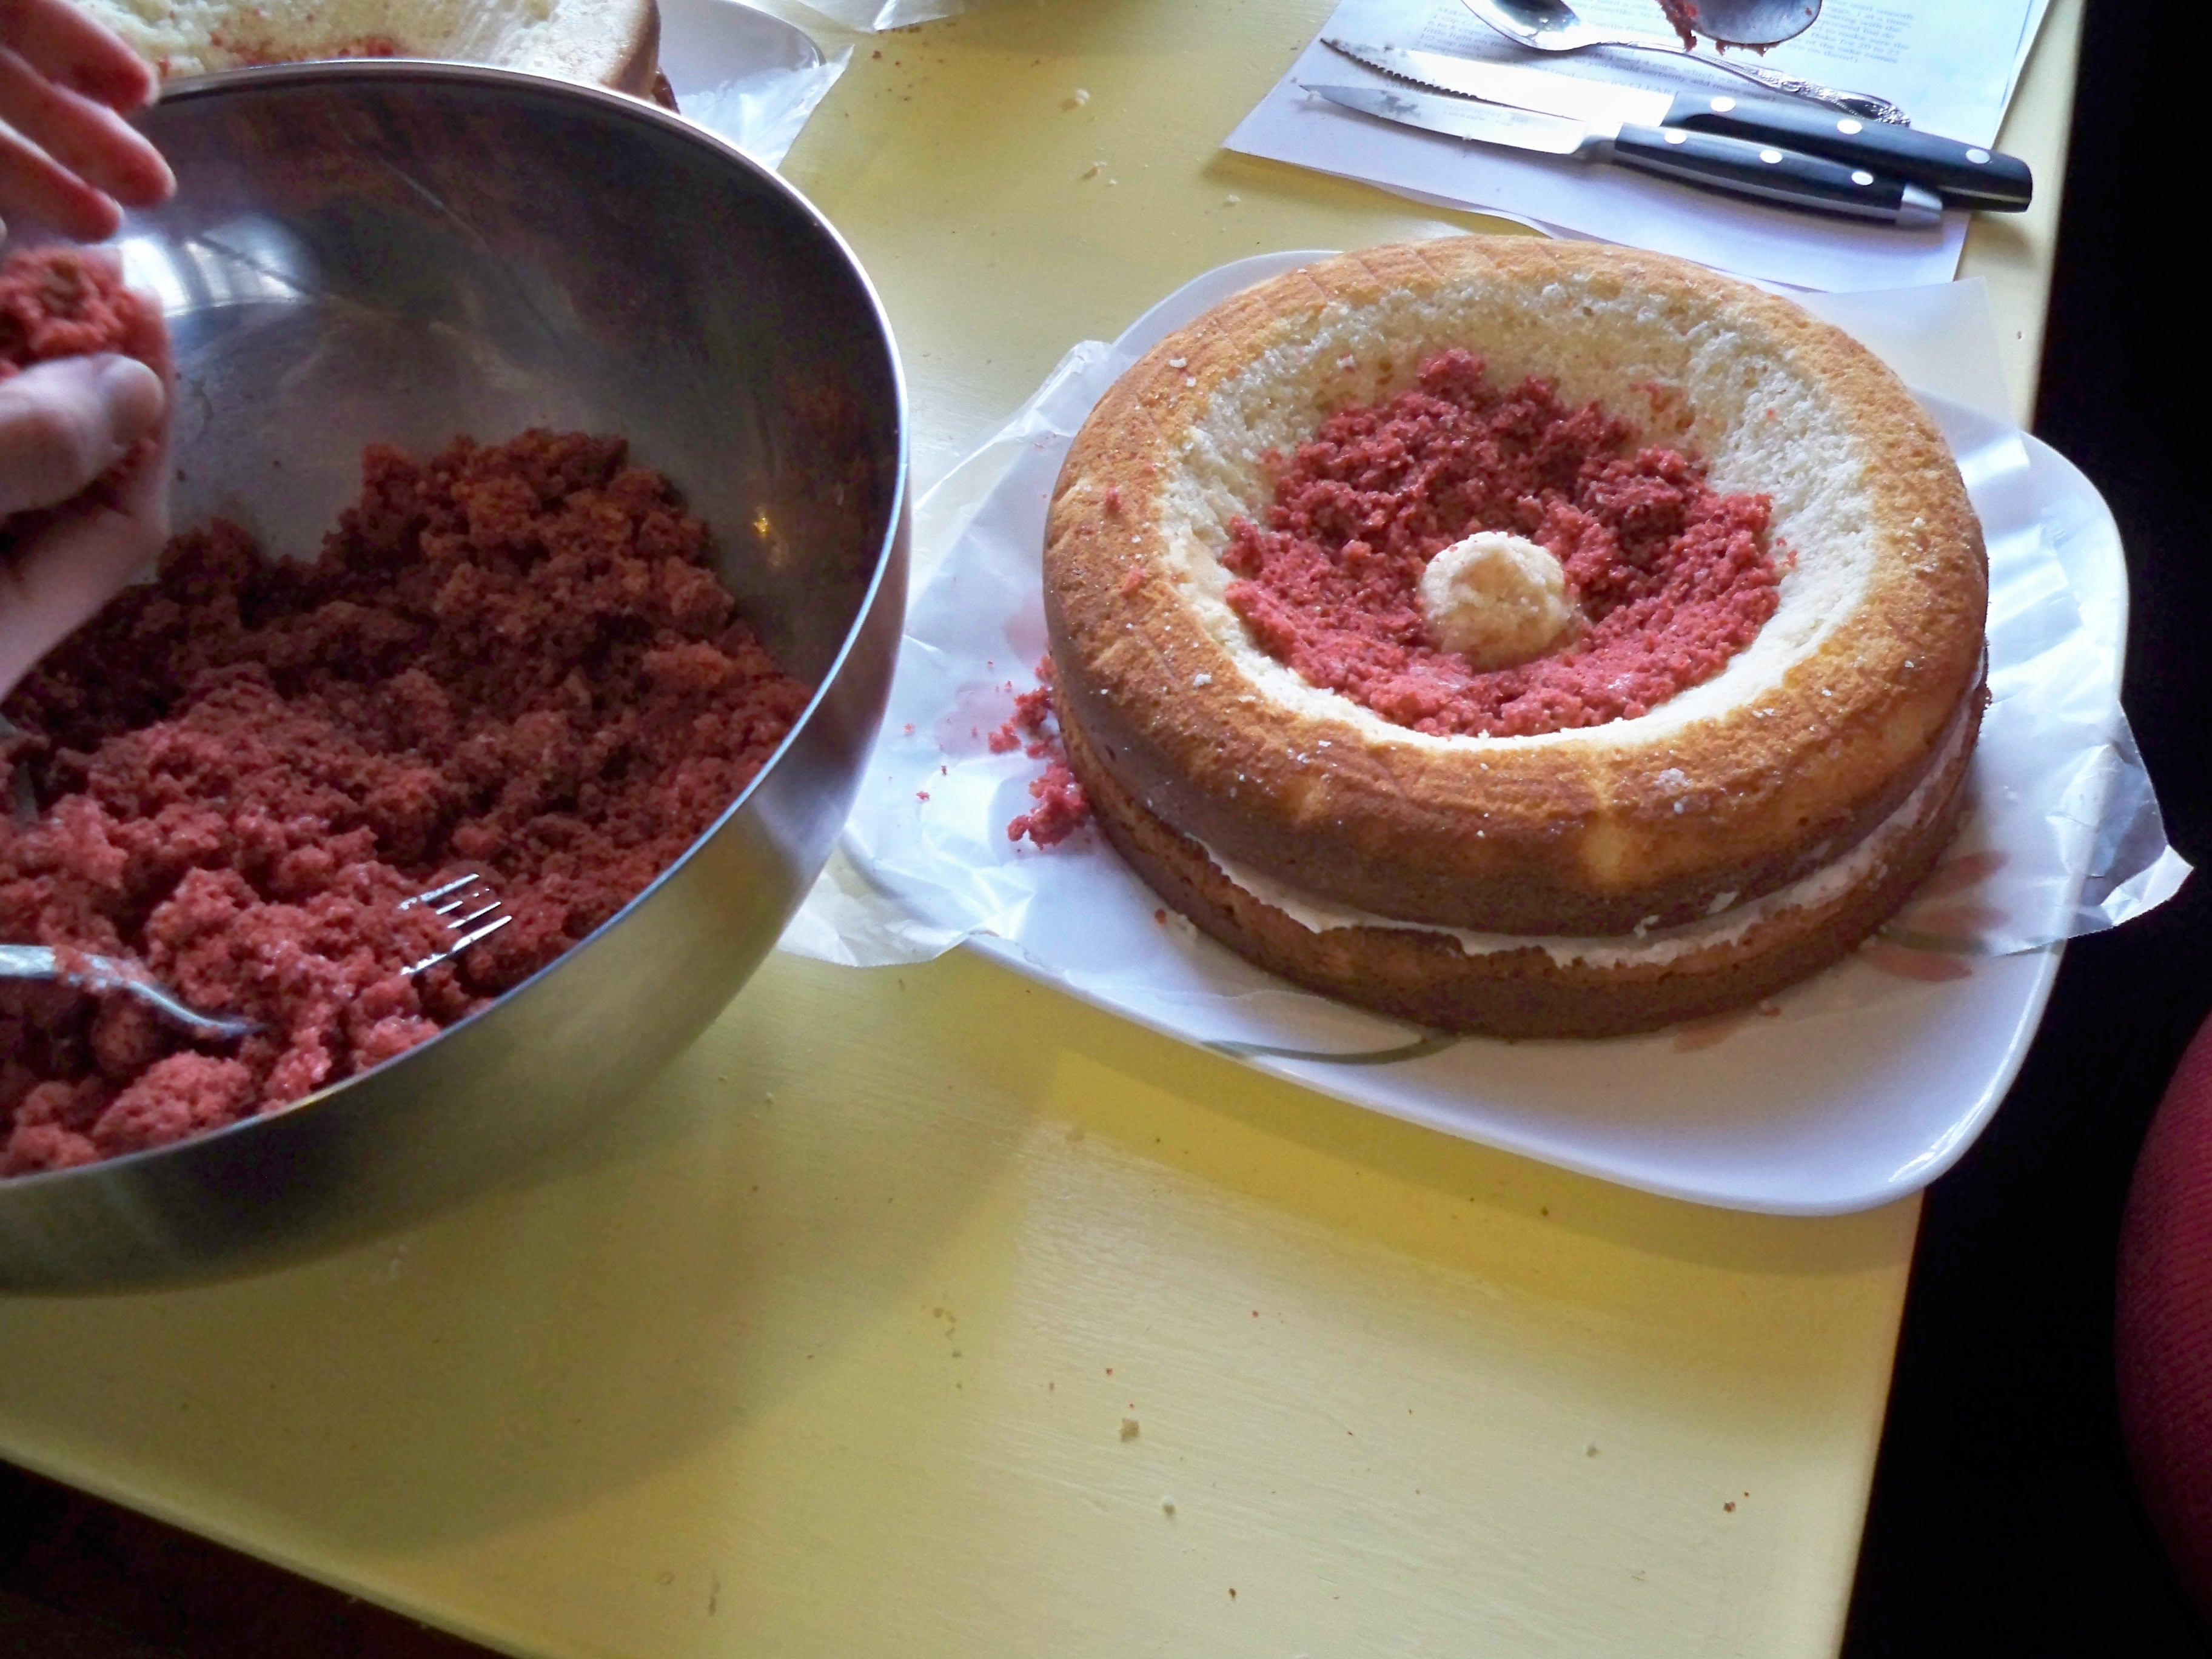
Fill your cakes with the mashed up red velvet cake. Mary and I mixed our red velvet cake with a small amount of frosting to keep it together, as last year it was rather crumbly.

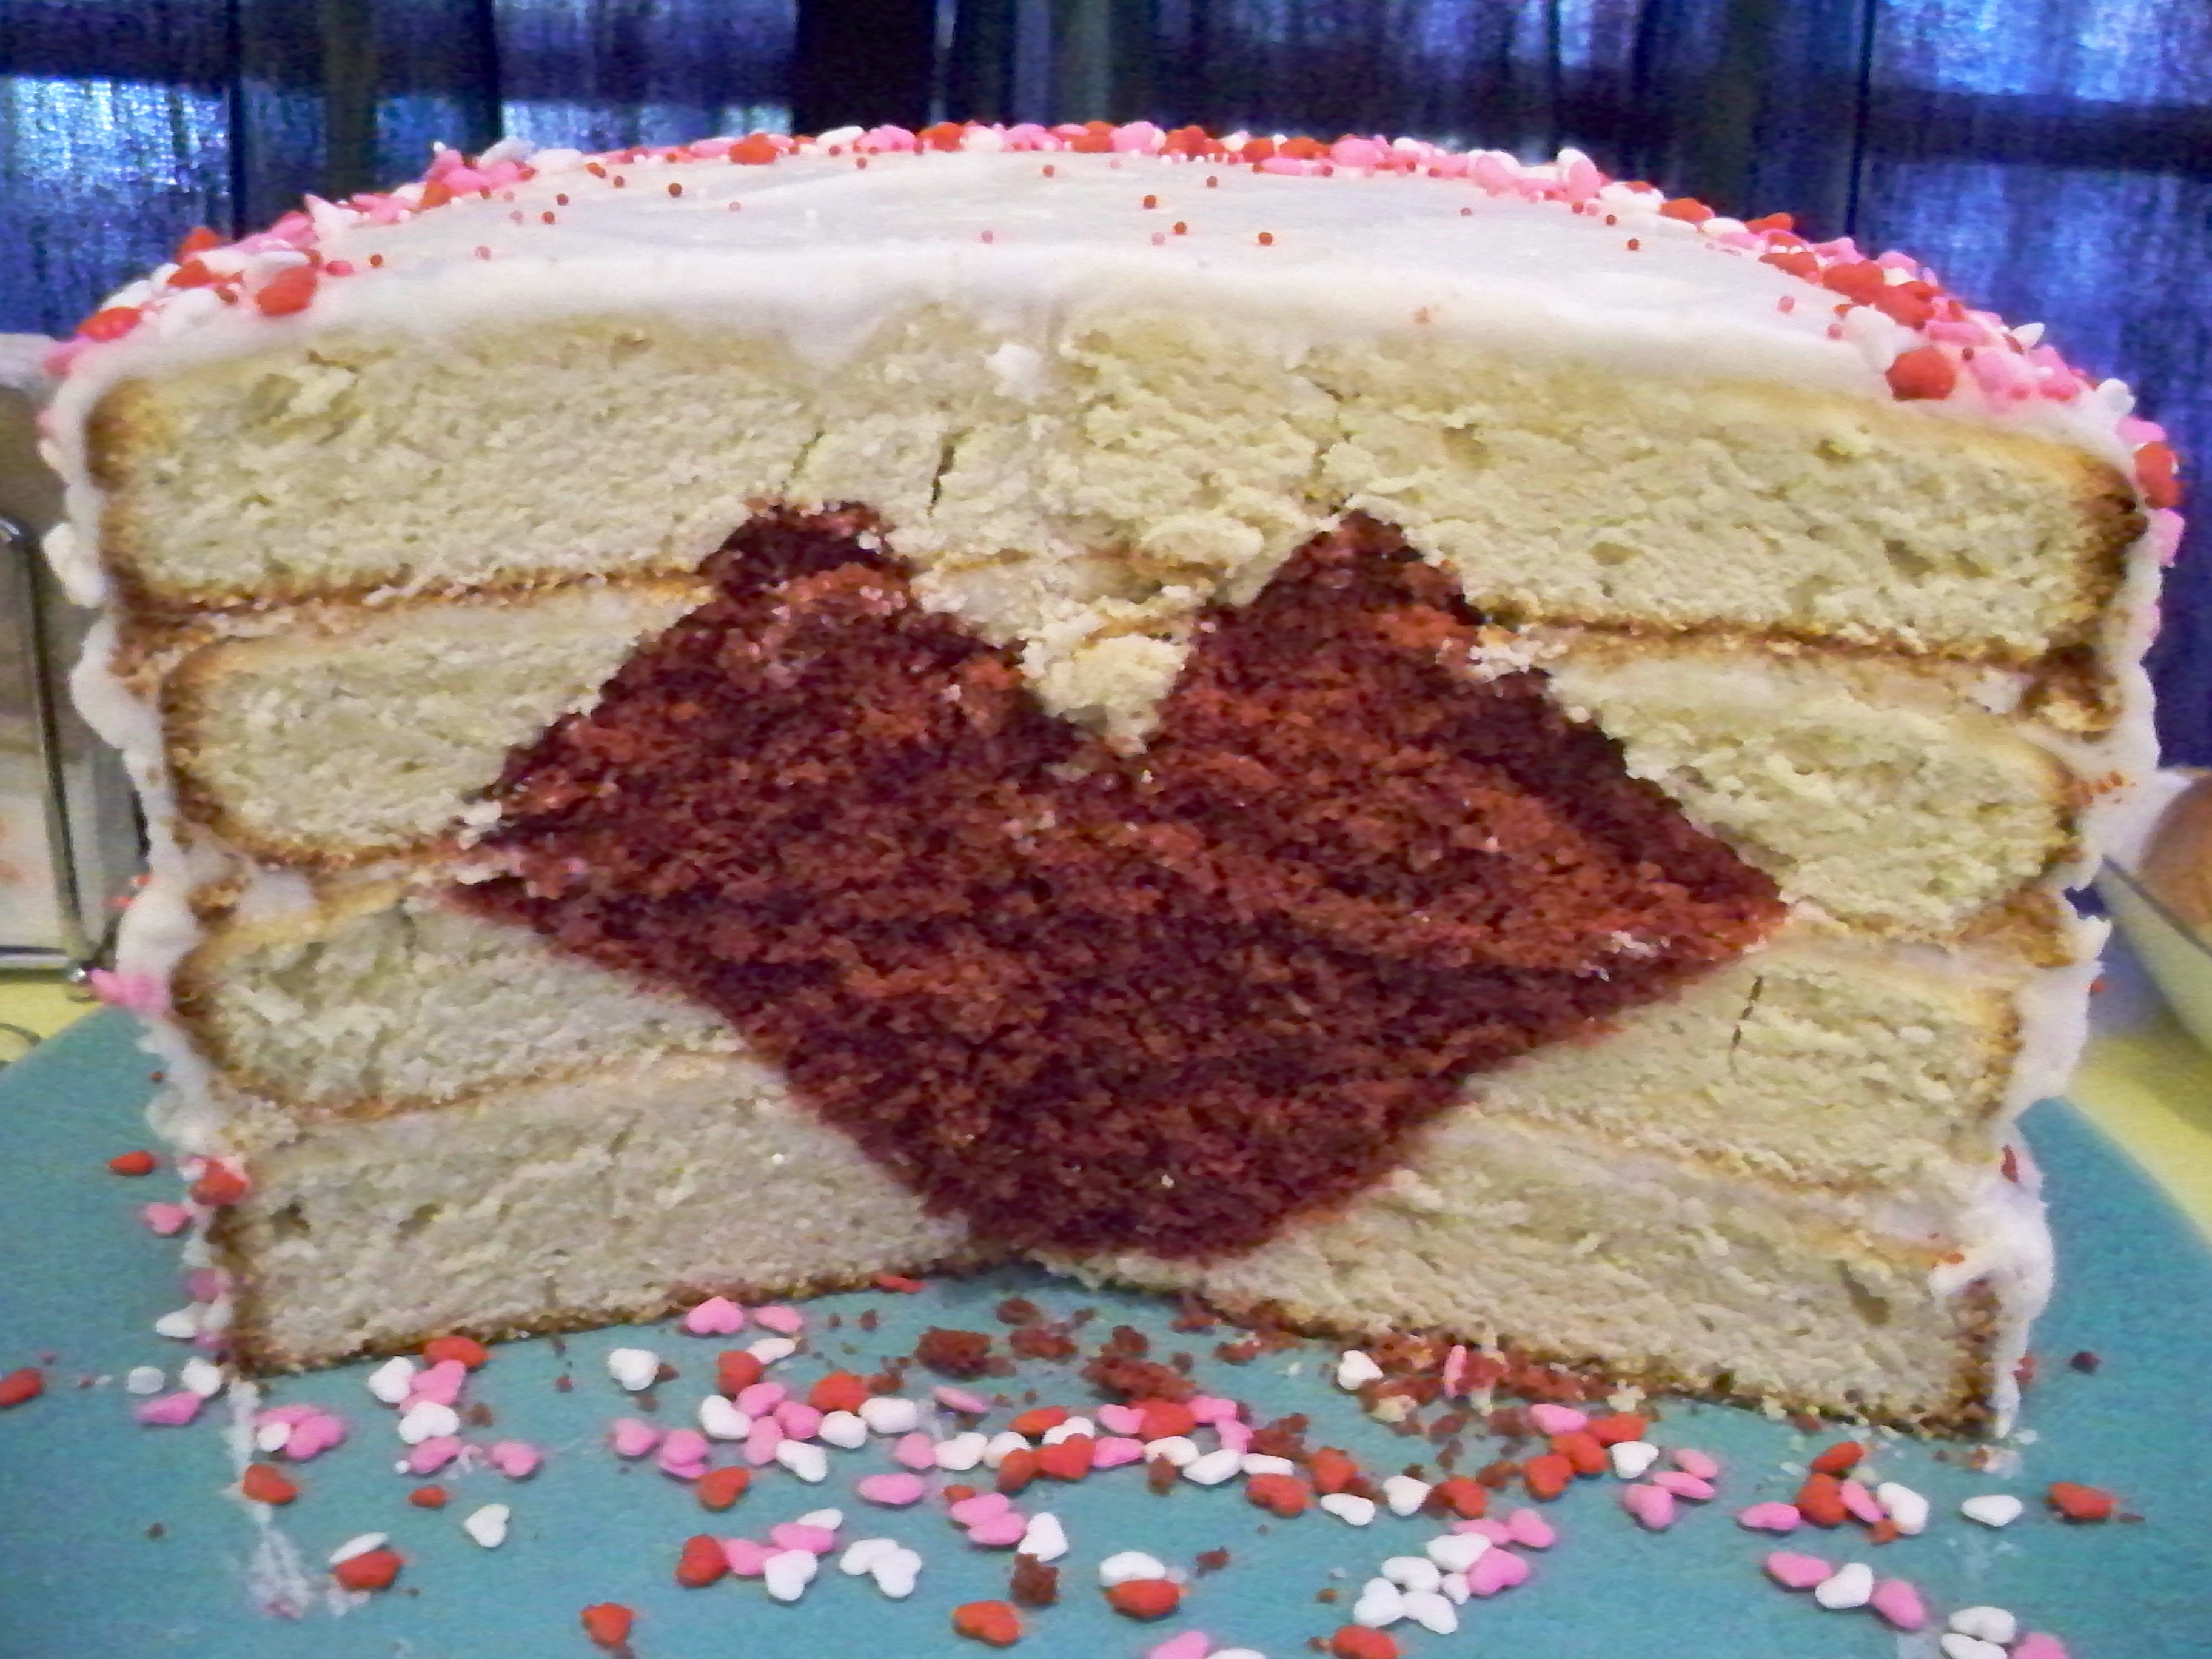
Put the cakes in the freezer again to firm up. Don’t forget which one is the bottom and which one is the top. Once they have firmed up for about 30 minutes, stack the top cake on the bottom cake. Frost and decorate to your liking. Cut into your lovely cake, and voila! A heart has been baked into the center.

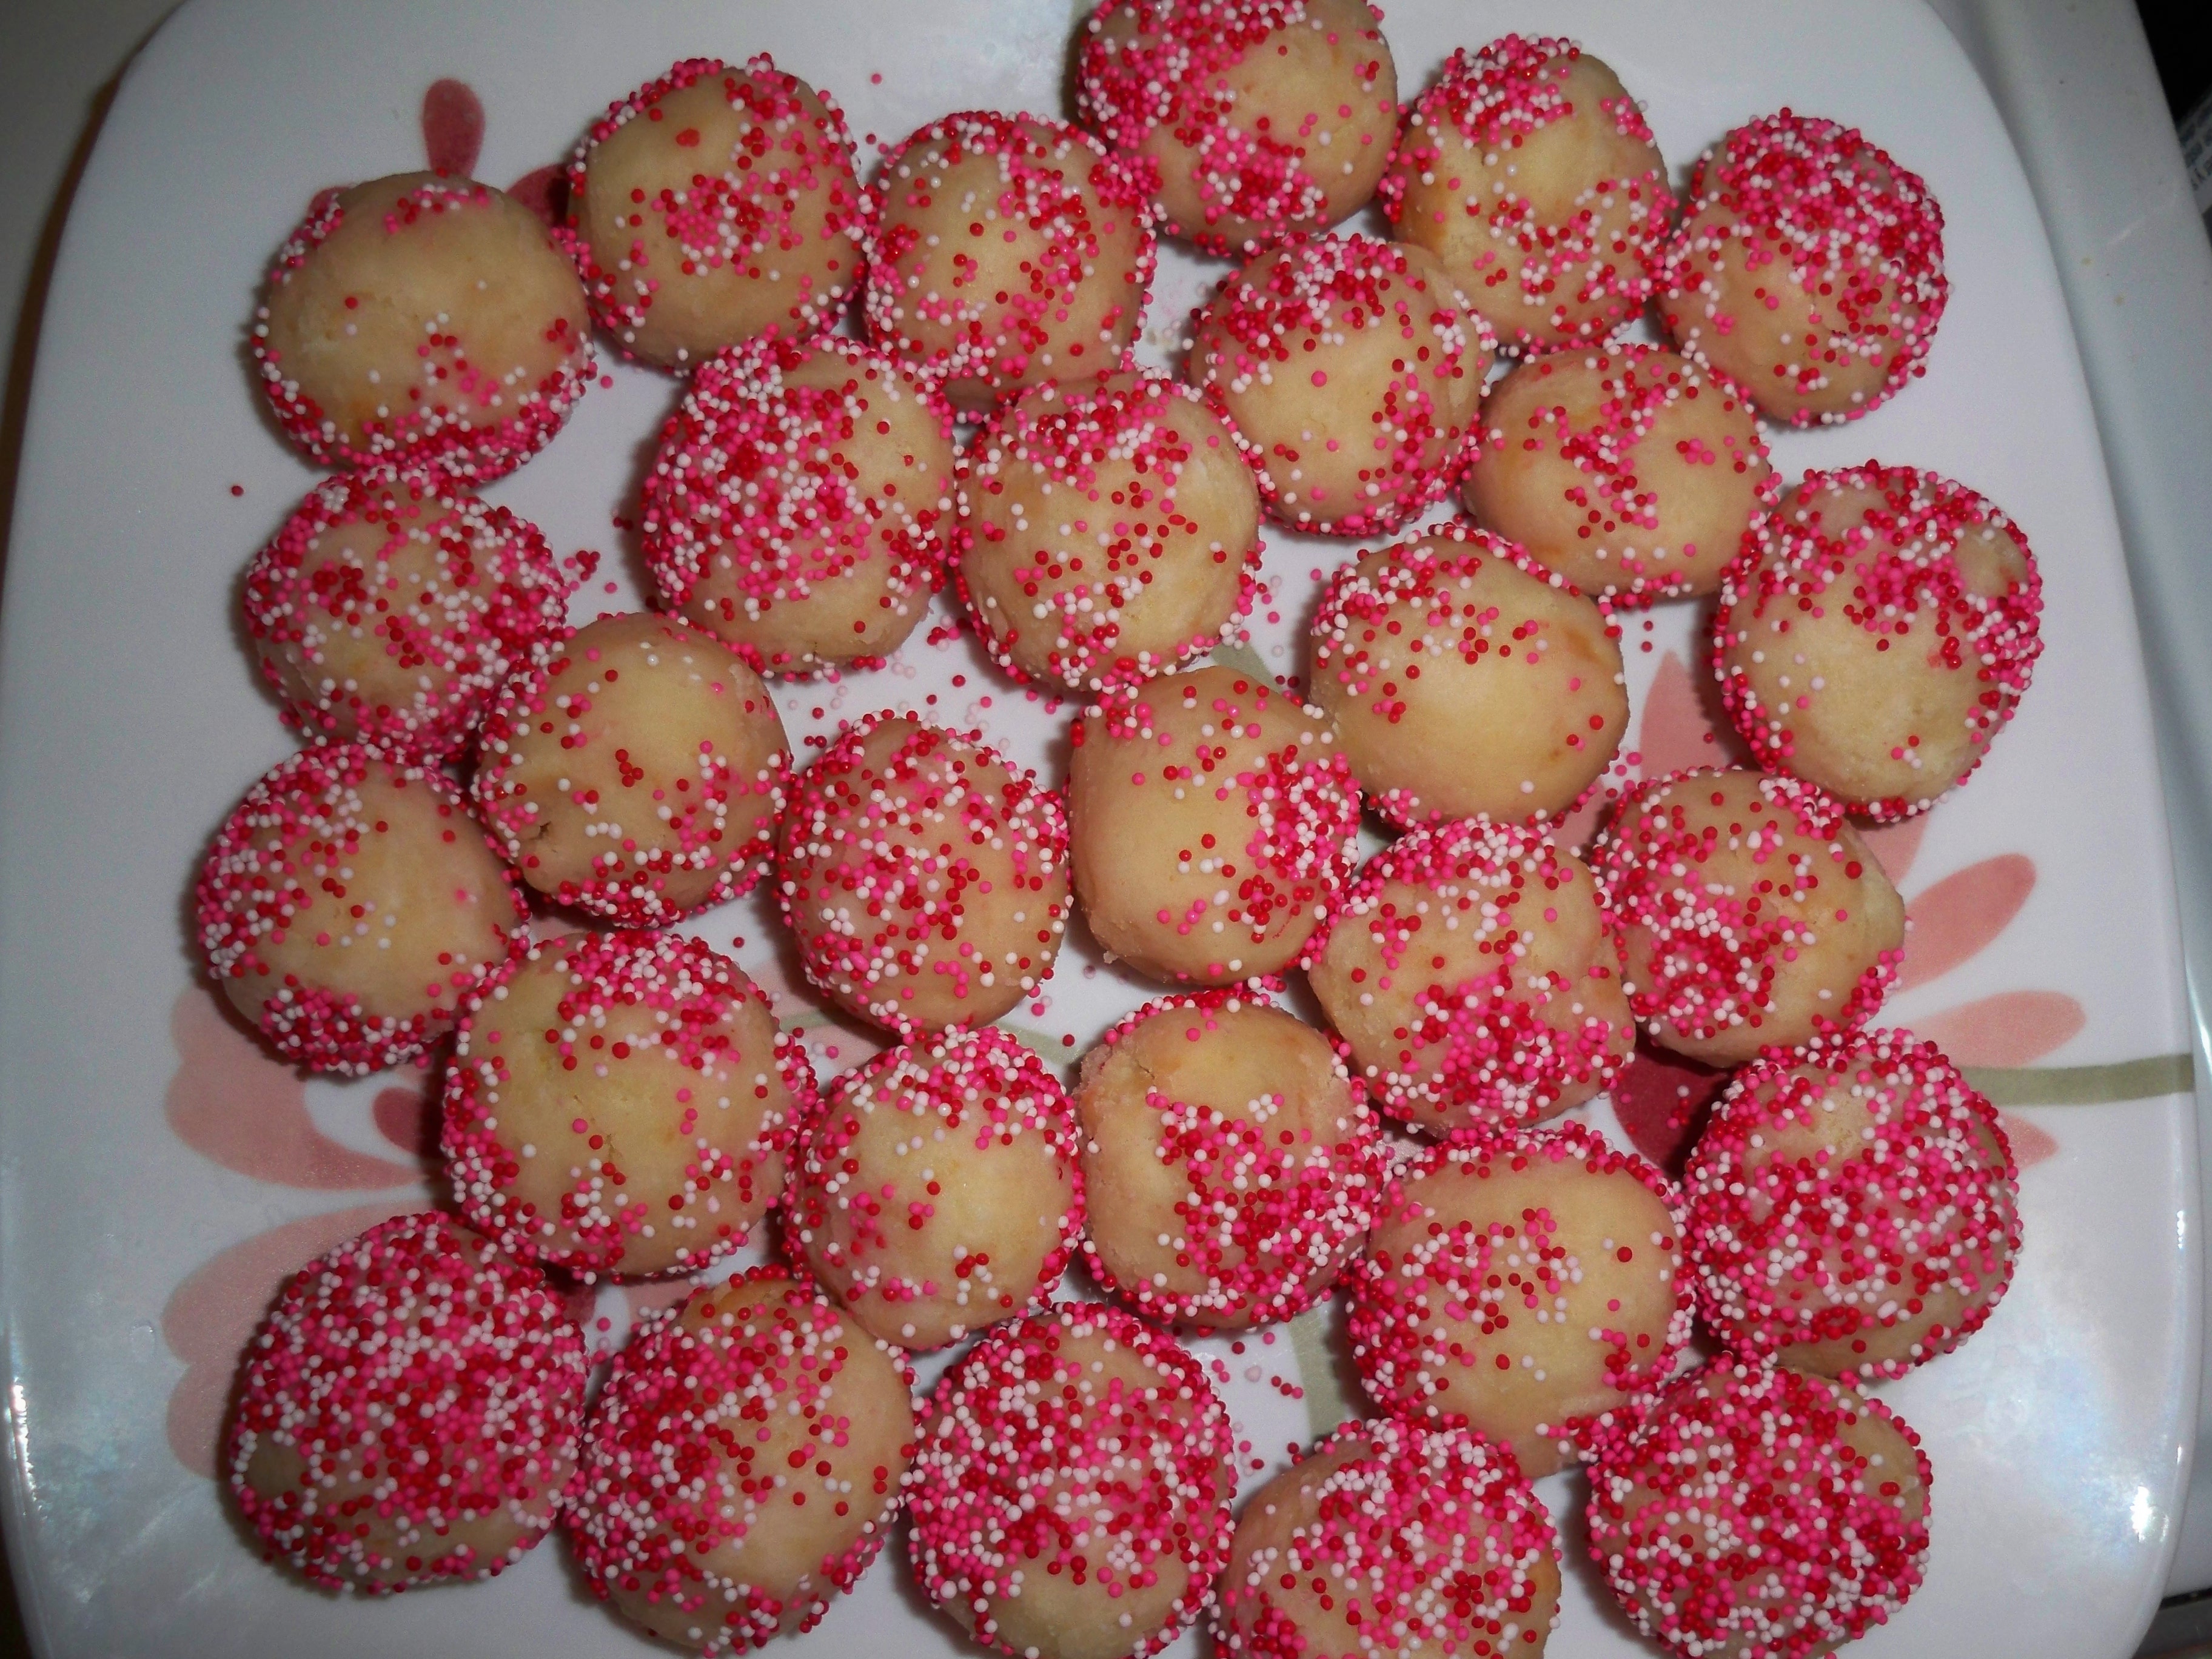
P.S. Any extra cake and frosting can be used for cake balls!


[addtoany]

March’s Food Network Magazine is the chocolate issue. Jeff brought it to me at work, which meant that it went around the cubes, and landed in the hands of Jasmine. Whose birthday happened to be last week. So she marked it up for me, and we finally decided on Boston Creme Pie. Which, really, is a cake, as it turns out. I’ve been calling it Boston Creme Pie Cake all week, and when I finally looked it up, turns out it’s not a pie at all. Anyways, onward.

Here’s the recipe (page 116 if you subscribe):

Cake
Unsalted butter, for the pan
1 1/4 cup cake flour
1 tsp baking powder
1/4 tsp salt
4 large eggs, room temperature
1 cup sugar
1/2 cup whole milk (I used half 2 percent, and half half-and-half)
1/3 cup vegetable oil
1 1/2 tsp vanilla

Pudding
1 1/2 cup whole milk (I used 2 percent)
2 tsp vanilla
2 large eggs
4 egg yolks
1/2 cup sugar
1/2 cup cornstarch
salt

Glaze
4 oz semisweet chocolate, chopped
1/2 cup heavy cream (I used half and half)
1 tsp vanilla
salt

I ended up making the recipe over two nights, the cake and pudding with Becca on Sunday, and the glaze the morning I served the cake (two days later.) The recipe was time consuming, and there are several matters I have to discuss, if I were ever to make it again.

First, we made the cake by whipping the eggs and sugar in a stand mixer.

Now, the recipe says to put the eggs and sugar on high speed for fifteen minutes, until “pale and triple in volume.” However, this only ended up taking about five minutes, and we didn’t want to over whip the eggs, so we went for looks over time, and I think that was the way to go.

Then, we added the flour, baking powder, and salt, which we had sifted together whilst the eggs and sugar were going. Here’s another thing about this recipe: the recipe says to sift first, then whip your eggs and sugar. And if you’re anything like me (read time strapped, impatient, and probably hungry) the last thing you want to do when making a recipe is waste time. So why would you ever sift first, get that bowl ready, and THEN wait fifteen (or five) minutes for your eggs and sugar to triple in size?

Which brings me to a lesson I learned long ago with the PW: always read a recipe through completely at least once before you attempt to make it. Unless you conveniently always have six hours and a back up recipe ready, which I’m pretty sure no one does.

Anyways, back to the recipe.

So after you mix in the flour combo, and then your milk/oil/vanilla, you beat until well combined. Then, you pour into your baking pan, which presented another problem. The whole idea here was that you made one cake and sliced it down the middle. However, halfway through my pouring the batter, Becca said, “Um…no. That’s not going to fit.” And so we took out another pan, buttered, parchment papered, and poured. (ie wasted time.)

Upon looking at the photograph of this step, we realized their pan was two inches deep. But it wasn’t in the directions. I don’t know about many bakers out there, but I wouldn’t automatically reach for a 2-inch deep pan.

Neither here nor there…we made two small cakes.

Now, onto the pudding while the cake is in! First, whisk the eggs, yolks, and sugar in a large bowl until light and fluffy, while also slowly heating your milk.

Now you’re going to temper the egg mixture (so it doesn’t cook, and curdle) by adding a little bit of the milk, then adding the whole thing back into the rest of the hot milk. Now you’re going to heat it for about 15 minutes.

When it looks like this, you’re pretty good. We didn’t understand why we were going to have to strain it, but at this point it’s pretty much the consistency of scrambled eggs, so it was better that we did.

This is what the cake looked like, done, by the way. After the pudding was done, we put it in the fridge, with the cakes.

Flash forward to two days later, when I put the whole thing together.

First, measure out your chocolate (I used chips, obviously.) Because I used half and half instead of heavy cream, I ended up needing five ounces of chocolate.

Now, to build a cake.

Cake. Add pudding.

Cake and pudding. Add cake.

Cake, pudding, cake. Add chocolate.

Now, I brought this cake to work, so a note about serving, if you plan on moving the cake: the cake is NOT stable. When I got to work, the top layer had slide off (hindsight: duh, because of the pudding) and so I had to put it back together. I don’t know what you could really do to solve this, other than put it together when arrive where you’re going, or just save the chocolate, or put toothpicks in it…any ideas?

Anyways, I would definitely suggest making Boston Creme Pie soon, because despite this recipe’s flaws, it was delicious. Do you have a recipe for Boston Creme Pie that you like?


[addtoany]

We can’t help ourselves. We just love cumin, and we couldn’t wait any longer to dedicate a whole month to the pursuit of new cumin knowledge. And so we’ve chosen cumin as our ingredient for February.

Let’s get one thing straight. On this blog, we favor the UK pronunciation that sounds like kyoo-min. I know some of you like to say it koo-min, and that’s all well and good. But let our preference be known.

A cursory internet search will tell you that it is both VERY popular and VERY old. It’s been in use since at least the 2nd century BC, and you can even find mentions of cumin in the bible (both Old and New Testament). In your Googling, you may also see the claim that cumin is the second most popular spice in the world (second only to black pepper). That may be a bit of stretch, but it is certainly widely used. One fun fact is that cumin used to be kept on the table at mealtimes in ancient Greece where it was used in a very similar manner to our modern use of black pepper, and the practice is apparently still common in Morocco. Thank you Wikipedia!

Cumin is a key ingredient in Nepalese, Pakistani, Indian, Brazilian, Cuban, Mexican, Sri Lankan, and Middle Eastern cuisine. It grows primarily in Mediterranean climate because it requires a long, hot growing season. Fun Fact # 2: what we call cumin “seeds” are actually the dried cumin fruit.

It’s hard to think about cumin without thinking of curry or chili powder, and there’s a reason for that! Cumin is a main ingredient in many chili powders and curry powders, both of which are mixes of several different spices. Chili powders often contain a mix of cumin, salt, garlic, oregano, and the trademark taste of many Indian food dishes include the mixture of cumin, curry, and coriander.

Fun fact #3: 1 tsp of cumin contains 15% of your daily value of iron.

It turns out cumin is the perfect choice for the month of Valentine’s Day, too! Apparently cumin was recognized as a symbol of love and fidelity in the Middle Ages, and people would carry cumin in their pockets to wedding ceremonies. In some middle Eastern cultures, a mixture of cumin, honey, and pepper is considered an aphrodisiac. Try that for your Valentine’s Day date!

Now down to business. What cumin recipes are we planning to make this month? I must admit that we’re still somewhat undecided. We’re hoping to experiment with some middle eastern flavors and make spiced kebabs. If you have recipe recommendations, send them our way or we might just revisit the Cucina Fresca steak kebabs we made this time last year. YUM.

One friend recently challenged us to create a simple, hearty and healthy one pot meal, and we may try to find a cumin-inspired recipe to fit the bill. Beyond that we’ll try to expand our repertoire and maybe cart out some of our stand-by cumin favorites. Brussels sprouts anyone?

What are your suggestions??


[addtoany]

So I procured a giant bag of farro from Costco a couple of months ago, and Ky (my trusty cooking partner) and I have been trying to use it up during our cook-something-good-for-you-and-also-do-yoga nights.

We’re consistently more successful in the kitchen than we are on our yoga mats.

Farro is a grain, but if you google it, you’ll get a lot of different theories about what it actually is. Some people say it comes from wheat, some people say it’s the same as barley, and some people say it’s spelt.

I say it’s delicious.

Basically, I would tell you that it tastes like a cross between barley and rice, and it has a little bit of bite to it. Heidi from 101 Cookbooks calls it “toothsome” and I agree with her.

In terms of method, you cook it 1 part farro to 2-2.5 parts water for about 15 minutes at a low boil. It’s easy, relatively fast, and not rice, so I like it.

As a Nikki-could-be-crazy aside, cooking rice is my absolute culinary nemesis. It never comes out the way I want it to, so I basically spend my life looking for alternate grains to use in its crunchy, undercooked place.

Back to the cooking.

Because it’s winter, and in the Windy City that means eating mostly potatoes and frozen vegetables, we opted for sweet potatoes, kale, and onions.

Then we just sort of improvised (as is my favorite style of cooking), roasting, sautéing, and adding splashes of balsamic vinegar and healthy shakes of hot pepper flakes as we went.

We start everything with garlic and onion. And olive oil. These are the keys to a successful dinner, in my book.

We also roasted sweet potatoes. Sweet potatoes are a delight and full of pretty much everything that’s good for you.

Then we sautéed our kale with the previously mentioned garlic and onion. Kale is beautiful and nutritious, and it’s even more beautiful once it has hit the heat for a few minutes.

See what I mean?

Next we added chickpeas, which turned out blurry in photo-form (but perfectly edible in real time), and then we mixed the whole mess together with some feta crumbles, balsamic vinegar, and s & p.

Into a bowl it went, and voila, farro salad.

If you’re into quinoa, couscous, barley, or the dreaded rice even, you’ll like farro. It’s high in protein, a whole grain, good tasting, and quick to throw together.

What more could you ask for?

Besides for winter to end and the farmers’ market to start, that is.

Enjoy, chickadees, and let me know how you’re using farro in your nests!


[addtoany]

Last night Jeff and I had our first cooking class together at Sur La Table. It was an Essential Knife Skills class, which had me incredibly nervous. What if I was holding a knife wrong this entire time? (I kind of was.) What if I didn’t truly know how to mince, dice, slice, cube? What if everything I thought I knew about cooking just wasn’t true??

Luckily, I was not doing everything wrong. I wasn’t holding the knife QUITE right, and I do have a tendency to stick my thumb our farther than my fingers in the “claw” but other than that, I learned that I have a slight idea of what I’m doing.

Here is Jeff, chopping the tomato we had to peel and seed and dice. It’s called something fancy, but I didn’t write it down because I was peeling and seeding and dicing said tomato, and also because I had tomato juice all over me.

This was the final meal, using the ingredients we had cut! I loved learning about different knives, the importance of seeding and peeling tomatoes for sauce (ok, ok, Jeff, you were right), and the different cuts, especially how to segment an orange! Now I am an expert julienne-er, and have mastered dicing in even sizes!!

We’re taking another class this weekend, where we are cooking a date-night worthy meal, so I’ll let you know how that goes…and I hope to be able to take more pictures of that one, too!


[addtoany]