So as many of you know, I have several friends who are on gluten free diets, including three people at work. Since I make treats for my co-workers on their birthdays, I usually feel bad when the treat is not gluten free – that means three people miss out on something delicious! The worst part is when I look at whatever I made, I say, “I guess I could have made this gluten free.” So, when the next birthday came around, I did: I made a gluten free pie.
The dough was simple, and I found it to be on par with the ease/difficulty of making “regular” pie crust. The only ingredient I needed that I didn’t already have was xanthan gum, and I got that from Whole Foods easily. The recipe I used came from King Arthur, though I did not use clear jel because I couldn’t find it. (They didn’t know what it was at Whole Foods, which meant I was not likely to find it in a pinch. Luckily, it was optional, so we were fine.)
Recipe for a two-crust pie (top and bottom crust):
2.5 cups King Arthur Gluten-Free Multi-Purpose Flour
2 tablespoons sugar
1teaspoon xanthan gum
1 teaspoon salt
12 tablespoons cold butter
2 large eggs
4 teaspoons vinegar

Your first step is to mix the flour, xanthan gum, sugar, and salt together in a bowl.

Add in your cold butter in pats (about scant a tablespoon big, or so.)

You can use a pastry blender or a fork to incorporate the butter – there should still be small chunks, but not too big. Think pea-sized.

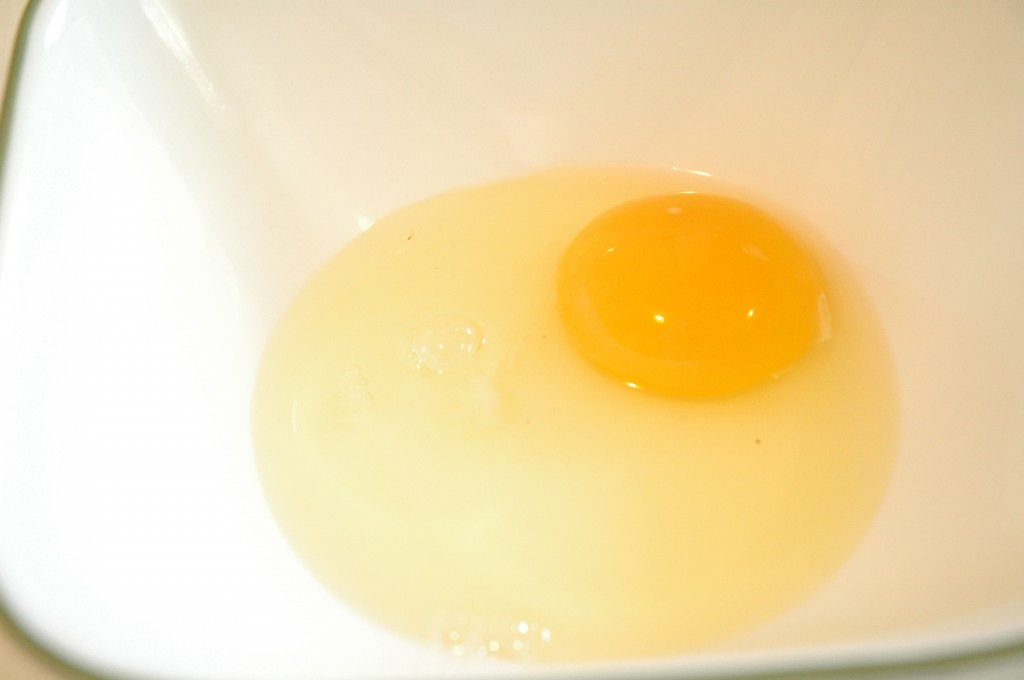
Now, onto your wet ingredients. Take the eggs and whisk them up with the vinegar, until they are frothy.

It’ll look something like this.

Add your wet ingredients to the dry, and mix until it comes together, then roll into a ball.

Now you have to refrigerate for about an hour. (I wrapped mine in plastic wrap to stick in in the fridge.)

Meanwhile, rinse your blueberries and spread ’em out to air dry. The recipe I used for the inside of the blueberries was as follows, adapted gluten free by me:
2.25 lbs fresh blueberries, rinsed and stems removed
1/2 tsp lemon zest
1 tbsp lemon juice
1/4 cup gluten free multi-purpose flour
1/2 cup white granulated sugar (100g)
1/4 tsp cinnamon
2 tbsp butter (unsalted), cut into small pieces
egg wash:
1 egg
1 tbsp. milk

Mix together your lemon zest, lemon juice, flour, sugar, and cinnamon.

Coat your blueberries in the sugary mixture.
Now, you should be about ready to take your dough out and roll it. You need to let it sit out at room temperature for about ten minutes before you roll, otherwise it’ll be too crumbly.


I will say this about gluten free dough: it is not easy to move. But it’s OK. You can move the largest piece you can get into the butter pie dish, then push the rest in to complete the bottom crust.

See? Don’t fret. It’ll work out.
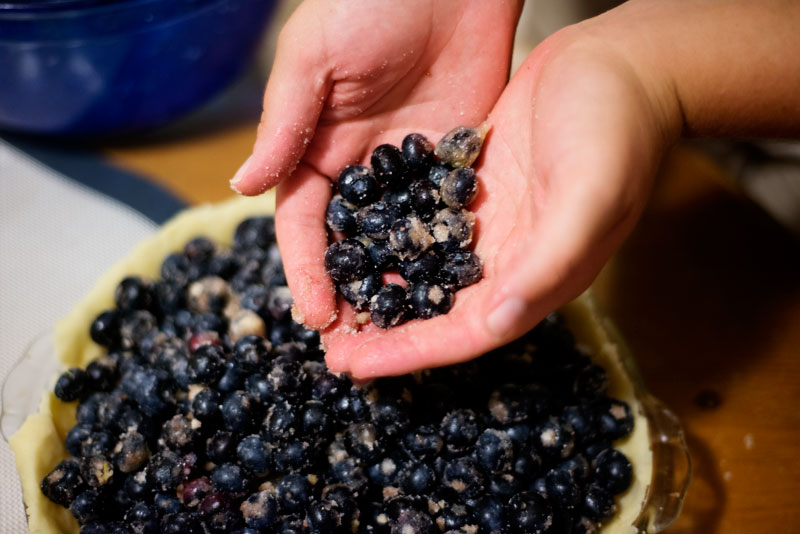
So, after your bottom is rolled out, you can fill your pie with blueberries. You might think they are not going to fit into the dish, but they will. I didn’t think they would fit. They did.
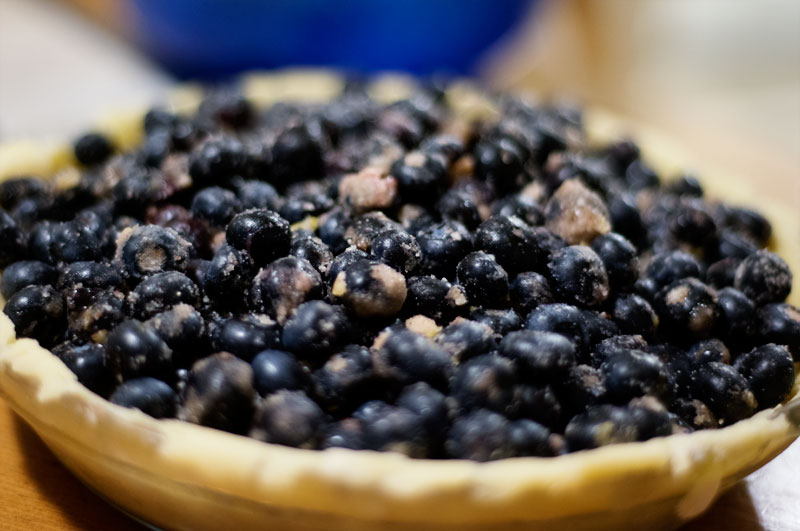
See? They all fit. And if they don’t, just eat one or two. Now, at this point, put the butter, in pieces on the top of the blueberries. I did not do this. I forgot the butter. The pie was still a delight, but you know, butter makes things better, so you should maybe add it in.
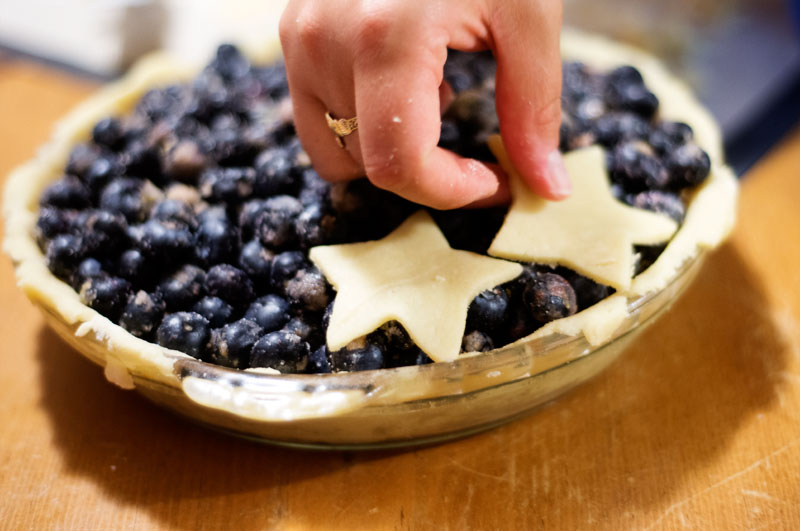
Because gluten free dough is more fragile than regular pie crust dough, I opted to cut the dough into stars and then cover the pie. That way, you don’t have to move an entire top, and it is properly vented, and it is pretty. So, pretty much a win, win, win.
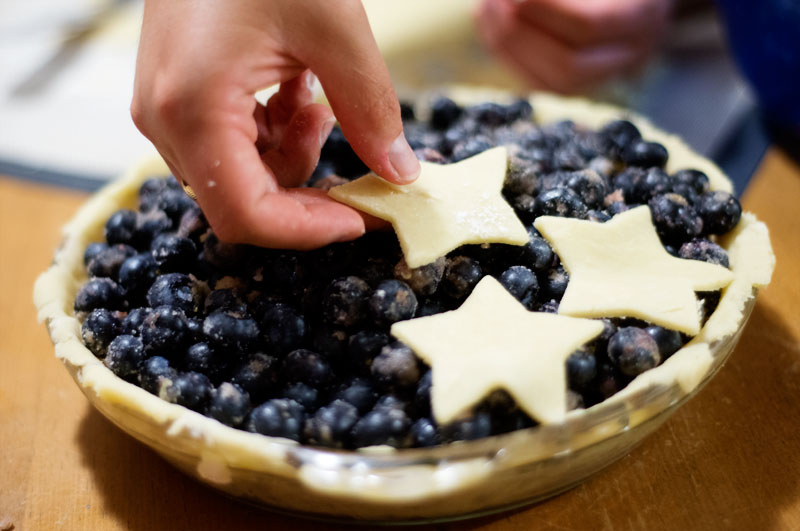
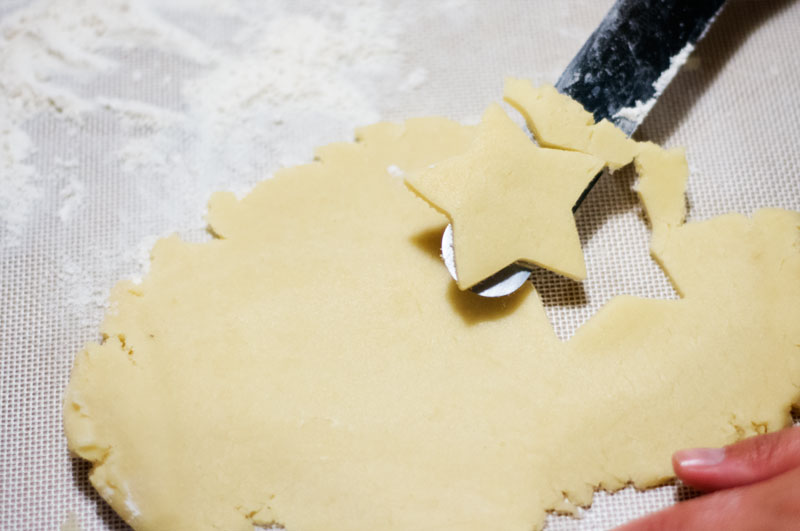
Use an offset spatula to pull the dough up, so you don’t rip your stars (I ripped a few. It happens. You can re-roll the dough if needed.)

Roll until you run out of dough, and just keep layering the stars on the pie.

After you’ve layered the stars, you can let it sit in the fridge for about 30 minutes to firm up. Then give it an egg wash (1 whisked egg + 1 splash of milk) and then stick it in your hot oven (425 degrees.) You will let it cook at 425 for 20 minutes, then 350 for about 40 minutes.

And this, my friends, is what your pie will look like!

Please enjoy! Making this gluten free was easy peasy, and greatly appreciated by my gluten free coworkers. And the best part was you couldn’t even really tell!
Recipe:
2 Crust Dough
Time: 20 minutes active, 70 minutes nonactive
2.5 cups King Arthur Gluten-Free Multi-Purpose Flour
2 tablespoons sugar
1teaspoon xanthan gum
1 teaspoon salt
12 tablespoons cold butter
2 large eggs
4 teaspoons vinegar
1. Mix dry ingredients (flour, sugar, xanthan gum, salt.)
2. Chop cold butter into pats. Incorporate into dry ingredients.
3. Whisk together eggs and vinegar.
4. Add to dry ingredients, roll into ball.
5. Refrigerate for 1 hour prior to rolling, and let sit at room temperature 10 minutes before rolling.
Pie filling
Time: 20 minutes active, 60 minutes nonactive
2.25 lbs fresh blueberries, rinsed and stems removed
1/2 tsp lemon zest
1 tbsp lemon juice
1/4 cup gluten free multi-purpose flour
1/2 cup white granulated sugar (100g)
1/4 tsp cinnamon
2 tbsp butter (unsalted), cut into small pieces
egg wash:
1 egg
1 tbsp. milk
1. Mix all ingredients except blueberries and butter.
2. Add blueberries and mix well.
3. Put blueberries into pie crust.
4. Top blueberries with butter pieces.
5. Top buttered blueberries with top crust (or crust stars).
6. Refrigerate 30 minutes (Pre-heat oven at this point).
7. Egg wash the top.
8. Place in oven for 20 minutes at 425.
9. Lower heat to 350 and let bake 30-40 more minutes.
[addtoany]
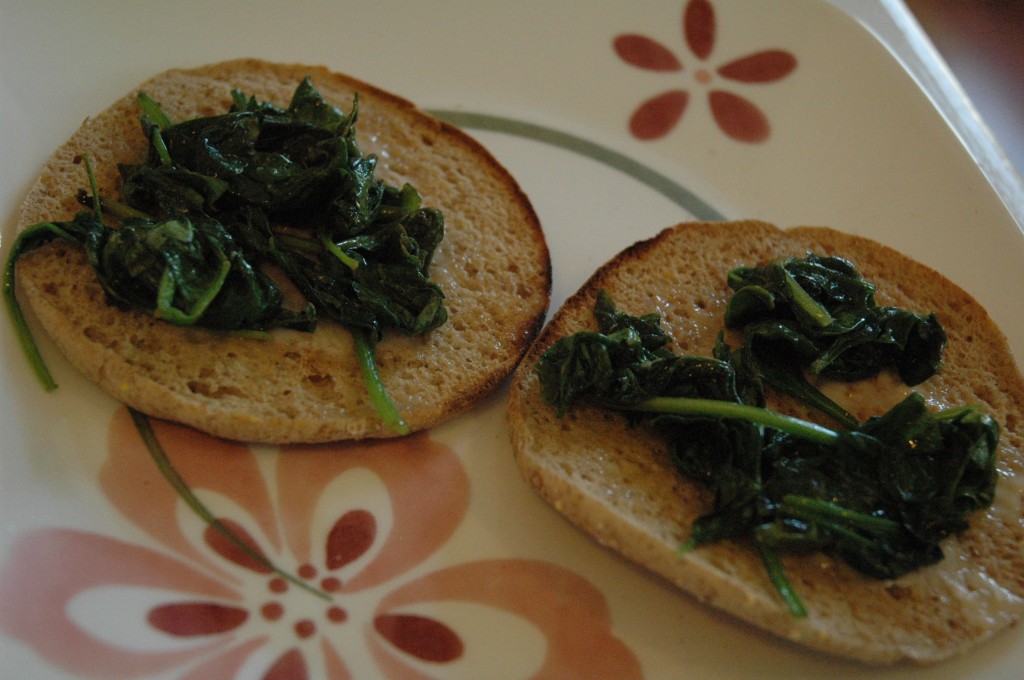
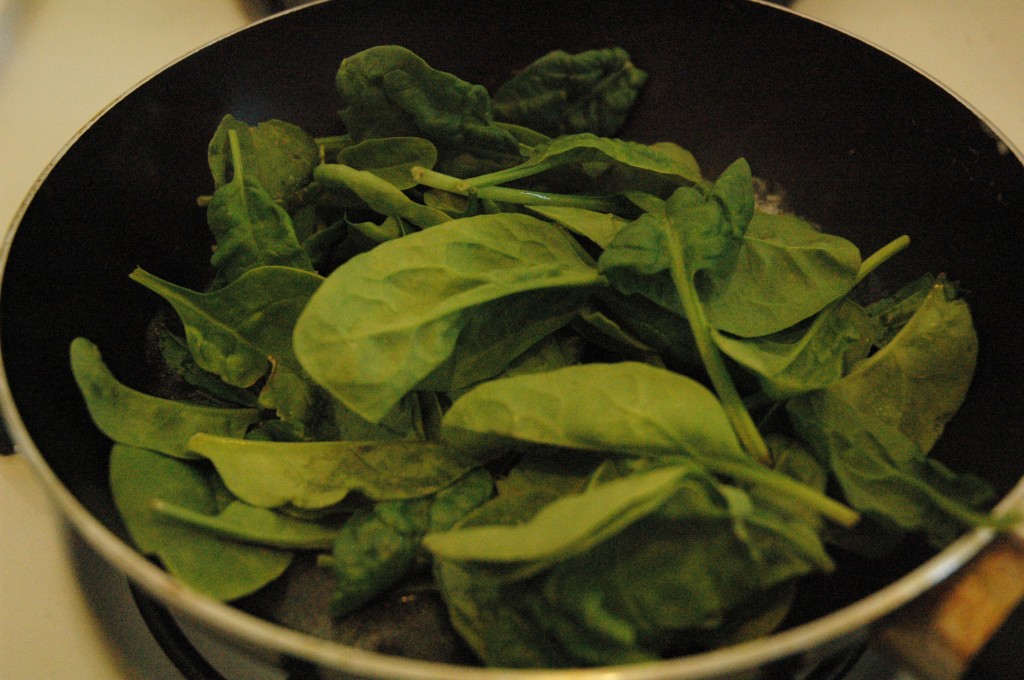
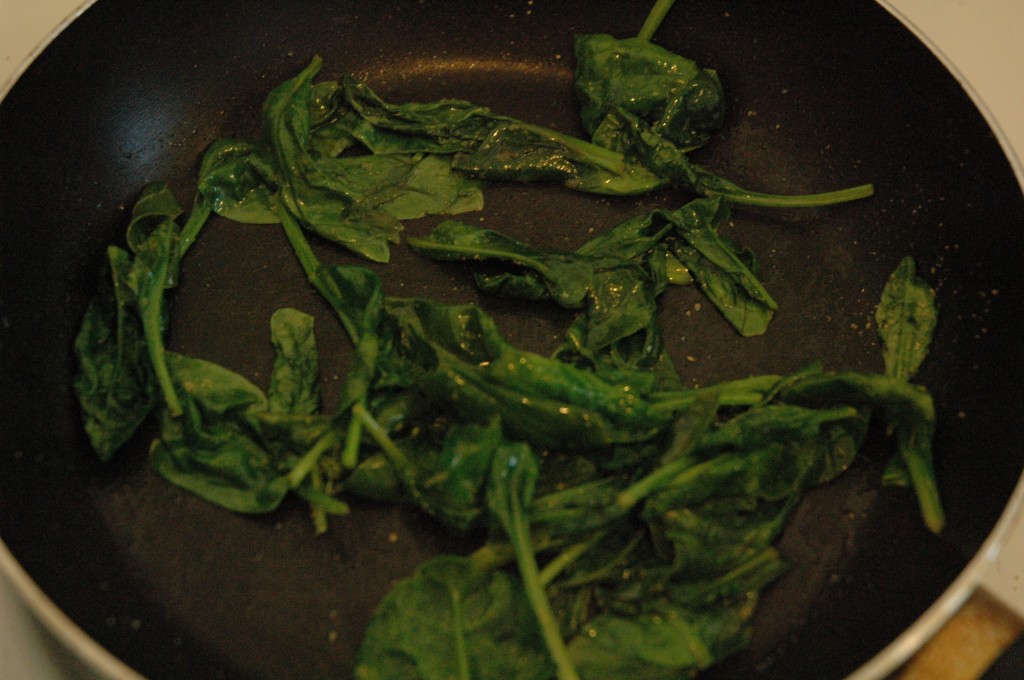
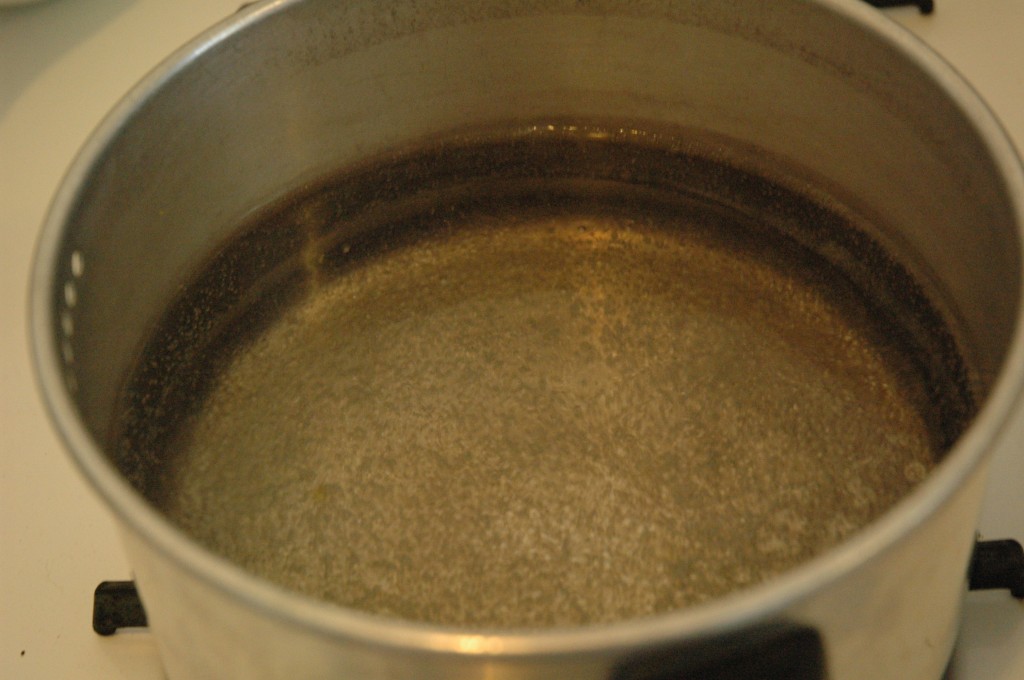 Sauté spinach to taste. I used a pinch of garlic powder and about a tablespoon of olive oil. Spinach should shrink and look wilted. Set aside.
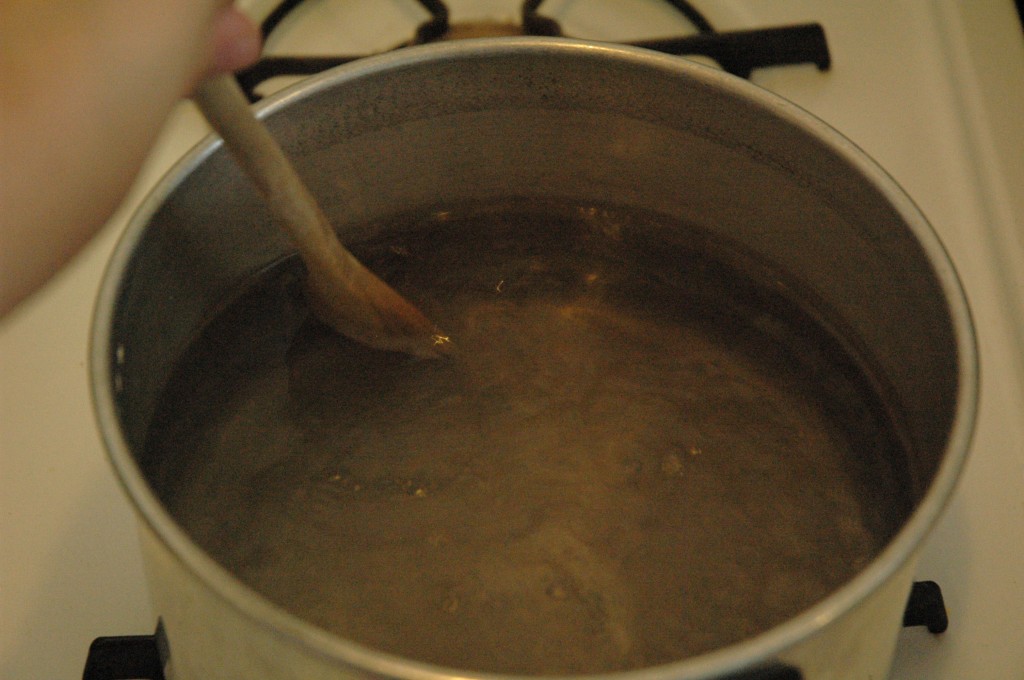
 Poach eggs as follows, and don’t panic! It will be fine, I promise.
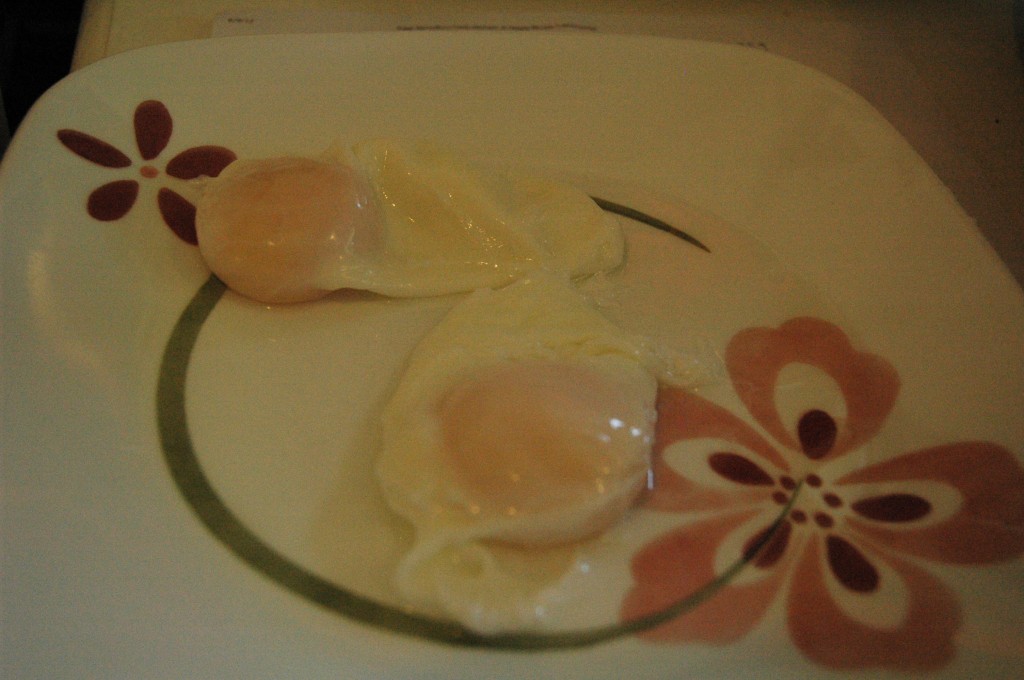
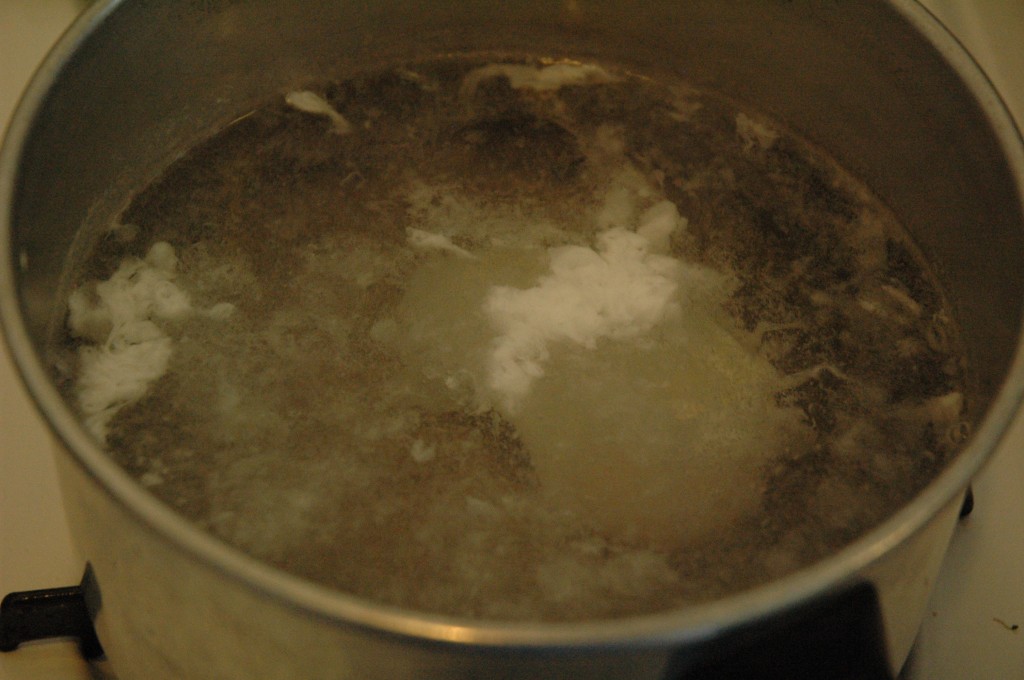 Cross your fingers and hope for the best! The swirling motion should make the egg stay together, but don’t be alarmed if some egg whites separate. I poached my eggs one at a time so as not to panic too much about it not working. It was surprisingly not as difficult as I thought it would be, although my eggs did end up being significantly smaller than expected in the end. Boil eggs for 2-2 ½ minutes.
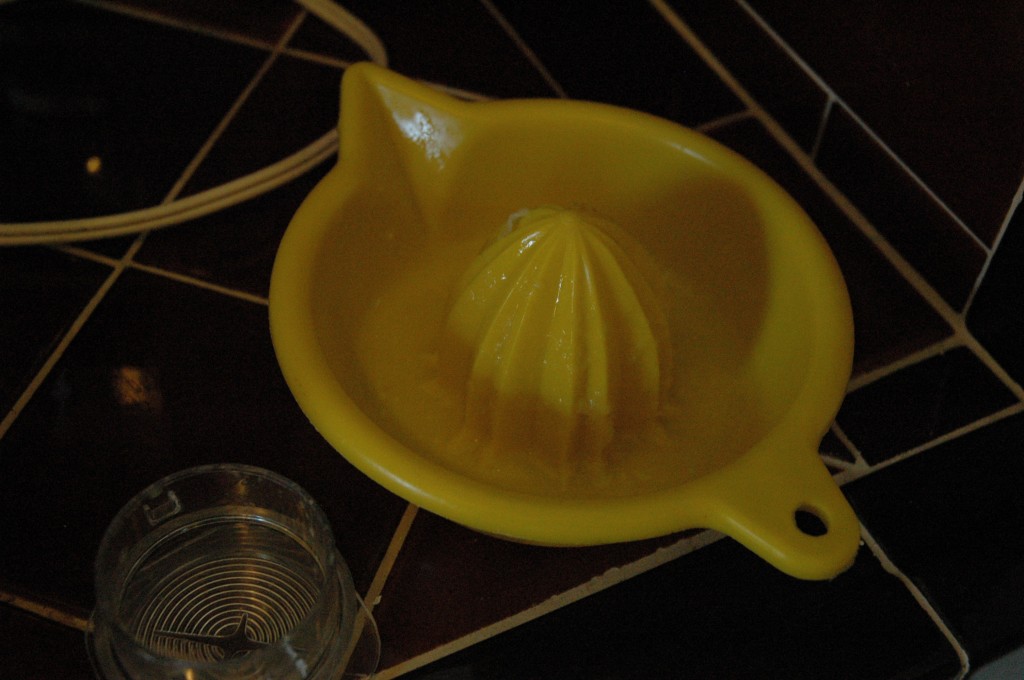 These next steps are very important! Follow me close.
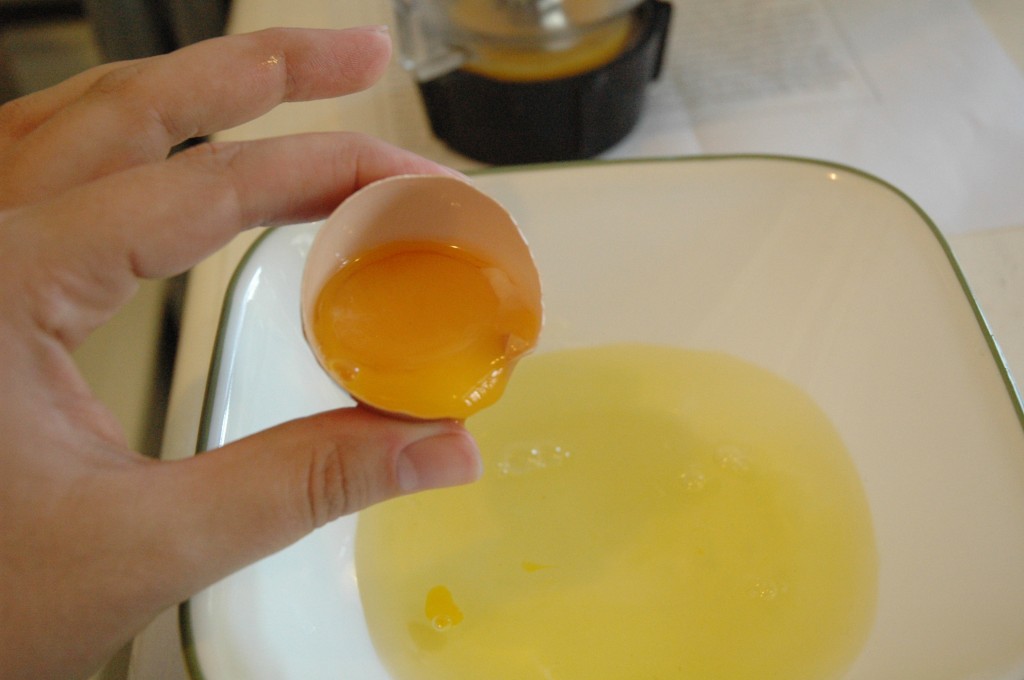
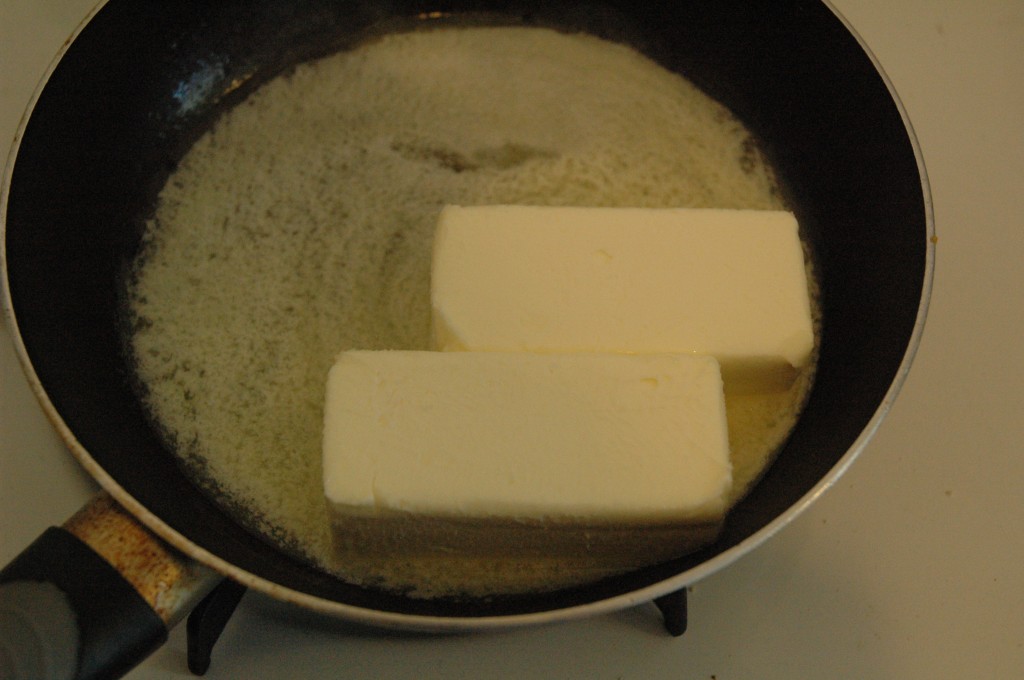 Put your 3 egg yolks in a blender and blend on low speed until combined. Once your butter has completely melted, open the top of the blender and slowly pour the butter into the egg yolks while the blender is still running on low. Beware of splattering!
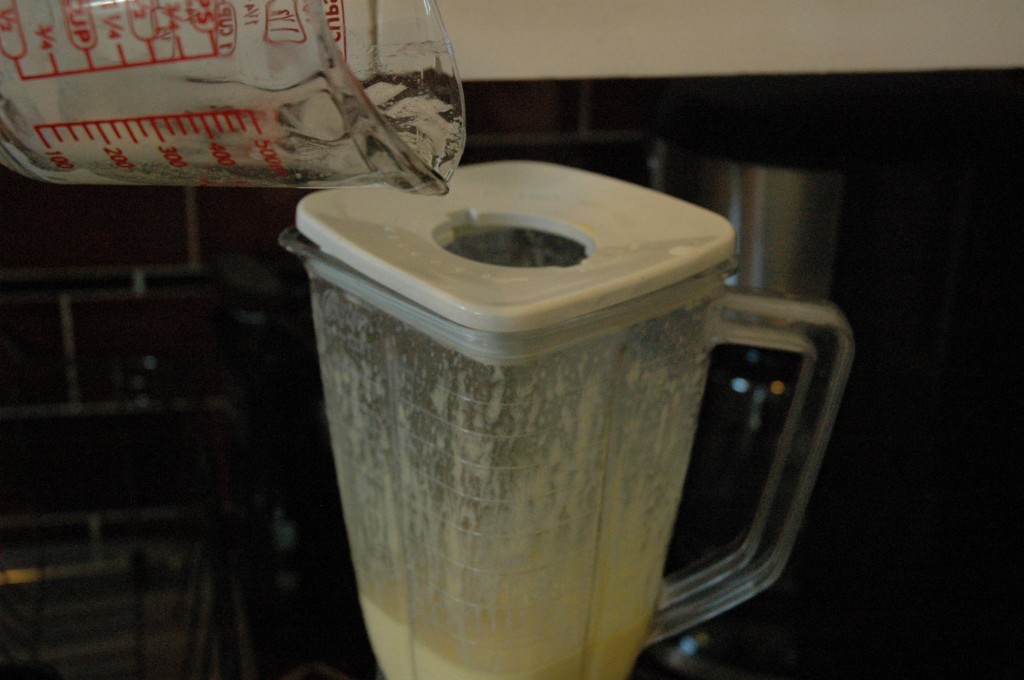 Once butter has been mixed in, add lemon juice.
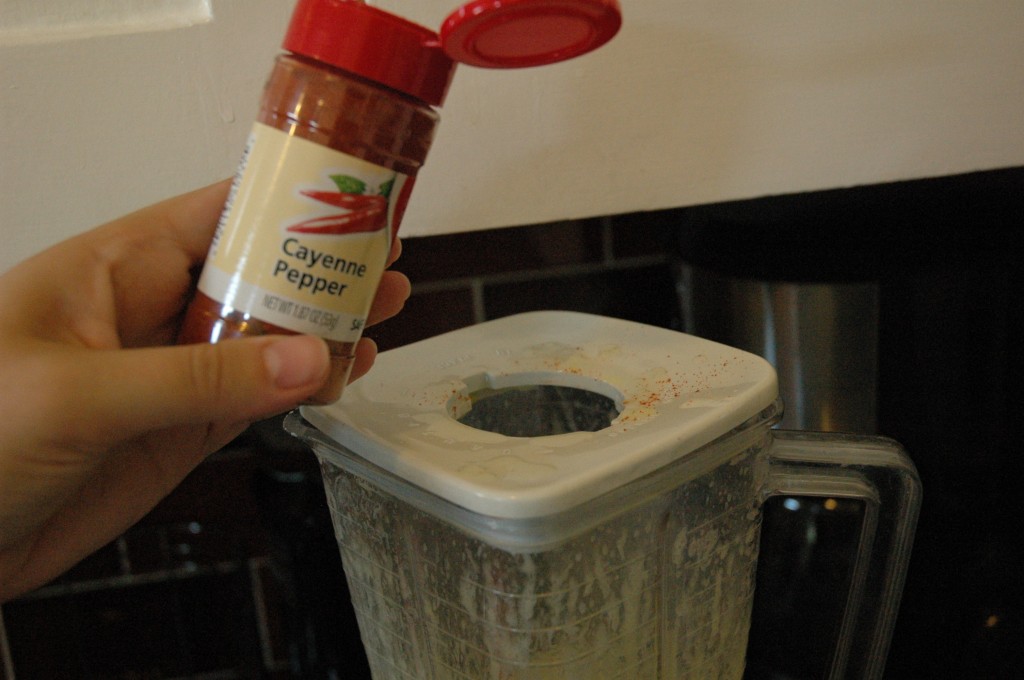
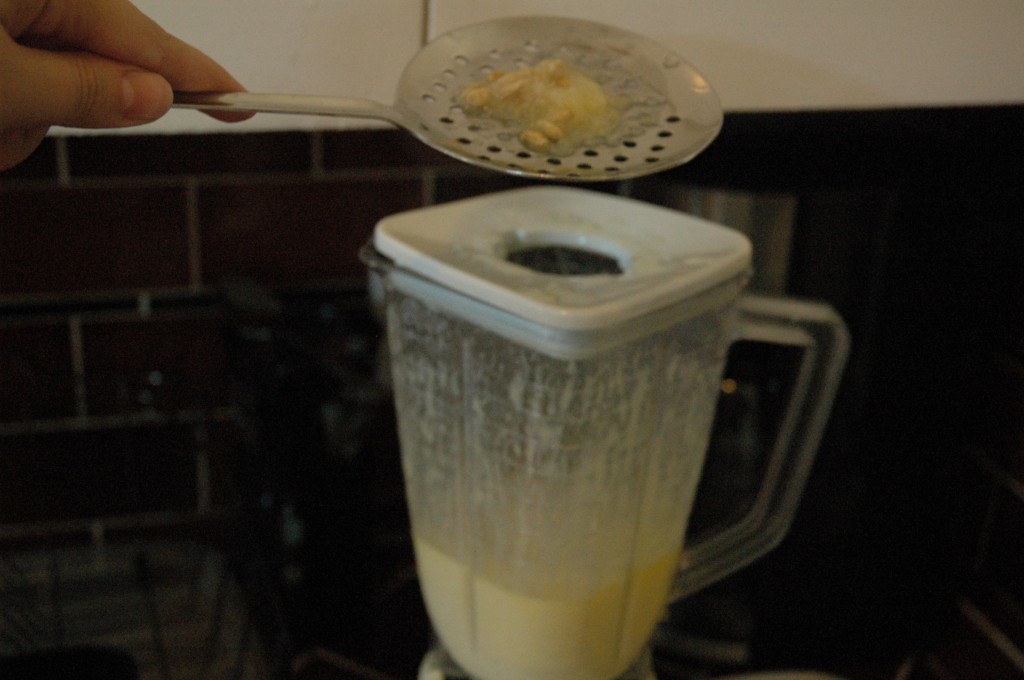 Finally, add cayenne pepper to taste. Blend until the sauce is thick and not super runny anymore.
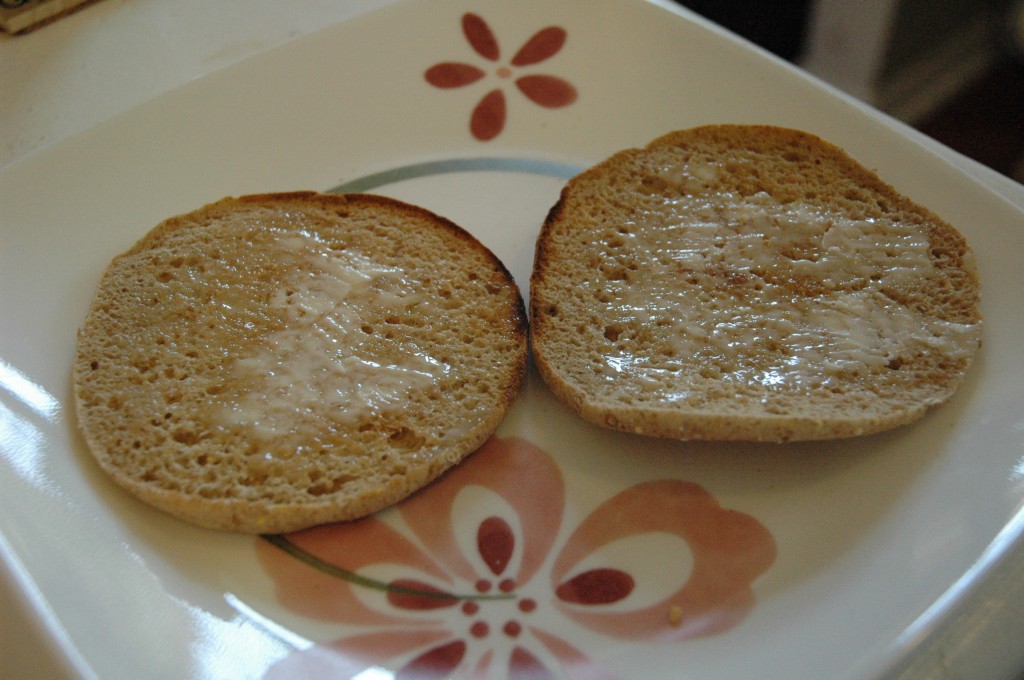
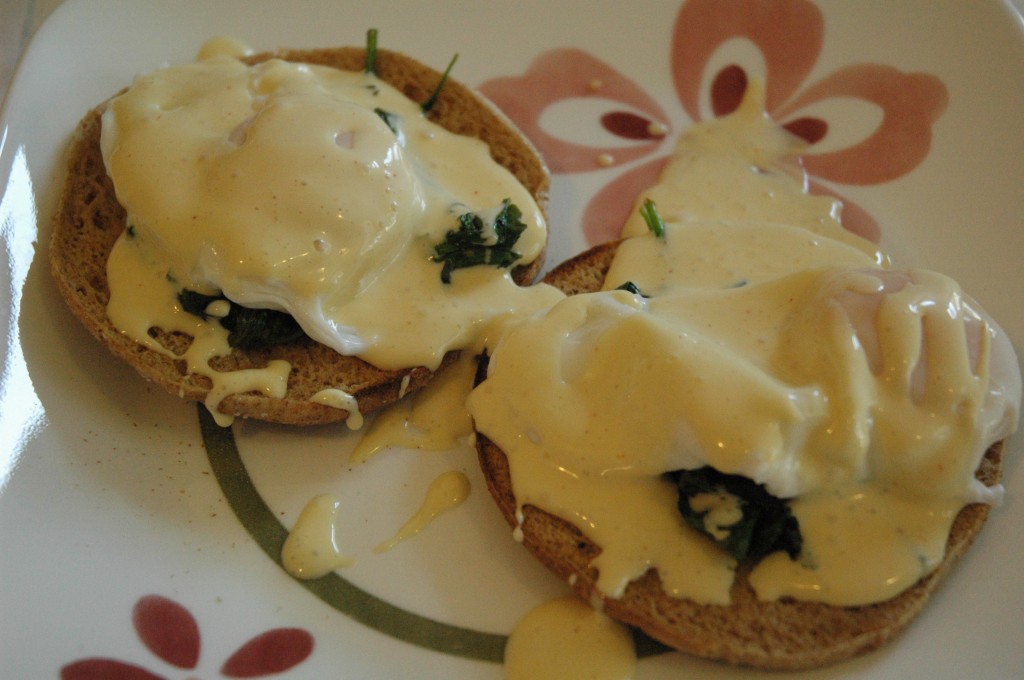
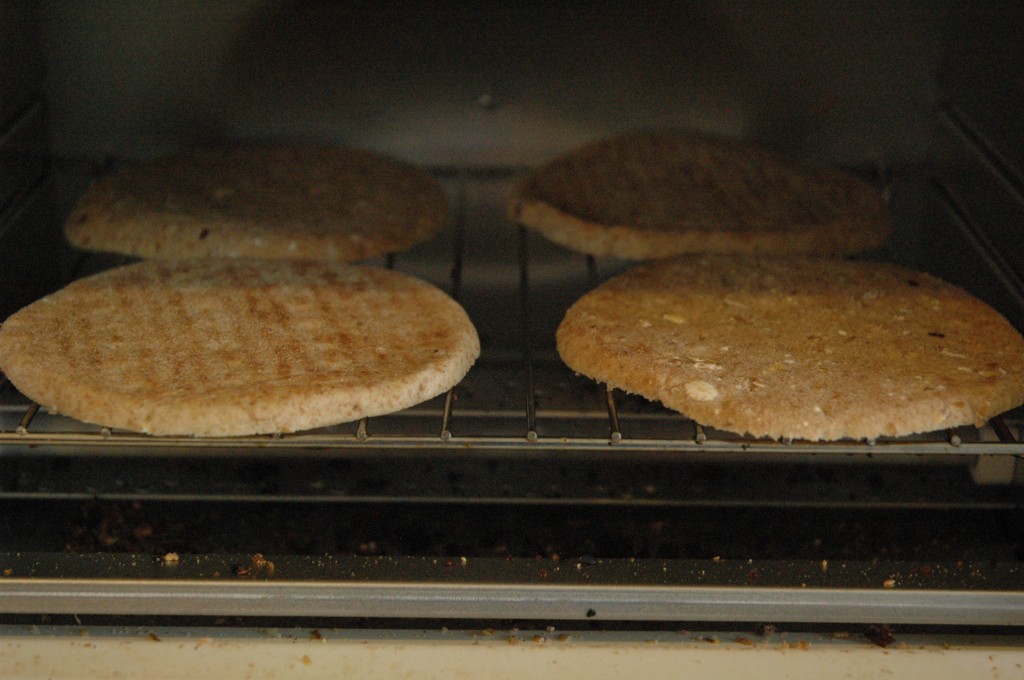 Time to plate your delicious meal! Butter your English muffins.
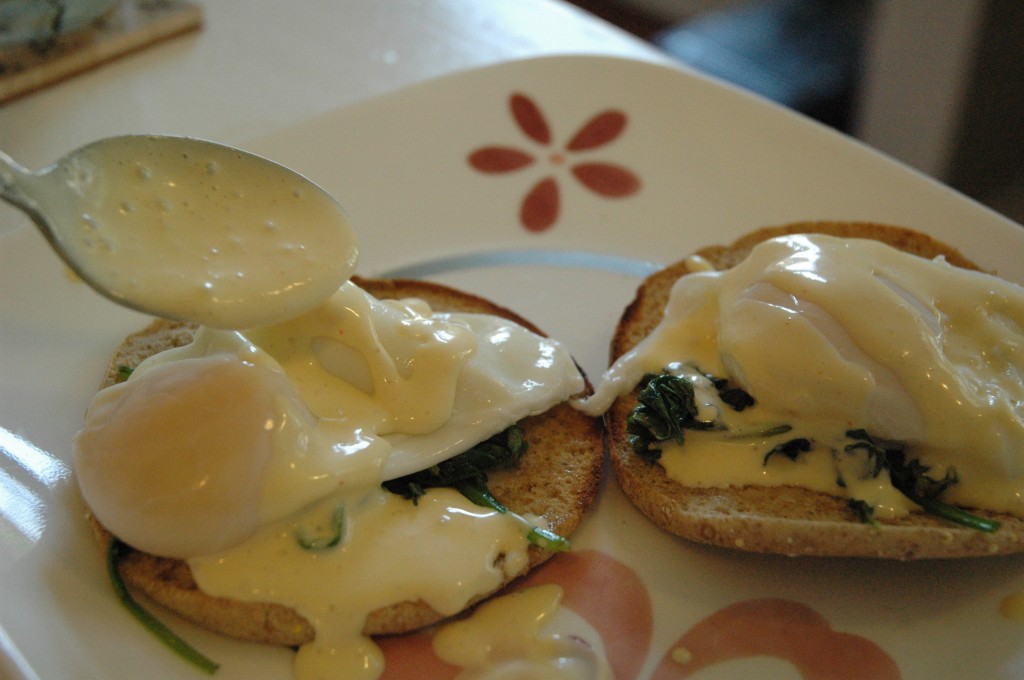
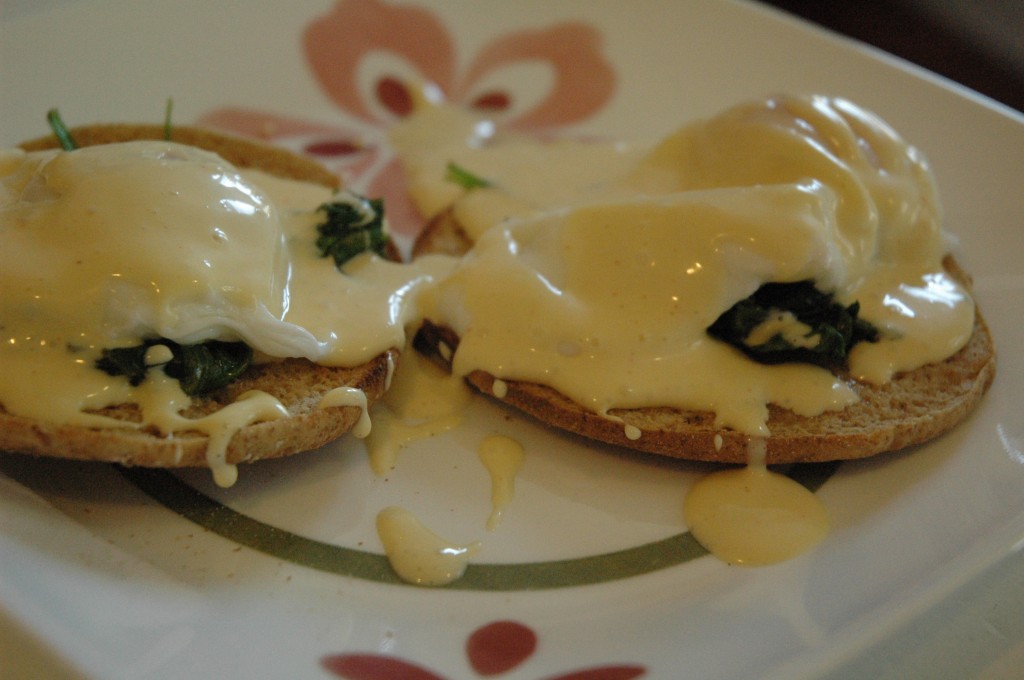
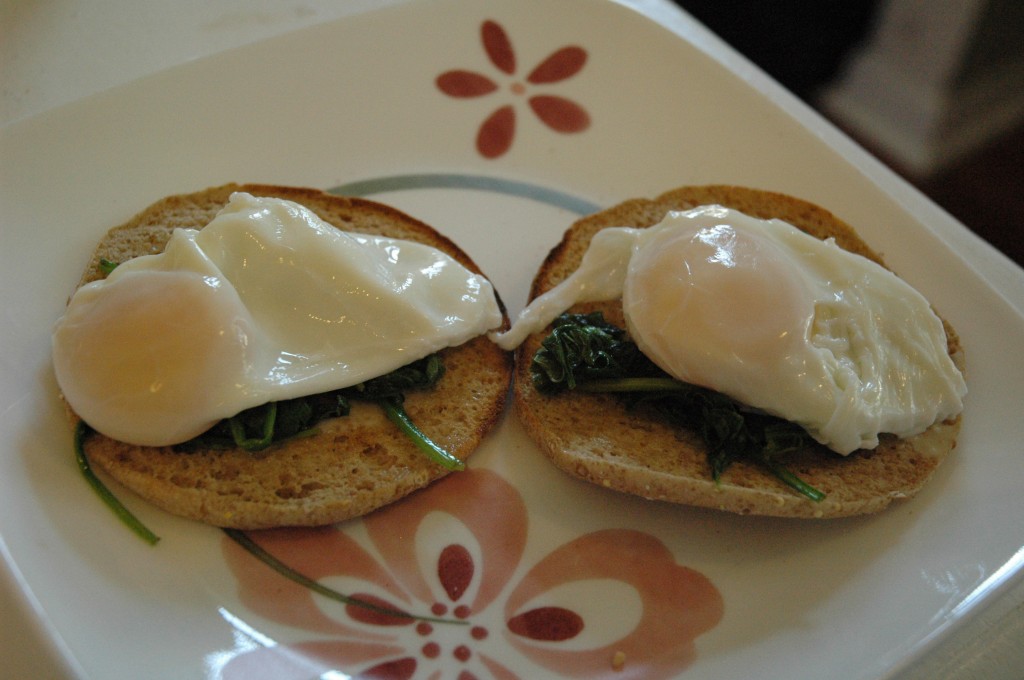 Top with many, many spoonfuls of Hollandaise sauce.
